From to-do apps and day planners, to spreadsheets and full-blown subscription services, making your work trackable and visible can really help with productivity.
P2 is the tool we use at Automattic (the company behind WordPress.com), and today we’d love to share some ways you can do the same.
What sets P2 apart from other project tracking tools?
There is no shortage of project management tools out there, but the killer feature of P2 is its total flexibility.
Instead of having to adapt to a particular, fixed way of working, P2 adapts to the way you and your team work.
That’s made possible by the baked-in integration of the WordPress block editor, giving you a really flexible tool that can adapt to whatever you need to throw at it.
P2 is your project tracking canvas
From a blank page upwards, P2 makes it easy to track and feature what’s most important to you, using any of the nearly 80 (and growing) blocks at your disposal.
In practice that means that any page can include images, Google Calendars, PDF embeds, Figma designs, checklists, and a wide spectrum of video players and social media integrations (just for starters). And of course, you can arrange them on the page any way that meets your needs.
Three project tracking blocks you can add to your P2 today
Among the options available to you on P2, three blocks in particular can be really useful for project tracking. Let’s take a look at those.
1. Task block
Tasks are the atomic unit of getting things done.
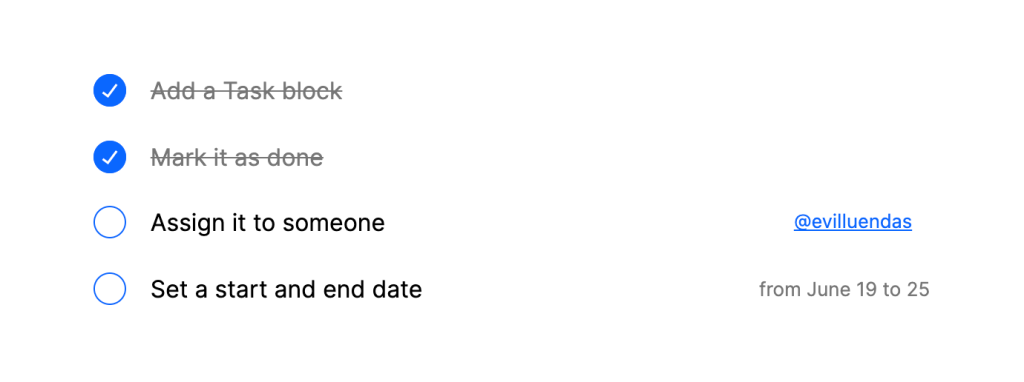
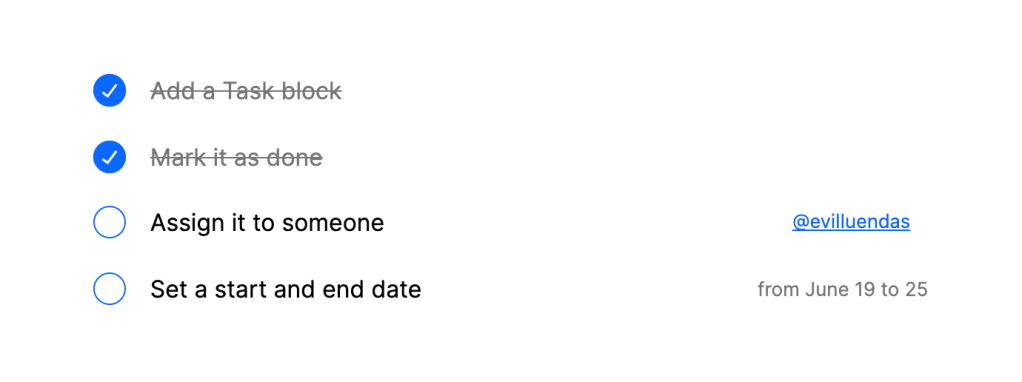
With the Task block, you can add your team to-dos and assign whoever’s responsible for them right from the editor. Clicking the “cog” button in the top right of the editor will open up further options to set start and end dates.
Here’s an example of a Task block in action:

2. Project Status block
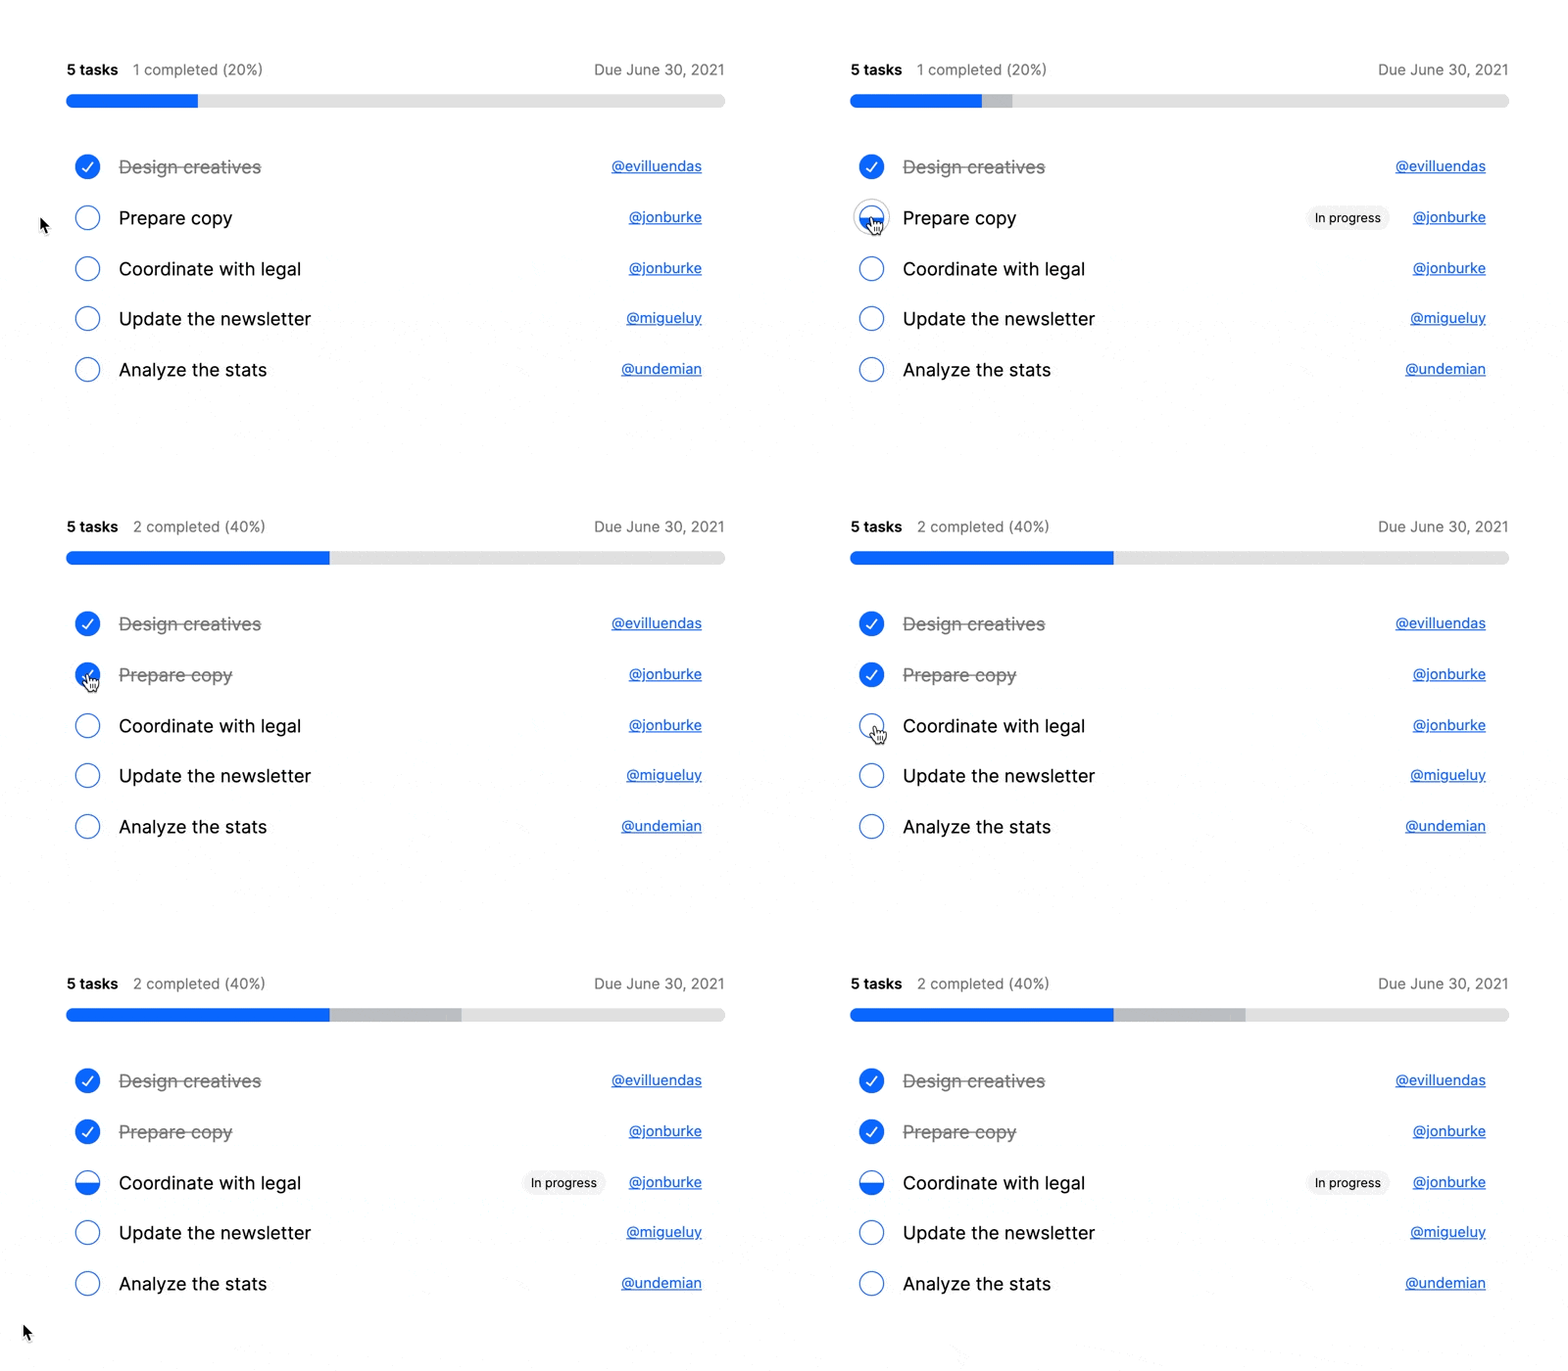
Tasks often add up to a bigger project. The Project Status block does what it says on the tin by tracking a group of tasks together.
Just add it to your post, optionally set a due date and assign tasks, and then update it as tasks are in progress and are completed:

Find advanced tips on the Task and Project Status blocks here.
3. Changelog block
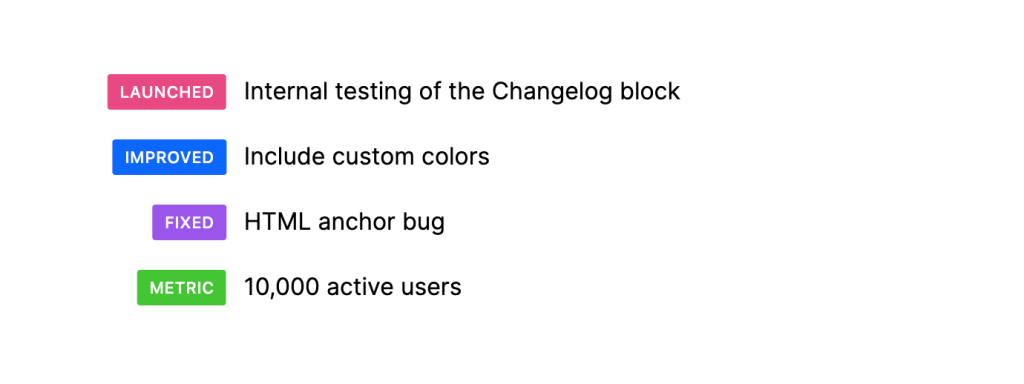
A changelog is a log or record of all notable changes made to a project. If you’d like to call out those changes visually, the Changelog block lets you assign colorful preset or custom labels, with a description for each:

At Automattic, we use the Changelog block to summarize the work status for a team or product. But P2’s Changelog block can really be used for any projects that you want to keep a record of.
Find advanced tips on the Changelog block here.
How to add project tracking blocks to your P2
Once you have a P2 up and running, you can add the Task, Project Status, or Changelog blocks to your post or page by either:
- Using the “+” button on the top left of your editor and typing the first few letters of the block name
- Typing “/” anywhere in the editor itself, and searching for the block that way by starting to type the name of the block
How do you P2?
Signing up for P2 is free. Take a look around our demo P2 to see some ways we use it at Automattic.
We’d love to hear how you use P2 and its project tracking blocks in your work. Let us know in the comments.


