Many users know WordPress for its flexible and customizable nature. Because of this, it makes sense that you’ll have lots of control to make the platform your own. The WordPress Settings screens give you almost every way to tailor how your site handles its under-the-hood functionality.
You’ll find everything you need within your WordPress dashboard. While the default screens offer a wealth of elements to alter, some plugins may also add its own options to the collection. While it could become overwhelming, it doesn’t have to be.
For this post, we’re going to look at the WordPress Settings screens, and show you what they all mean. From there, we’ll give you a quick checklist of considerations to make for a brand new site.
Why Your First Task Should Be to Customize the WordPress Settings Screens
A brand new WordPress install has full-functionality from the off. Though, you’ll have some work to do in order to personalize the platform. This is because a default install has to appeal to a broad number of users. What’s more, one of the key points of WordPress is that you’ll expand it using themes and plugins.
Regardless, one way you can set up some technical optimizations is to customize the WordPress Settings pages. You can find the link to each screen under the Settings link in the dashboard sidebar:
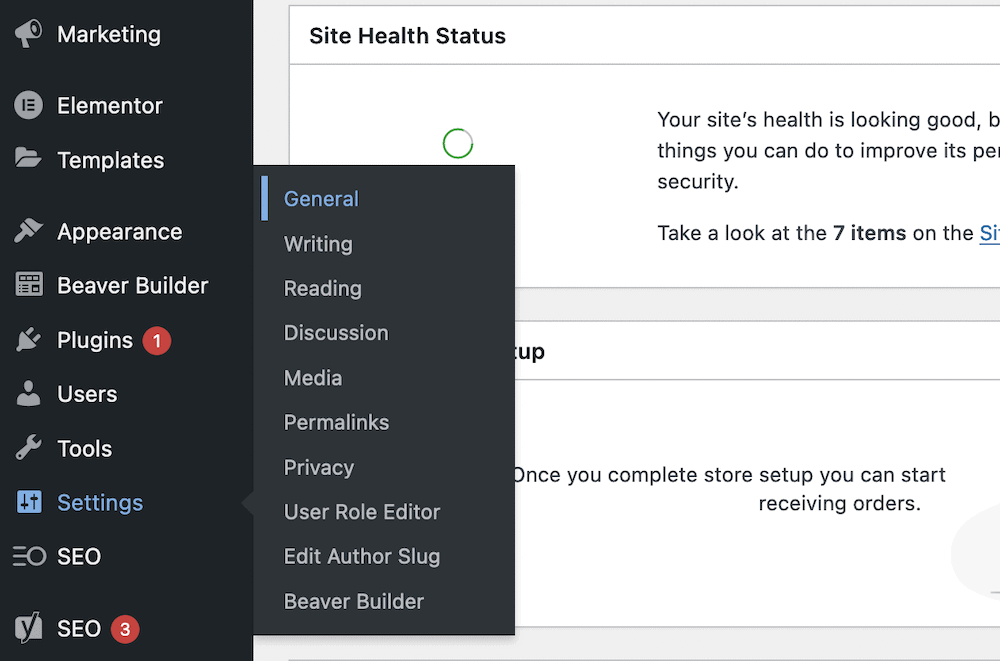
While there are seven default pages, other themes and plugins may also add settings pages here. It makes sense, although it’s not an obligatory standard for developers.
You’ll also find that a default WordPress installation needs some defined tweaks in order to give your site a good start. In fact, you may change these settings several times while you develop your site, although you’ll change things less when the site is live.
As such, we believe that working with your WordPress settings is the first task you should carry out before anything else. Over the next few sections, we’ll show you why (and how).
Navigating the WordPress Settings Pages
While there could be custom and third-party settings pages on your WordPress dashboard, we’re going to focus on those included in a default WordPress installation:
- General. This lets you alter basic information for your site, such as the site’s title and the date format.
- Writing. You’ll use this screen to set a few options related to posting content.
- Reading. You’ll come to this screen a few times, as it helps your users see the right content on your site.
- Discussion. There are a wealth of options here, all related to commenting and moderation.
- Media. In its default format, this page has few yet essential options sizing and organizing image uploads.
- Permalinks. This screen lets you set a default permalink structure. As such, it’s one of the first you’ll come to.
- Privacy. Here, you’ll work with your privacy policy settings, which is relevant for modern sites.
After we finish with the explanations, we’re going to give you a quick checklist in case you’re unsure where to start with your own WordPress settings.
1. General
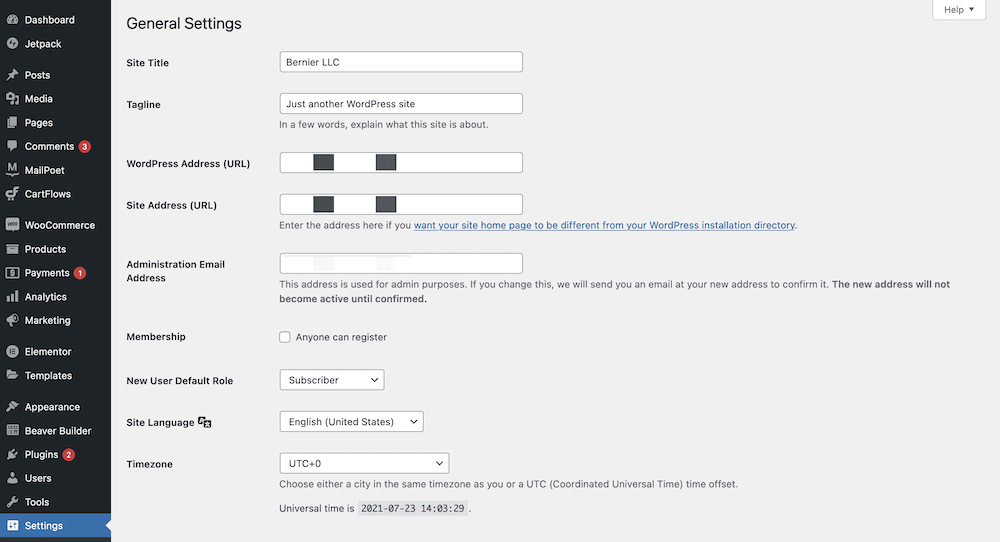
The Settings > General screen is one of a few ‘set-and-forget’ pages within the whole WordPress settings, and the options here will be crucial for a new site.
As an aside, lots of the WordPress settings pages could do with a rename, as they’re not descriptive enough. The General screen doesn’t give justice to how these options represent core settings.
There are six rough section here, and the first lets you set your site’s title and tagline:
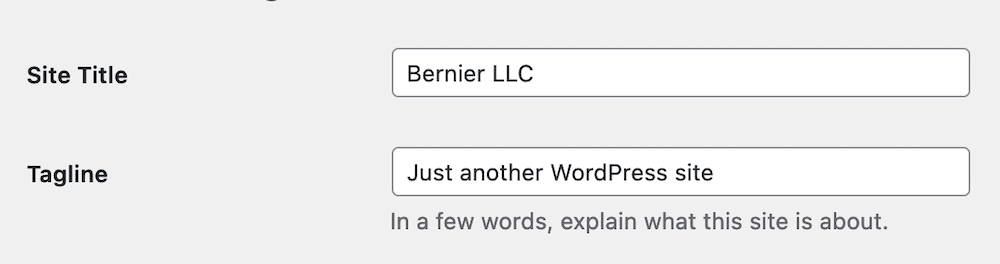
Note that for lots of themes, the tagline won’t display – in some cases you won’t even see the site’s title. Though, we’d still recommend filling this in, as (again depending on your theme), they may still feature in your HTML. As such, they will be good for your Search Engine Optimization (SEO).
You’ll find lots of additional guidance for some of the fields too, although every screen is intuitive and almost self-explanatory. For another example of this, check out the URL settings in the next section:
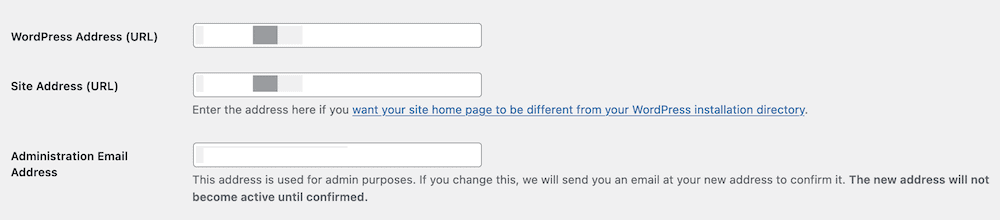
There are clear explanations for the two fields that need it. In short, the WordPress Address (URL) and Site Address (URL) should be the same in most cases. In fact, you may not need to touch this at all unless you’re working with Secure Sockets Layers (SSL). Even then, a plugin such as Really Simple SSL can alter these fields for you in the correct way.
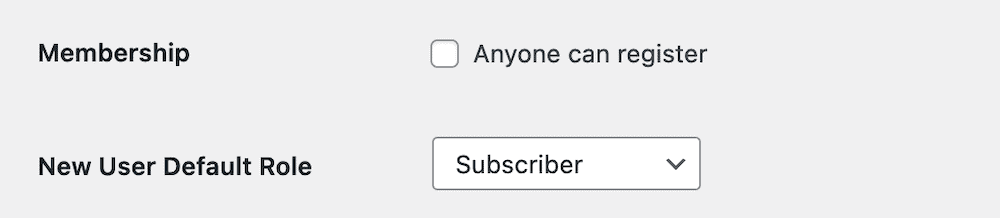
The next couple of options let you choose whether anyone can register on your site, and what the default user role should be for new users:
From there, we get into core, basic usability settings – a default site language, and the date and time format:
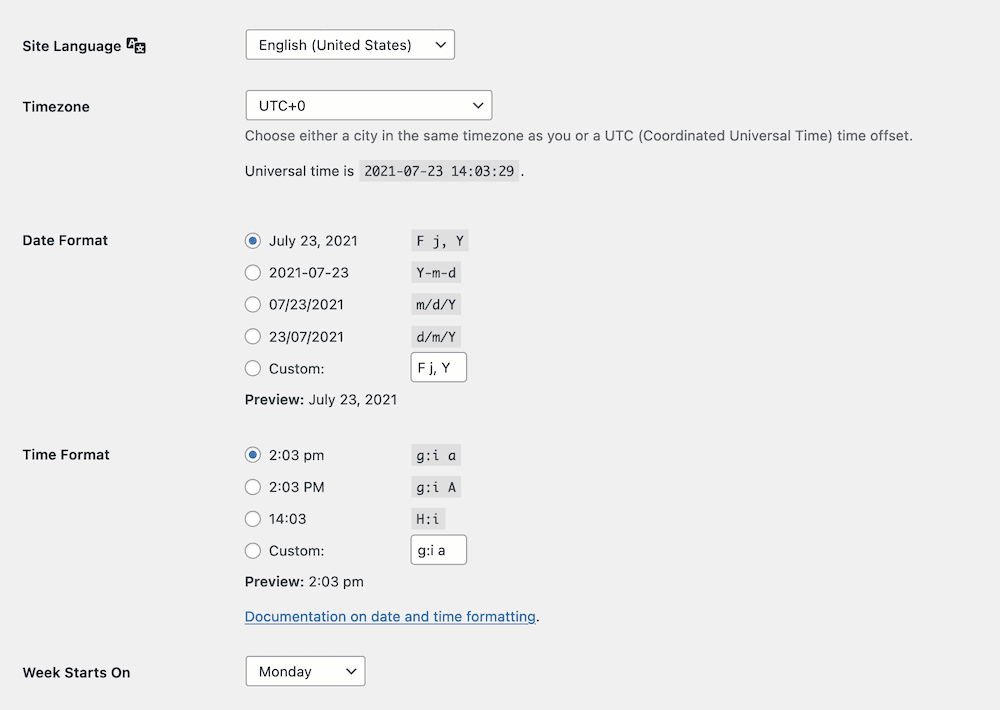
You have a few radio buttons to select your preferred settings here, and you’ll also want to make sure you set the right beginning for day of the week, based on your own needs.
Note that you can also set a custom date and time format. The syntax of this is simple, and if you have something specific in mind, it’s worth reading the basics on setting custom formats.
2. Writing
Moving on, we have the most unused screen with the WordPress settings (in our subjective opinion). In most cases, you won’t touch any options in this screen, nor ever have a need to.
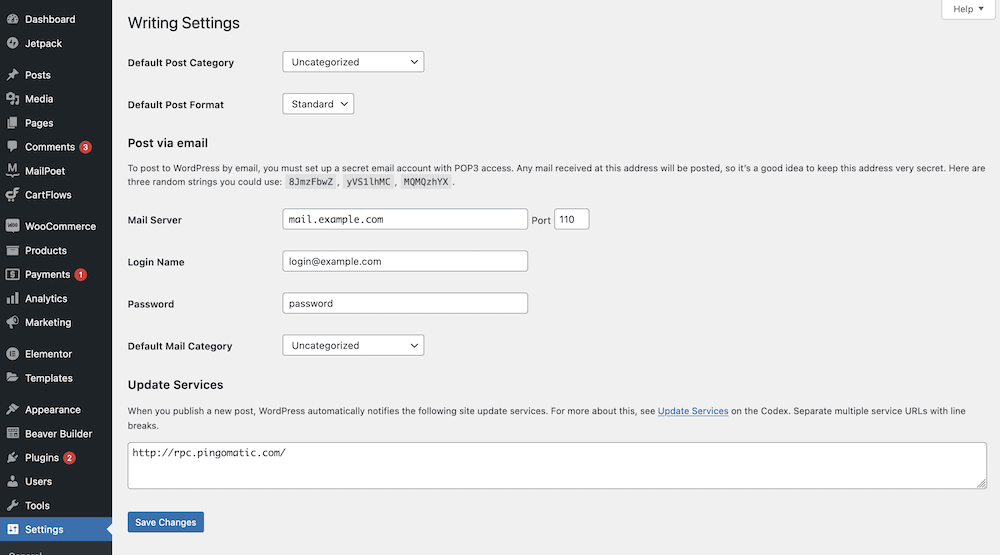
This screen has more defined sections than the General page. First, you’ll set a default post category and format:
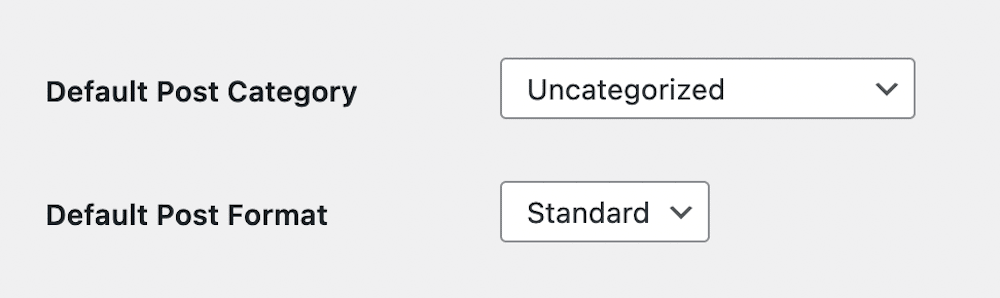
It could be that your theme doesn’t support post formats at all, so this option may be redundant. What’s more, a new install shouldn’t have any defined categories, so this option won’t be relevant right now either.
We’re going to go out on a limb and suggest that few users also post content through email, which is the focus of the next section.
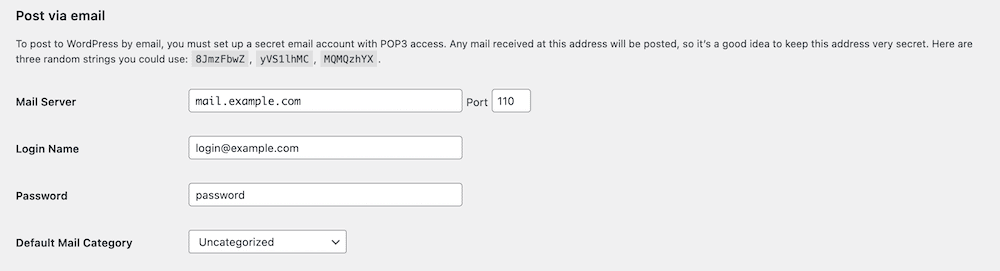
Though, if you do, here is where you set it up.
The final section here is related to update services. In other words, WordPress will notify the named sites when you update yours. There’s a full article on the WordPress support pages, although most leave the default intact. Regardless, your web host may disable PHP for this particular feature anyway.
3. Reading
The Reading Settings page provides a few options, but these have much more use than the previous page. In most of the cases, these options here dictate the format and display of your homepage, with regard to its content.
For example, you can choose whether the homepage uses a static page – i.e. one that you’ve created for the purpose – or a list of blog posts:
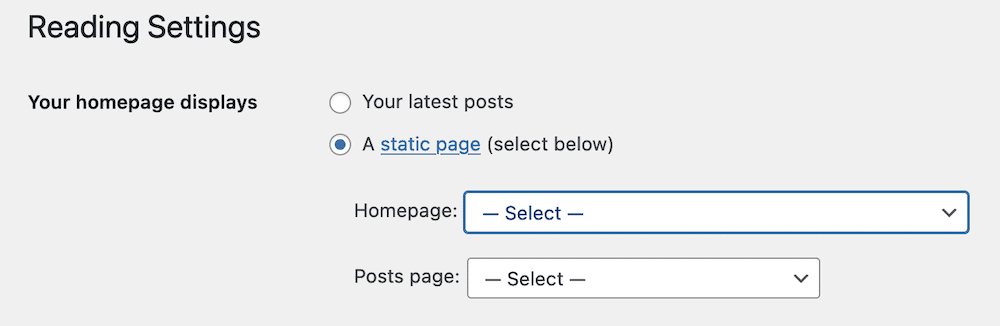
We’d say that most business-focused sites will have a dedicated homepage rather than a list of blog posts. Though, you’ll still need to set a dedicated Posts page, in order for WordPress to direct users to your blog archive.
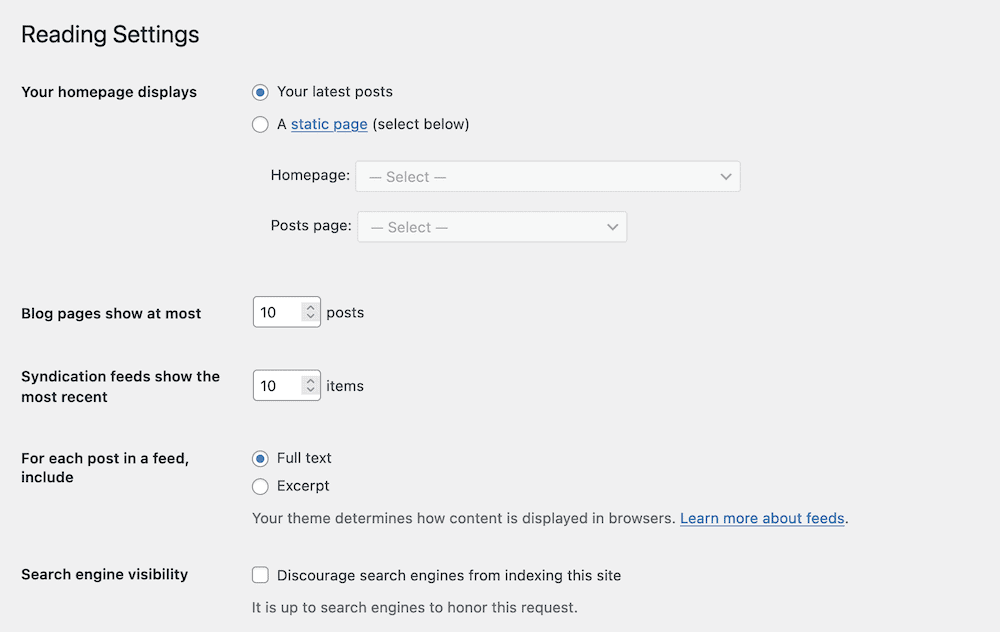
Speaking of which, the next few options dictate how many posts will display on those archive pages (or in the feeds you embed and offer).
This is complete personal preference, as is whether each post displays the entire content or an excerpt. Even for dedicated blogs, you’ll want to make the best decision for you, rather than trying to cram all of your content onto the page.
The final setting here determines the visibility of your website in search engines. This is important for new live sites (or staging environments) because you don’t want a search engine to index an unfinished site. Even so, there’s no guarantee that a search engine will honor the request (although it’s often is). This is another reason to work with a local environment before pushing the site live.
4. Discussion
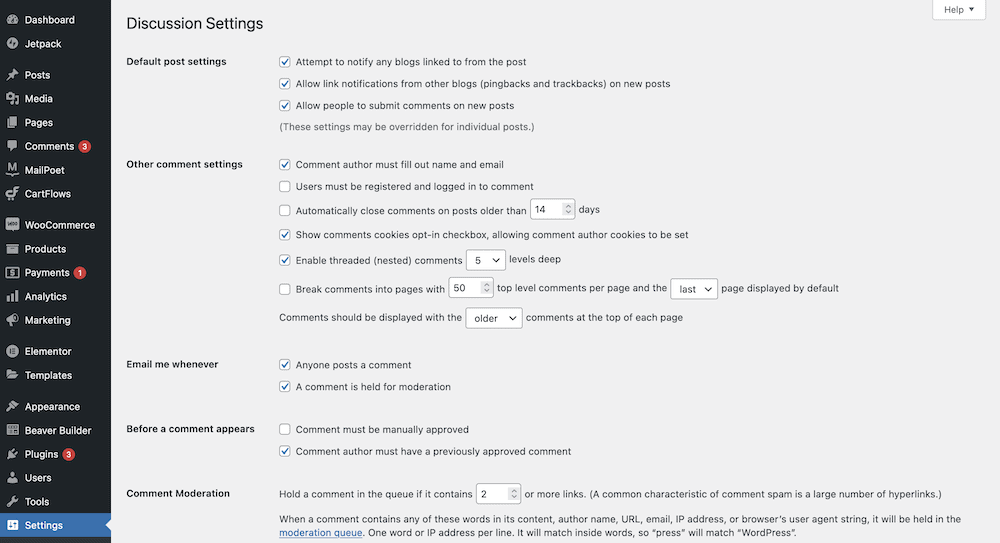
The Discussion screen is the most sprawling and feature-heavy of every Settings page. This is where you work on comments, specifically how they display, and how a user interacts with the comments sections on each post.
For example, you have options to insist commenters fill out their name and email, whether comments need approval before they display, and a number of moderation settings:
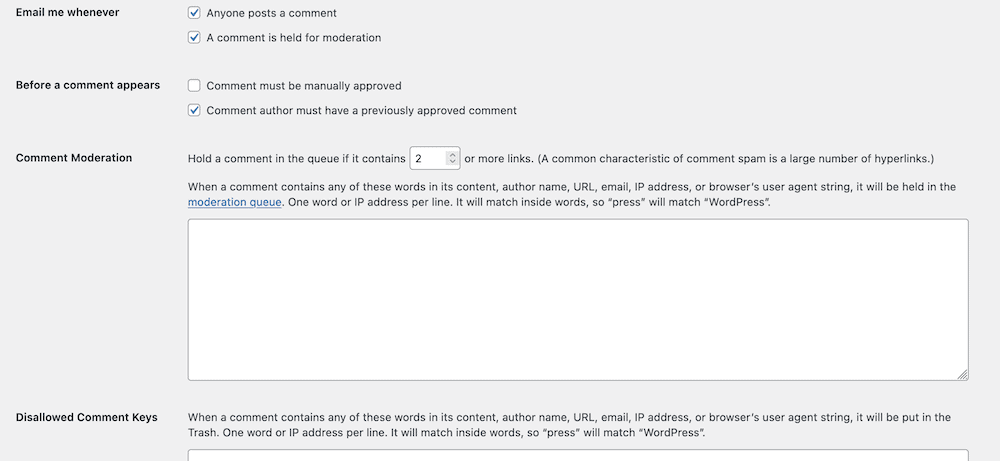
This is a powerful screen, and you can tailor your comments sections without the need for additional plugins or code.
There’s also a section to setup user avatars, including an age restriction setting, and a default avatar for users without one:
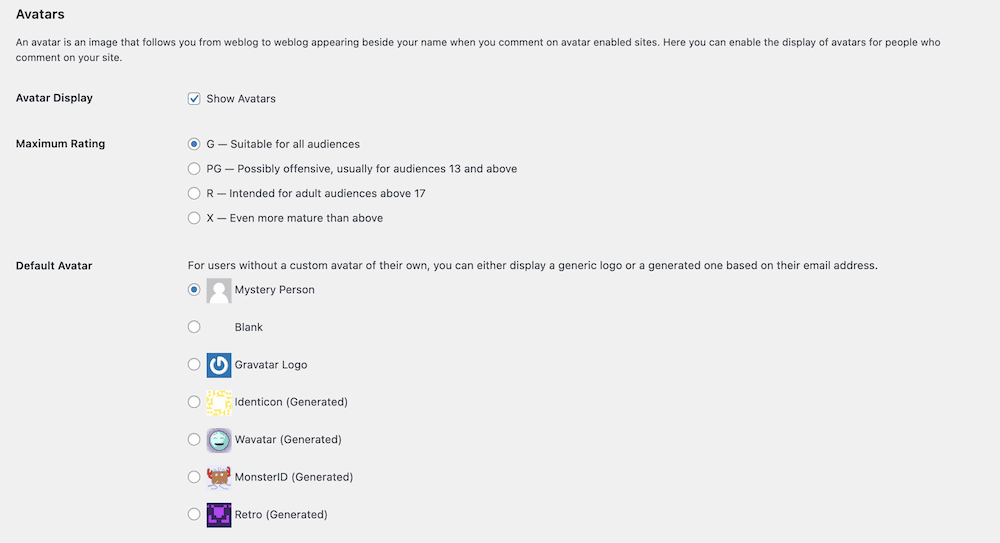
Once you dial in the basic settings, you will likely return to this screen and make the comments sections your own. After all, they represent a key area of engagement on your site, so deserve your attention.
5. Media
Your Media settings is another page that doesn’t have lots of ‘foot traffic’, but it can help you organize and size your images better.
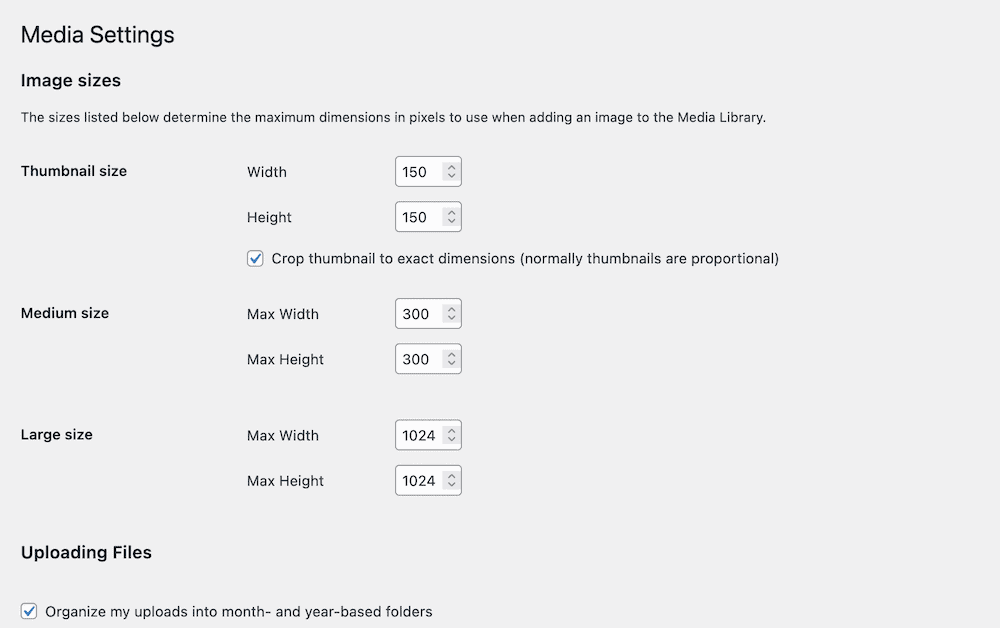
For a default installation, you’ll have three different sets of dimensions – Thumbnail, Medium, and Large. These used to correlate to the drop-down settings you’d see in the Classic Editor, though this isn’t the case now as that drop-down doesn’t exist.
Being honest, this page could do with a refresh, although the option to organize your images into date-based folders is a valuable way to keep things organized. We’d encourage you to use this as a default option.
6. Permalinks
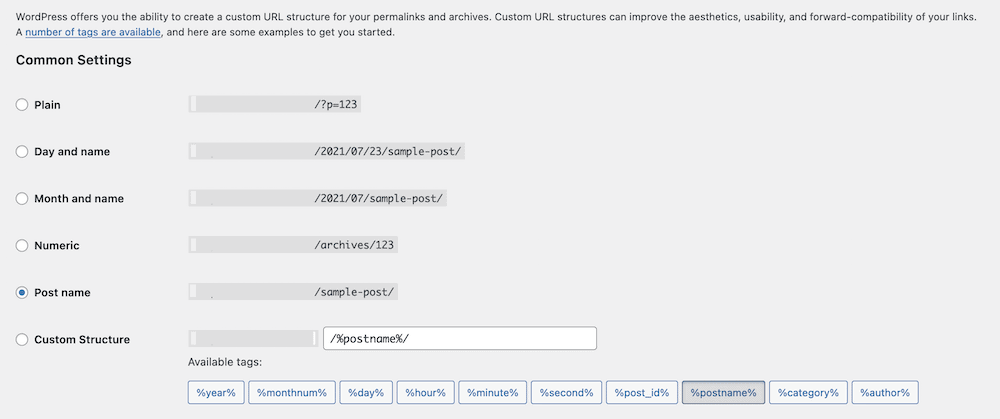
The Permalinks page is one that you’ll often set at first, then leave alone for the entire lifetime of your site. This is because making changes of this nature to a live site can hammer your SEO and search visibility. In fact, the screen includes these warnings at the top if you use the Yoast SEO plugin:

We touch on which format to pick for your permalinks in another article. Though, it’s worth noting that the ideal setting is the default – Post name. It’s a readable, typeable, evergreen link that should contain the focus keyword.
In a default installation, the Optional section lets you set specific permalink structures for your taxonomies. If you have a site with lots of taxonomies, and it’s important to have specific structures in place, here is where you do it. WooCommerce users will also find that there are options to create product permalink structures too:
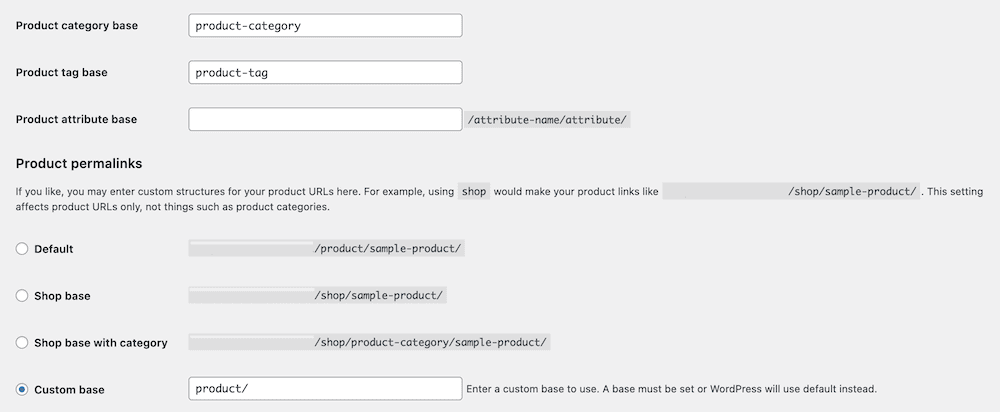
This is another example of how the WordPress settings pages can be dynamic with regard to your installed themes and plugins.
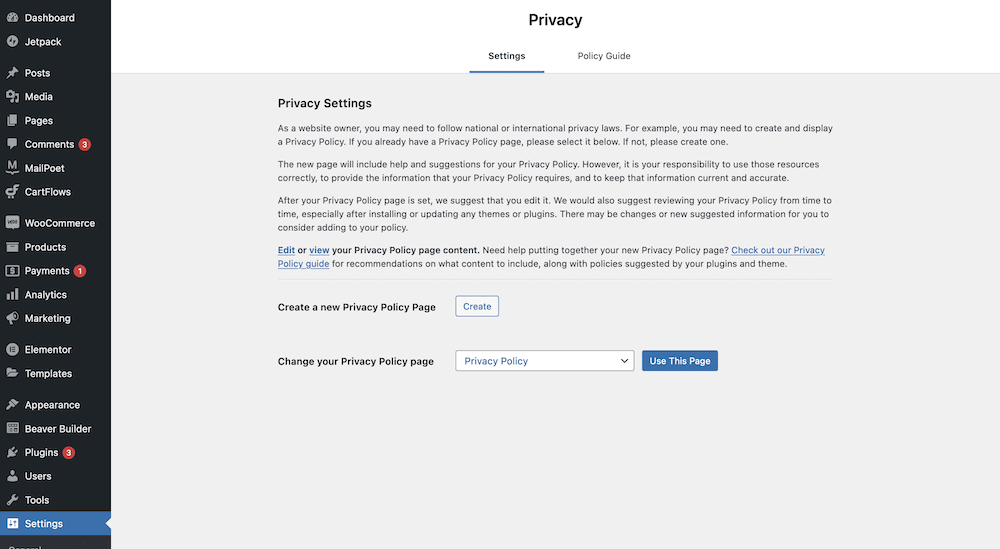
7. Privacy
We won’t spend too long on this screen, because it’s something we cover in another post on the blog. That post looks into how to set up a privacy policy using the built-in WordPress functionality.
You get two different sections here. One lets you create and set a new privacy policy page…
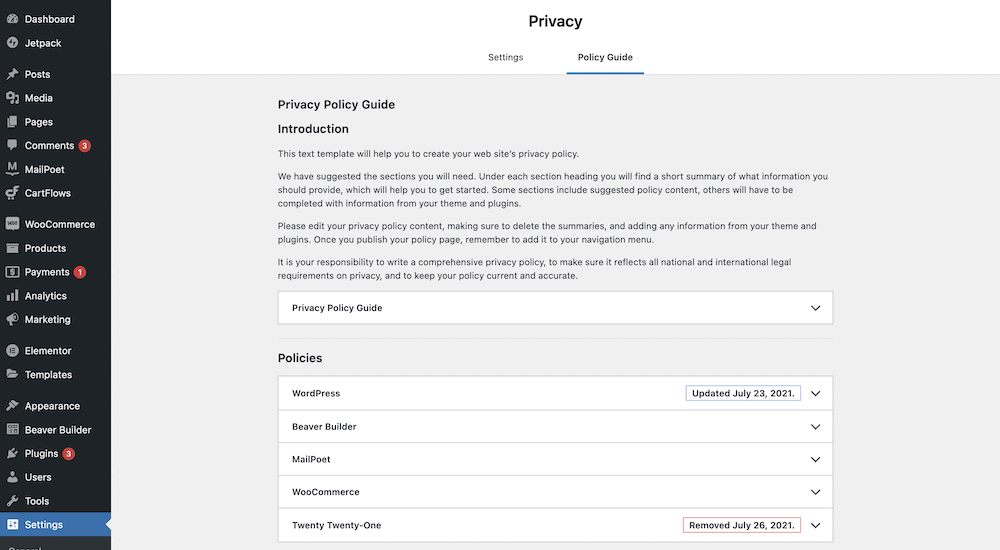
…while the other gives you a nice way to view your complete policy, and the individual components. The icing on the cake here is the Policies section. This lets you view the suggested policy copy for specific plugins and themes.
The suggested workflow here is to copy the text from each section, and paste it into your dedicated privacy policy page.
A New User’s Checklist for the WordPress Settings Pages
Once you have a solid foundation on what each screen and setting does, you’ll want to figure out whether some should get your attention straight away. In fact, we’d suggest there are some options you’ll want to set before any other – and some you won’t ever need to touch.
Let’s give you a checklist! This is how we’d approach the WordPress settings for a brand new site, based on a default installation with no other plugins or themes. This is because you’ll want to make sure some of these settings are active before you begin work. Other options further down the list are more dynamic. As such, you might choose to carry out some initial settings, then refine them later:
- Head to the Settings > Reading page, and toggle the Search engine visibility setting to discourage search engines from linking to your site.
- Next, go to the Settings > Permalinks page, and make sure you’re using the Post name setting.
- We’d then go to the Settings > Discussion page and switch off the Attempt to notify any blogs linked to from the post, and Allow link notifications from other blogs (pingbacks and trackbacks) on new posts within the Default post settings section.
- Next, go back to the Settings > Reading screen, and choose the right option for your site under the Your homepage displays setting.
At this point, you’re free to change anything else here that fits your requirements. For example, you may want to change the date and time formats in the General screen, or lock down comments sections within the Discussion settings. Though, ticking off the first three bullets in our checklist means you have a good foundation for the rest of the settings.
Wrapping Up
When you first spin up a WordPress website, there’s a temptation to dive into customizing your site’s look and feel. Though, there are a few options to tweak before you move onto the aestethics of your site.
Your WordPress settings are a treasure trove of options to help you set up how your site deals with interaction, its media, and more. We’d recommend looking at some of these options before anything else – they could be vital to the usability of your site.
Do you like to dig into the WordPress settings, and if so, which screen do you head to first? Let us know in the comments section below!