Optimizing your images on your website is often necessary in order to keep your website load times low. In addition to increased performance, image compression helps with server resource usage. The EWWW Image Optimizer plugin for WordPress provides image compression and more. This article will guide you through installing, understanding the settings, and using the plugin to optimize the images on your site.
- Installing the EWWW Image Optimizer Plugin
- Understanding the Settings
- Optimizing Images
Improve the performance and security of your WordPress website with our WordPress hosting plans.
![]() Web Application Firewalls
Web Application Firewalls ![]() Free SSL Certificates
Free SSL Certificates ![]() Advanced Server Caching
Advanced Server Caching
View WordPress Hosting Plans
Installing the EWWW Image Optimizer Plugin
NOTE: This article is based on version 6.0 of the plugin.
Current version: 6.0.0
Active Installations: 800,000+
WordPress versions: 5.3 or higher
PHP version supported: 5.6 or higher
- Log into your WordPress Administrator dashboard.
- Click on Plugins, then click on Add New.
- In the search field, type EWWW Image Optimizer.
- Click on the Install button. When the installation completes click on Activate to complete the plugin installation.
Initial Settings Options
- When the installation is complete you will be given an option for some of the settings to be set for you automatically. You can also choose to set them up yourself by on the link labeled “I know what I’m doing, leave me alone!”
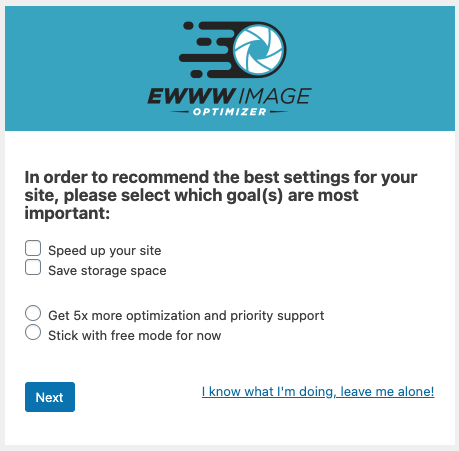
- If you click on “Get 5x more optimization…” you will be directed to the premium version of the plugin and you will need to make a purchase. This article focuses on the free version, so click on “Stick with free mode for now.”.
- Select the option that applies to your website: Speed up your site or Save storage space.
- Click on Next.
- Based on your selection you then be given some automatically assigned settings, but you will have the option to confirm them.

The settings listed here are the basic ones. They include (as per the screenshot):
Remove Metadata – makes the image smaller, but also removes important image info.
Lazy Load – keeps the image from loading until it is viewed directly in the browser window. Images not view are not pre-loaded.
WebP Conversion – converts the image to a better format (WebP) for compression and image fidelity.
Max Width and Max Height – provides a suggested maximum width and maximum height. Uploaded images are resized to that size.
Embedded Help – allows you to access documentation or support from the WordPress dashboard.
Anonymous Reporting – usage data sent to the plugin developers.
- Click on Save Settings to save your changes.
- When the settings are saved you’ll see a summary like this:
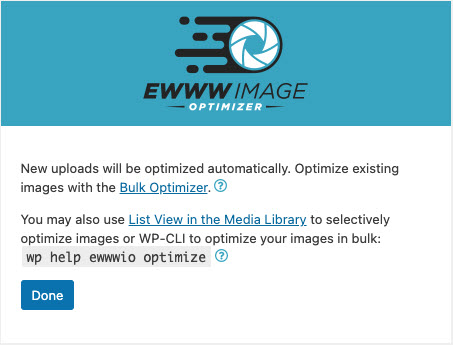
Click on Done and you will then see the Settings screen for the plugin.
Understanding the Settings for EWWW Image Optimizer
In order to break down the settings, we will be breaking them up into two parts based on what’s visible when viewing the settings screen.
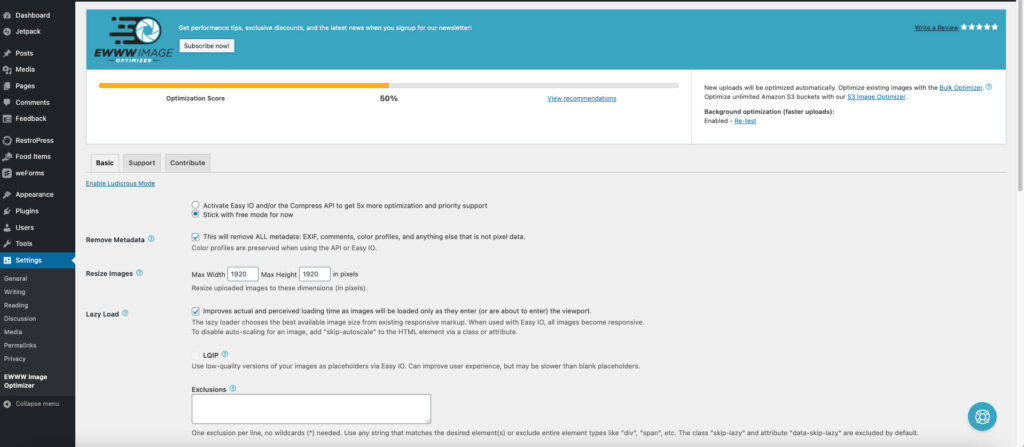
The settings for the plugin start with an optimization score and there’s a link on the graph for recommendations. Though, it’s generally just trying to get you to purchase the premium version.
On the right of the graph, you will see a sentence telling you about new uploads being automatically optimized. You’re also given the option to use the Bulk Optimizer to optimize all existing images. The S3 Image optimizer is a premium version that requires you to pay for it before you can use it. You can also click on the Re-test option to check your site optimization score.
Enable Ludicrous Mode
Under the 3 tabs labeled Basic, Support, and Contribute is a link that is labeled Enable Ludicrous Mode. This option enables advanced options for the plugin. The options are quite extensive and every setting has a help link that documents it.
This article only covers the basic settings. The advanced settings gives you an enormous amount of granular control of the application, but it’s not necessary unless you want full control over many of the compression and conversion settings provided by EWWW Image Optimizer.
The basic settings were described above, but to recap, they include:
- Remove Metadata
- Resize Images
- Lazy Load
- WebP Conversion
In addition to these settings, you will see an option for WebP Delivery Method. Rewrite rules required for the proper operation of the plugin is provided. Simply click on the Insert Rewrite Rules button to add them to your website configuration .htaccess file. Documentation is also available for users hosting on an NGINX server.
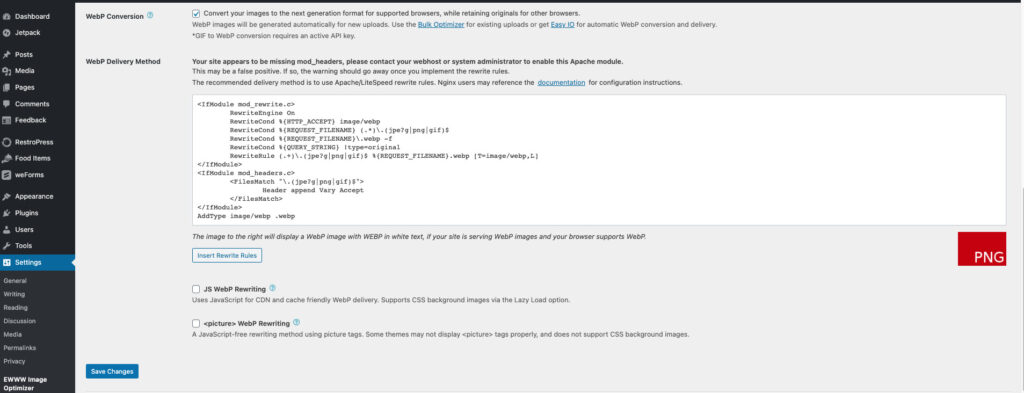
Under the provided code you will see the options for:
JS WebP Rewriting
Uses JavaScript for CDN and cache-friendly WebP delivery. Supports CSS background images via the Lazy Load option.
<picture> WebP Rewriting
A JavaScript-free rewriting method using picture tags. Some themes may not display <picture> tags properly and does not support CSS background images.
If you made changes, click on the Save Changes button at the bottom of the screen to reserve your most recent changes.
Optimizing Images
Once you have all the settings properly configured then you can let the plugin simply work on its own. Any images added to your site will be automatically optimized.
However, you can force an optimization of existing images using the Bulk Optimization option. You can either use the link on the top right-hand corner of the Settings page or go to Media (in the WordPress Administrator dashboard menu) and click on the option in the sub-menu that appears labeled Bulk Optimize.
To start the optimization, click on the button labeled Scan for unoptimized images.
You will also see options on the far right side of the Bulk Optimize page. They include:
- Force re-optimization – forces the optimization of all images on the site (images already optimized will be skipped)
- WebP only – images will only be optimized in the WebP format
- Pause between images – pauses the optimization between images; helpful when optimizing on a busy server
The EWWW Image Optimizer also has a pro version that starts at $7 a month. You get better compression and more options for saving your files, and 200 GB of bandwidth. You get more bandwidth and support for multiple sites in the higher tier subscription plans.
To learn more about WordPress you can visit our WordPress Educational Channel. For more information, make sure to view our articles on WordPress plugins,