Spring Cloud is a versatile framework for building Java applications in various cloud environments. Today, we’ll explore how to use two components of the framework – Spring Cloud Gateway and Discovery Service (aka Spring Cloud Netflix) – for easy routing of user requests between your Java microservices.
We’ll build two microservices, register them with a Discovery Service instance, and use the Cloud Gateway for routing requests to a specific microservice instance. The cool thing is that the Cloud Gateway will also be registered with the Discovery Service and will use the latter to resolve a microservice name into an actual connection endpoint.
So, whether you prefer reading or watching, let’s walk through this practical example:
[embedded content]Creating Sample Microservices
Imagine we’re creating an online service for a pizza company. There are two basic capabilities the service needs to support – customers can order a pizza online and then track the order status. To achieve this, let’s introduce two microservices – the Kitchen and the Tracker.
Kitchen Microservice
The Kitchen microservice allows customers to place pizza orders. Once an order is placed, it’ll hit the kitchen, and the chef will start cooking.
Let’s create a basic implementation for the purpose of testing Spring Cloud Gateway with the Discovery Service. This service is a Spring Boot web application with a REST controller that simply acknowledges an order.
@RequestMapping("/kitchen")
public class KitchenController { @PostMapping("/order") public ResponseEntity addNewOrder(@RequestParam("id") int id) { return ResponseEntity.ok("The order has been placed!"); }
}” data-lang=”text/x-java”>
@RestController
@RequestMapping("/kitchen")
public class KitchenController { @PostMapping("/order") public ResponseEntity<String> addNewOrder(@RequestParam("id") int id) { return ResponseEntity.ok("The order has been placed!"); }
}The service will be listening on port 8081, which is set in the application.properties file:
server.port=8081Once the microservice is started you can use curl or HTTPie to test that the REST endpoint works. We’ll be using HTTPie throughout the article:
http POST localhost:8081/kitchen/order id==1 HTTP/1.1 200 Connection: keep-alive
Content-Length: 26
Content-Type: text/plain;charset=UTF-8
Date: Thu, 03 Aug 2023 18:45:26 GMT
Keep-Alive: timeout=60 The order has been placed!
Tracker Microservice
Customers use the second microservice, the Tracker, to check their order status.
We’ll go the extra mile with this service implementation by supporting several order statuses, including ordered, baking, and delivering. Our mock implementation will randomly select one of these statuses:
@RequestMapping("/tracker")
public class TrackerController { @GetMapping("/status") public ResponseEntity getOrderStatus(@RequestParam("id") int orderId) { String[] status = { "Ordered", "Baking", "Delivering" }; Random rand = new Random(); return ResponseEntity.ok(status[rand.nextInt(status.length)]); }
}” data-lang=”text/x-java”>
@RestController
@RequestMapping("/tracker")
public class TrackerController { @GetMapping("/status") public ResponseEntity<String> getOrderStatus(@RequestParam("id") int orderId) { String[] status = { "Ordered", "Baking", "Delivering" }; Random rand = new Random(); return ResponseEntity.ok(status[rand.nextInt(status.length)]); }
}
The Tracker will be listening on port 8082, which is configured in the application.properties file:
server.port=8082Once the microservice is started, we can test it by sending the following GET request:
http GET localhost:8082/tracker/status id==1 HTTP/1.1 200 Connection: keep-alive
Content-Length: 10
Content-Type: text/plain;charset=UTF-8
Date: Thu, 03 Aug 2023 18:52:45 GMT
Keep-Alive: timeout=60 Delivering
Registering Microservices With Spring Cloud Discovery Service
Our next step is to register these two microservices with the Spring Cloud Discovery Service. But what exactly is a Discovery Service?
Discovery Service
The Discovery Service lets your microservices connect to each other using only their names. For instance, if Tracker needs to connect to Kitchen, the Discovery Service gives Tracker the IP addresses of Kitchen’s available instances. This list can change – you can add or remove Kitchen instances as needed, and the Discovery Service always keeps the updated list of active endpoints.
There are several ways to start a Discovery Service server instance. One of the options is to use the Spring Initializr website to generate a Spring Boot project with the Eureka Server dependency.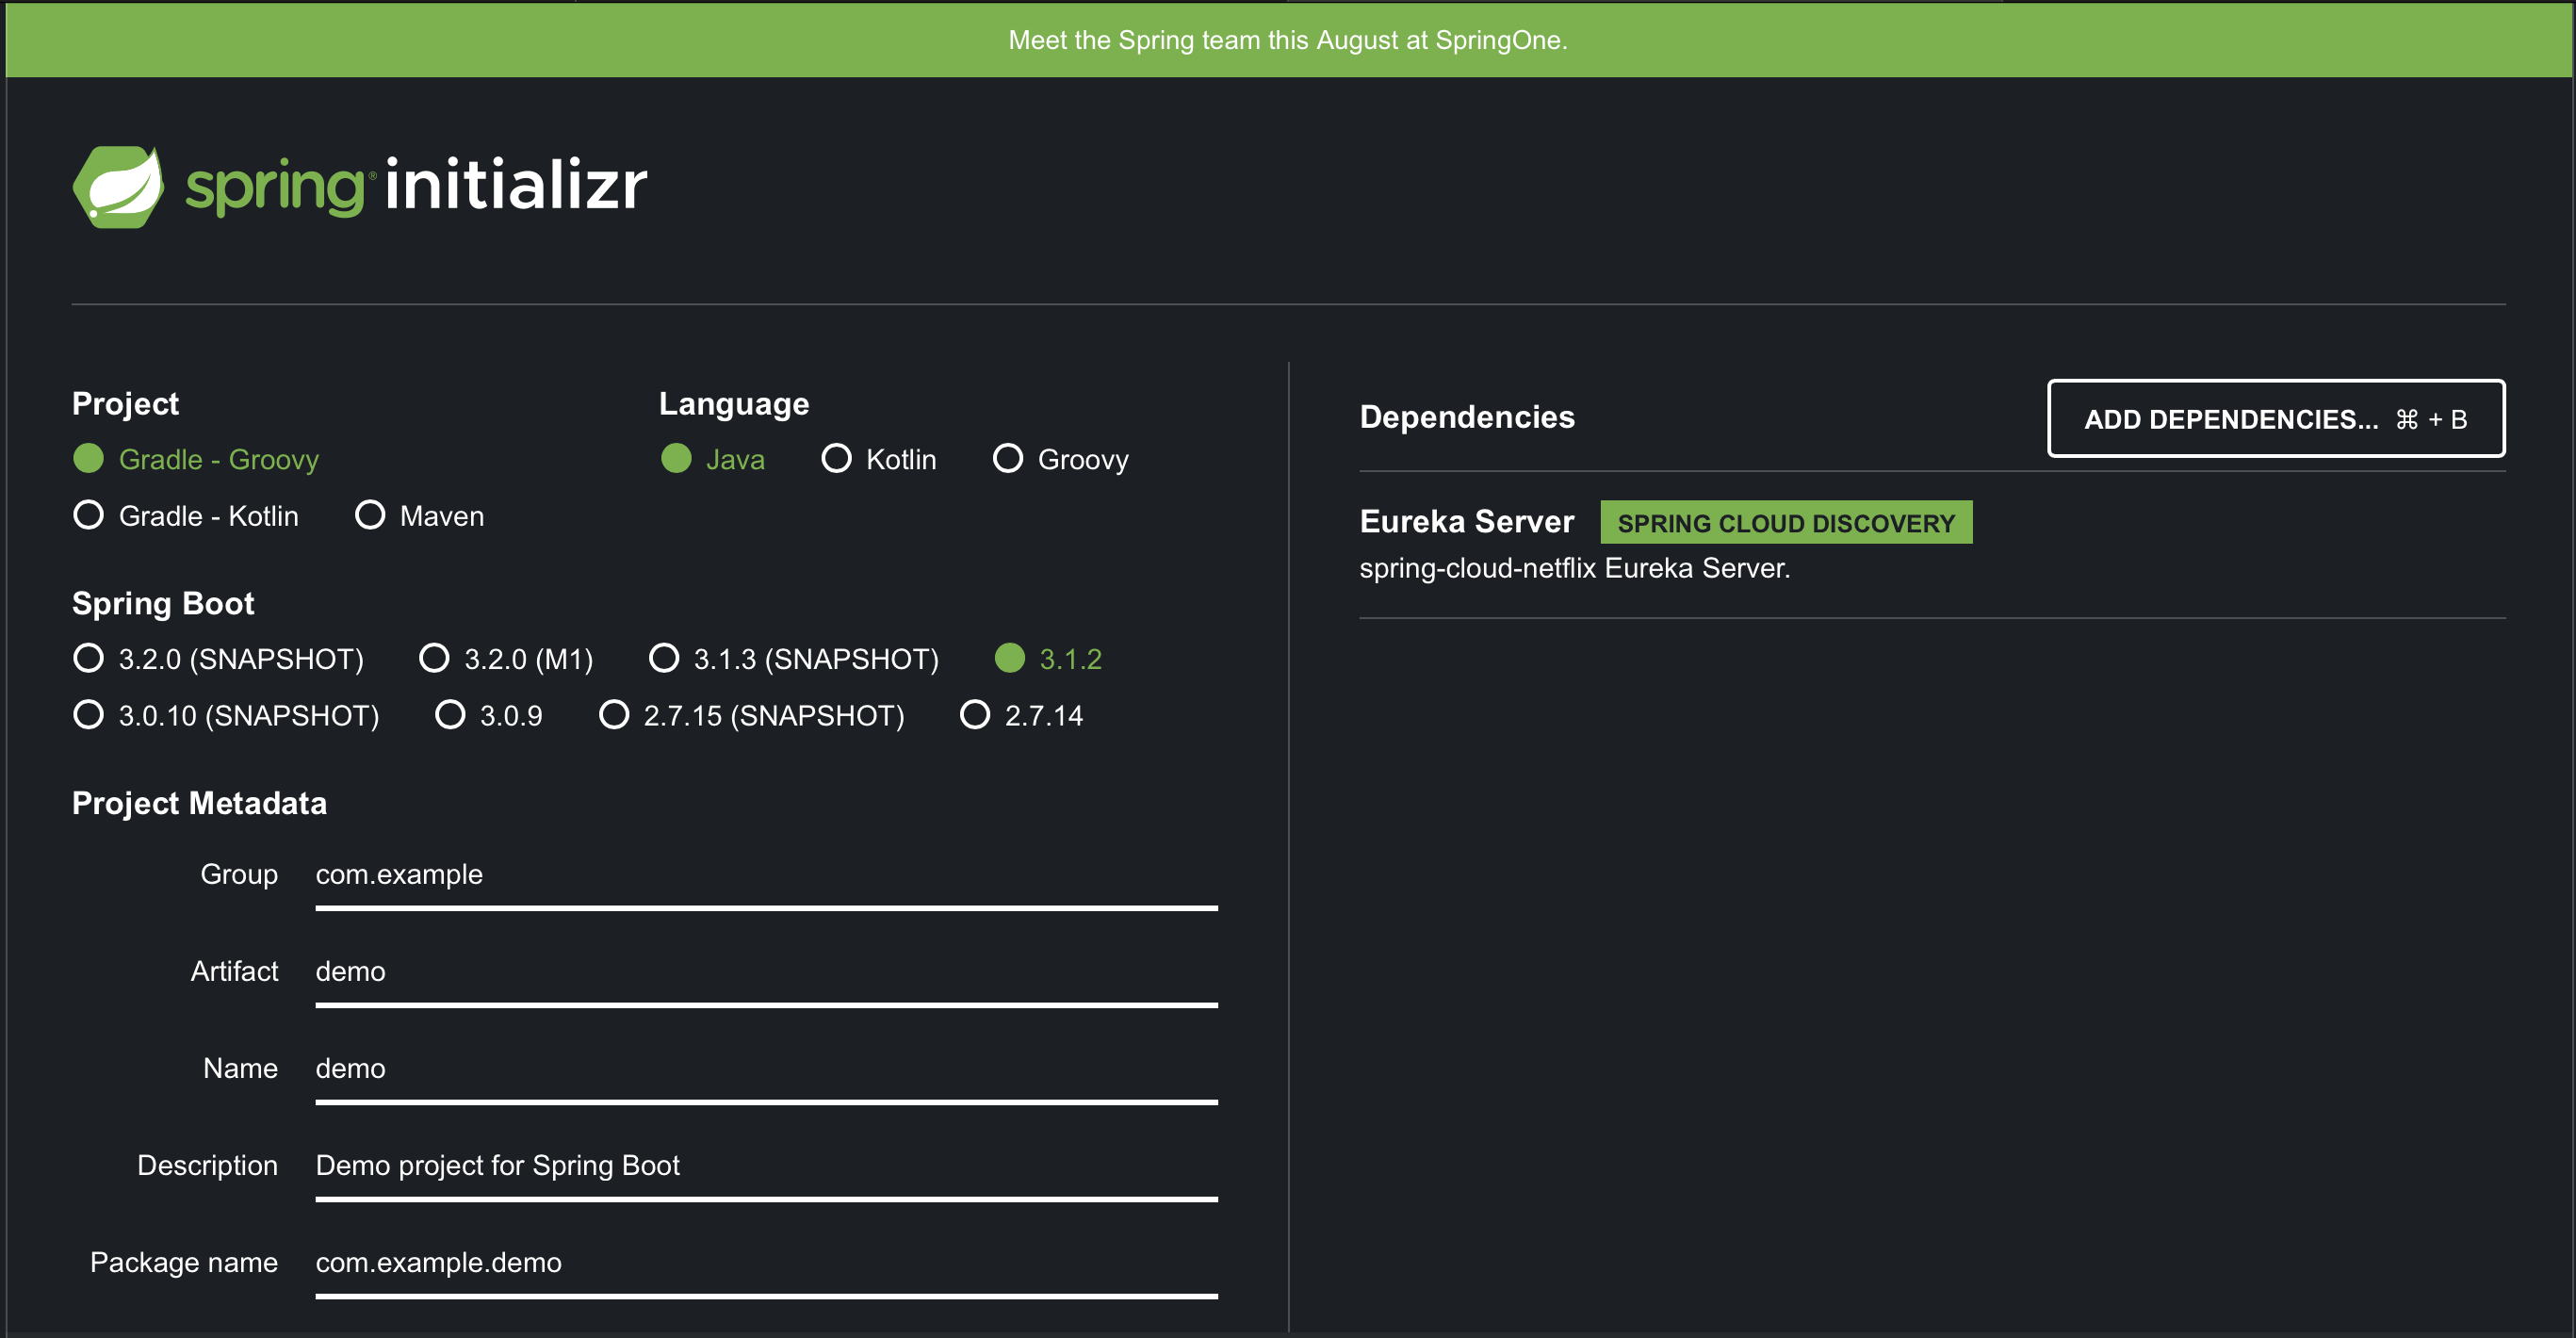
If you choose that method, the generated project will come with the following class that initiates a server instance of the Discovery Service:
@SpringBootApplication
@EnableEurekaServer
public class DiscoveryServerApplication { public static void main(String[] args) { SpringApplication.run(DiscoveryServerApplication.class, args); }
}
By default, the server listens on port 8761. So, once we start the server, we can visit localhost:8761 to view the Discovery Service dashboard:
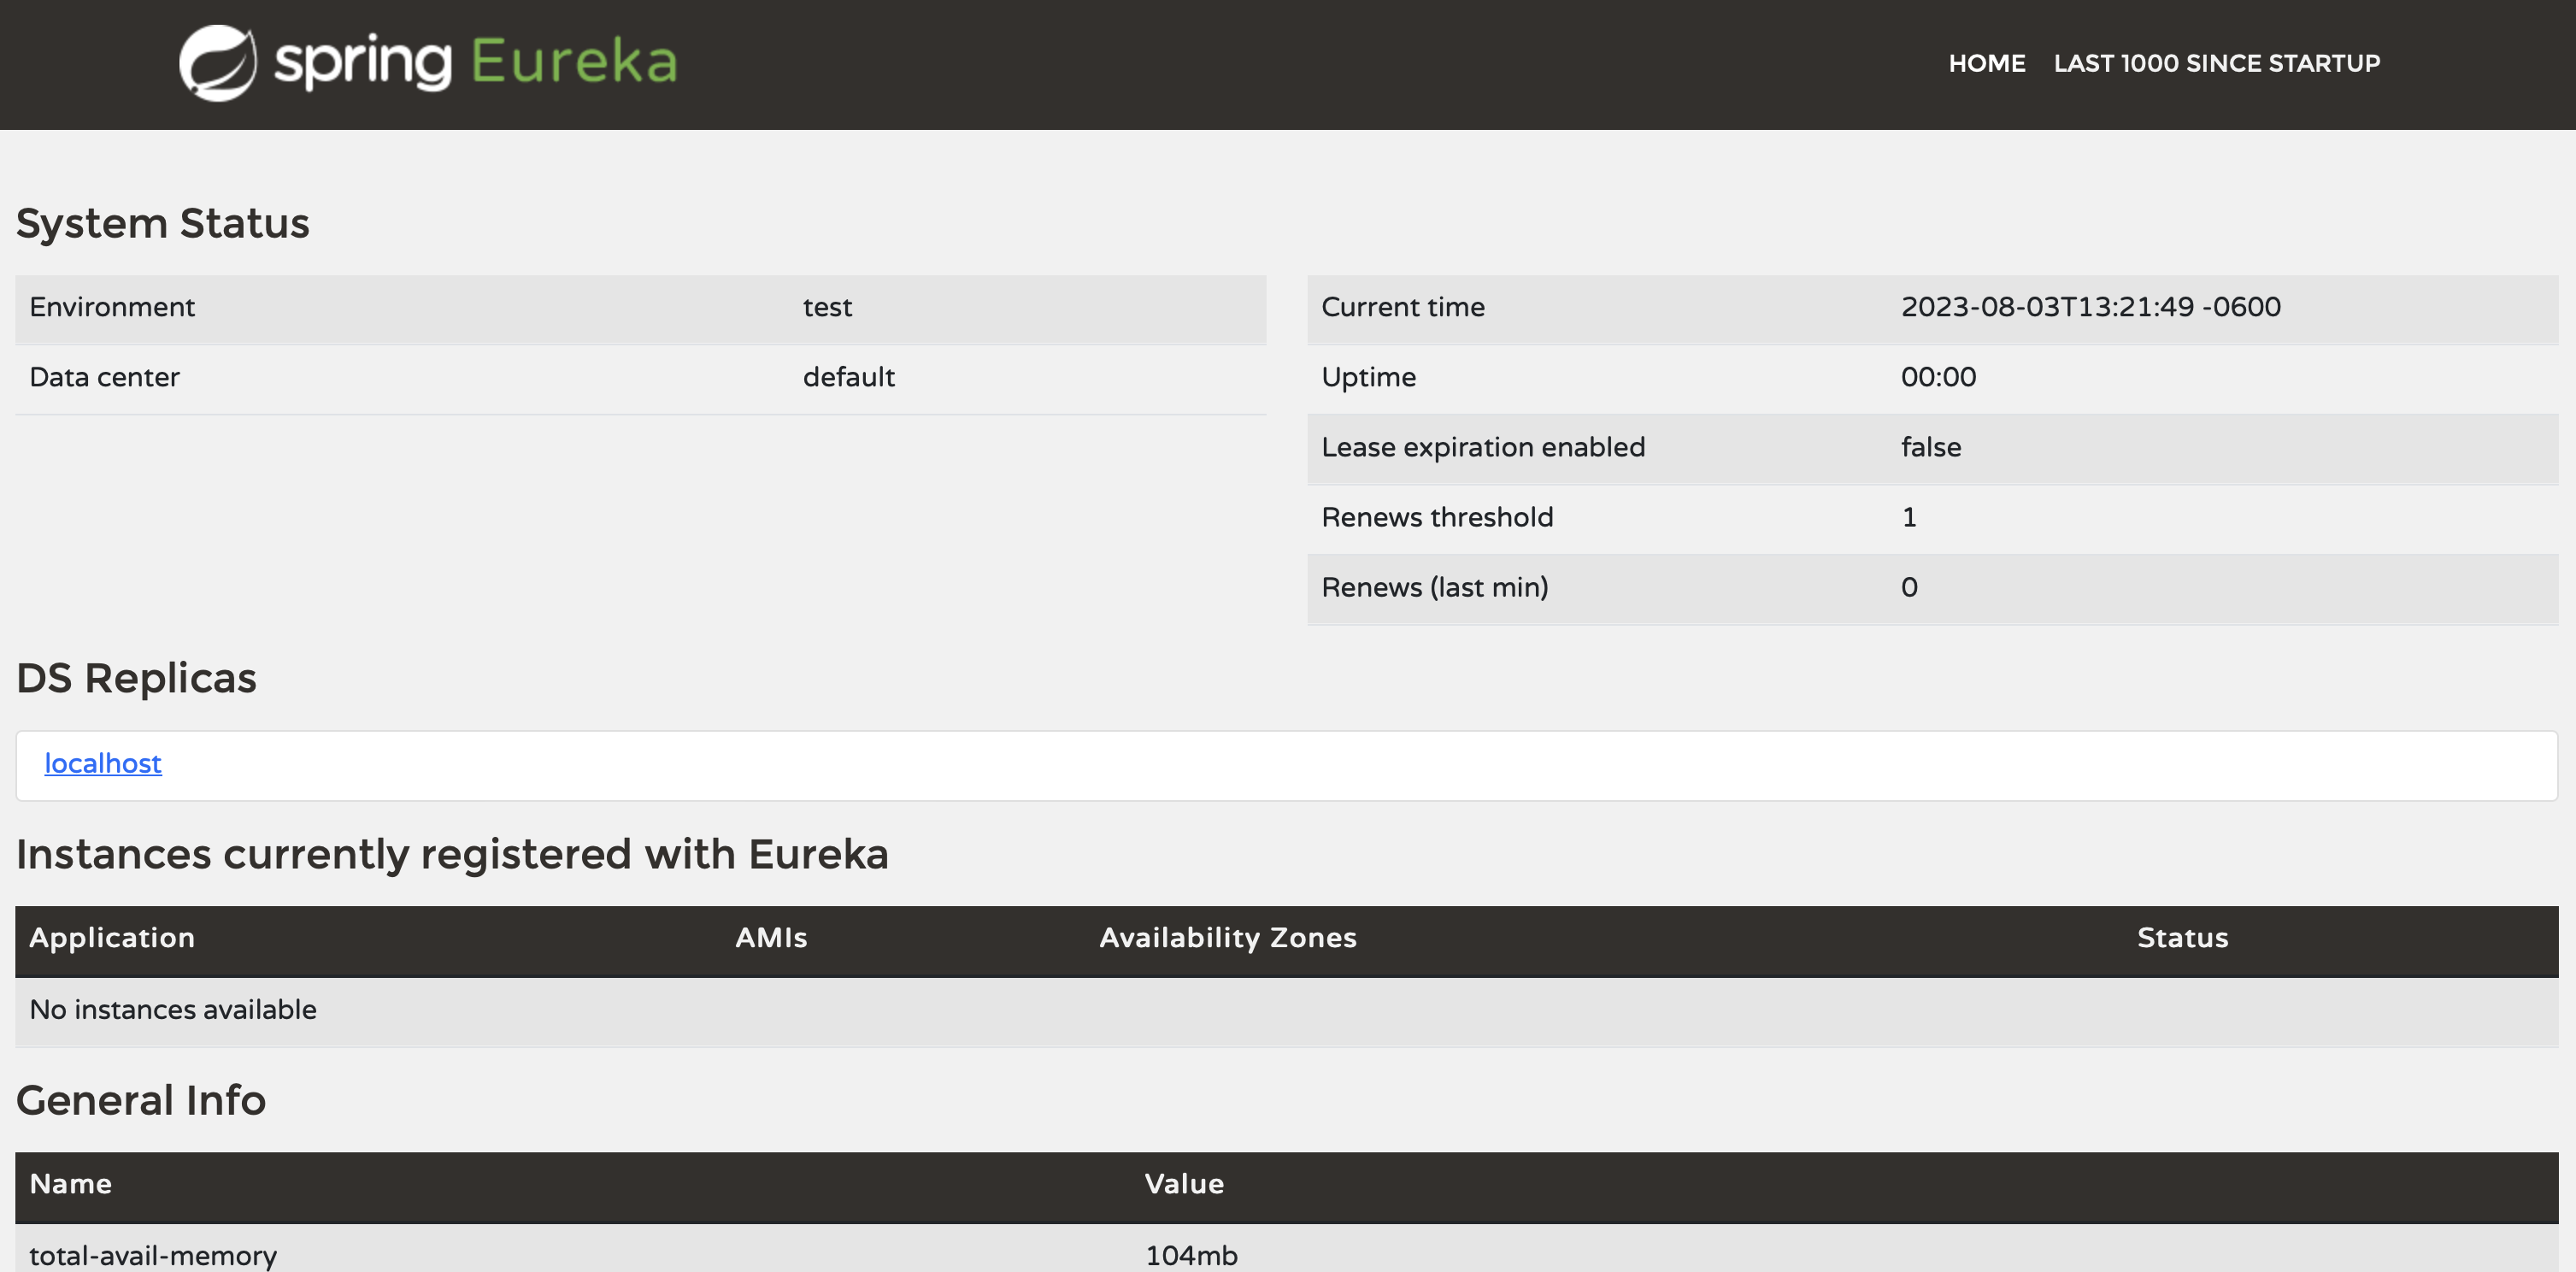
Currently, the Discovery Service is running, but no microservices are registered with it yet. Now, it’s time to register our Kitchen and Tracker microservices.
Update the Kitchen Microservice
To register the Kitchen service with the Discovery Service, we need to make the following changes:
1. Add the Discovery Service’s client library to the Kitchen’s pom.xml file: