Email marketing is an important part of your digital marketing plan. There are many email creation and distribution services available, but Mailchimp is among the most popular, and for good reason. The robust, third-party tool allows you to create beautiful, modern newsletters that track many data points, like open rate, click rate, and more.
Once your free account is created, you can also add a Mailchimp WordPress plugin to your site to create and add an email signup form right from your dashboard. Continue reading to learn:
- What is Mailchimp?
- Why use Mailchimp?
- Create a Mailchimp Account
- Design an Email in Mailchimp
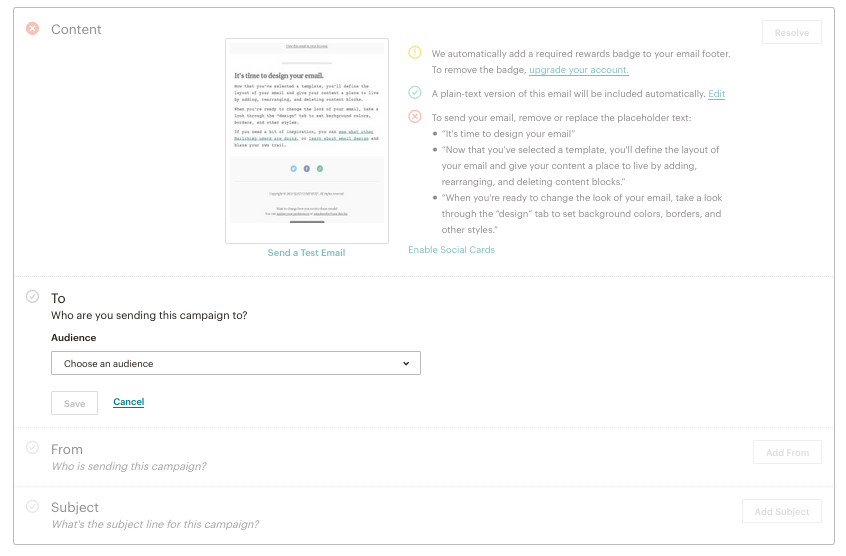
- Select a Mail List
- Edit From and Subject Line
- Test Your Email
- Add a Mailchimp WordPress Plugin
- Jetpack Plugin
- Mailchimp for WordPress Plugin
Enjoy fast, secure hosting optimized for your WordPress site with our WordPress Hosting plans.
What is Mailchimp?
Mailchimp is an email marketing tool that allows you to send custom designed emails to a designated audience. It also includes reports that you can use to track and review the success of your email campaigns. Mailchimp is one of the best online tools for email campaigns due to its features and simplicity of use.
Why use Mailchimp?
Mailchimp can be used for many forms of email communications outside of marketing a product or service. There are many reasons to send mass emails such as organizational newsletters, company announcements, invitations, and more.
Mailchimp also authenticates your email blasts and adds contact information to prevent them from being blocked or tagged as spam. Which is a great advantage as it removes the burden of sending your emails from your hosting server, leaving your server performance unaffected by your email blasts.
This also means that your server can’t be blacklisted. However, that doesn’t mean that you can use Mailchimp to send spam. Mailchimp follows both the CAN-SPAM Act and international laws concerning spam.
Create a Mailchimp Account
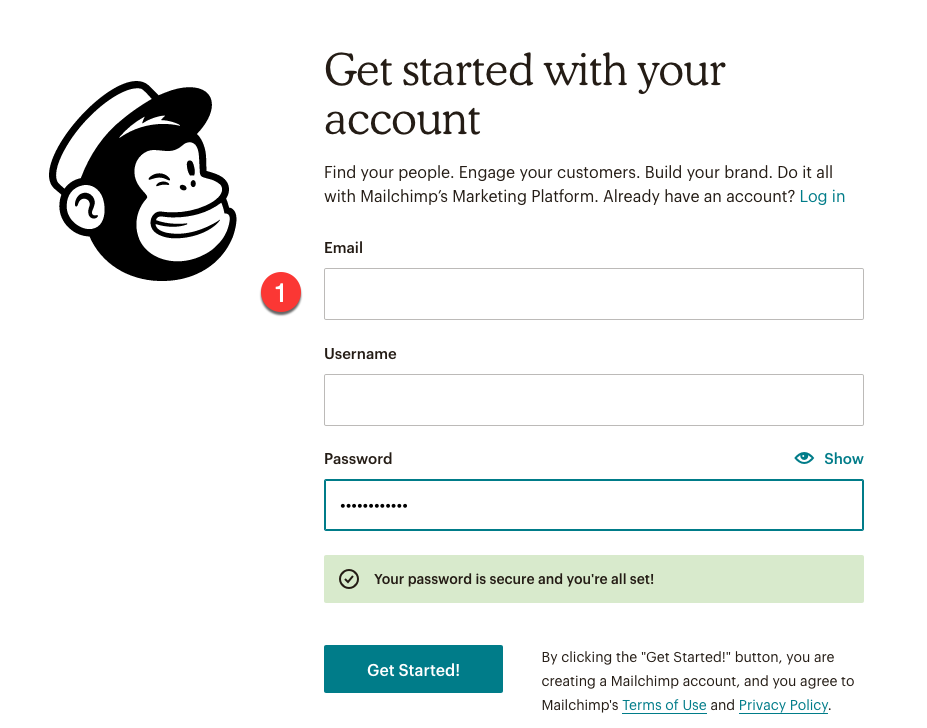
- Navigate to Mailchimp.
- Enter a unique email address, username (which can be the email address), and secure password. Click Get Started.
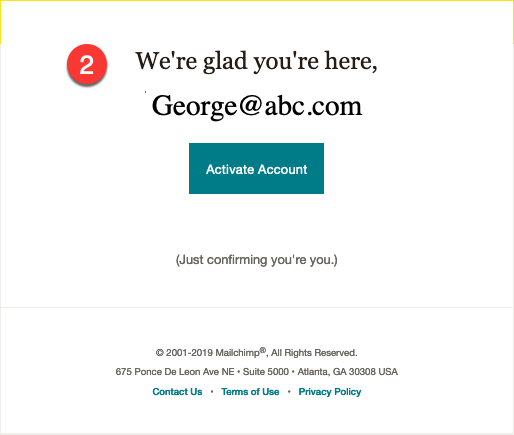
- You will be sent an email to confirm and activate your account. Follow the instructions in the email.
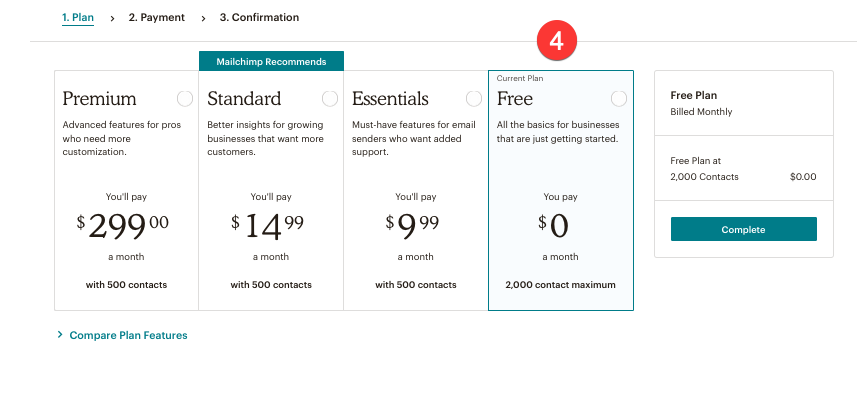
- Next, select a plan. The Free plan is typically adequate for most to get started.
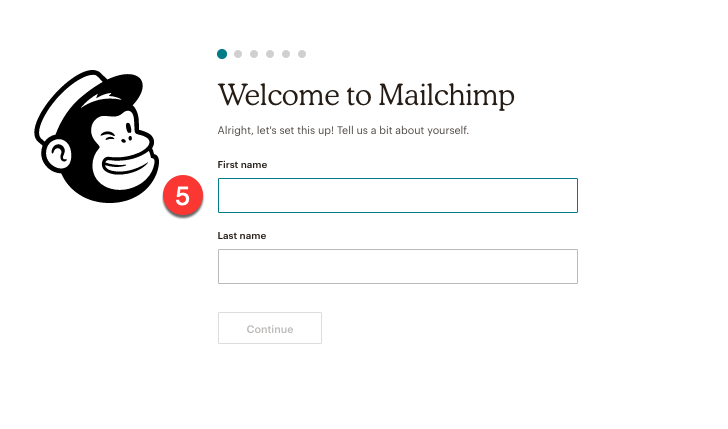
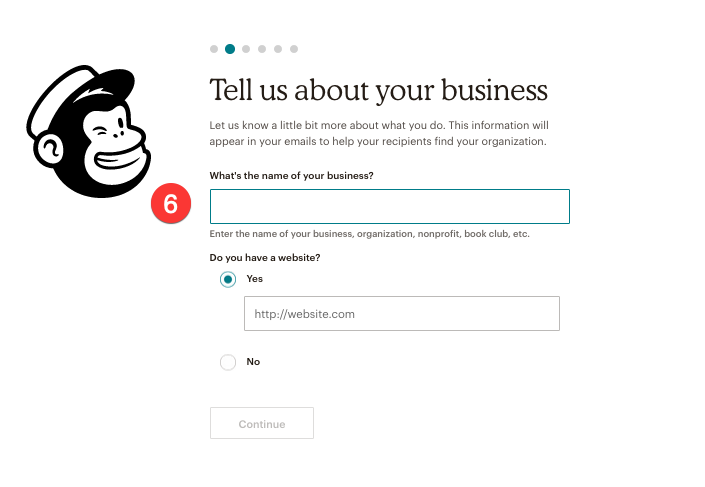
- Enter your first name, last name, and business/organization information.
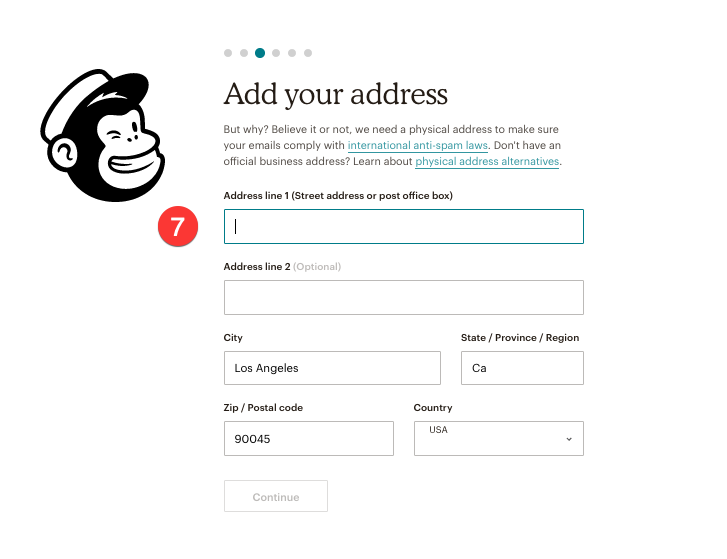
- In order to comply with international anti-spam laws, Mailchimp requires that you provide a physical address. This can be a residential address.
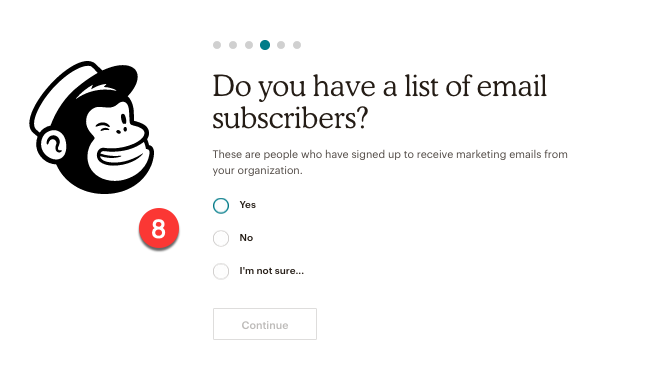
- Mailchimp will then ask if you have a list of people who have signed up to receive your emails. They will guide you through the import process if you have a saved list.
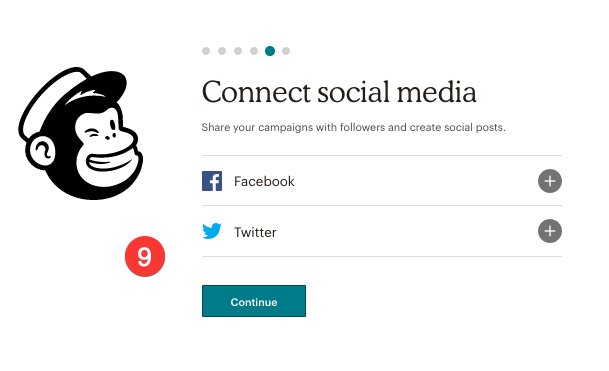
- The next setup prompt will allow you to connect your social media accounts if you wish.
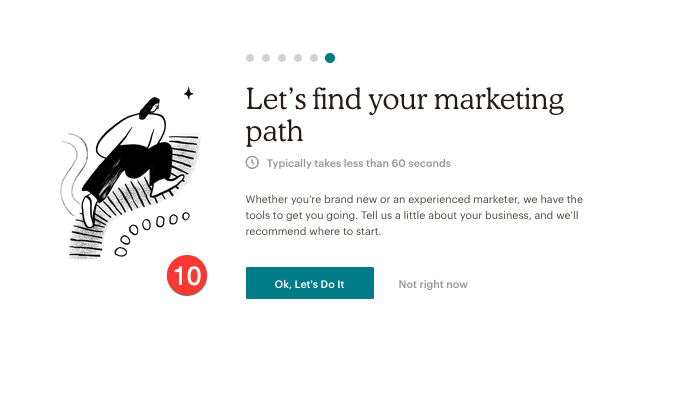
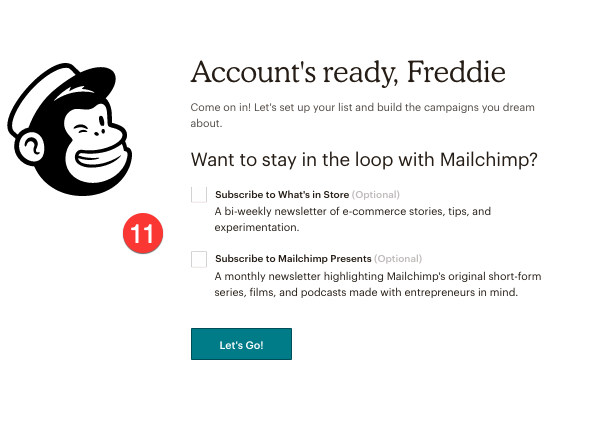
- You can then opt-in to learn more about Mailchimp’s marketing tool, which teaches you the basics of marketing to your customer base.
- You’ve now completed the Mailchimp account setup.
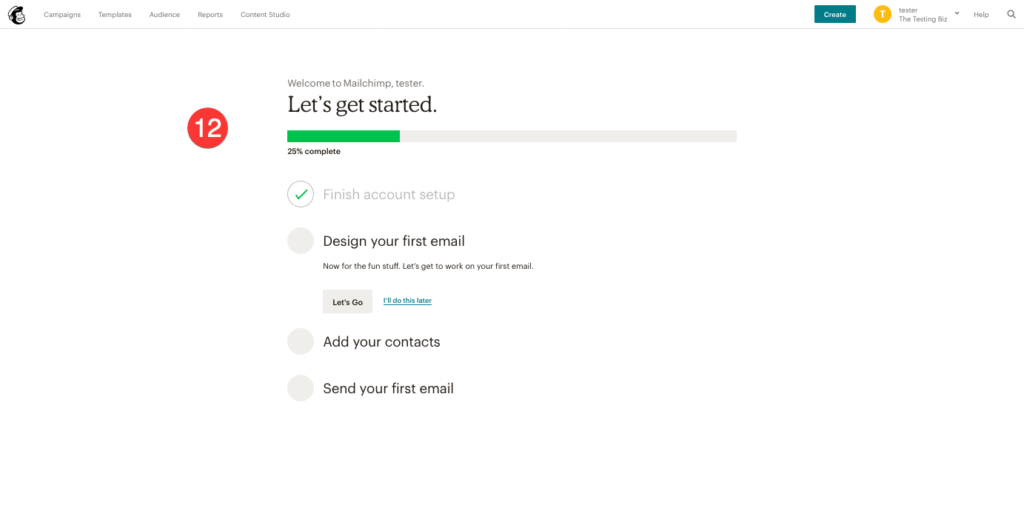
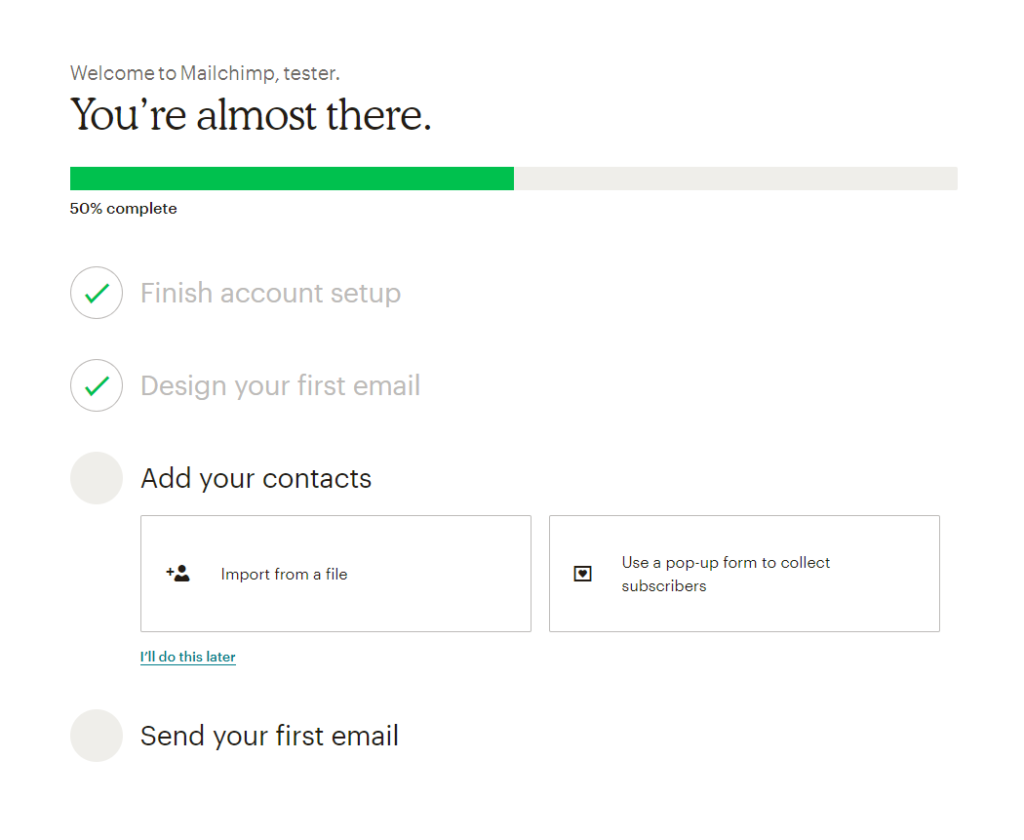
- Finally, you will see a progress page tracking your progress towards creating your first email campaign. The next step is to design your email. Click Let’s Go.

Getting Started with Your Audience.

Jetpack plugin. After installing, activating, and setting up JetPack in your dashboard, you simply need to add the Mailchimp block to a page or post.
The Mailchimp block will allow you to easily collect and organize the email addresses of users who want to be added to your email list. To add a Mailchimp subscription block:
- Login to your WordPress dashboard.
- Create or edit a page or post in WordPress.
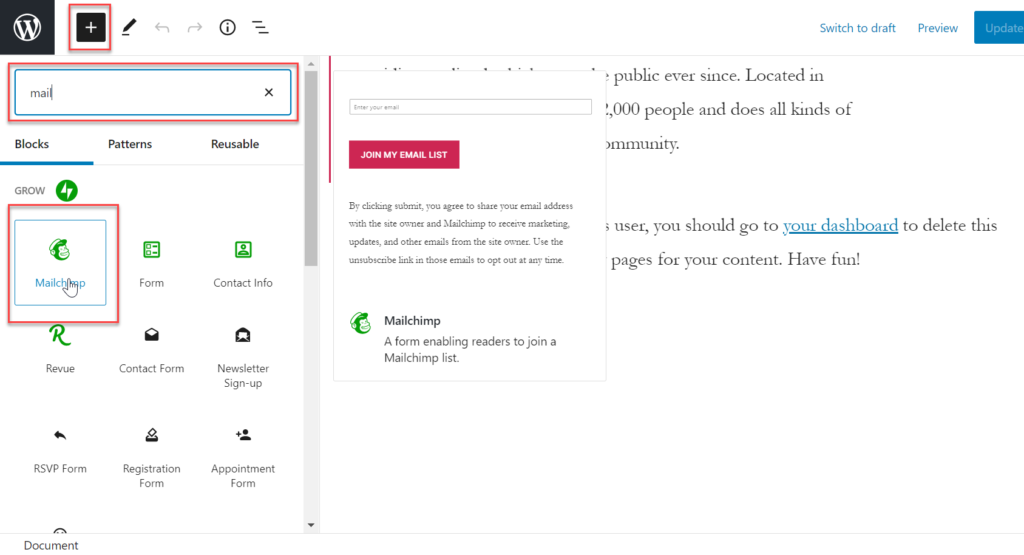
- Click on the + sign in the upper left corner within the editor screen.
- Type Mailchimp into the block library search box.
- Click on the Mailchimp block to add it to the post or page.
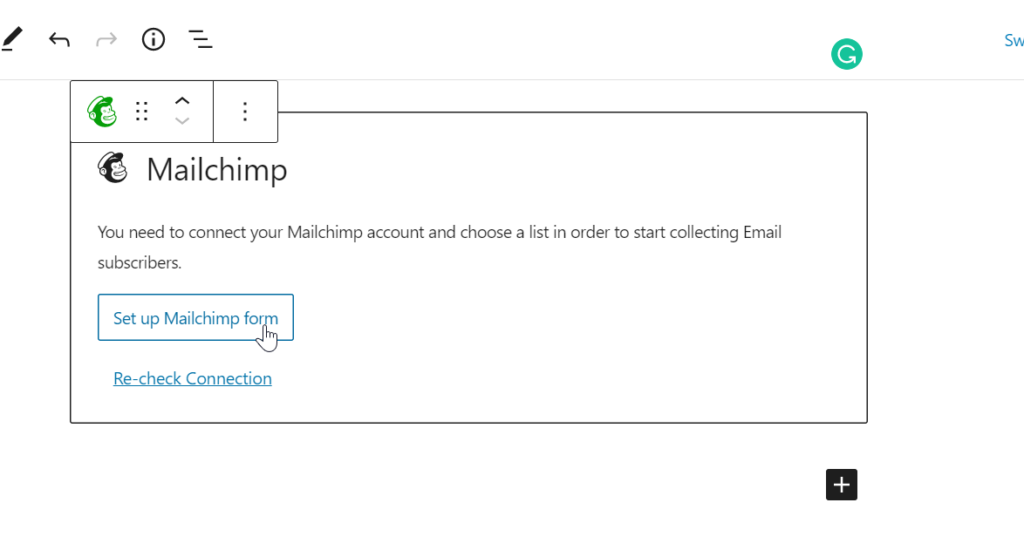
- Within the Mailchimp block, click Set up Mailchimp form.
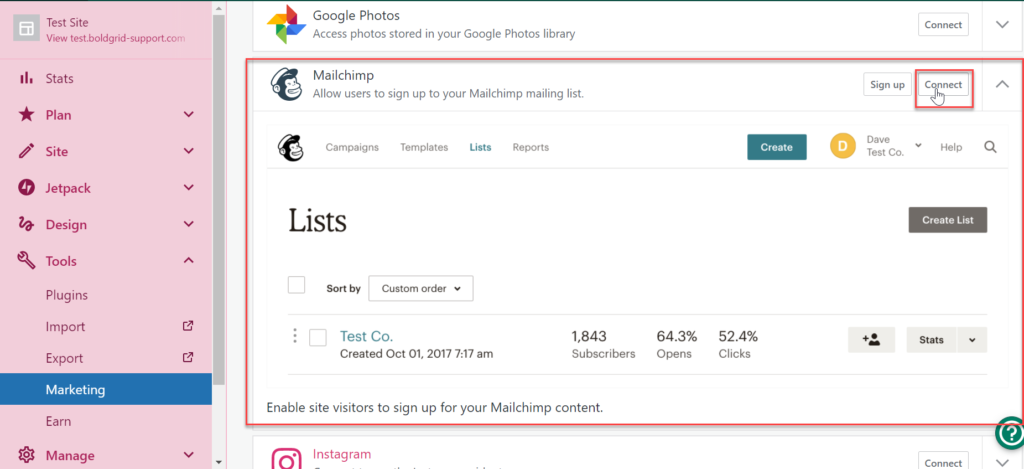
- You will be redirected to your WordPress.com account, click Connect next to Mailchimp then follow the prompts to connect your Mailchimp and WordPress accounts.
- Once the integration is complete, you should be able to add an email subscription signup form and select the audience or mailing list you want the email addresses to file under.
- Click Publish or Update to save your changes.
You can also add a Mailchimp pop-up using a Jetpack widget within WordPress to give your users another chance to sign up for your email list.
Mailchimp for WordPress plugin.
With over one million active installs, this plugin is a clear favorite that also allows seamless integration with form plugins like WPForms, Ninja Forms, and more. To add Mailchimp for WordPress to your website:
- Login to your WordPress dashboard.
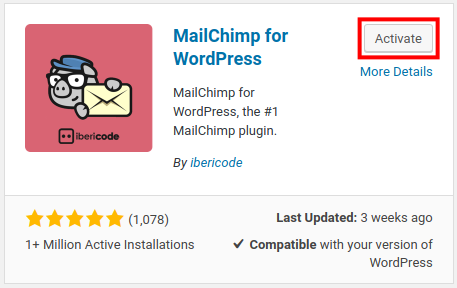
- Search for and install the Mailchimp for WordPress plugin.
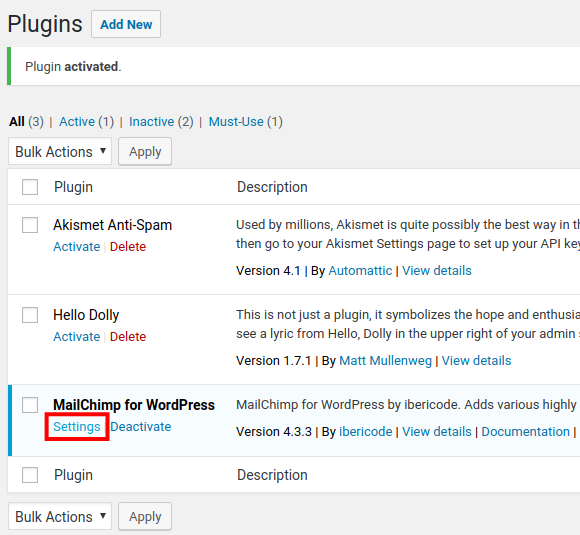
- It will then be listed on the Plugins page, click the Settings link. You can also go to the plugin settings by clicking the MC4WP menu item in the left-hand navigation.
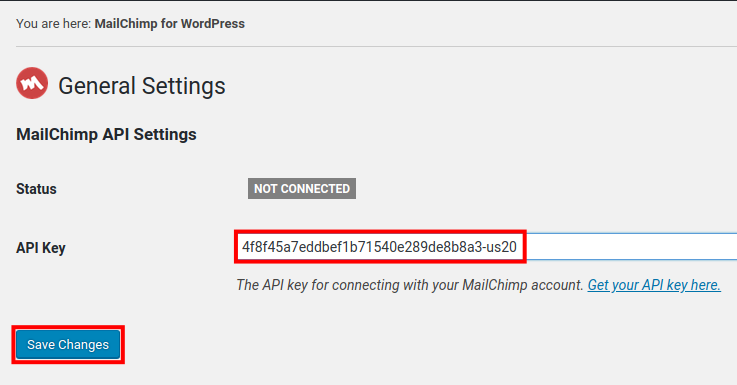
- Enter your Mailchimp API Key then click Save Changes.
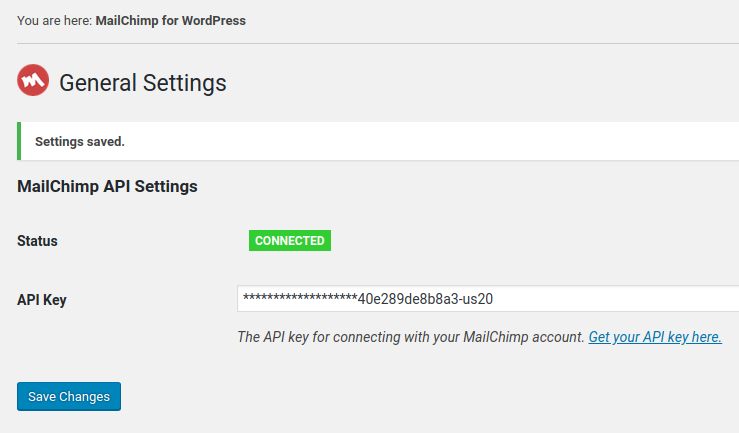
- You will then see a Settings saved message and the Status will show as Connected.
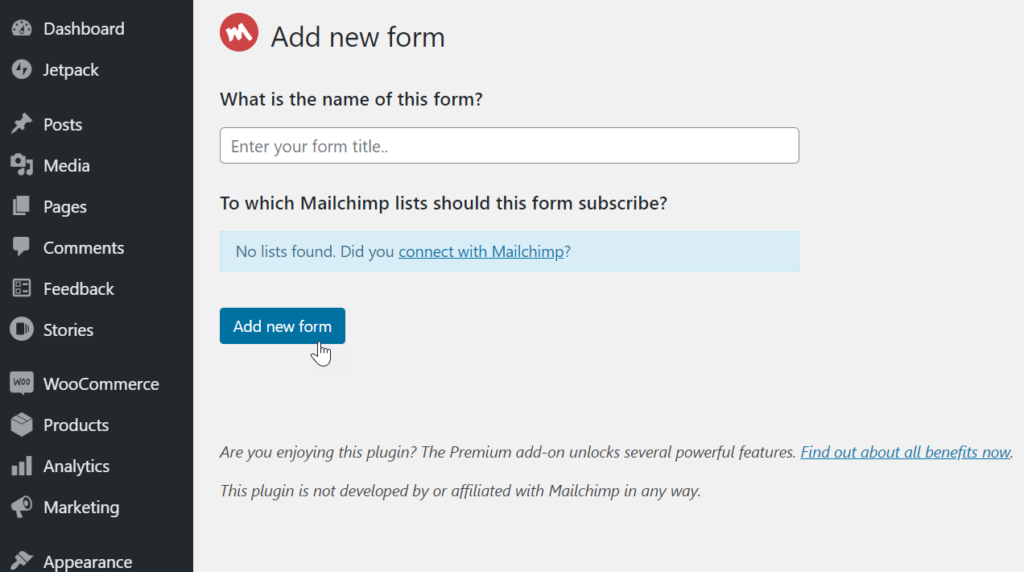
- Next, navigate to MC4WP > Form to add a new signup form. Enter the name of the form, select the Mailchimp mail list, then click Add new form.
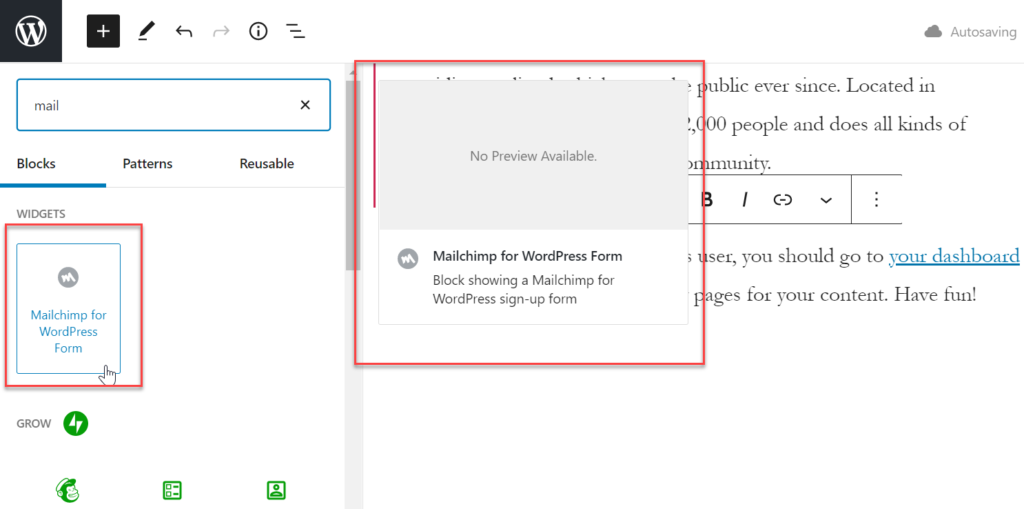
- Lastly, to add your newly created signup form to your website, create or edit a page or post then click on the + sign in the upper left corner within the editor screen.
- Type Mailchimp into the block library search box and click on the Mailchimp for WordPress Form block to add it to the post or page.
- Once added, you’ll be able to select and add the form you just created.
- Click Publish or Update to save your changes.
WordPress plugins! Protect, optimize, secure, and expand the functionality of your website easily with the help of WordPress plugins!