You’ll find a huge number of software packaged by the community members in Arch User Repository (AUR).
Since it is coming from third parties, purists suggest downloading and building each desired package from AUR manually.
But that’s a tedious task and that’s why AUR helpers were created to save the trouble.
Yay is one of the most popular AUR helpers and in this tutorial, I’ll share how you can install Yay on Arch Linux. I’ll also share a few tips on managing packages from AUR with Yay.
💡
Yay is available in Manjaro’s repository. So, Manjaro users can simply use pacman -S yay to install
Installing Yay on Arch Linux
Before you go on with Yay installation, you need some packages required to build it.
Let me divide it into steps.
Step 1: Install the prerequisite packages
It is always a good idea to refresh the package cache and update the system first:
sudo pacman -SyuInstall the rerquired base-devel (contains tools such as makepkg etc) and git (required for cloning the yay git repository).
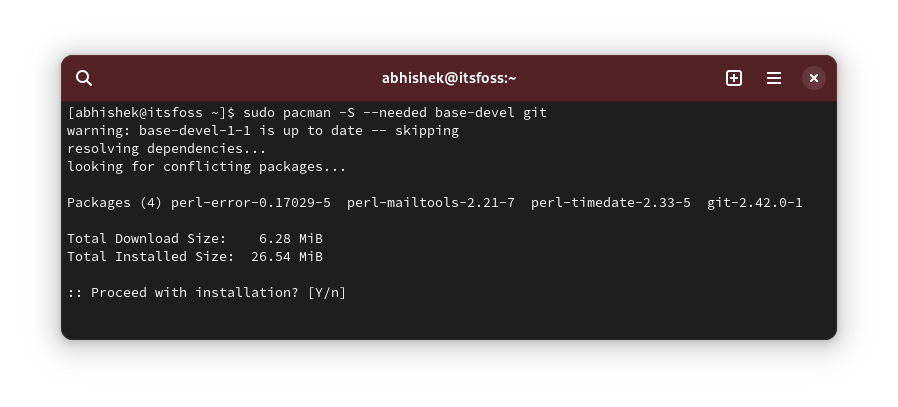
sudo pacman -S --needed base-devel git
With the --needed flag, it will NOT reinstall the already installed packages.
Here’s what it looks like:
Now that you have the required packages, it’s time to get Yay on your system.
Step 2: Clone the Yay git repo and switch to it
Use the git command to ‘clone’ the Yay repo. You can do it anywhere in the system, be it your home directory or otherwise.
git clone https://aur.archlinux.org/yay.gitOnce done, switch to the cloned directory:
cd yay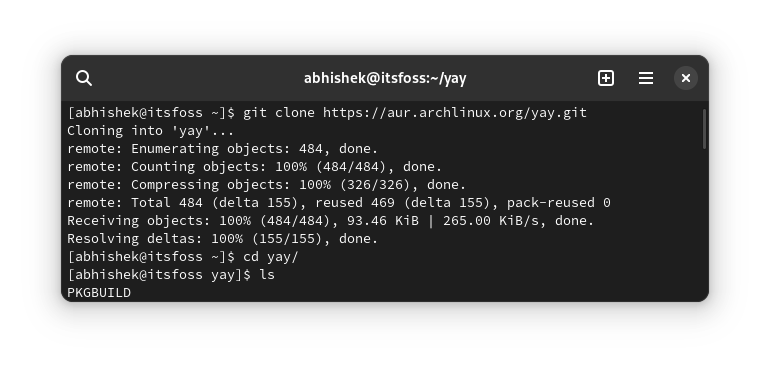
It’s time to install yay (finally).
Step 3: Install yay
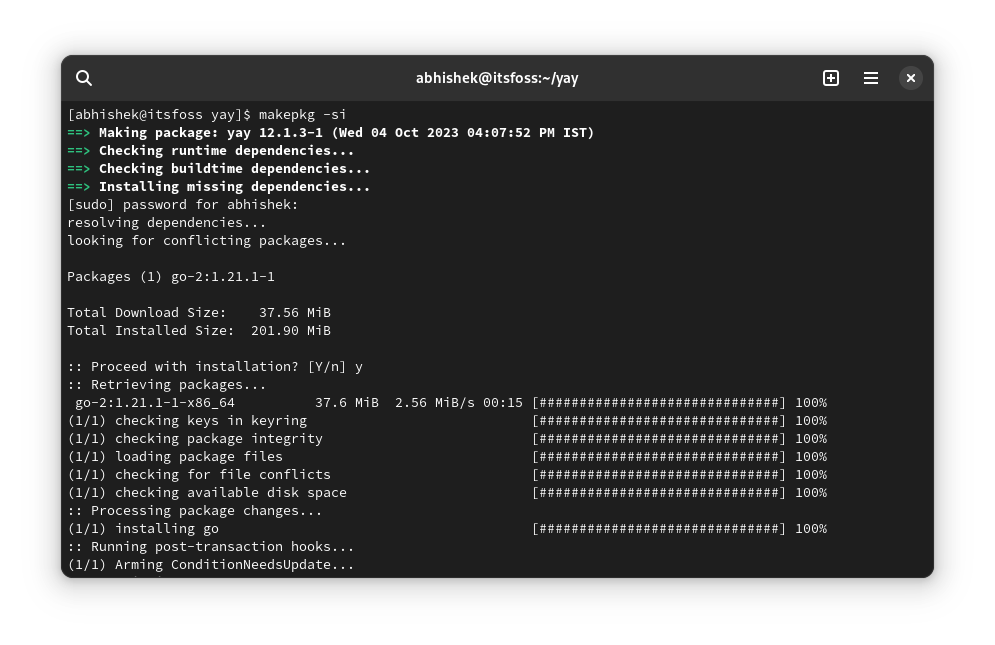
Actually, you are building it. You’ll see a PKGBUILD file here. Use the following command to build the package from here:
makepkg -siFollow the on-screen instructions. Press Y when you are asked to confirm.
Once the process finishes, verify that yay has been installed successfully by checking its version.
yay --versionNow that you have successfully installed it, you may remove the cloned Yay git repository. It is not needed anymore.
Using Yay for package management
The yay follows similar (but not identical) command structure as pacman. So it should not be difficult for you to manage AUR packages with Yay.
Search for packages with:
yay search_termInstall the packages with:
yay -S package_nameRemove packages with:
yay -R package_nameTo delete a package with its dependencies:
yay -Rns package_nameUpgrading (only) the AUR packages:
yay -SuaYay is also capable of upgrading non-AUR packages. The a flag above restricts it to AUR.
Upgrading Yay to a new version
Now, you may wonder how you can upgrade Yay to a newer version when it’s available.
The answer is that you don’t have to do anything special. Yay can update itself when you run the command:
yay -SuaRemoving Yay from your Arch system
If you don’t like Yay or no longer need it anymore, you can remove it like any other package with the pacman command:
sudo pacman -Rs yayConclusion
That was a quick introduction to Yay AUR helper. You can visit its GitHub repository for more details on its working.

Arch User Repository (AUR) is one of the reasons why some people love using Arch Linux.
While purists Arch users scoff at AUR in general and AUR helpers in particular, they remain popular for the ease of use they provide.
I hope you find this quick tutorial helpful in getting Yay on Arch Linux. Please let me know if you still have questions or if you notice any technical inaccuracies.