When you’re building a website, BoldGrid is a WordPress website builder that can help you get started with example content and many custom themes. Then the BoldGrid Customizer lets you easily update the website design to fit your needs.
Quickly change the colors, background image, or add a custom logo. If you need more menus or widgets it can all be done with the BoldGrid Customizer.
In this guide, we’ll show you how to use the BoldGrid Customizer to create a site that’s perfect for your business or blog.

If you’re having trouble with your WordPress host, then check out InMotion’s WordPress Hosting solutions. We provide secure, optimized servers that are priced to meet your budget needs!
![]() Free WordPress Website Transfers
Free WordPress Website Transfers ![]() Free SSLs
Free SSLs ![]() Unlimited Bandwidth
Unlimited Bandwidth
View WordPress Hosting Plans
- Customize Site Title & Logo
- Customize Colors
- Customize Background
- Customize Fonts
- Customize Menus
- Customize Widgets
- Advanced Customize Options
This guide is only for standard BoldGrid themes and will not work with Premium BoldGrid Crio themes since they have enhanced features and options.
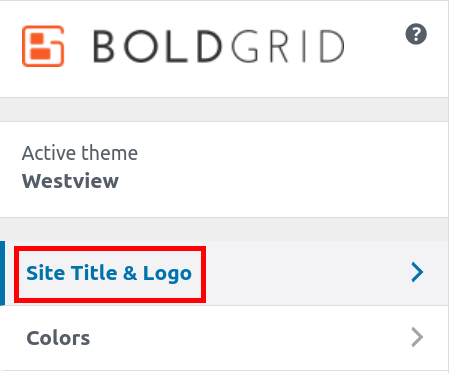
Customize Site Title & Logo
In this section, we’ll give you an overview of the Site Title & Logo tab in the BoldGrid Customizer. This tab allows you to create a custom site title, and tagline, as well as add your logo, and Icon (favicon).
Using the Site Title & Logo tab in the BoldGrid Customizer
- Login to your WordPress Dashboard.
- Click Appearance then Customize in the navigation menu.
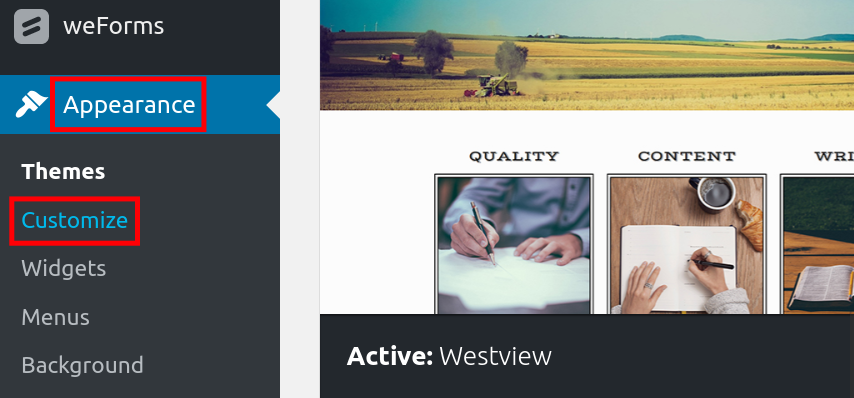
- Click the Site Title & Logo tab.
You will then be able to customize your site. Below is a brief description of the available options. Click the Publish button once you have made your selections.
| Option | Description |
| Site Title | Enter a Site title here, for it to display on the top of the page. |
| Tagline | The text you enter here will display below the Site Title. |
| Custom Font | Click this option to modify the Font style and size. |
| Position | Click this button to modify the location of the Site Title and tagline. This is done by creating margins, and adding spacing to letters. |
| Custom Shadow | Click this button to customize the shadows of the Site title & Tagline. |
| Site Logo | Click the Select File button to upload a custom Logo. Notice: This will replace the Site Title. |
| Site Icon | Click the Select File button to upload a custom site Icon, also known as a favicon. |
Customize Colors
Your BoldGrid site is set up with a default color scheme. You may, however, wish to change the color scheme to one that fits you or your business better. We will now show you how to customize your color scheme, also called color palettes, in BoldGrid.
Changing your Color Palettes
- Login to your WordPress Dashboard.
- Click Appearance then Customize in the navigation menu.
- Click on the Colors tab.

- The tab will expand to allow you to see the different settings you can change. The site will update in real-time, so you can preview the colors. After you have configured the settings to your needs, click the Publish button to activate them.
| Option | Description |
| Active Palette | Here you will see several pre-made color combinations, called palettes. Click on a palette to change your site to that specific one. |
| Suggest Palettes | Clicking here will design other custom palettes you can select from. |
| Saved Palettes | A list of palettes to select from, clicking on a suggested palette will save it to the list so you can create your own custom list. |
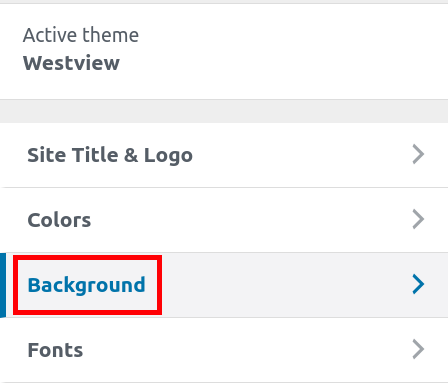
Customize Background
In this tutorial we will give you an overview of the Background tab in the BoldGrid Customizer. This tab allows you to modify the background of the BoldGrid Theme you are using. This is helpful when branding your site, or adjusting it to suit your needs.
Using the Background Tab in the BoldGrid Customizer
- Login to your WordPress Dashboard.
- Click Appearance then Customize in the navigation menu.
- Click the Background tab.
- You will then be able to customize the background of your site. The site will update in real-time, so you can preview the change. Below is a description of the available options:
•Image – Click this button to use an image for your website background.
•Pattern & Color – Select this button to choose a pattern, or color as the background, instead of an image. - If you select a background image or already have one loaded you will see the following options appear. Click the Publish button once you have made changes.
| Option | Description |
| Background Image | This section gives you options to Remove or Change your background image. |
| Background Effects | Here you can choose if you want the background image to be Fixed, Scroll, or use a Parallax effect. |
| Background Image Size | Select how you want the background image size to display. Options are Cover Page, Scaled to Fit, Full Width, Full Height, Default, or Do Not Resize. |
| Horizontal Background Position | Use the available slider to move the background image Left, or Right. |
| Vertical Background Position | Use the available slider to move the background image Up, or Down |
| Background Repeat | Select how you want the background image size to display. Options are No Repeat, Tile, Tile Horizontally, or Tile Vertically. |
Customize Fonts
The Fonts tab of the BoldGrid Customizer is where you can choose the specific font and size for the text. Each area can have a different setting which can add a nice custom touch.
Using the Fonts Tab in the BoldGrid Customizer
- Login to your WordPress Dashboard.
- Click Appearance then Customize in the navigation menu.
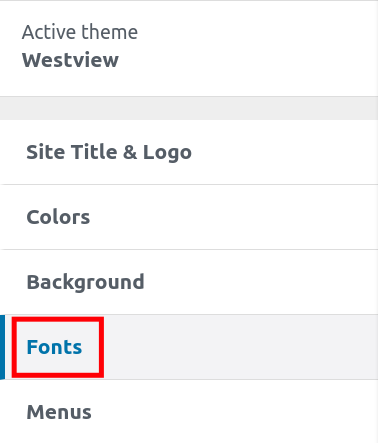
- Click the Fonts tab.
- Select the area where you want to modify the Font. Options are Menus, Headings, Subheadings, and Main Text.
- You can then choose from the following options. Click the Publish button to save any changes
| Option | Description |
| Font Family | This is where you can choose the specific font for this section. It will show you examples of the text. |
| Font Size | Select how large or small you want the text to be. |
| Line Height | Adjusting this modifies the spacing between lines of text. |
Customize Menus
The Menus tab allows you to adjust the menus and their location on your website. From here you can also create new menus, or remove existing ones.
Using the Menus Tab in the BoldGrid Customizer
- Login to your WordPress Dashboard.
- Click Appearance then Customize in the navigation menu.
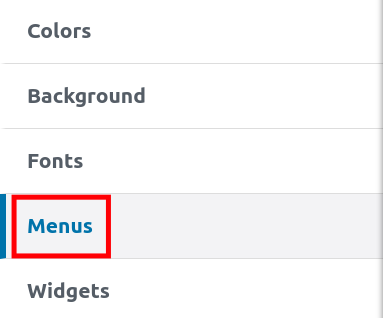
- Click the Menus tab.
- You will then see a list of your menus as well as the Menu Locations option. This will differ based on the specific theme you are using. Below is a brief description of the available options on the Menus tab. Click the Publish button once you have made your selections.
| Option | Description |
| Your Menus | You will see your existing menus listed here. Clicking a menu item allows you to modify it. You can also Add Items, Reorder, or select a new location for the menu to display. |
| Menu Locations | When you click this option, you will see a list of available menu locations. Clicking the drop-down box allows you to choose which menu appears in that location. |
| Create New Menu | Clicking this option allows you to easily create a new Menu option. |
Customize Widgets
We will now give you an overview of the Widgets tab in the BoldGrid Customizer. Here you can modify the widget areas of the BoldGrid Theme you are using. This is helpful when updating the contact details of your site, removing the attribution links, or adjusting the footer to suit your needs.
Using the Widgets Tab in the BoldGrid Customizer
- Login to your WordPress Dashboard.
- Click Appearance then Customize in the navigation menu.
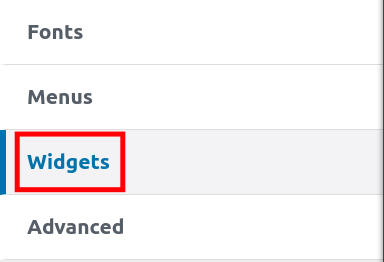
- Click the Widgets tab.
- You will then see a list of available widget areas in your theme (these will differ based on the specific theme you are using). Typical widget areas are Above Site Title, Below Site Title, and Footer. You can roll your mouse over the widget areas to see where they are located on the page.
- Click on a widget area to see what widgets are installed there. Click the Reorder button to change how the Widgets are displayed in that Area. You can also click the Add a Widget button to add a new widget to that area.
- Click the Header Widgets button to choose how many widgets you want to be displayed in your header or enter Custom Header HTML.
- Click the Footer Widgets button to access the following settings. Be sure to click the Publish button, once you have made your selections.
| Footer Setting | Description |
| Enable Footer | Toggle this option Off to remove the Footer. |
| Contact Details | Each text box can contain various contact information. Click to edit the text. You can also click the Add new Contact Block button to include additional information. |
| Attribution Control | Check the boxes to hide attributions, or special thanks links. |
| Footer Widget Columns | Here you can set how many widget columns to display. |
| Continue to Widgets Section | Click this button to visit the Widgets tab documented above. |
Advanced Customize Options
We will now give you an overview of the Advanced tab in the BoldGrid Customizer. This tab allows you to modify many things such as the header and footer of the BoldGrid Theme you are using. You can also set a static homepage, and add custom JS & CSS here.
Using the Advanced Tab in the BoldGrid Customizer
- Login to your WordPress Dashboard.
- Click Appearance then Customize in the navigation menu.
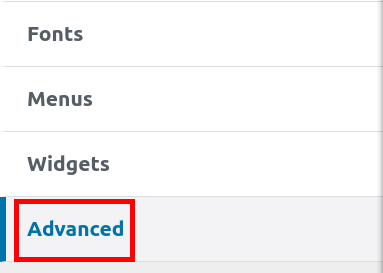
- Click the Advanced tab.
- From there you will have several advanced options listed, click them to make changes. Below is a description of the available options, click the Publish button after making your selections.
| Option | Description |
| Homepage Settings | Here you can choose if you want to display a static page, or your latest posts on your front page (home page). You can also choose which Front or Posts page you want to display. |
| Header Settings | Choose how many widgets you want displayed in your header. You can also enter Custom Header HTML here. |
| Footer Settings | Here you can choose to turn the header on or off, set how many Footer Widget Columns, or enter Custom Footer HTML. |
| Custom JS & CSS | This menu tab lets you enter Custom Theme CSS, or Custom Theme Javascript. |
Now you know how to use the BoldGrid Customizer to update the look and style of your WordPress site. Visit the BoldGrid section of the Support Center for more helpful guides.
Learn more tips and tricks about WordPress backups to protect your website from risks!