It’s not enough that the WordPress platform itself is the most popular Content Management System (CMS) in the world. We also have the most popular page builder and e-commerce platforms in Elementor and WooCommerce too. As such, it makes sense to use all three to create a stellar-looking and performant online store.
If we break it down, WordPress is ideal for organizing your posts, pages, and products. WooCommerce offers tight integration with the platform because of its developers (Automattic). What’s more, Elementor brings powerful and intuitive drag-and-drop page building. It’s a complete no-code solution for building your store.
In this piece, we’re going to look at how to build a store using Elementor and WooCommerce. Throughout, we’ll look at how both dovetail to provide you with the greatest flexibility for your site.
Why WordPress, Elementor, and WooCommerce Work Well Together
It’s worth taking a closer look at how WordPress, Elementor, and WooCommerce can combine to help you create top-of-the-line online stores.
For starters, WordPress is the most used CMS on the market. Of course, this isn’t enough to warrant such a dominant position among users. In fact, we’ve taken a look at this in a previous post, so we encourage you to read that post further. In short, it’s a secure, stable, and scalable, platform you’re able to build on top of.
Speaking of which, you also have WooCommerce. Because Automattic develops the plugin, it has great integration with core WordPress, but that’s not all.

It’s also the most popular eCommerce platform. Within the WordPress ecosystem, it has around a 20 percent share, which translates to about eight percent all of websites. In comparison, Shopify has about a five or six percent market share. Again, usage figures aren’t everything.
WooCommerce takes the process of creating an online store and streamlines the process. You can be up and running in minutes, and have a robust, powerful, and extendable e-commerce platform ready to roll.
To knit these together, you have Elementor. It also has a big market share within its field, and a massive user base.

It’s a drag-and-drop page builder with a unique approach to help you build your entire website from scratch. This is a tempting solution to use, because there are lots of powerful features and functionality other tools don’t have. Most relevant here is the dedicated WooCommerce Builder.
In short, Elementor is a plugin with a lot of column inches on the WPKube blog, and you should go through our archives to see just what it can do.
What A WooCommerce Site Needs From a Page Builder
The implicit takeaway from the last section is that Elementor can provide the right blend of features and functionality WooCommerce needs to take your site to the next level. Though, it’s important to hone in on why this is and what it offers.
In a general sense, a WooCommerce site needs the following from a page builder:
- Tight integration, so that there are no conflicts between the page builder and WooCommerce.
- Plenty of customization options to help make your products and shop pages stand out.
- A way to edit the individual elements that make up a typical product page.
- Extra functionality to help ‘level up’ your store.
You should (of course) note your individual needs too. For example, you may find forms and pop-ups are important to your store and selling strategy. The good news is that Elementor is more than capable of meeting your needs.
For example, it has a great Popup Builder that works a treat for sales, time-limited offers, coupons, and much more:
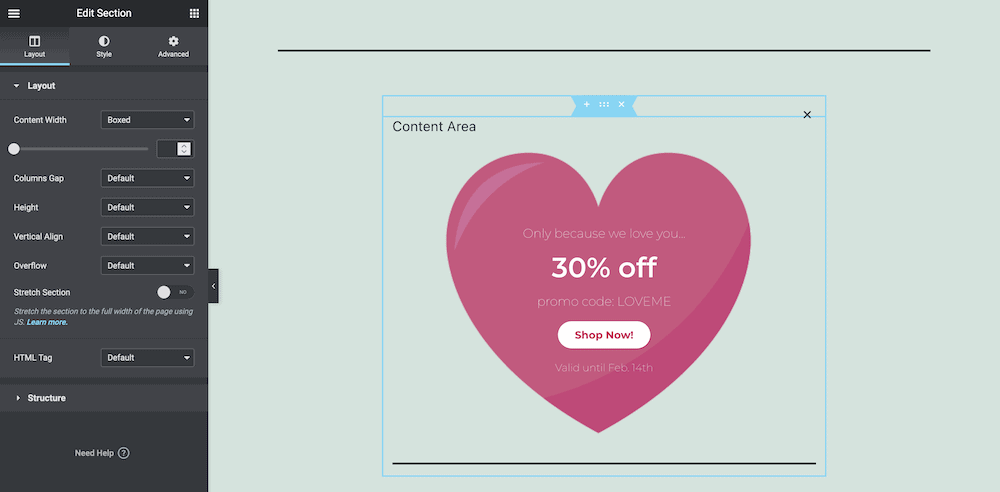
You can create them as you would other page templates, and you can apply them in a flash. What’s more, you can customize them in almost any way you choose. It’s perfect if you have a specific campaign to promote on your site.
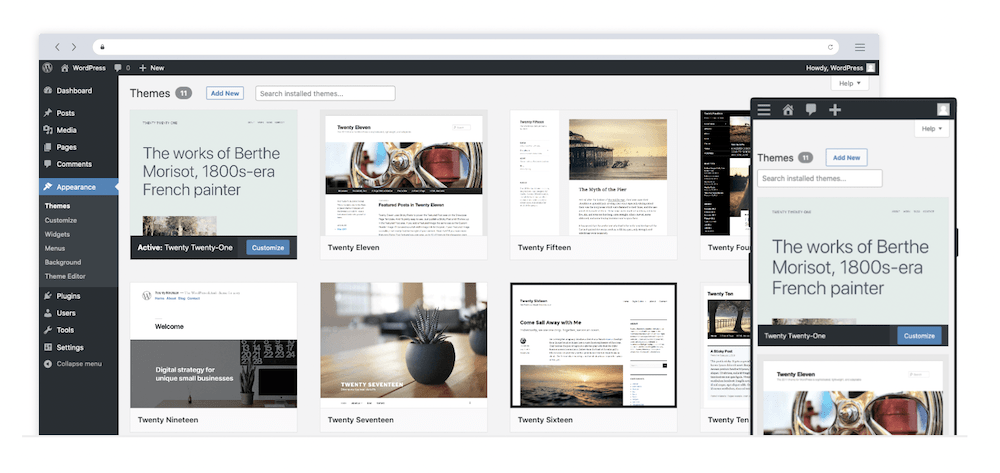
How to Choose a Suitable WooCommerce Theme
We won’t go into lots of detail here, as we cover this in our tutorial, and also round up a few themes in a dedicated article.
The main consideration you need in this instance is a theme that is Elementor and WooCommerce compatible. Even a quick look at premium marketplace sites will show you that lots of themes advertise this, so your choices are wide ranging.
Even so, there are a few standout themes we can mention:
- Storefront. It will likely have the least compatibility with Elementor going forward, as the Block Editor is native technology. Still,
- Hello. This is the Elementor blank starter theme, and it’s ideal for developing a WooCommerce site from scratch. Of course, if you have less time available, it might be wise to choose another, more full-featured theme.
- GeneratePress. This is a top theme with a flexible infrastructure. This means regardless of whether you use the Block Editor, Elementor, or something else, your store will look amazing.
We encourage you to find the right theme before you dig into creating your site. Remember, the best results will be with something compatible with Elementor and WooCommerce.
How to Create a Elementor-Powered WooCommerce Site in 3 Steps
Over the rest of this article, we are going to show you how to use Elementor and WooCommerce together to create an e-commerce site. There are three steps to note:
Though, for this tutorial we’re going to assume that you already have Elementor Pro installed and activated. It’s something we take you through in our article on creating a WordPress funnel. That post will help you when you experience trouble.
1. Install WooCommerce and Set It Up
There are two aspects to consider when you set up a WooCommerce installation: the plugin itself, and your store’s settings. In fact, installing the plugin takes the same process as any other WordPress plugin.
As for setting up WooCommerce itself, while you can be ready to go within a couple of minutes, it pays to take some more time to go through the Setup Wizard.
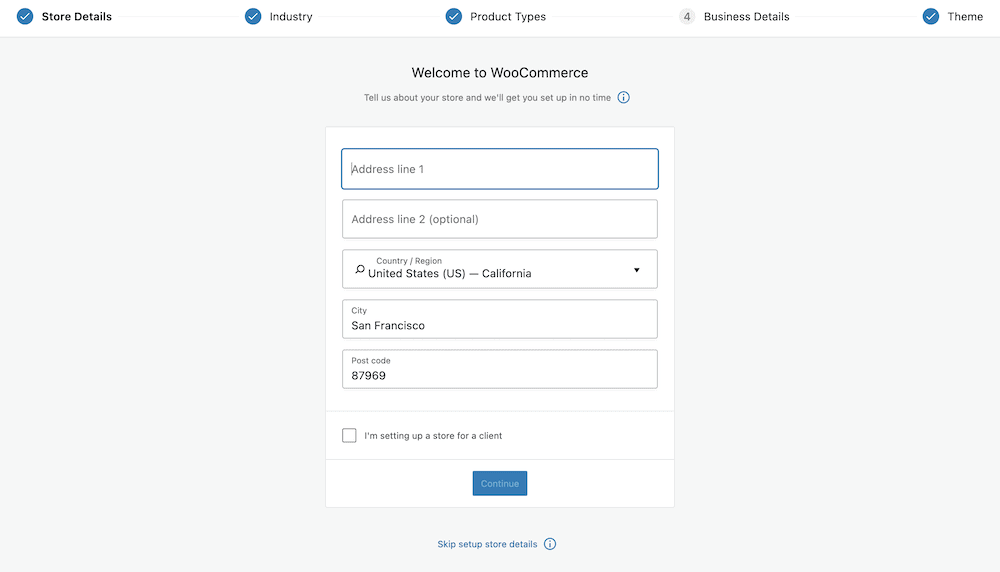
When it comes to this point of the setup, we have you covered. In fact, we have a full WooCommerce tutorial post that goes into step-by-step detail on how to start with WooCommerce and create your first product. It’s a good post to have open in a spare tab while you run through this one. The information within there will be valuable for the next set of steps.
2. Create Your WooCommerce Products
Once you have a WooCommerce installation up and rocking, you should look into creating products on the back end. Again, our WooCommerce tutorial covers how to do this in detail, but here are the Cliff’s Notes:
- Head to the Products > Add New tab within WordPress.
- Fill in your product’s name and short description.
- Use the WooCommerce meta boxes to populate your product’s data, such as the price.
- Add an image.
- Publish your product.
Though, here is where Elementor shows its first power move – the WooCommerce Builder. This is a way to use the page builder to create the design of your product pages.
To start, click Templates > Add New within WordPress:
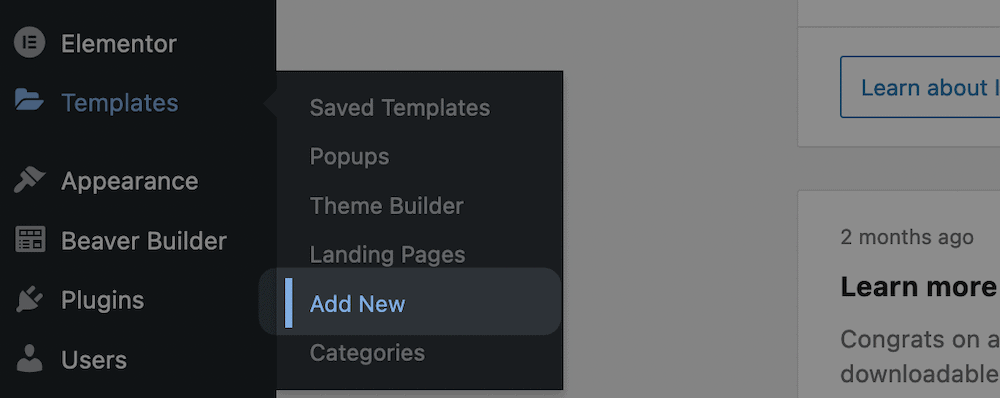
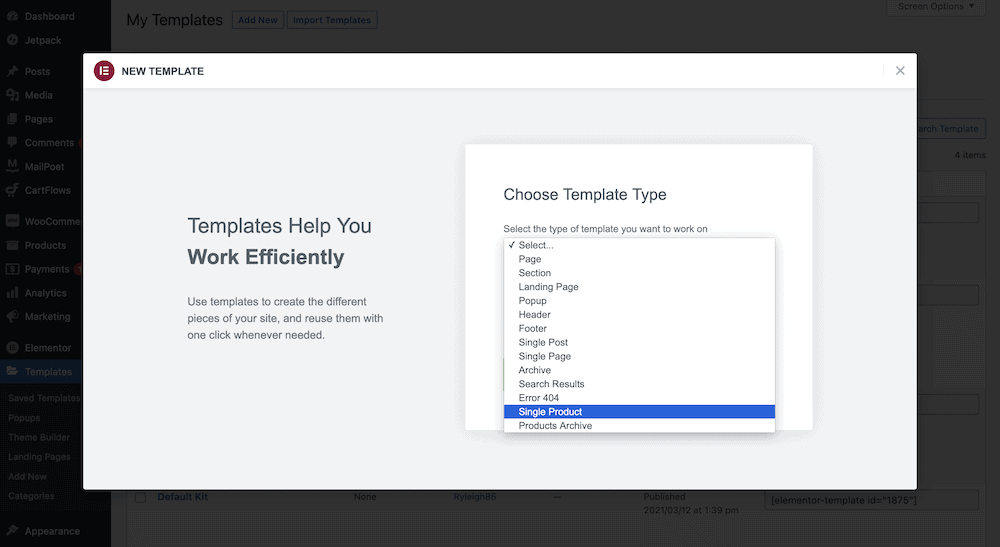
From here, select Single Product from the Template Type drop-down, and enter an optional name:
This will open the Template Library to show every pre-built Block within:
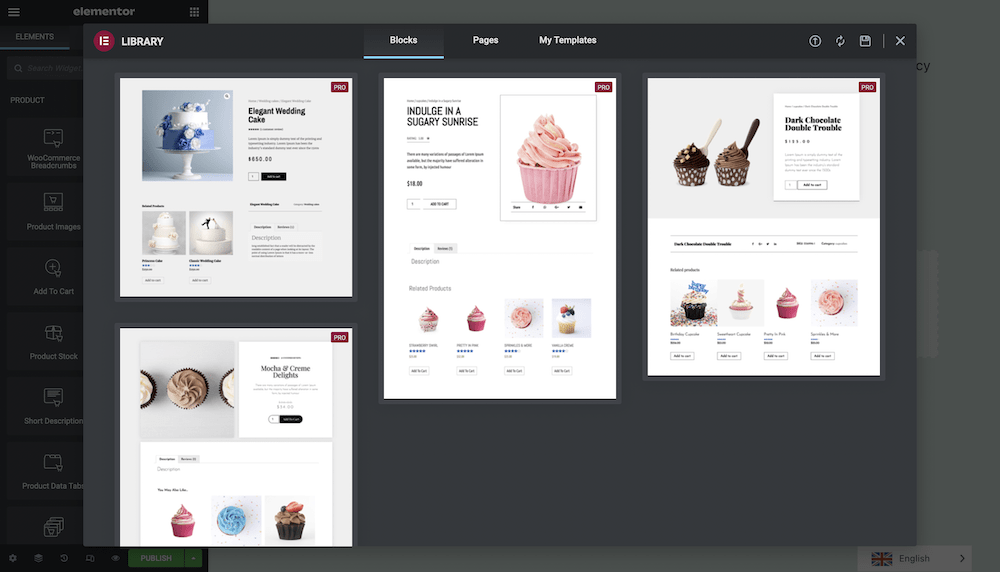
Once you see a design you like, click the Insert button and Elementor will import the Block:
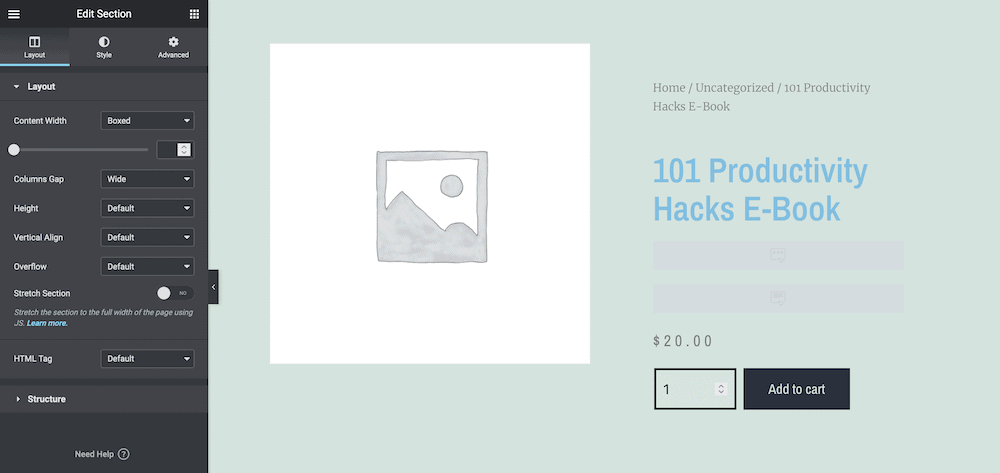
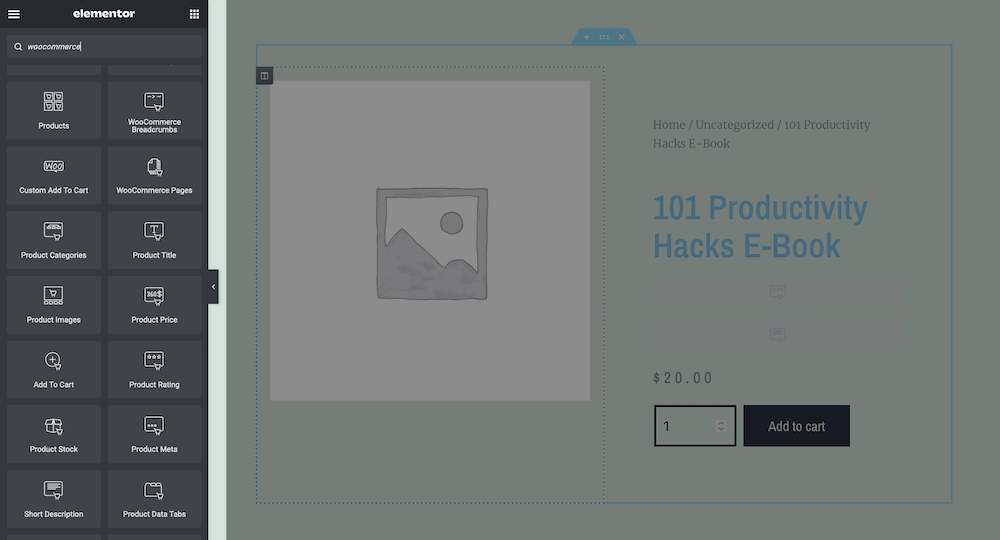
This is a fast way to spin up a dedicated product page. You can take this great start and add more too. Elementor includes a number of dedicated widgets to help you build WooCommerce-specific pages:
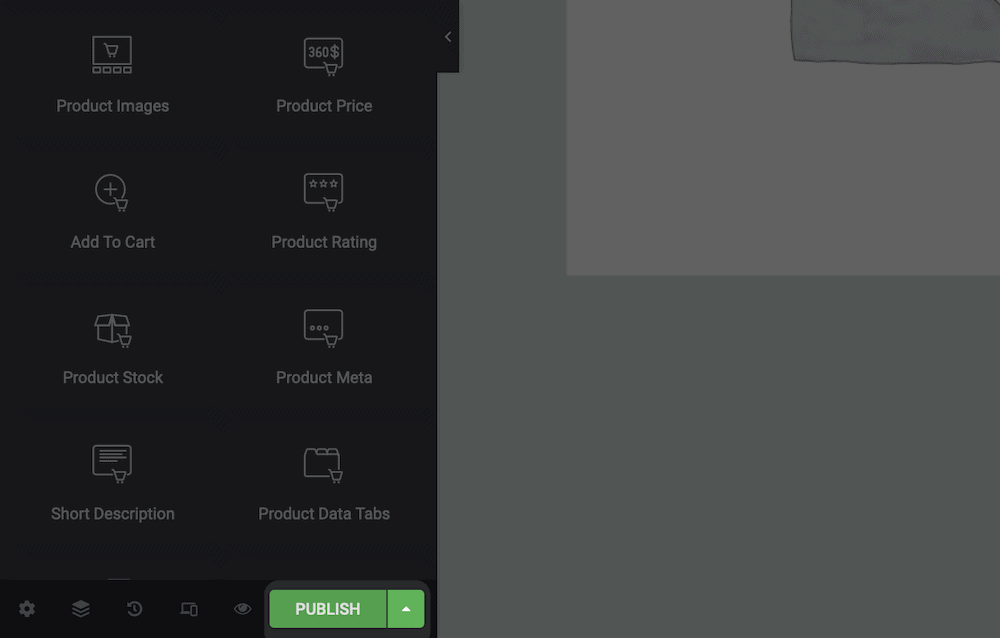
Once you have a page layout you like, click the green Publish button at the bottom of the screen:
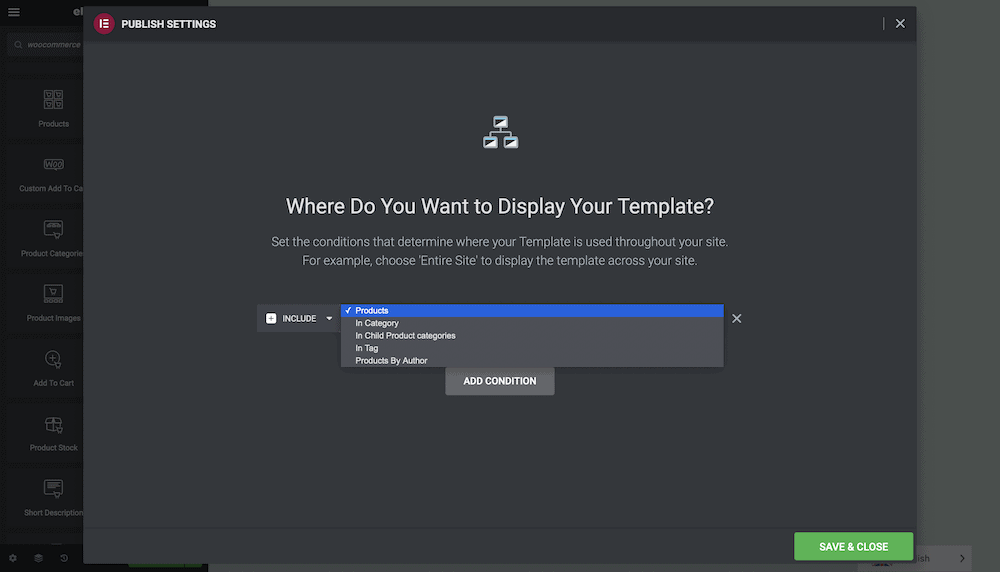
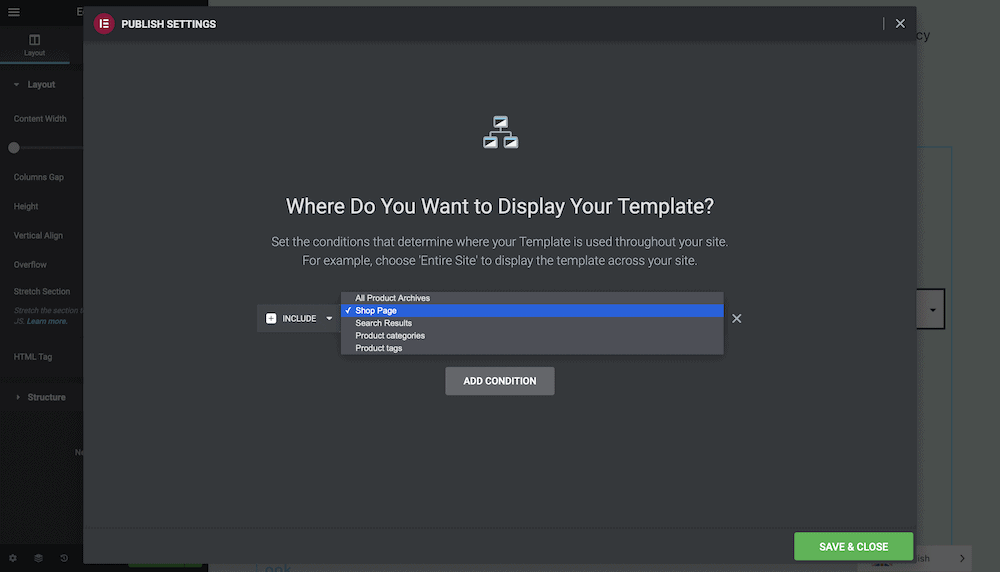
This will bring up a pop-up to help you set up a specific condition for displaying the template:
When you’re ready, click Save & Close. From here, you can add more products to your store, work on more templates, or start working on a dedicated Shop page.
3. Design Your Dedicated Shop Page Using Elementor and WooCommerce
One handy User Experience (UX) of WooCommerce is how it generates most of the necessary pages you need for your store. The top-level Shop page is the most important, as this is the front awning that decorates the door.
If you use WordPress and WooCommerce with a WooCommerce-specific theme such as Storefront, your main port of call for customizing the Shop page is through the Customizer. Though, our focus is with Elementor. The way to do it with the page builder is to use a Products Archive page.
This lets you customize how products display on your site, but doesn’t handle the rest of your page. In some cases it could be tough to manage two sets of customizations and settings, but in our experience it hasn’t been a problem so far.
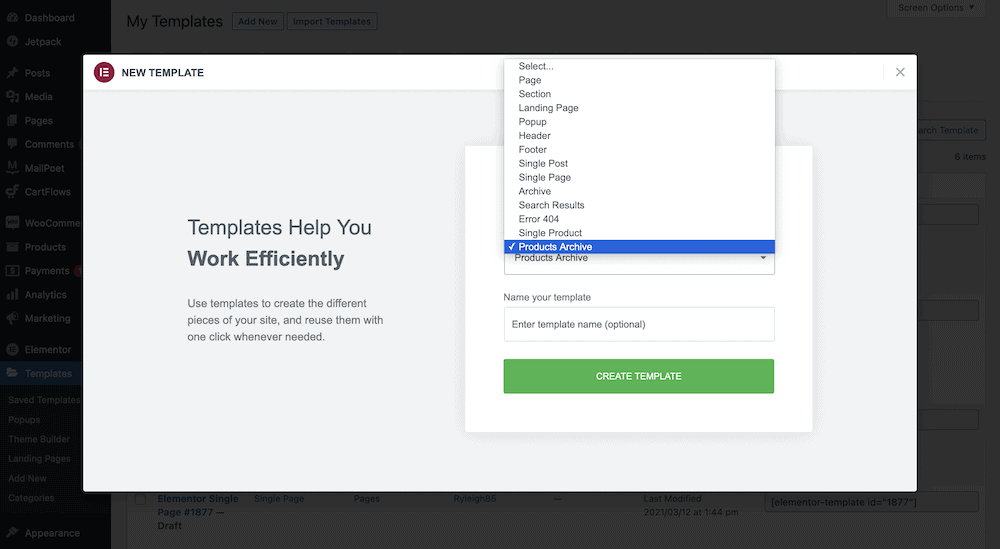
As with individual products, you’ll need to head to Templates > Add New within WordPress, then choose Products Archive from the drop-down:
Again, you can choose a Block, edit a page from scratch, or combine both to create something unique. Also as before, you can use any of the WooCommerce-specific widgets to help you design a page to your liking.
Once you click the Publish button again and come to the Publish Settings dialog, you can invoke the magic. In its basic form, you can include the new template on the Shop Page:
Though, that’s not all. You can add further Include conditions to use the template in a number of places across your site. This is great for continuity, and giving visitors a reason to visit your store.
A Quick Note On WooCommerce’s Other Generated Pages
Before we wrap up, we want to mention the other generated WooCommerce pages. The bad news is that they don’t fall under Elementor’s gaze. In other words, you can’t edit pages such as the Checkout or Thank You pages without an addition WooCommerce extension.
This is disappointing, but understandable. Even so, you can still use Elementor to develop the surrounding elements, then drop the specific page functionality in with shortcodes. Though, it’s not ideal.
If editing these pages in full is important to you, you’ll want to look into the Checkout Field Editor ($49 per year), and the Custom Thank You Pages extension (also $49 per year).
In Conclusion
What could go wrong when using three of the most popular tools to publish an e-commerce store? In this case, there isn’t much. WordPress, Elementor, and WooCommerce all offer a stellar experience. Combining them can give you the ultimate in creating and running an online store.
Throughout this post, we have looked at how to use Elementor and WooCommerce together to build a store. Once you have both plugins installed and activated, your first task is to create products along with their associated pages. From there, you need a dedicated Shop page – something that Elementor is capable to handle. What’s more, the extra functionality of the page builder plugin (such as the pop-up builder, and more), can help take your store into the stratosphere.
Do you want to create an Elementor and WooCommerce combination for your next store, and if so, will this article help you? Let us know in the comments section below!