One of the best features of WordPress is its compatibility. The open source platform can easily integrate hundreds of third-party services through plugins, widgets, or even just simple embed codes. This is especially true when you add PayPal to WordPress.
If you’re a PayPal user, you can quickly integrate the service into your WordPress site to allow your website visitors to complete transactions.
Continue reading to learn how to:
- Add PayPal Donate Button to WordPress
- Select Donate Button
- Create Donate Button
- Add Donate Button to WordPress
- Add PayPal to WordPress with Gravity Forms
- Add PayPal to WordPress with Jetpack
- Add PayPal to WordPress with WooCommerce
Enjoy fast, secure hosting optimized for your WordPress site with our WordPress Hosting plans.
Add PayPal Donate Button to WordPress
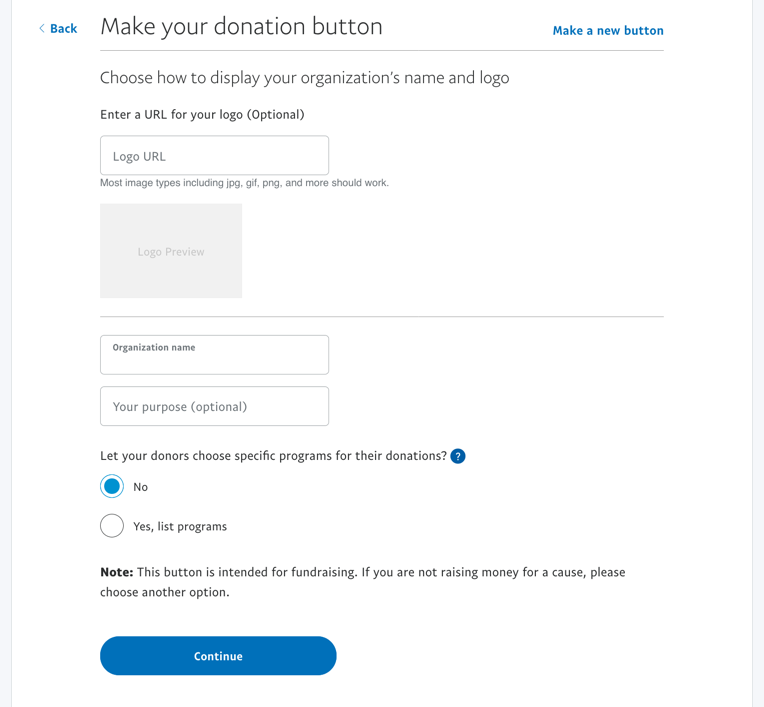
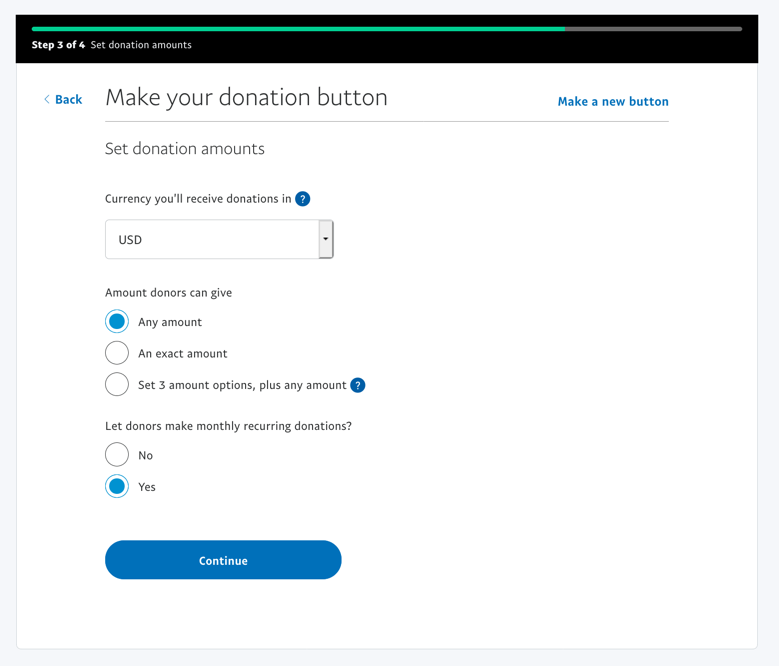
PayPal donate buttons for a charitable WordPress site can be created and added directly through Paypal. To create a PayPal donate button, your Paypal account must be confirmed as a 501c3 account. Once your account is approved, you will then be able to add buttons classified for donations. Continue to learn how to add a PayPal donate button to WordPress.
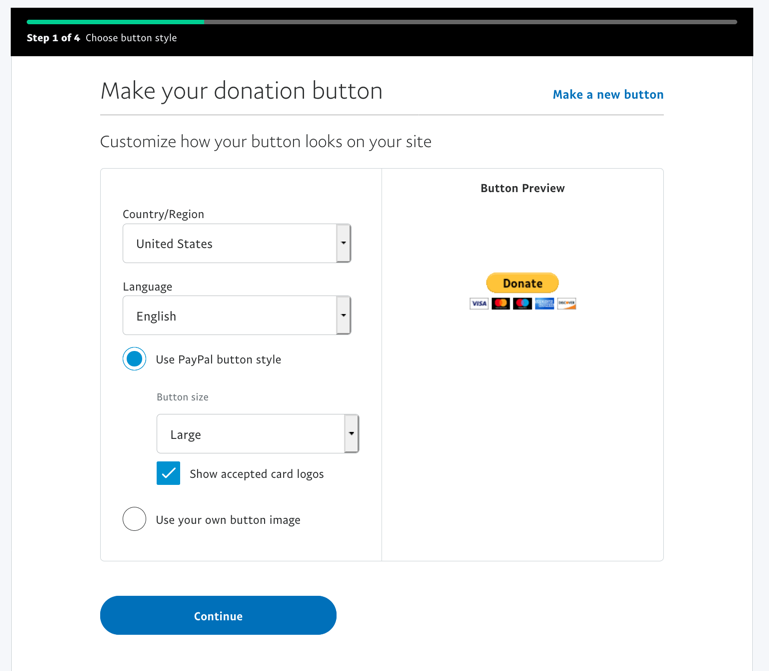
Select Donate Button
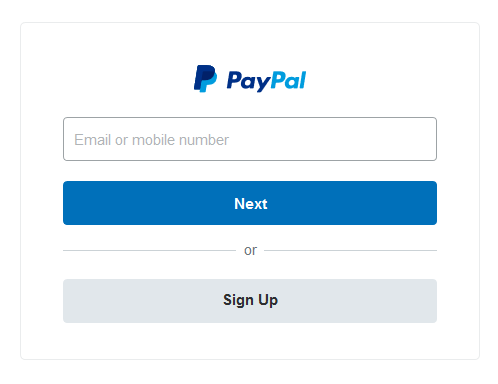
- Log into your PayPal account.
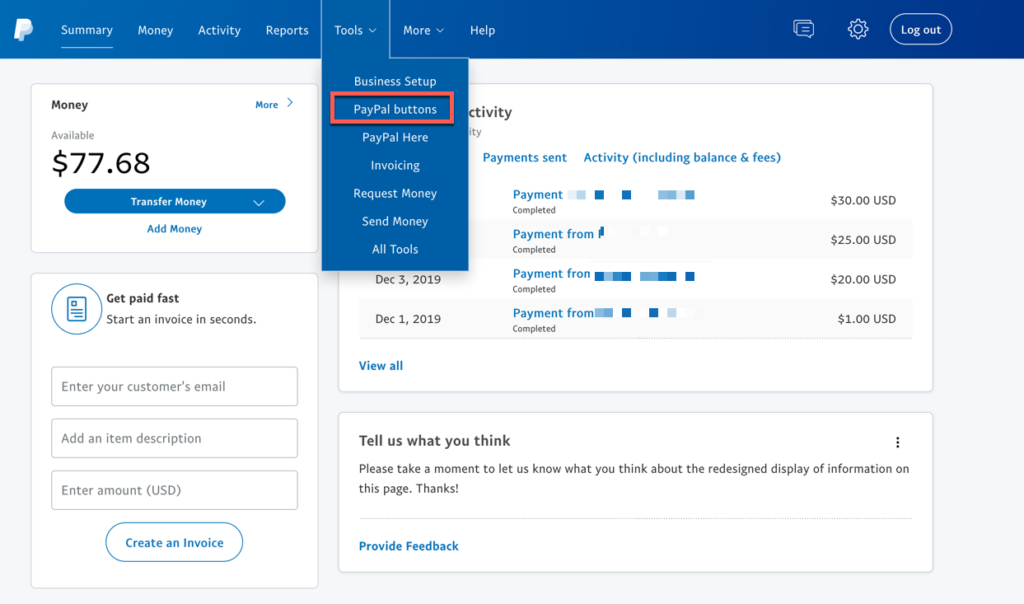
- Navigate to Tools.
- In the dropdown menu, click PayPal Buttons.
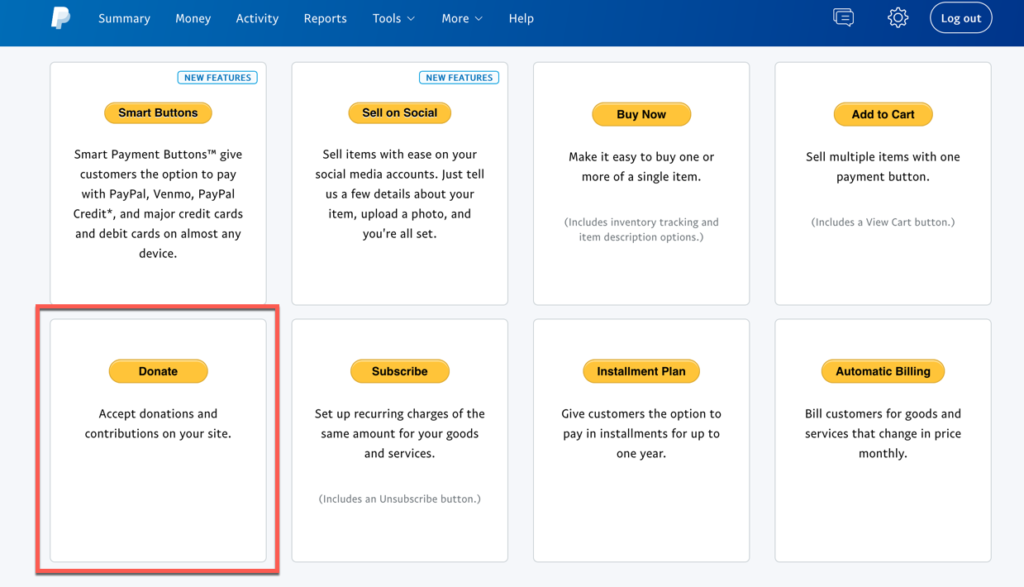
- Select the Donate button.
additional variables if needed.

Login to your WordPress site.

Add PayPal to WordPress with Gravity Forms
If you need to add a PayPal payment option to a form, you can use Gravity forms with the Gravity Forms PayPal addon. Gravity Forms, which is one of the most powerful and user-friendly plugins for adding dynamic forms to WordPress, allows you to easily accept payments through a form with their PayPal integration.
To set up Gravity Forms with a PayPal Integration:
- Gravity Forms must be installed to complete this tutorial.
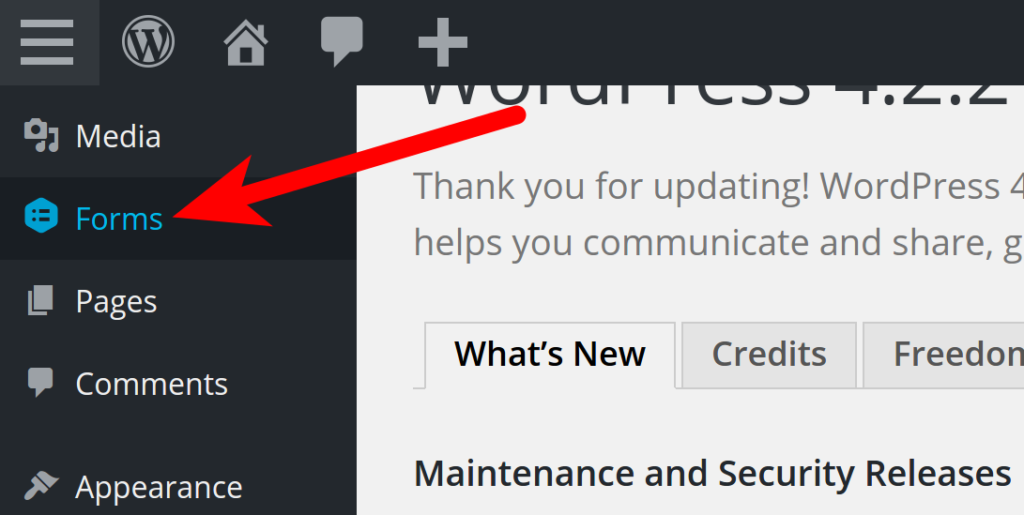
- Login to WordPress Dashboard.
- Click Forms > Add-Ons in the WordPress navigation menu.
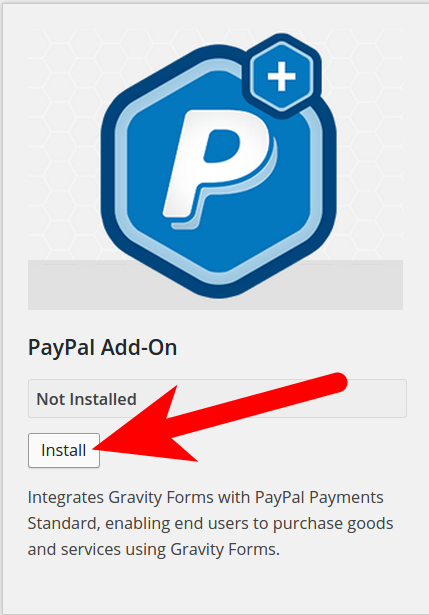
- Scroll down to PayPal Add-On and click Install.
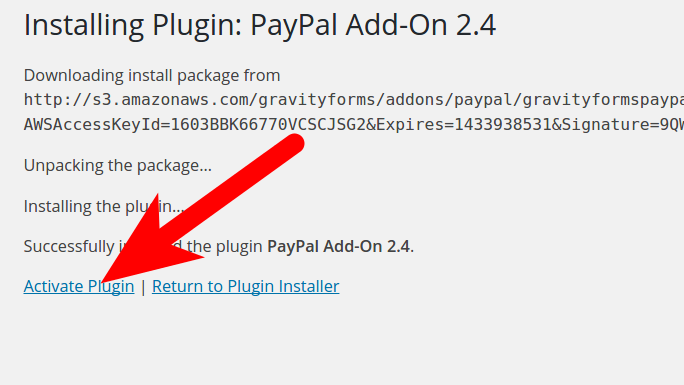
- When you see “Successfully installed the plugin PayPal Add-On…,” click the Activate plugin link.
- On the Plugins page, under “Gravity Forms PayPal Standard Add-On“, click Settings.
- Instant Payment Notification (IPN) must be enabled on your PayPal account to continue. The following steps are provided by Gravity forms:
-Navigate to your PayPal IPN Settings page.
–If IPN is already enabled, you will see your current IPN settings along with a button to turn off IPN. If that is the case, just check the confirmation box below and you are ready to go!
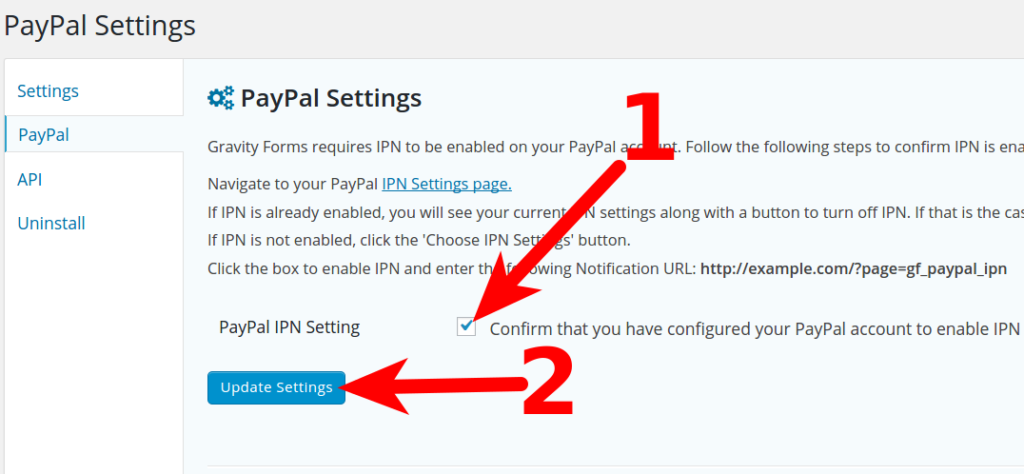
–If IPN is not enabled, click Choose IPN Settings button, enable IPN, and enter the following notification URL: https://example.com/?page=gf_paypal_ipn (They will list your actual domain, instead of “example.com”) - Once the IPN check is complete, check the box to confirm your IPN setup in Paypal, then click Update Settings.
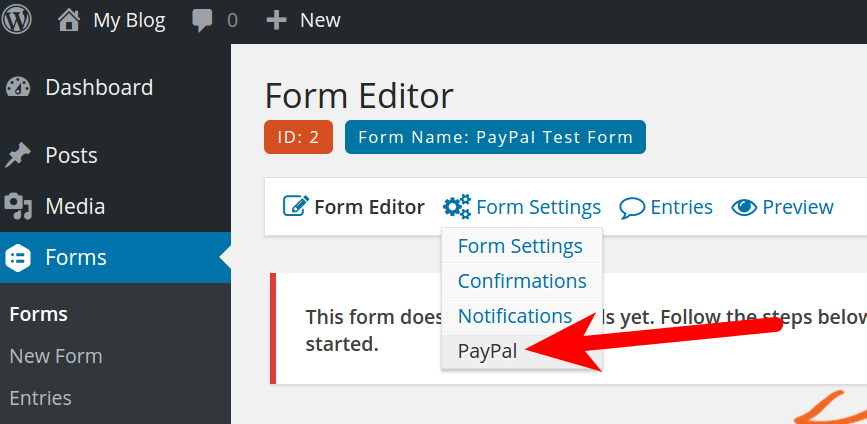
- You will see a Settings have been updated message. You can now access the PayPal option in your Form > Form Settings in your WordPress dashboard.
Once the PayPal Gravity Forms addon is configured, you can easily add the option to your form while editing it.
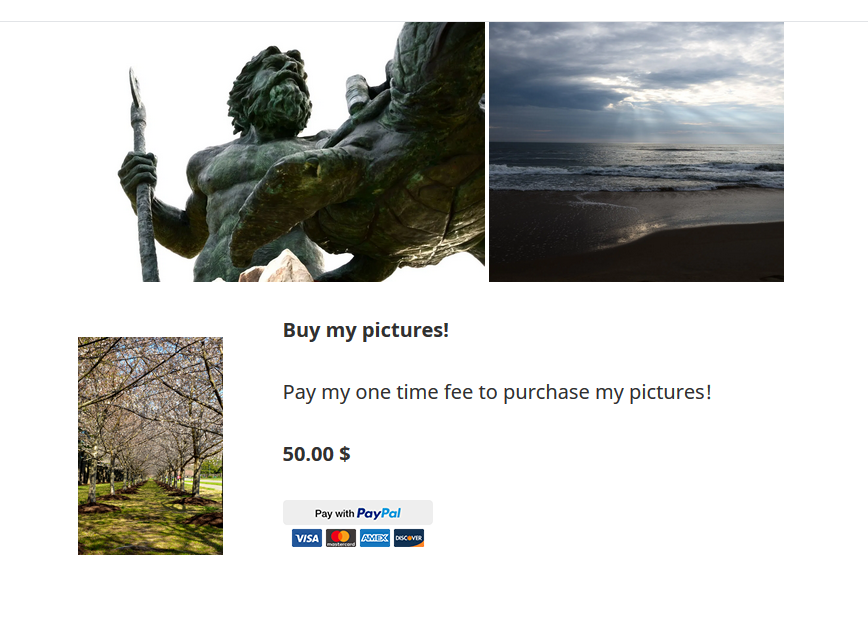
Jetpack Simple Payments block may be a good option for you.
You can use the block with a Paypal account to allow your customers to complete transactions using a credit card, debit card, or their Paypal account.
The Simple Payment block is only available with Jetpack Premium or Professional subscriptions. This tutorial uses Paypal as the payment processor, so it will be required for the directions below. If you don’t have a Paypal account, you can easily create one for free.
- Login to the WordPress Dashboard.
- Create or edit a page or post.
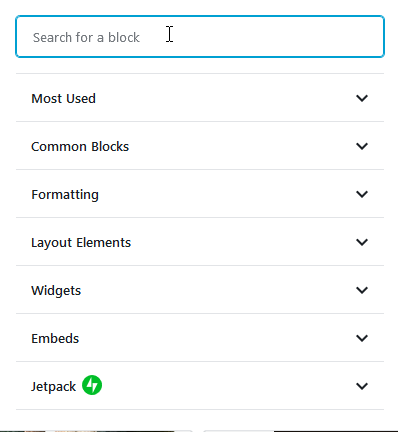
- On the page or post edit screen, click the +sign in the upper left corner and add the Simple Payments block.
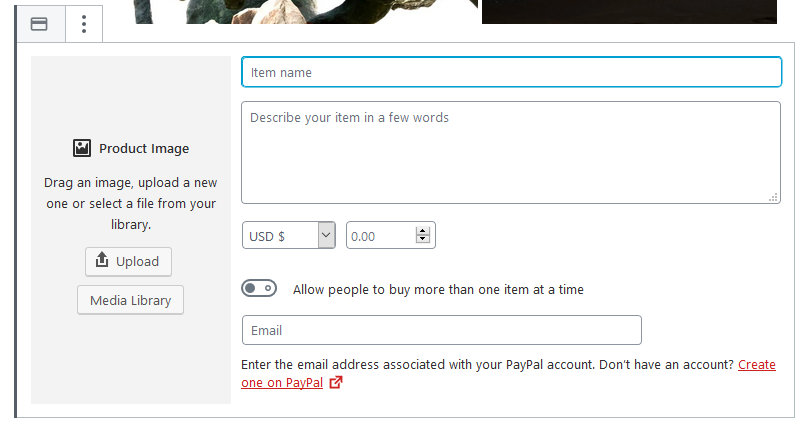
- You’ll then need to configure several options:
| Product Image | Upload an image or choose an image from your media library of the item or service for purchase. |
| Item Name | Name of the item or service for purchase. |
| Description field | Describe your product or service. |
| Cost and selected currency (USD $) | By default, the currency is set to U.S. dollars, but you can choose a different currency. Click on the field to type in a value or use the up and down arrows to adjust the price. |
| Toggle to let people buy more than one item | Enable to allow people to buy multiples the item or service. |
| Email address | Add the email associated with your Paypal account. |
WooCommerce is the solution for you.
This free plugin, with free simple PayPal integration, will allow you to create a complex eCommerce WordPress website with store, order, and customer tracking.
- Login to the WordPress Dashboard.
- Install WooCommerce.
- Navigate to WooCommerce > Settings.
- On the WooCommerces settings page, click Checkout > PayPal.
- Configure the PayPal settings. Descriptions of the options are below.
- Click Save.
PayPal WooCommerce Settings:
| Enable/Disable | Check the box to enable checkout via PayPal on your site. |
| Title | This determines what is displayed to your user within the checkout options. You may enter anything you want here, but keep in mind that it will show to all users on your site during the checkout process. By default, it will display PayPal. |
| Description | This is similar to the Title option. This is the description/instructions for PayPal that will be displayed within the your checkout page. |
| PayPal Email | In this field, enter the email address associated with your PayPal account. |
| Receiver Email | This is an optional field that is only needed if you want to send notifications to another email address that is not associated with the PayPal account. If you want to do this, enter that email address here. |
| PayPal Identity Token | This is an optional field that will allow you to identify pending and successful payments without the need for PayPal IPN. To obtain your identifier, log into your PayPal account, click on Profile, then click on Website Payment Preferences. Here, enable Payment Data Transfer. You will then see your PayPal Identity Token displayed. |
| Invoice Prefix | This is a unique identifier that will be displayed before any invoice numbers. For example, if you set it to InMotion-, an example invoice number would be InMotion-00000001. |
| Payment Action | This option determines if payments will be captured when submitted or require authorization first. Most users will want to set this to Capture. |
Become a master of WordPress plugins! Protect, optimize, secure, and expand the functionality of your website easily with the help of WordPress plugins!