In this blog article, we will explore the exciting journey of migrating our Python Flask-based password generator to a powerful AWS serverless architecture. The serverless paradigm offers numerous benefits, including automatic scaling, reduced operational overhead, and cost efficiency. As part of this migration, we will focus on leveraging AWS technologies, such as Amazon S3, API Gateway, and AWS Lambda, to host, process, and serve the password generation requests.
Before we embark on this adventure of going serverless, let’s take a moment to bid farewell to Flask. It served us well with its warm Pythonic embrace, but alas, it’s time to let it go and embrace the cloud-powered wonders of AWS. It’s important to note that we’ve made some small adjustments to our original Flask app to ensure smooth integration with AWS serverless components. However, for this article, we will predominantly concentrate on comprehending the AWS architecture and the seamless flow of data from user interaction on the static website to the generated password’s delivery.
We’ll unravel the step-by-step process of setting up the components, handling API requests, processing data using Lambda functions, and, finally, returning the password to the static website.
Get Serverless Experience By Following Along
Feel free to follow along with the tutorial by downloading the provided files from my Github page. If you don’t have an AWS account yet, you can create one for free by following this tutorial. Remember, the best way to learn is by getting hands-on experience, and this tutorial will give you just that.
Within the GitHub repository you will need to download the following files:
- lambda_function.py and lambda_test_event.json – used in step 1
- api_gateway_mapping_template.txt – used in step 2
- s3_bucket_policy.txt and index.html – used in step 3
Step 1: Creating the Lambda Function
The first step of our serverless journey involves the creation of a Lambda function. To initiate this process, access the AWS console and locate the Lambda service.

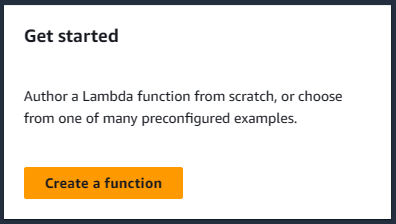
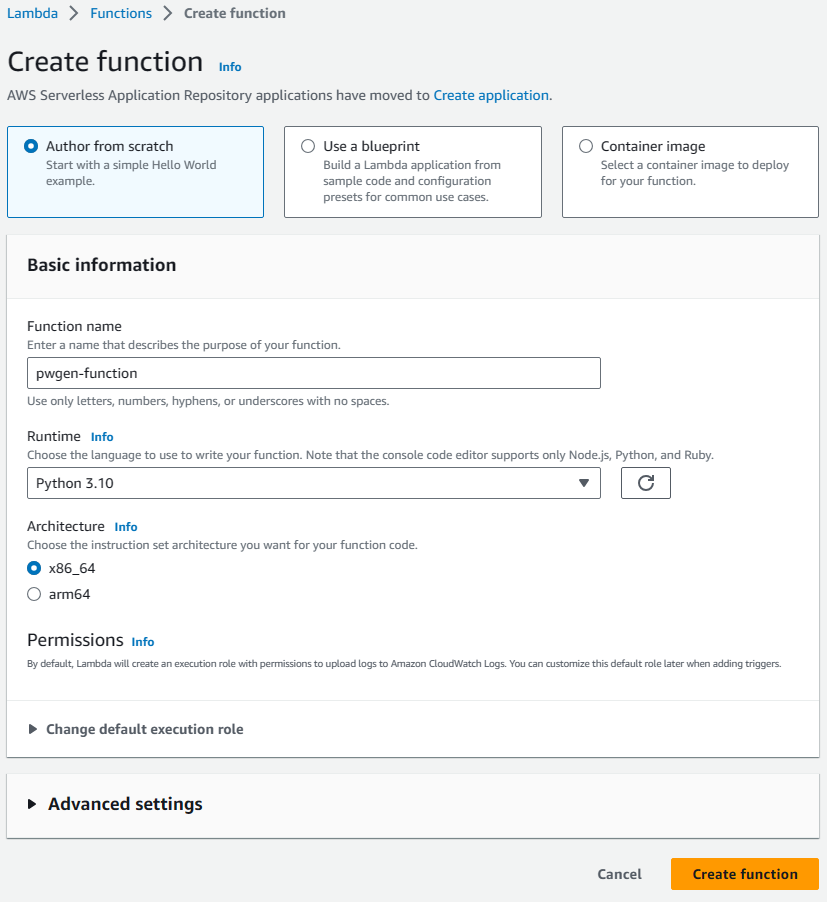
Click “Create a function”.
Make sure to choose “Author from scratch” as the starting point. Create a name for the function; for instance, I’ve named it “pwgen-function.” Under “Runtime,” opt for Python 3.10. Leave all other settings as default and proceed by clicking the “Create function” button.
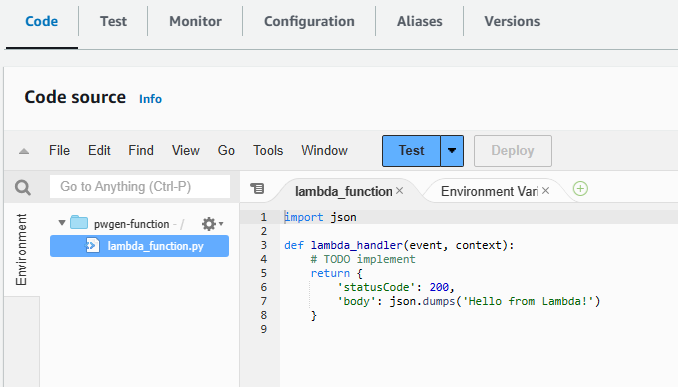
After the function is created, navigate to the Code section. You’ll notice a default file named “lambda_function.py” with code on the right-hand side. Feel free to delete all the code in this file as it is not required for our purposes.
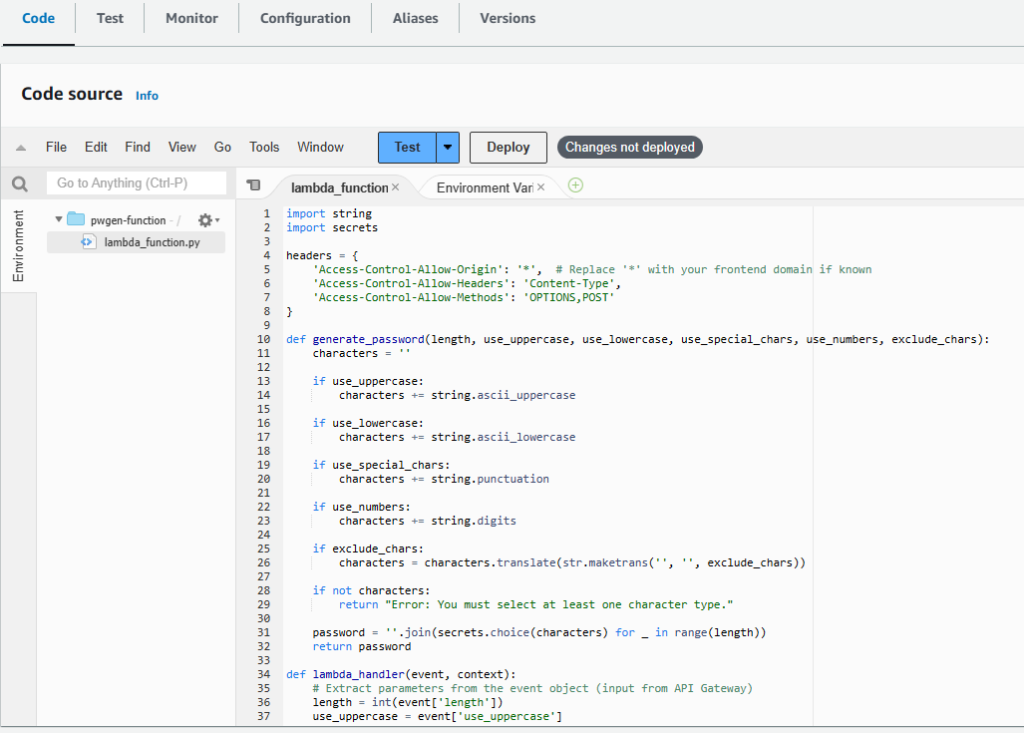
Let’s proceed by pasting our modified Python from my Github repository – “lambda_function.py”. If you followed my previous two blog articles, “Build The Ultimate Free Password Generator Using Python and Flask” and “How To Docker Containerize A Python Flask Application,” you’ll observe that there have been only a few minor alterations to the Python code. For instance, we have removed Flask, defined a new function called “lambda_handler,” and incorporated some JSON code for testing purposes.
Your lambda_function.py file should now resemble this:
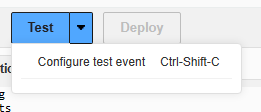
Click the Deploy button.
After deploying the Lambda function, the next step is to proceed with testing. Click on the Test button and then select “Configure test event.”
Make sure to choose “Create new event” and provide a name for the event. For my instance, I will name it “pwgen-testing.” Select “Private” under “Event sharing settings.” You’ll find a default template named “hello-world” with JSON key-value pairs. Simply remove all the content within the “Event JSON” section.
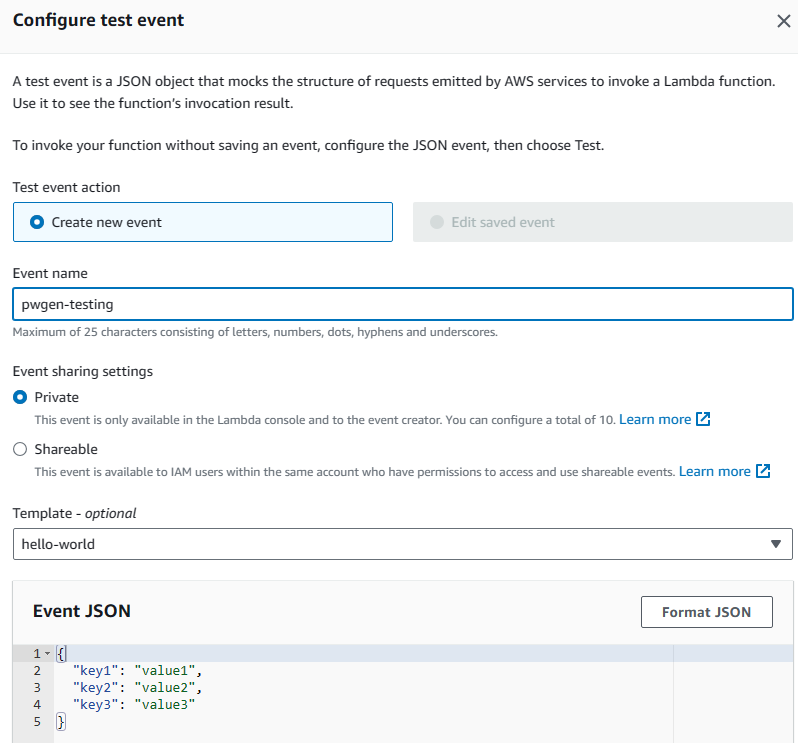
Now, let’s paste in the JSON testing code from my GitHub repository – “lambda_test_event.json”. This code will test the various settings available in the code, such as the password length, the usage of uppercase characters, etc. After pasting the code, click on the Save button to proceed.

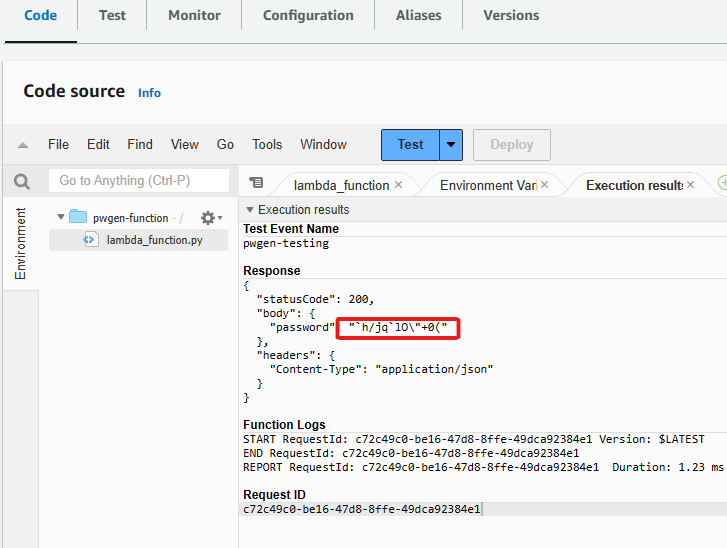
Now, all that’s left to do is click on the “Test” button, and if everything goes smoothly, our generated password will be presented to us.
With the completion of our first stage, setting up the Lambda function, we are now ready to proceed to the next step: creating the API Gateway.
Step 2: Creating the AWS API Gateway
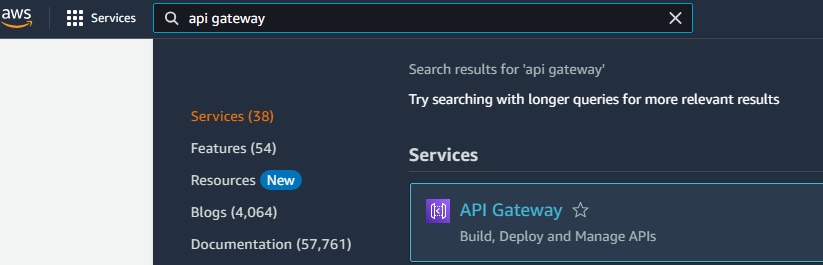
The second phase of our serverless journey involves creating an API gateway. To commence this process, navigate to the API Gateway service.
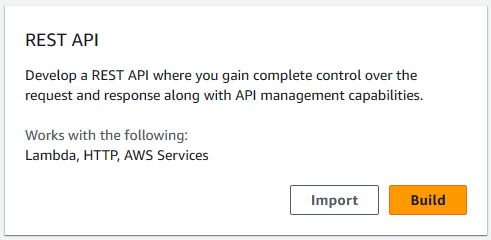
Scroll down to “REST API” and click on the “Build” button.
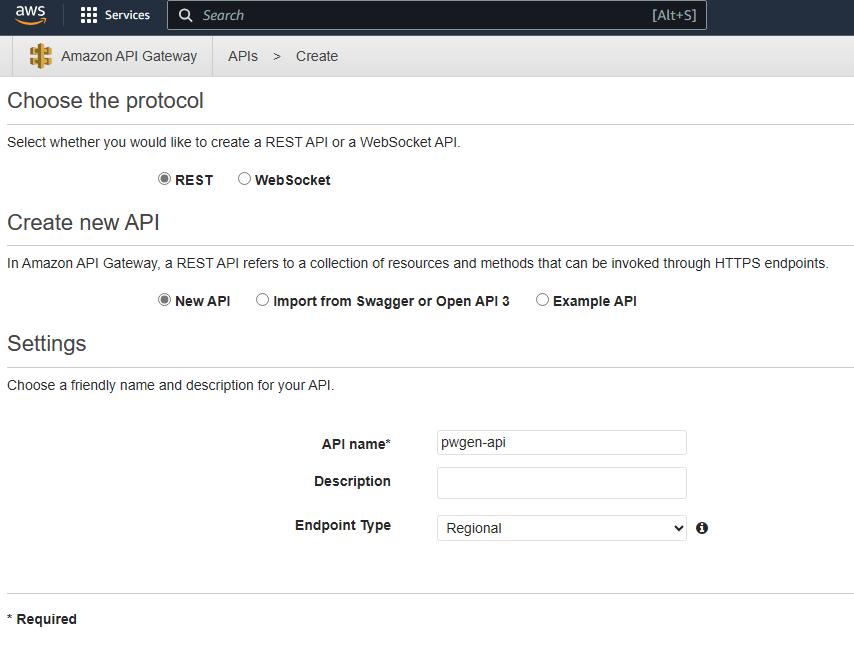
As you step into the API creation wizard, choose “New API” from the options presented under “Create new API.” Within the “Settings” section, assign a name to the API. For this particular case, I have named it “pwgen-api.” Click the “Create API” button when finished.
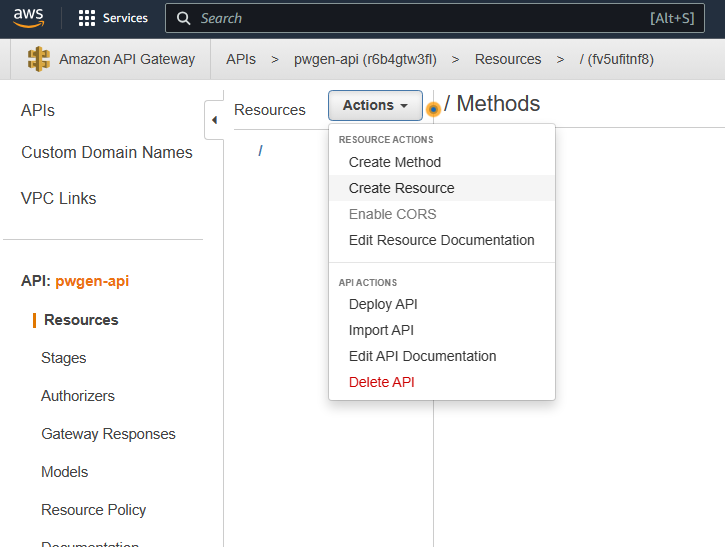
Let’s proceed to create a new Resource, enabling the flexibility to leverage this API gateway for various purposes in the future. Click on the “Actions” button and select “Create Resource.”
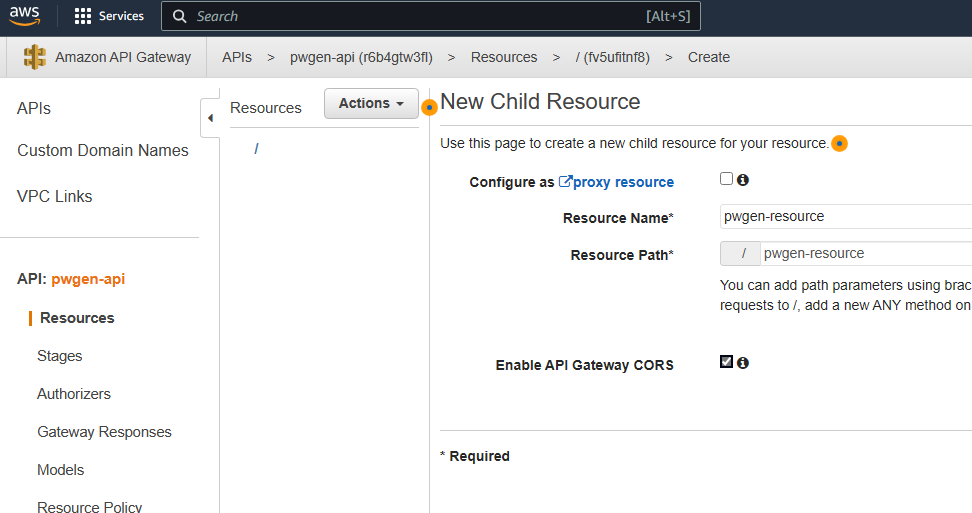
Provide a distinctive name for your resource and ensure to check the box for “Enable API Gateway CORS” and click “Create Resource”.
What is the significance of “Enable API Gateway CORS”?
When you enable CORS for an API Gateway resource, it allows your API to receive and respond to requests from web pages hosted on different domains. In other words, it enables cross-origin communication between your frontend (e.g., hosted on an S3 static website) and the API Gateway, which is essential when building serverless applications that interact with external websites or applications.
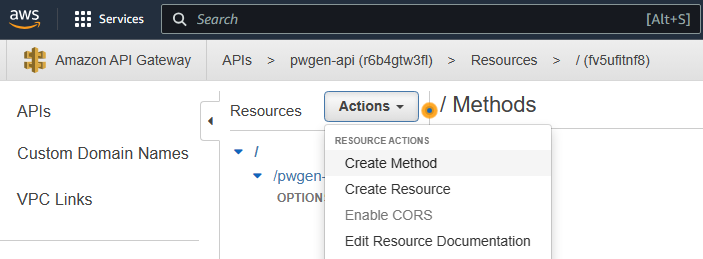
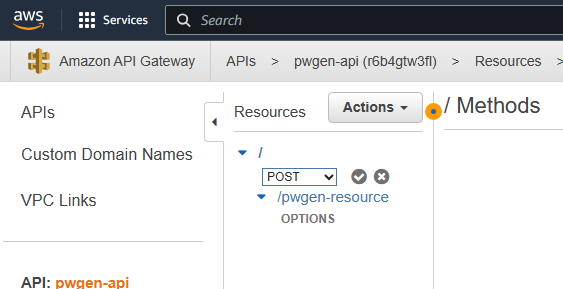
Click on the “Actions” button once again and select “Create Method”
Drop down the menu and select POST, then click the tick icon next to it.
Make sure that the “Integration type” is set to “Lambda Function.” Next to “Lambda Function,” start typing the name of the Lambda Function you created in step 1. Once it populates, select it, and then complete the process by clicking on the Save button.

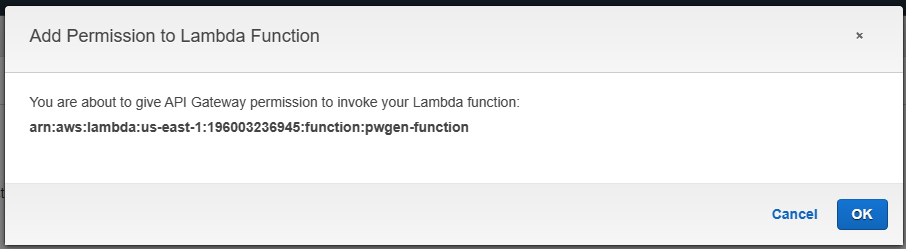
A pop-up will appear on the screen, asking if you want to grant API Gateway access to your Lambda function. Click on “OK” to accept the request.
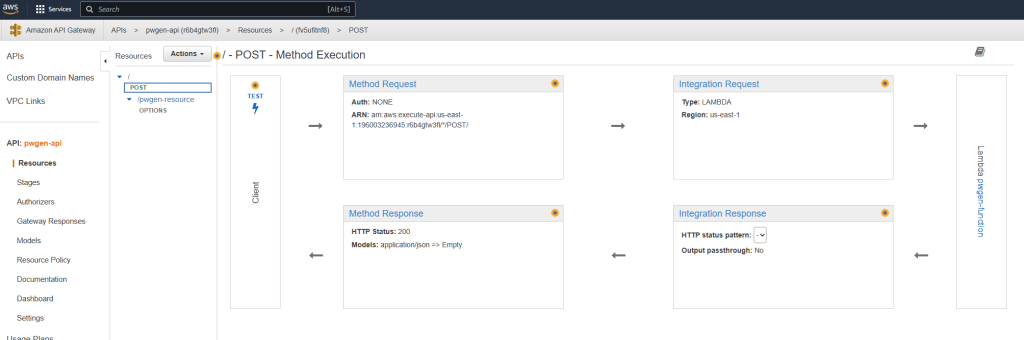
Click on the “Integration Request” title towards the right..
Expand Mapping Templates towards the bottom of the page. For “Request body passthrough” select “When there are no templates defined (recommended)”.
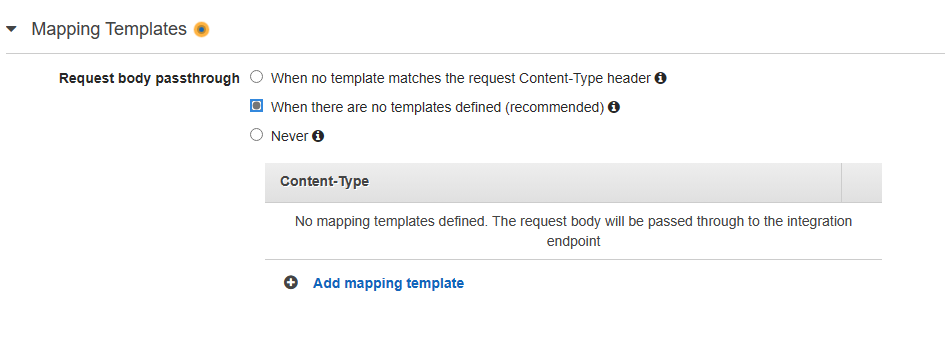
Click “Add mapping template” towards the bottom. Type in “application/json” and click on the tick icon to the right.
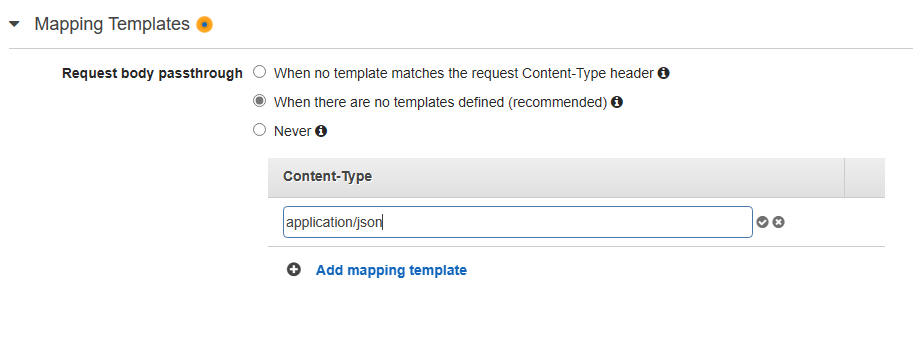
Scroll down and paste the mapping template code from my GitHub repository – “api_gateway_mapping_template.txt” so it looks like the following screenshot. Click Save.

This API mapping template is responsible for extracting and transforming the request payload received by the API Gateway into a format that the Lambda function can understand. It uses Velocity Template Language (VTL) to define the mapping.
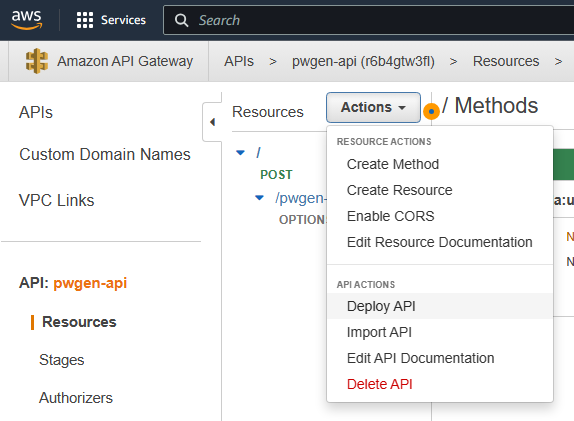
Click on the “Actions” button once more, and select “Deploy API”
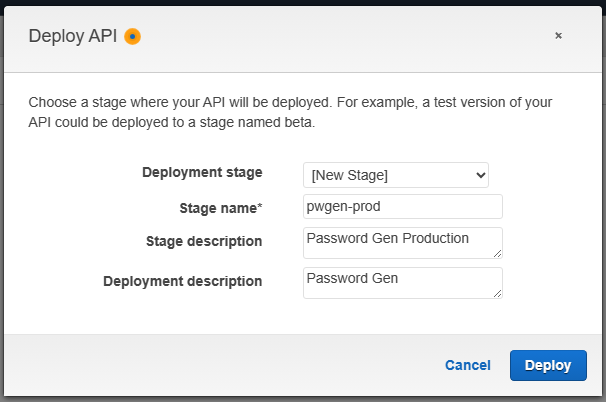
Provide a stage name for the deployment. In my case, I’ll use “pwgen-prod.” You can also enter an optional “Stage description” and “Deployment description.” Finally, click on “Deploy” to complete the process.
Indeed, setting up the API Gateway involves a few steps, but the good news is that it’s a one-time process.
We’re on the home stretch now. Make sure to take note of the Invoke URL for the API Gateway, as we’ll need to enter this into our index.html file in the next section.

Before proceeding further, let’s ensure that everything is functioning correctly up to this point. To do this, we’ll perform a test using the “curl” command.
curl -X POST -H "Content-Type: application/json" --data-raw '{"length": 12, "use_uppercase": true, "use_lowercase": false, "use_special_chars": false, "use_numbers": true, "exclude_chars": "1l0o|"}' "https://r6b4gtw3fl.execute-api.us-east-1.amazonaws.com/pwgen-prod"
You should receive a status code of 200, along with the generated password.

Step 3: Setting Up The Static Website on AWS S3
The third and final step of our serverless journey is to create a static website to allow users to interact with the password generator.
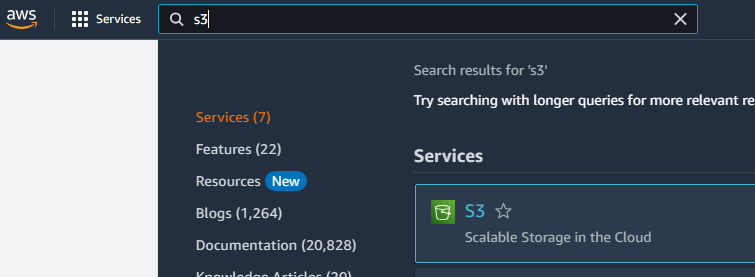
Login to the AWS console and browse to the S3 service
Click on “Create bucket” to create a new S3 bucket.
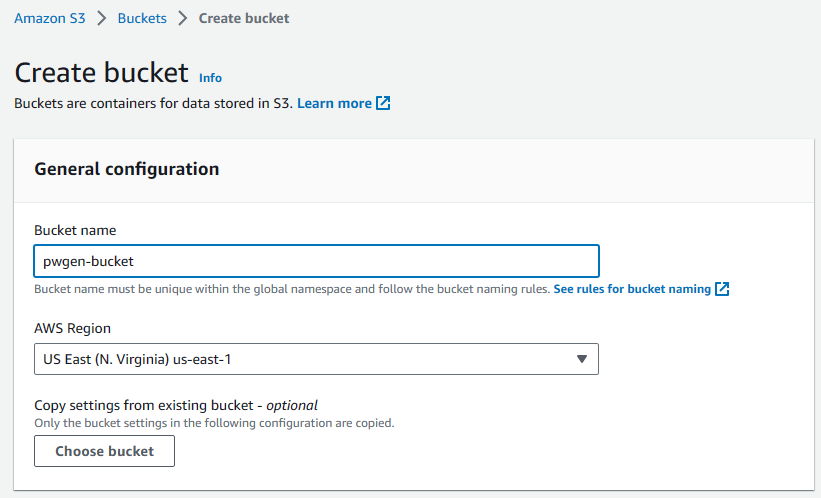
Provide a unique and descriptive name for the bucket, as bucket names must be globally unique across all AWS accounts.
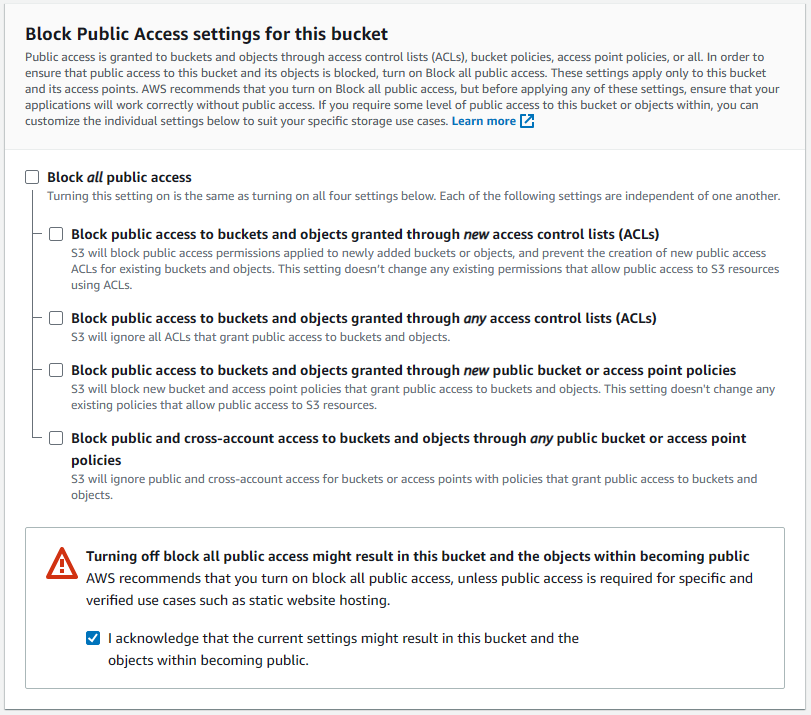
Leave the “Block all public access” option unchecked for now. Check “I acknowledge that the current settings might result in this bucket and the objects within becoming public”. We will configure the appropriate permissions later to ensure secure access to the static website.
Click “Create bucket” to create the S3 bucket.

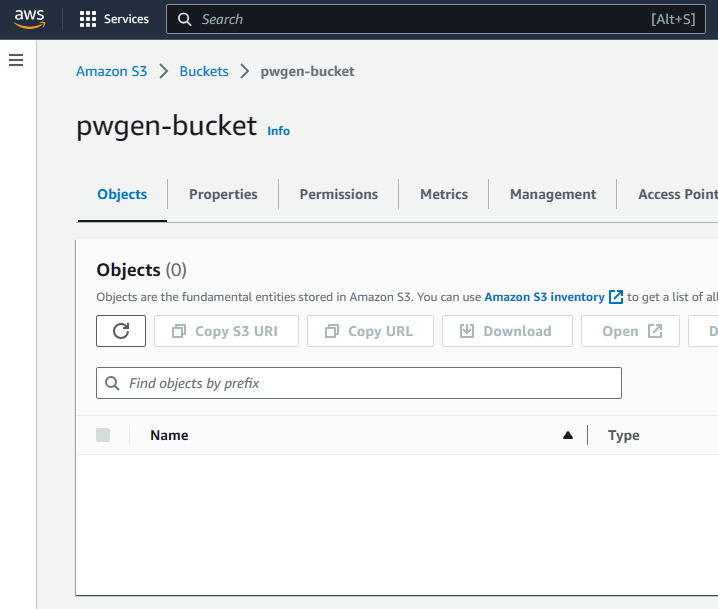
Once the bucket is created, click on its name to open the bucket details.
Click on the bucket “Properties” tab and scroll down to “Static website hosting”.
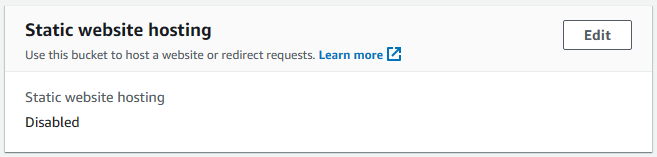
Click “Edit” and enable “Static website hosting”. Within the field for “Index Document” enter in index.html. This tells S3 to serve the index.html file as the default page when users access the website.
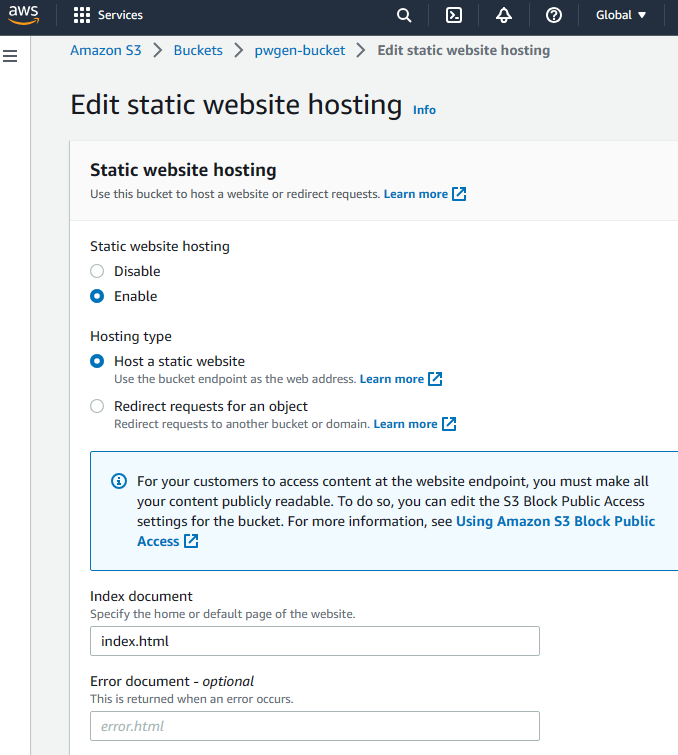
Click “Save changes” at the bottom of the page to enable static website hosting on the S3 bucket.
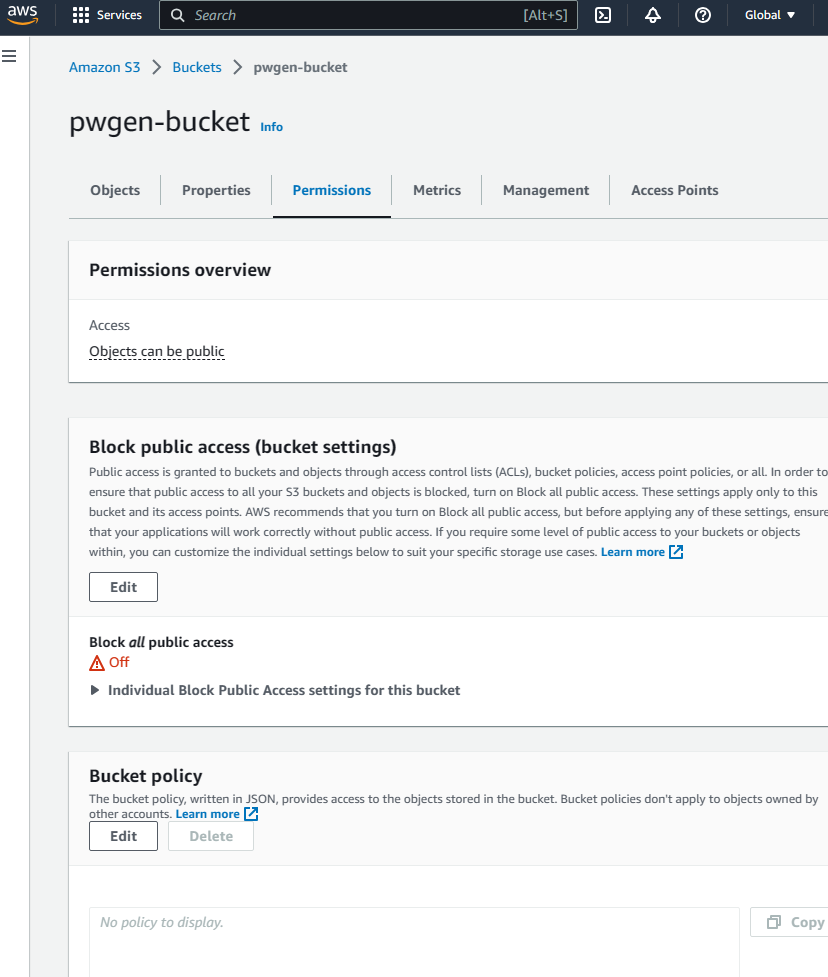
Next, we will add a bucket policy to allow the public to read our files, such as “index.html” that we’ll be uploading shortly. Click on the bucket “Permissions” tab and underneath “Bucket Policy” click “Edit”.
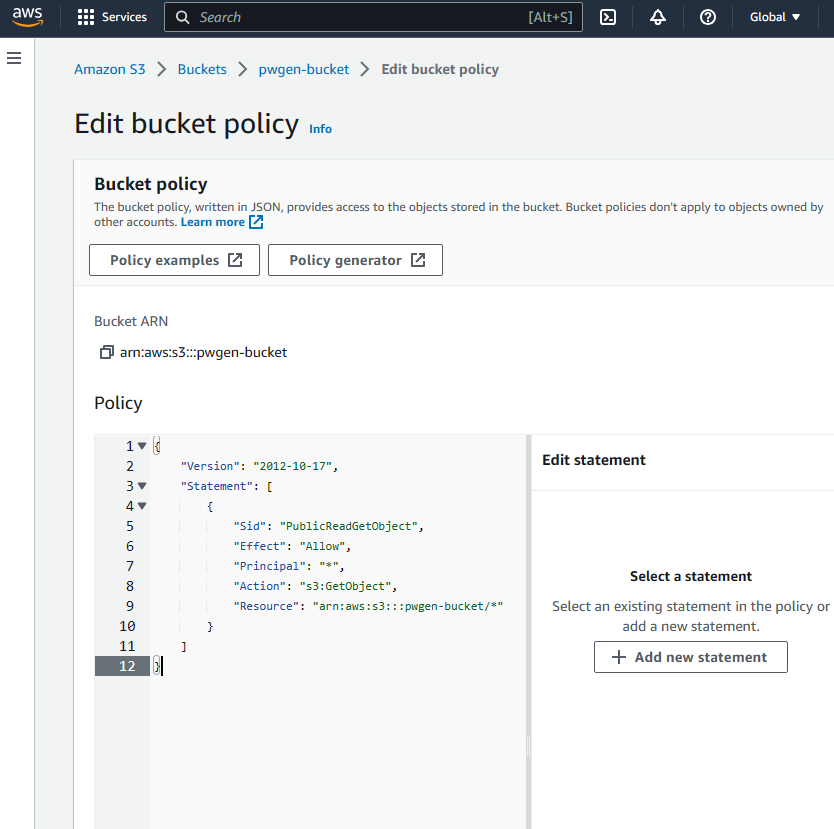
Here we will paste in our bucket policy permissions from my GitHub repository – “s3_bucket_policy.txt”. Let’s break down what each line means exactly:
- “Version“: This specifies the version of the AWS policy language being used. In this case, it is “2012-10-17.”
- “Statement“: This is an array containing one or more statements that define the permissions granted or denied by the policy.
- “Sid“: This is an optional identifier for the statement. It helps in identifying and managing individual statements within the policy. In this policy, the statement has the Sid “PublicReadGetObject.”
- “Effect“: This specifies whether the statement allows or denies the specified permissions. In this case, the effect is set to “Allow,” indicating that the permissions are granted.
- “Principal“: This defines the AWS user or account to which the policy applies. In this policy, the “Principal” is set to “*”, which means the permission is granted to any AWS account or user (i.e., the public).
- “Action“: This specifies the AWS service action to which the permissions apply. In this policy, the “Action” is set to “s3:GetObject,” which allows users to retrieve (read) objects from the bucket.
- “Resource“: This specifies the Amazon Resource Name (ARN) of the resources to which the permissions apply. In this policy, the “Resource” is set to “arn:aws:s3:::pwgen-bucket/*,” which means the permissions apply to all objects within the “pwgen-bucket” S3 bucket.
Click on “Save Changes” at the bottom of the page.
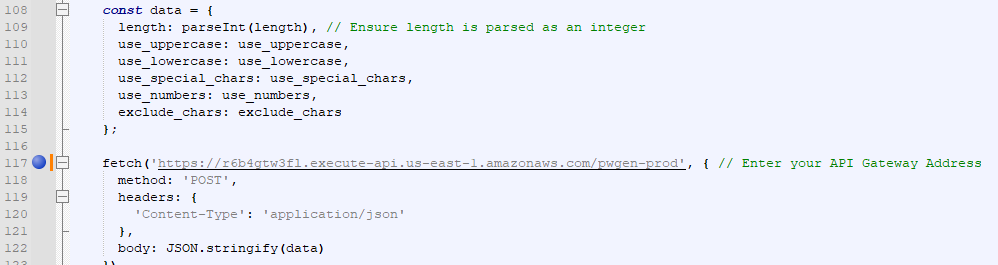
Let’s recall Stage 2, where we set up our API Gateway and emphasized the importance of noting down the API Gateway Invoke URL. Now, we’ll put that information to use. Before uploading our index.html file from my GutHub repository – “index.html”, open it in Notepad++ and navigate to the section where you find a comment that says “Enter your API Gateway Address.” The format for the URL is API Gateway URL / Stage.
After making the necessary adjustments to the API address URL, save the file, and then move on to the next step of uploading the index.html file to the S3 bucket.
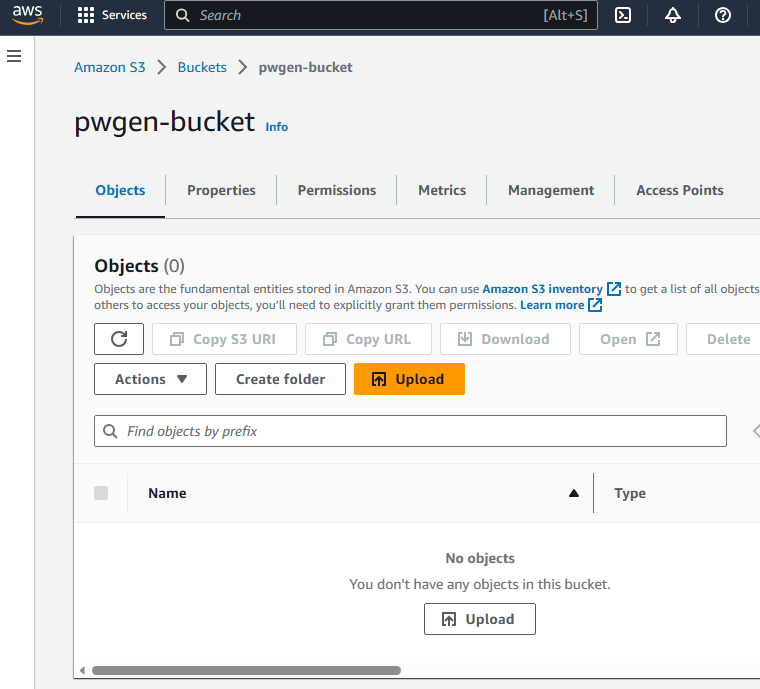
Select the bucket “Objects” tab. Upload your “index.html” file for the password generator by clicking on the “Upload” button.
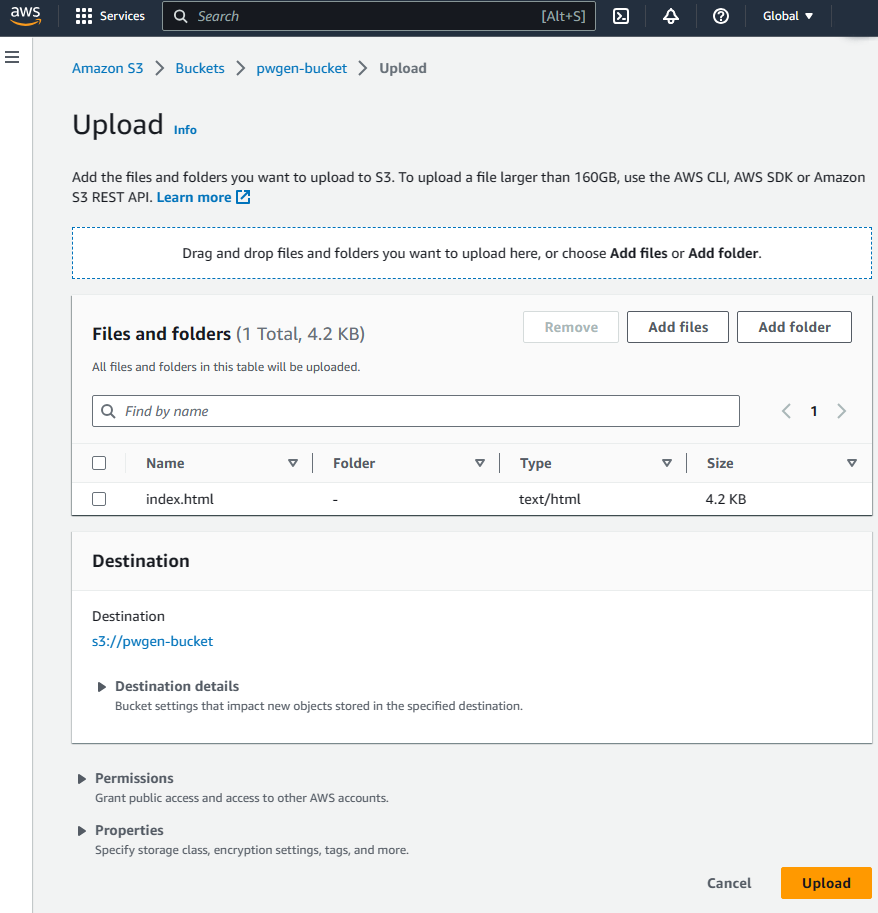
You can either drag and drop the “index.html” file or click “Add files”. Once the file is added, click on the “Upload” button at the bottom of the screen.
Let’s now put our static website to the test. Head over to the bucket’s “Properties” tab, and scroll down to find the “Static website hosting” section. There, you’ll discover the URL for your bucket. Clicking on this URL will open the website in the same tab, but for a seamless experience, you can click on the highlighted square with the arrow to launch it in a new tab.

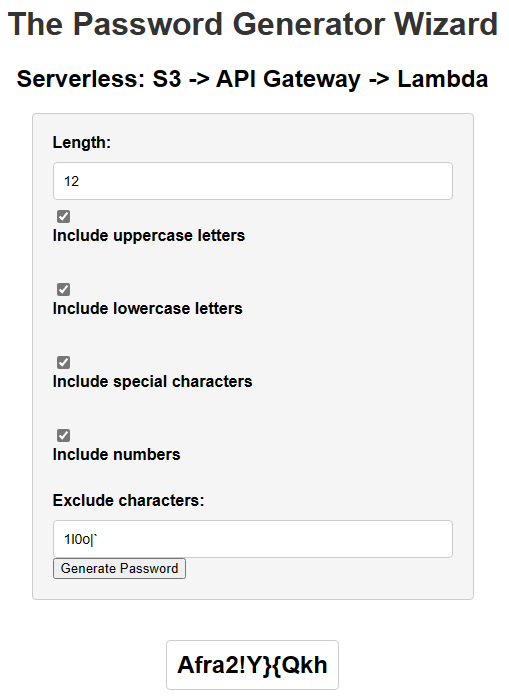
Behold, the password generator webpage now graces your screen!
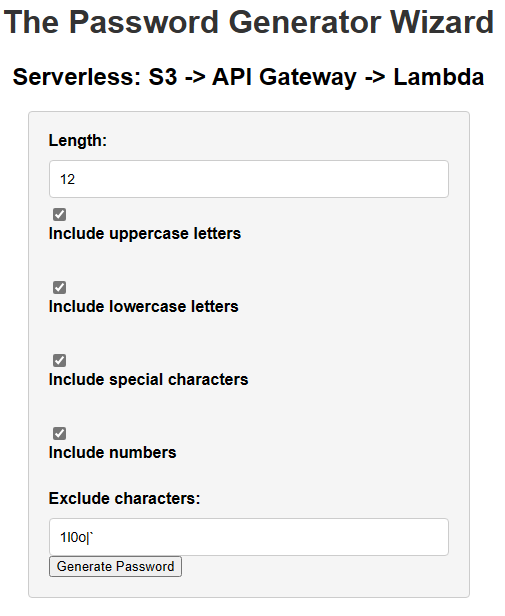
After clicking on “Generate Password,” a POST request is sent to the API Gateway. The API Gateway will then forward this request to the Lambda function, which executes our Python code to generate the password. Once the password is generated, the result is returned to the API Gateway. Finally, the API Gateway passes the result back to our static website, where you can view your newly generated password. Welcome to world of serverless! It’s a seamless flow that allows the frontend and backend to work together harmoniously to provide you with the password you need.