Over the years, we have invested a lot in building an intuitive LXD CLI. In tandem, we have received a lot of requests from users and the community for an official LXD UI tool in order to simplify operating your LXD instances. The community itself also developed projects to fill this gap. We are now happy to share that we have a team focusing on the user experience working on an official web UI.
While we don’t yet advise you to use the LXD UI in a production setting, we made it available as an experimental feature and would like to invite you to take it out for a spin and share your feedback.
What does the LXD UI currently support?
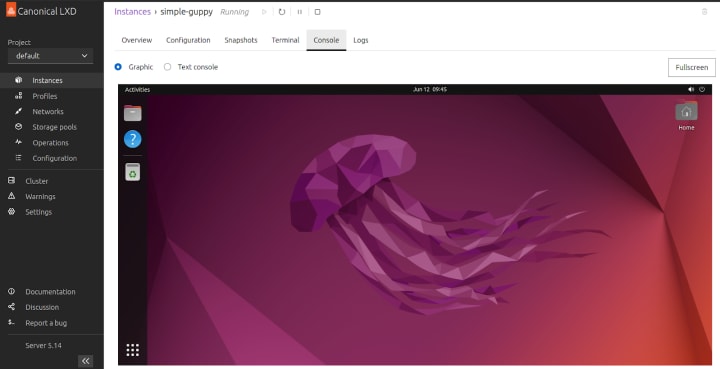
Most of the functionalities surrounding managing instances are now in place. We introduced “Projects” as a feature that helps keep your LXD server clean by grouping related instances together. In addition to isolated instances, each project can also have specific images, profiles, networks, and storage. Users can also easily switch between projects. You can either start, stop, restart or freeze a single instance or a bunch of them at once, as well as access the terminal and the console directly from the UI. The UI also supports snapshots and restoring instances from snapshots. A brief overview of networking and storage is available, as well as a list of current operations.
How can I access the LXD UI?
The UI is packaged together with the LXD snap, so no additional installations are required. However, given that we still consider this an experimental feature, you need to specifically enable it in order to get access.
First, you need to enable the LXD UI in the snap:
snap set lxd ui.enable=true
snap restart --reload lxd
Second, you need to make sure that your LXD server is exposed to the host. You can enable this with:
lxc config set core.https_address :8443
Finally, all you need to do is enter the server address in your browser (for example, https://192.0.2.10:8443), and follow the prompts guiding you through the authentication process.

Detailed information is available on the documentation page. This youtube video also guides you through the process, with the change that installing the snap from the edge channel is no longer required.
What’s next?
While our end goal is ensuring feature parity with CLI functionalities, for the short term we have prioritised features we believe necessary for initial use in production. That includes running LXD in clustering mode, and managing cluster members and their groups. This is already well on its way and will be available in the UI shortly.
Authentication and authorisation are next on our priority list, making sure your environment is secure and accessed only by those that have the right permissions. Finally, basic management of networking and storage will be addressed as well.
How can I give feedback?
We invite anyone interested to try the UI and give us feedback on the experience. You can share your feedback on our community forum, by filing issues on our github page, or anonymously via this feedback form.
We will be organising user feedback sessions as well, so stay tuned for invitations.