This article is intended for system administrators and other IT personnel who are going to install or test Plesk control Panel. This article covers installation of Plesk Control Panel on Windows Server via web interface.
Step1:
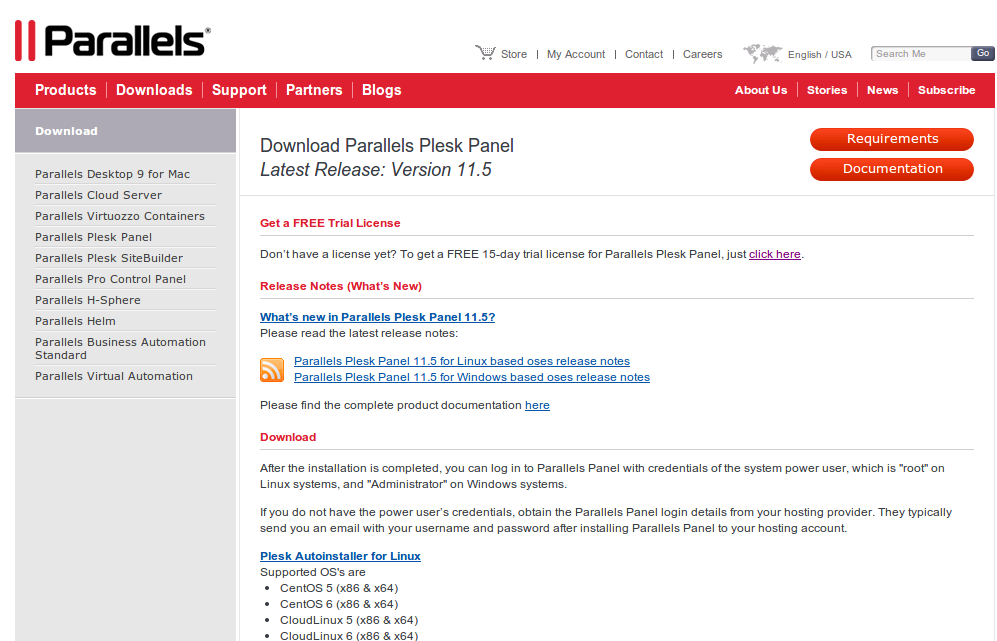
If you wish to try Parallels Plesk Panel, you can get a FREE 15-day trial license for Parallels Plesk Panel here:
http://www.parallels.com/products/plesk/trial/
(You will get license key in .xml file on your registered email account)

Step2:
Download Parallels Plesk Panel installer:
http://www.parallels.com/download/plesk/installer/
Step3:
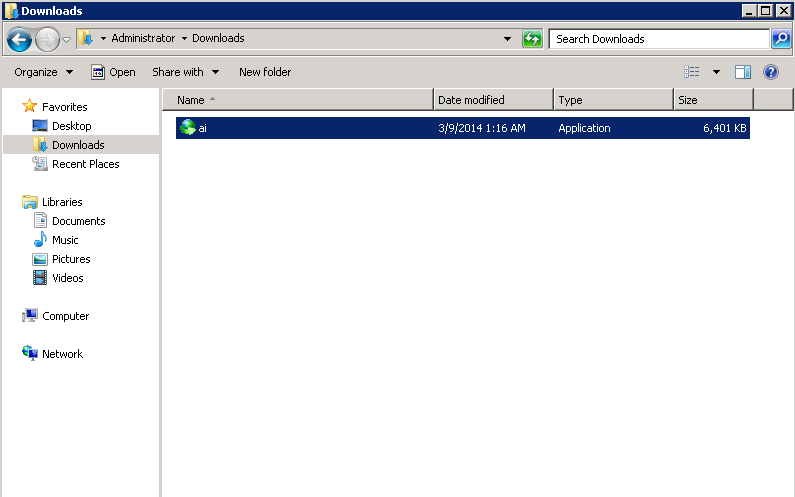
It will download the ai application (installer).
Step4:
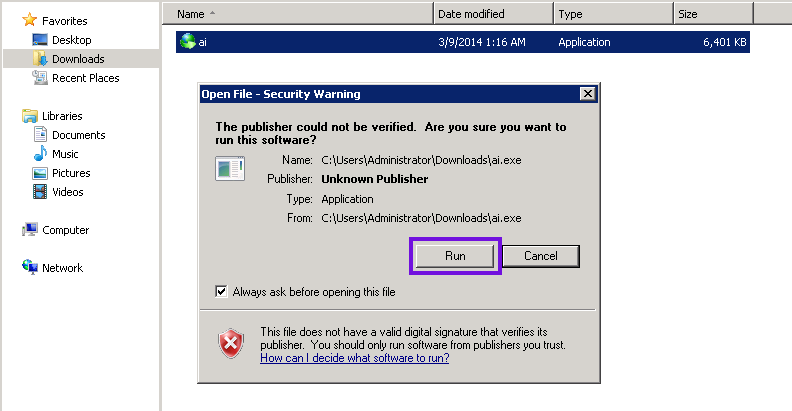
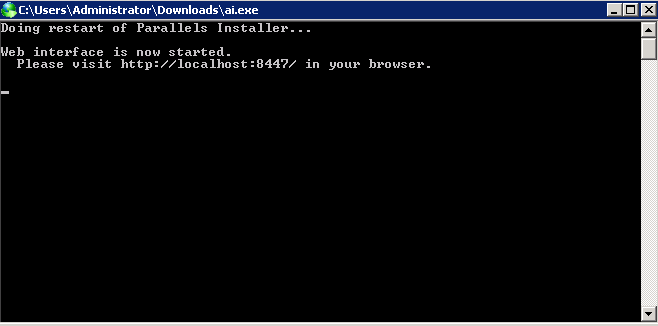
Dobule click on the downloaded installer and click on Run, after it will automatically execute it and open terminal:
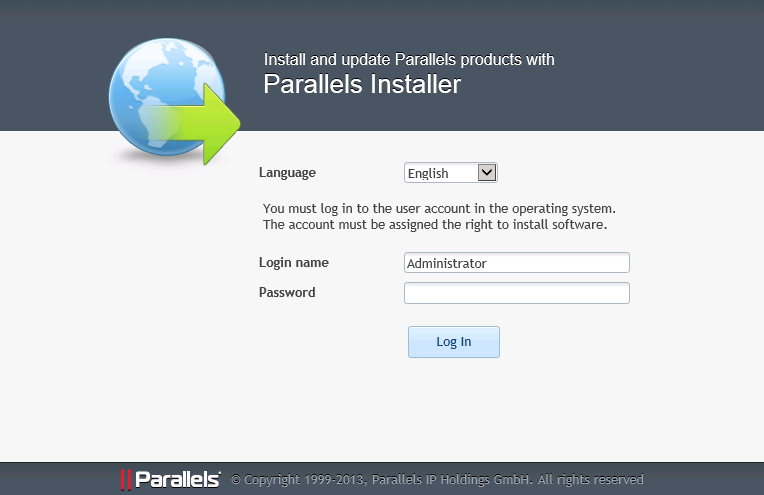
Step5:
It will automatically open in new browser http://localhost:8447, enter the Login name “Administrator” [If you are login with the user “Administrator” or else other], enter the same “Administrator” password with you’re connected to your server.
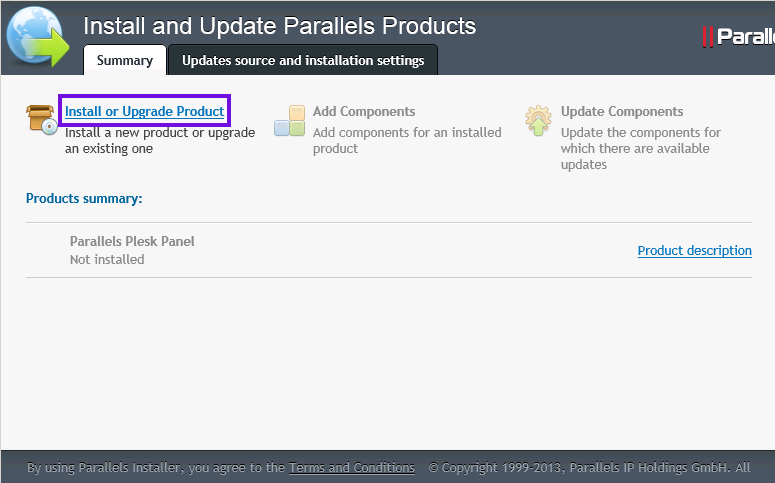
Step6:
After login, you will see the Install & Upgrade page, click on Install or Upgrade Product and proceed:
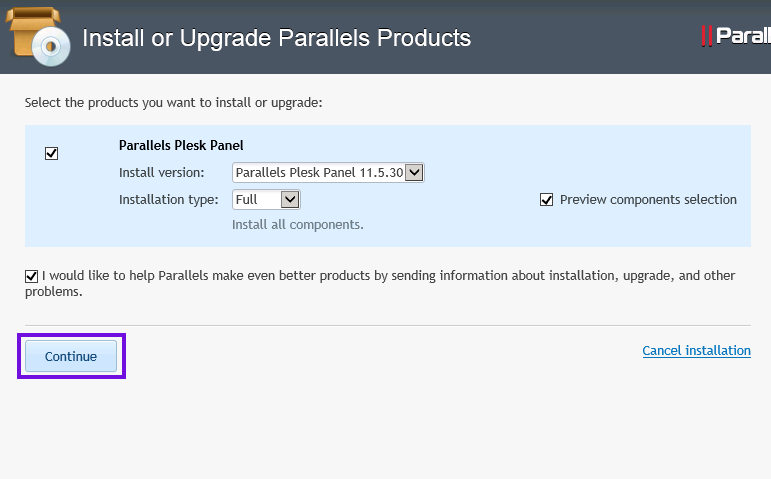
Step7:
Now the installation is begins from here, check the box Parallels Plesk Panel and the installation version from the drop down menu. Select the Installation type from the drop down menu, here you will see following three options, select you feel the best [I selected “Full”]:
Typical: Install only necessary components.
Full: Install all components.
Custom: Custom components selection. Recommended only for experienced users.
After check the two boxes Previews components selection & I would like to help Parallels make even better products by sending information about installation, upgrade, and other problems. [If you would like] and finally click on Continue:
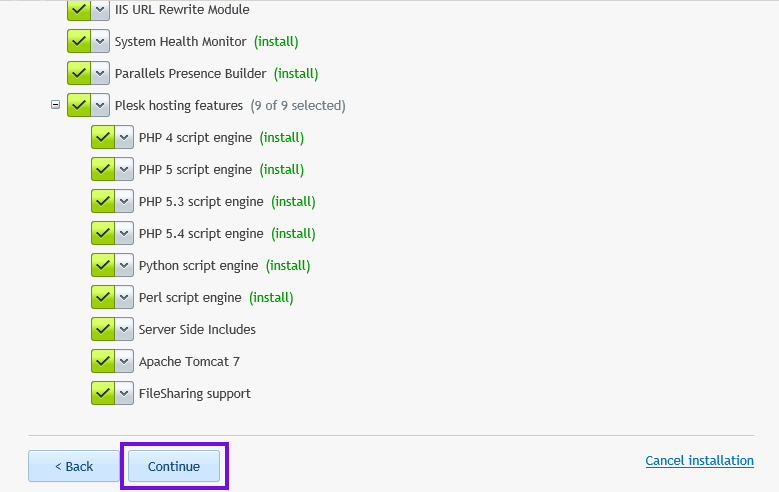
Step8:
Now, select the components that you want to install and click on Continue:
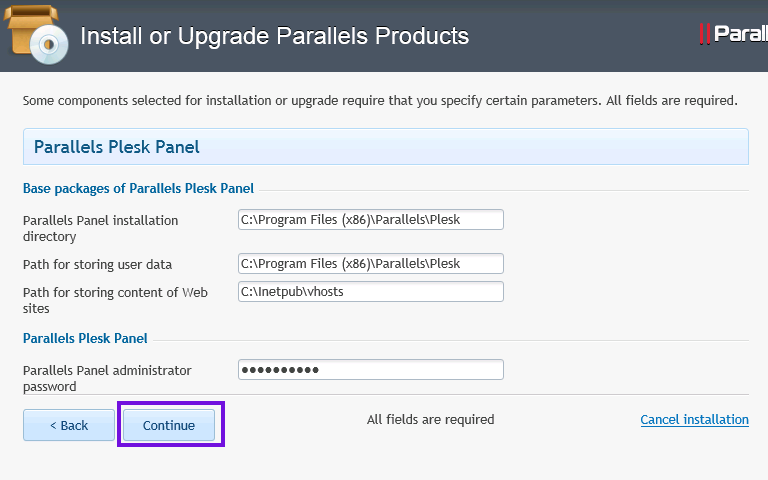
Step9:
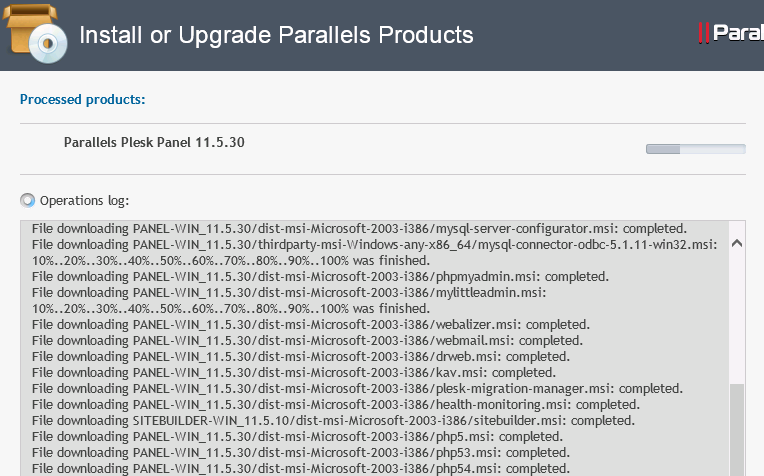
Here, you only need to enter the password and need to click on Continue, after it will automatically starts the installation process:
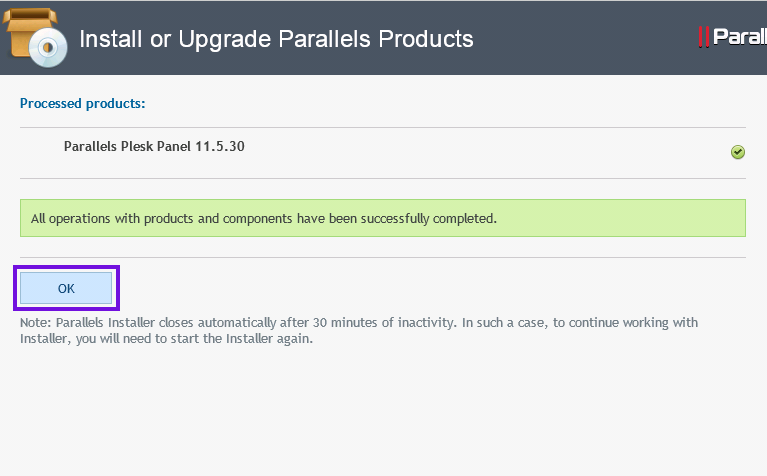
Step10:
Once the installation finish, you will see the following screen:
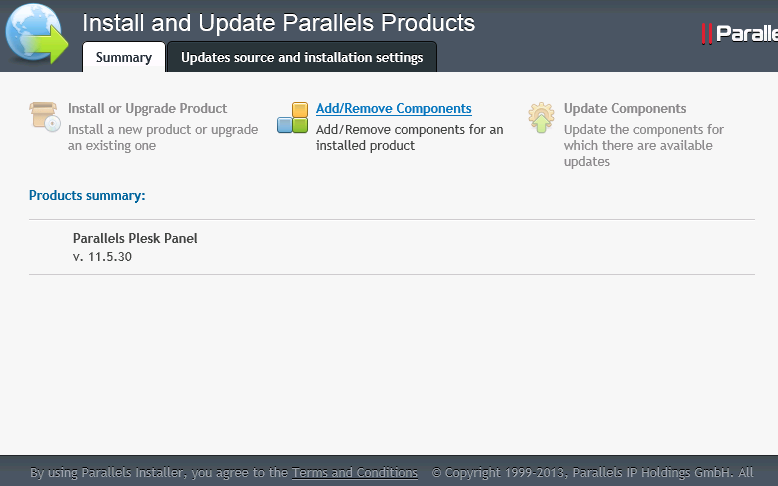
Step11:
At any point of time, you can Add/Remove components from there:
Step12:
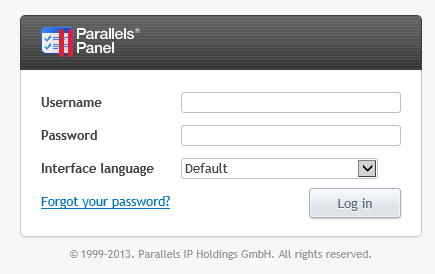
Now, you need to login from following URL:
http://localhost:8880 OR http://localhost:8880/login_up.php3
Username: Administrator
Password: Enter same “Administrator” password with you’re connected to your server or you entered the password while installation.
Note: If you change the RDP “Administrator” user password then it will automatically updated.
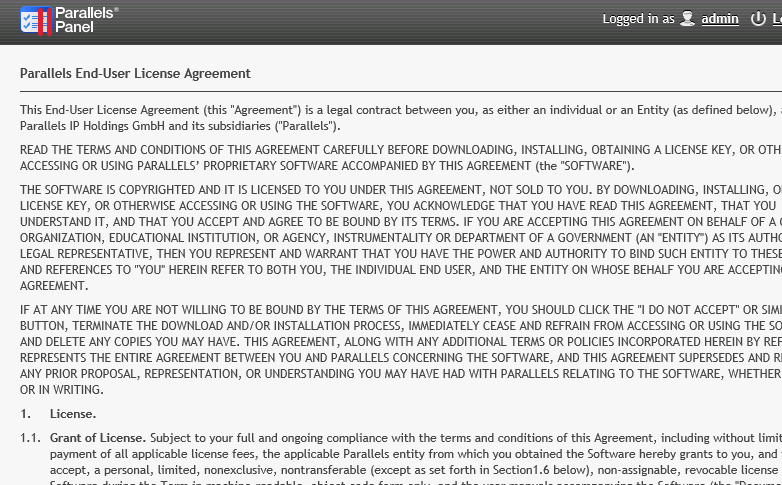
Step13:
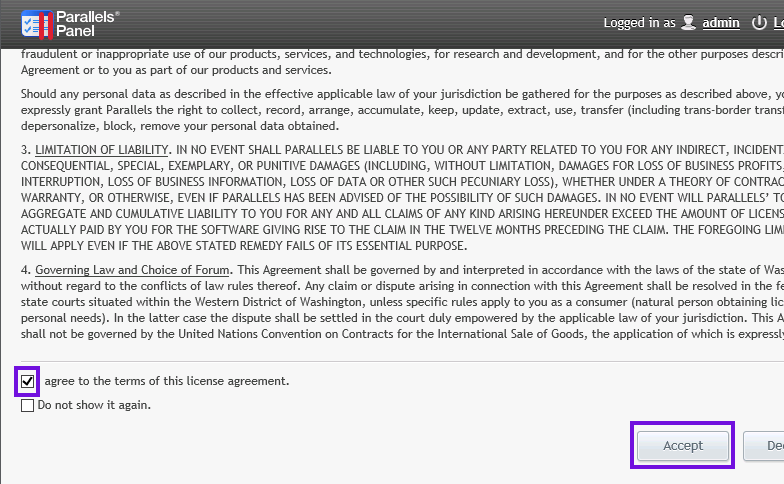
Check the box I agree to the terms of this license agreement. and click on Accept to proceed.
Step14:
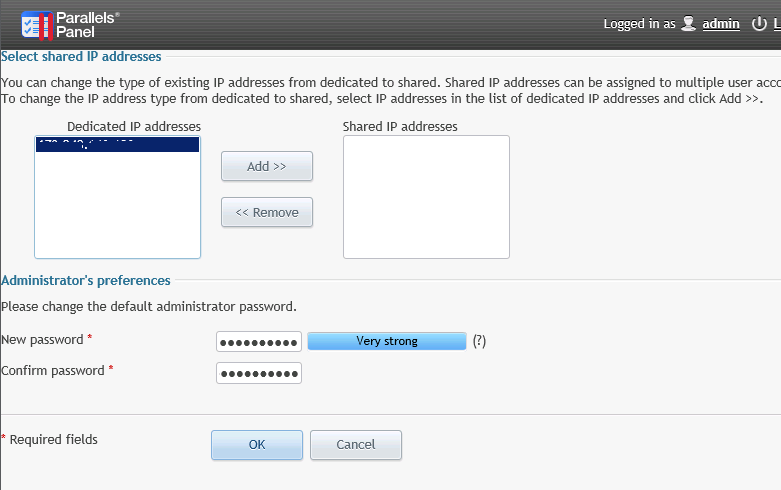
Here you need to specify the full domain name of your server, Example: “hostname.domain.com” and need to select your server dedicated IP address/s, also you need to change the password to strong one for the security purpose as this URL will be accessible worldwide:

Step15:
Here, you need to check the radio button to describe for what purpose you need to use it:
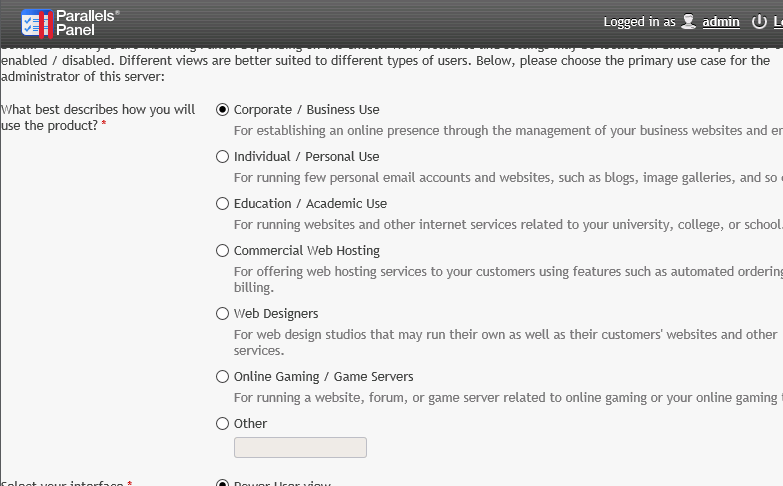
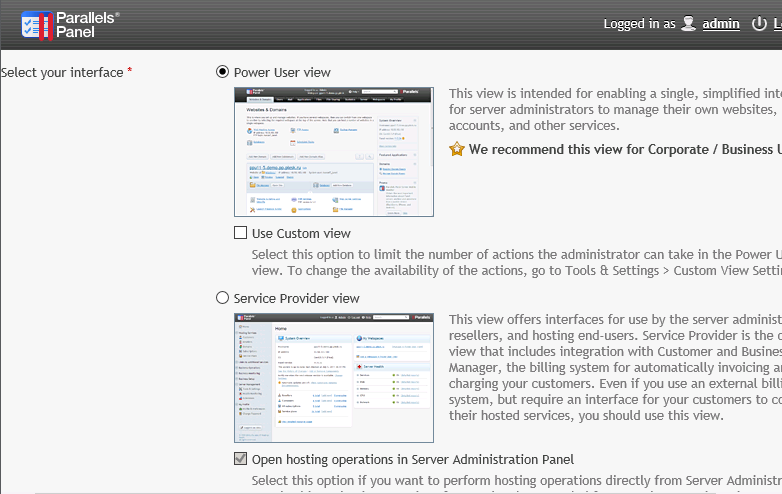
Step16:
Here, you need to select any one of the following radio button option:
-
Power User view – this view is intended for enabling a single, simplified interface for server administrators to manage their own websites, e-mail accounts, and other services. (It cannot be used if customers or resellers are existed in Panel.)
-
Service Provider view – this view offers interfaces for use by the server administrator, resellers, and hosting users. It also includes an integrated billing system for automatically invoicing and charging your customers.
Note: It is not possible to change view to Power User view if resellers or customers are existed in Panel.
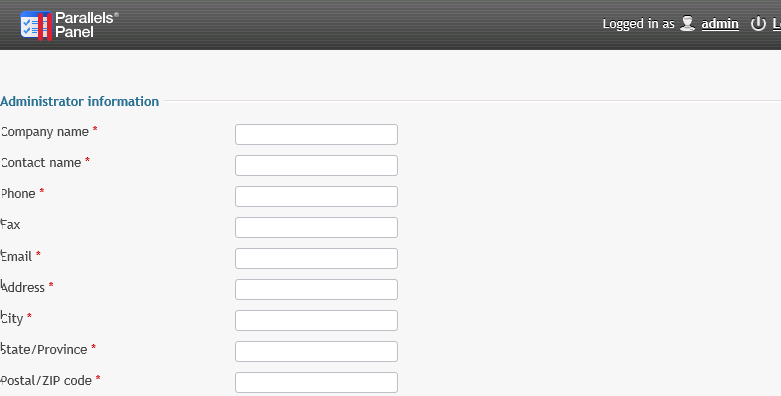
Step17:
Here, you need to fill the requied details:
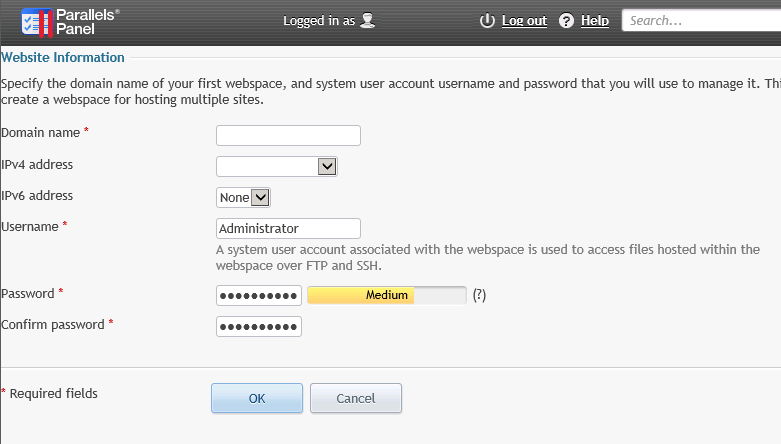
Step18:
Here, you will be asked to enter the details for your website and webspace to manage hosting mutiple sites:
Step19:
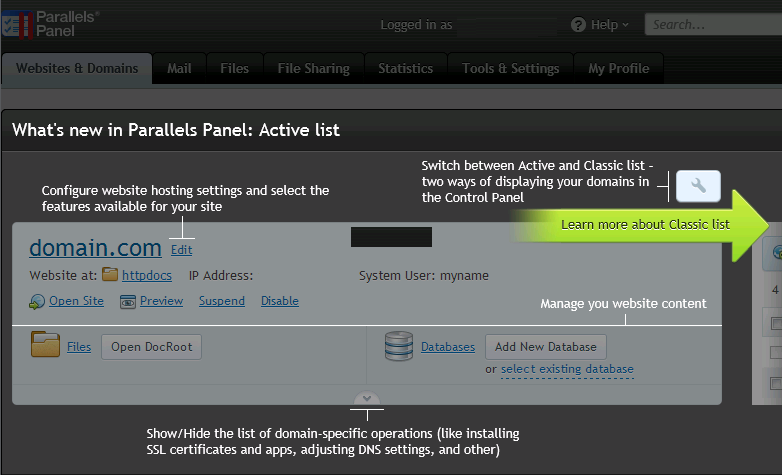
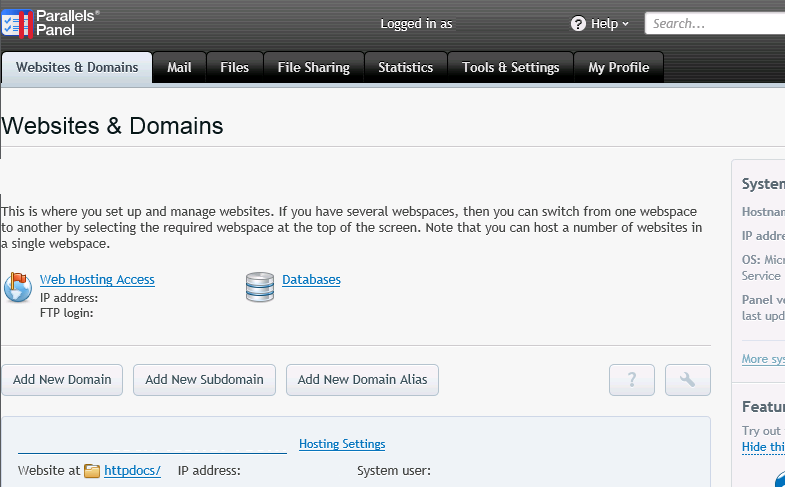
This is it, you have successfully installed and configured the Parallels Plesk Control Panel, as you can see the active page:
Step20:
Now, here from the Bashboard, you can create websites, email accounts, database, ana manage it easily:
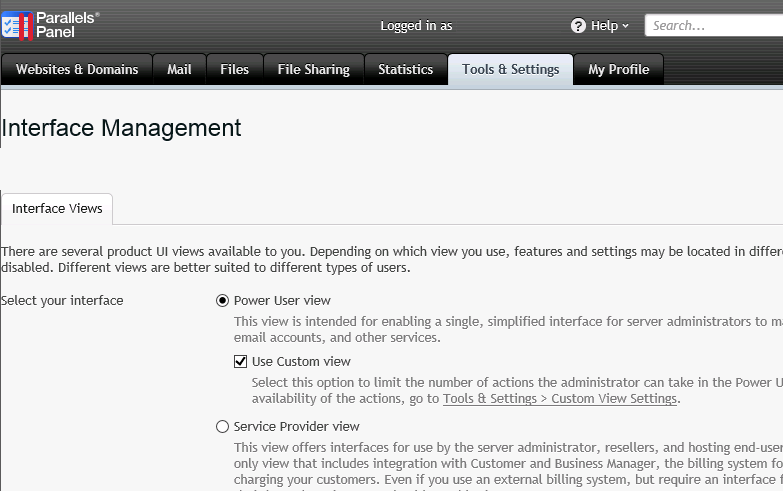
Step21:
At any point of time in future, you can change the interface view from the, Tools & Settings –> Panel Appearance –> Interface Management:
Useful URLs and information:
Supported OS and Requirements: http://www.parallels.com/download/plesk/11/requirements/
Required Ports: http://kb.parallels.com/en/391
Demo: http://www.parallels.com/products/plesk95/demo/
License Price: http://www.parallels.com/store/plesk/
Tutorials: http://www.parallels.com/products/plesk/tutorials/