The Google XML Sitemaps plugin is extremely popular, well-rated, and free to use. However, are its features better than our own popular, well-rated, and free-to-use plugin, SmartCrawl?
This article will put these two SEO plugins to the test to see which one delivers the best results and if one outranks the other.
Sure, we’re more partial to SmartCrawl, considering she’s, well, our very own SEO plugin. However, with Google XML Sitemaps having over 2+ million active installs compared to SmartCrawl’s 20+ thousand installs, we realize there’s a lot of active users with XML Sitemaps — and there’s a good reason for that.
We will see if they’re comparable, if one has advantages over the other, and what they both include…or don’t!
This post covers:
- What is an XML Sitemap?
- Why Add An XML Sitemap to WordPress?
- SmartCrawl XML Sitemap Features
- Google XML Sitemaps Plugin Features
- XML Sitemaps vs SmartCrawl XML Sitemap – Comparison Chart
By the end of this article, you should clearly understand what plugin is best for you when having an XML sitemaps plugin for your WordPress site.
XML sitemap is a file that lists all of your website’s content in an XML format. This makes it easy for search engines like Google to discover and index your WordPress content.
XML sitemaps tell search engines all about the pages on your website. Additionally, it will tell search engines what links on your site are more crucial than others. Plus, it will point out how often you update your WordPress site.
XML sitemaps don’t necessarily boost your rankings, but they allow search engines to crawl your site better. That leads to them being able to discover more content, which results in higher search traffic and enhanced rankings when it comes to SEO.
According to Google, XML sitemaps are beneficial for large websites, websites with extensive archives, new websites, and sites that use rich media content.
Though, an XML sitemap is beneficial for any WordPress site. Why? It’s because every site needs Google to easily find important pages and realize when they were last updated.
So, whether your WordPress site is established or brand new, a sitemap will highlight which part of your WordPress site is most important, how often it’s updated, and more — so your site can be indexed according to search engines.
With all of this being said, let’s check out these two plugins in action.
SmartCrawl XML Sitemap Features
As I mentioned earlier (and you may be aware of already), SmartCrawl is our very own free, 5-star SEO plugin.
Along with offering titles & meta descriptions, SEO checkups, leveraging your social media, and much more — she’s got you covered with an XML sitemap generator.

I won’t get too in-depth with all of her features (there’s a ton of them), but unlike the XML Sitemaps plugin, she can do a lot more. For example, check out her schema skills in this article.
But, let’s focus on specific features for XML sitemaps and SmartCrawl. These include:
- Support for all WordPress content
- Automatically notifies search engines
- Inclusions and Exclusions to crawl
- Having no PHP skills and no file changes necessary
- A user interface to customize the parameters
- Multisite compatibility
- Scheduling regular URL Crawl Reports delivered to your inbox
- Being cached for performance
- Includes images from post content
- Can merge sitemaps into a single sitemap
- The capability to add styling to the sitemap
So, let’s take a detailed look at SmartCrawls XML sitemap capabilities.
Right away, once activated, you can start the sitemap with one click.
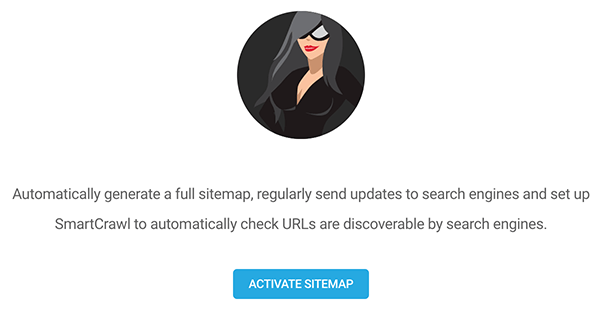
Once activated, she does a scan of your site, and you’re taken to Smartcrawl’s sitemap dashboard.
In the Sitemap area, you can view your sitemap (via a link), switch to WP core sitemap, choose which post types, archives, and taxonomies you want to include in your sitemap, and add any inclusions and exclusions.
To take a better look at the features here, we’ll break it down into detail.
The link to your sitemap is at the top of the Sitemap area.

You can also choose to switch to the WP core sitemap (which we don’t recommend considering all that Smartcrawl sitemap can do).

From here, you can choose what post types, archives, and taxonomies you want to include in your sitemap.
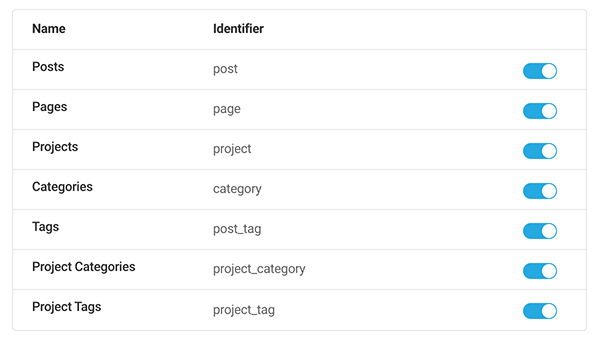
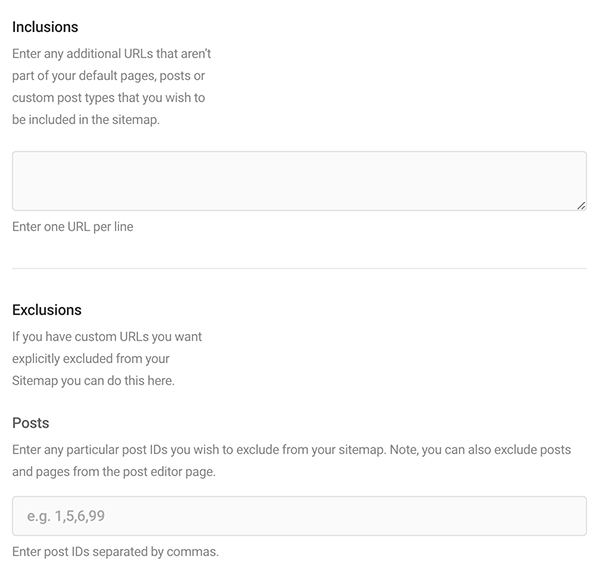
Have any URLs that aren’t part of your pages, posts, or custom posts? You can add those next. Also, you can exclude any post IDs and URLs from your sitemap in this section.
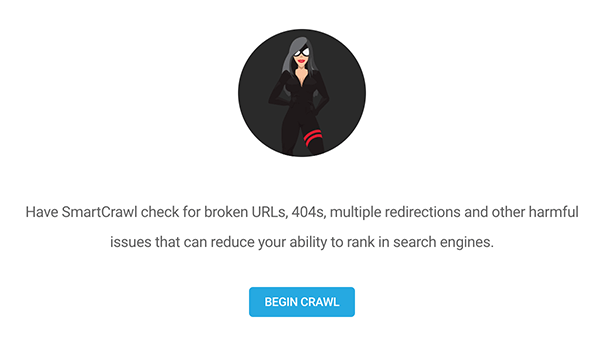
In Smartcrawl’s Crawler area, start a crawl instantly. This will check for broken URLs, 404s, multiple redirections, and any harmful issues that can reduce your rank.
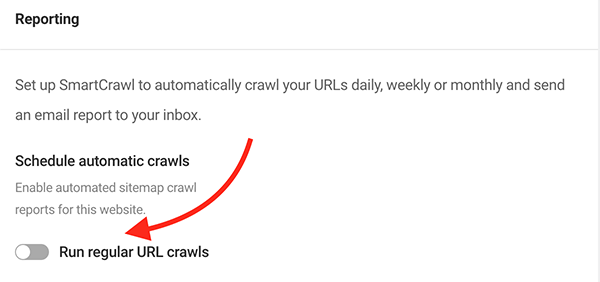
Just like the Google XML Sitemap plugin, you can schedule automatic crawls. The difference is, Smartcrawl will email you a report straight to your inbox!
Simply click on Run regular URL crawls to get started.
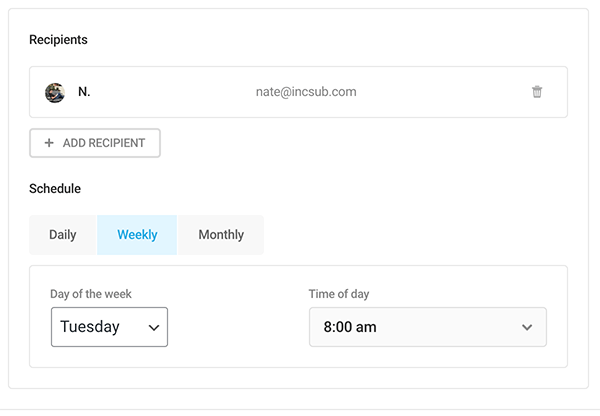
Once clicking, you can customize the recipients and schedule. When scheduling, you can choose between daily, weekly, and monthly. Plus, you can select the day of the week and time of day.
Click on Save Settings will get you all set up!
When we head over to Smartcrawls sitemap Settings, there are some additional tweaks you can make.
To start with, change the Generation Method. This is where you set up your sitemap to be generated as a single file or split into multiple linking files.
Single sitemaps are typically okay for small sites; however, more significant sites will need to be split.
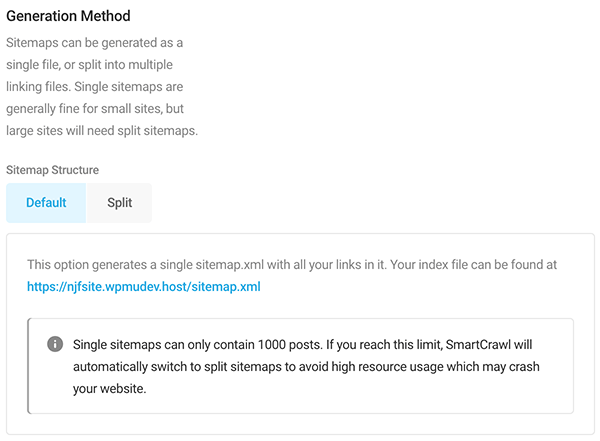
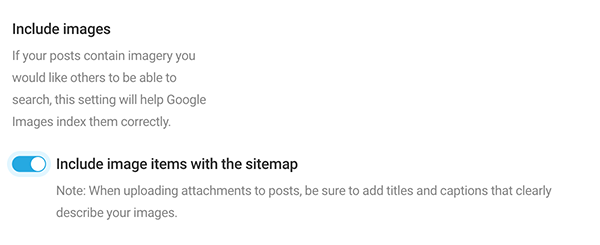
Want to include images in your site map? It’s one click to do so. This will help Google Images index them correctly.
With the Auto-notify search engines option, you can set it up to automatically notify Google and Bing whenever your sitemap changes by selecting Default, or you can opt for manual if you’d like to let them know on your own.

If you’d like your sitemap to be read easier by human eyes, the Style Sitemap button will do that.

You can see some examples of what a stylized sitemap looks like in our documentation.
Also, stay updated with Automatic sitemap updates. Set this to Default (done automatically) or Manual.

In this area, you can also Deactivate the sitemap generator with a click. If you change your mind and want to start using it again, that’s done in a click as well.
Something else to keep in mind is, if you’re a WPMU DEV member, SmartCrawl integrates with The Hub.
This gives you quick and easy access to some key benefits, such as:
- Able to run Crawler & view issues in Hub SEO tab
- Ability to automate scans and check last scan/submission
- Managing multiple sites’ sitemaps from one central location
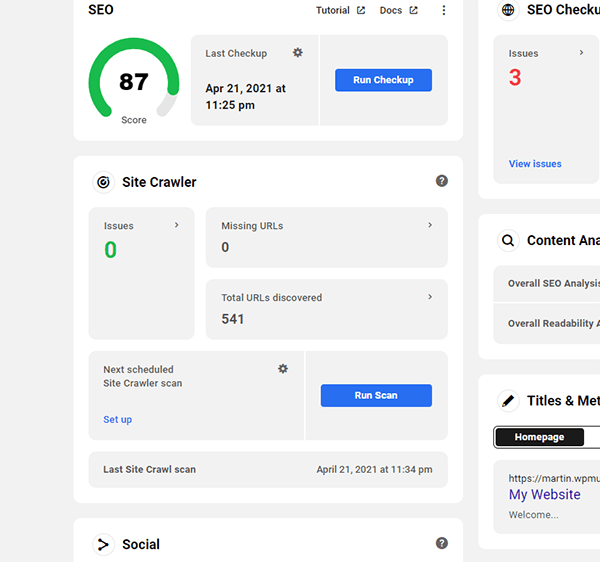
For more on Hub integration, be sure to check out our article, Easily Configure Your WordPress SEO with SmartCrawl and The Hub.
If you don’t need or want something as advanced as SmartCrawl’s jam-packed feature-rich XML sitemaps or are just looking for a stand-alone XML sitemaps generator (and a separate SEO plugin), then you can always go with the popular Google XML Sitemaps plugin.
It’s a lot more basic, as you’ll see. But it will do the job.
Google XML Sitemaps plugin is no stranger to over a million users. When activated, it will create XML sitemaps that help search engines better index your site. It’s been supported for over nine years and is still going strong.
It supports numerous WordPress-created pages and also custom URLs. Plus, when you create a new post, it notifies all the major search engines you have new content.
This plugin has a good reputation for doing what it’s supposed to do — creating XML sitemaps. And it has a guarantee to “not break your site, slow it down, or annoy you.”
Now that we have the nuts and bolts of what the XML Sitemaps plugin is about let’s dig into its features.
First off, here’s a rundown of some specific features offered with XML Sitemaps:
- Support for all WordPress content
- No PHP skills or file changes necessary
- A user interface to customize the parameters
- Used in many languages
- Calculates a priority for each post that’s based on the number of comments
- Will notify Google and Bing about changes via ping
- It comes with a WordPress filter for other plugins which can add their WordPress pages to the sitemap
- Multisite compatible
The XML Sitemaps plugin, as you can see, can tackle a lot. So now, let’s hop into WordPress and see it in detail.
A nice attribute of this plugin is its simplicity. Everything is in one area in its dashboard.
It’s convenient to have everything in one place.
At the top of the dashboard, it shows you the results of the last ping. This includes the date and whether it successfully notified Google & Bing.
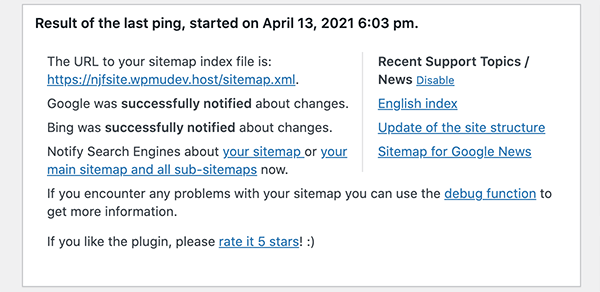
If you click on Notify Search Engines About Your Sitemap, it will notify the search engines immediately (although it may take a minute or two to process).
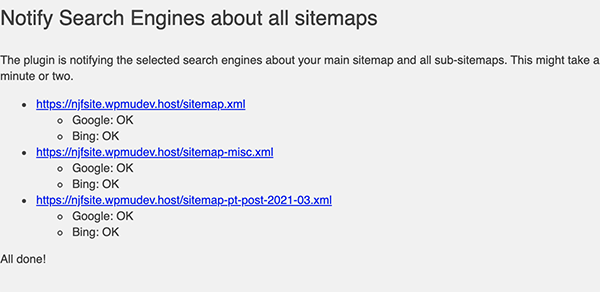
This pings your sitemap to Google and Bing, and your content will be indexed momentarily.
We’ll now take a look at the Basic Options section. This area controls the basic configurations of the plugin.
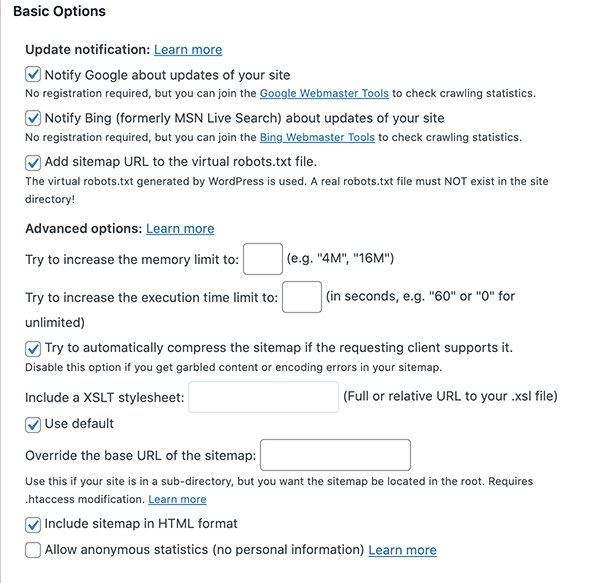
The section starts with Update Notification. In this section, you can check the boxes to notify Google, Bing, and Add sitemap URL to the virtual robots.txt.file.
The robot.txt is a file that’s created to communicate with search engine crawlers. It will tell them what to index when guided through your site. It’s beneficial for search engines that don’t support ping notifications.
All this being said, it’s recommended checking all three boxes so it doesn’t rule out any search engine.
As we move along, there’s an Advanced Options area.
Here, you can increase the memory limit and execution time. These two options are pretty redundant; however, you can increase it here if you ever get an out-of-memory error.
You can also configure the XSLT stylesheet. This is where you can upload a new XSLT stylesheet or disable XSLT altogether if you decide you want it to be less readable.
Additionally, you can override the URL of the sitemap. It’s mostly for modifying you have sub-directories.
And finally, you can include sitemap in HTML format (which is suggested to left checked) and allow anonymous statistics.
Scrolling further down the XML Sitemap admin, we get to the Additional Pages area.
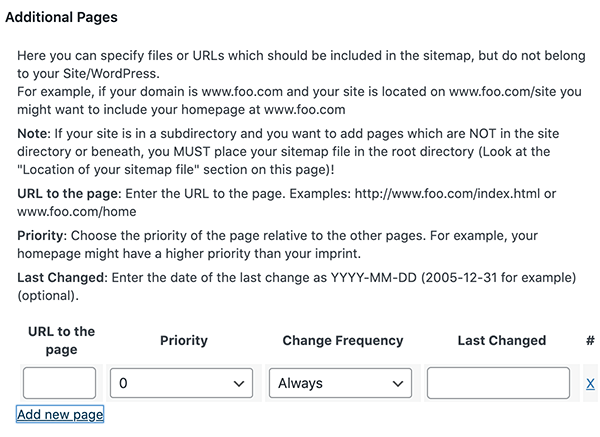
The Additional Pages area is primarily for sub-directories and sub-domains. You can add external pages to your sitemap from here.
It’s simple to do. You just click Add New Page, specify the URL, priority, frequency, and date when the URL was last changed.
After this section, you can adjust the Post Priority.
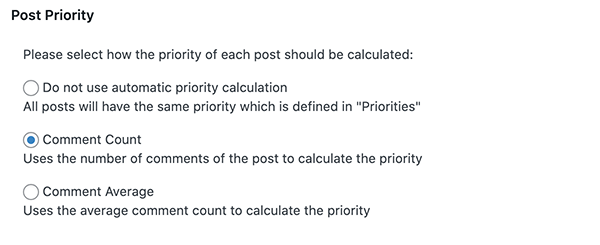
This area is pretty important. It communicates the critical content to search engines, so you want to have this set up well.
Each web page has a priority level that’s scored between 0 and 1, then increments of 0.1.
The best option for this is typically the Comment Count option. Why? It will make your popular posts automatically receive higher priority levels. You don’t want to have a meaningless blog post be the same rank as your homepage, hence the Comment Count option.
Moving on, there’s a Sitemap Content area.
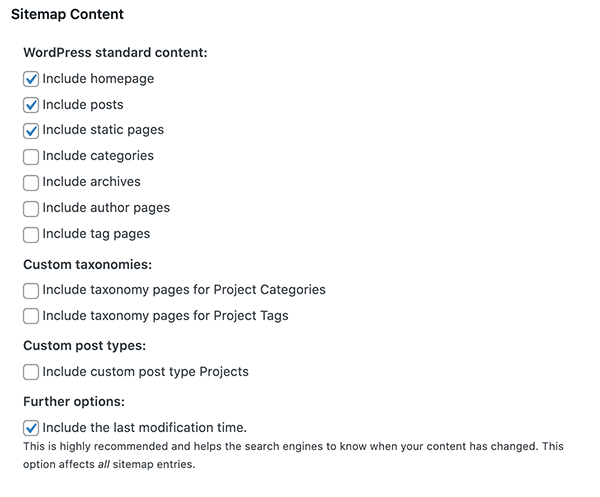
This whole section is devoted to allowing you to decide which items, post types, and taxonomies you’d like to include on your sitemap.
As you can see, I have the essentials checked (homepage, posts, and static pages). You can include more (e.g. author pages). Just make sure these pages have value and are worth appearing.
You also have the option to include Excluded Items.
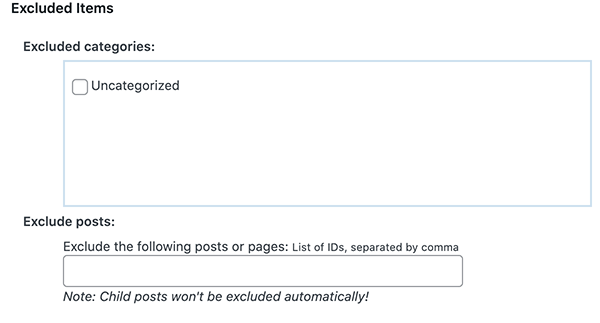
Let’s say you have specific blog posts you don’t want to include. Here’s the area to do that. You can also exclude specific categories in this area.
There’s also the option to Change Frequencies.
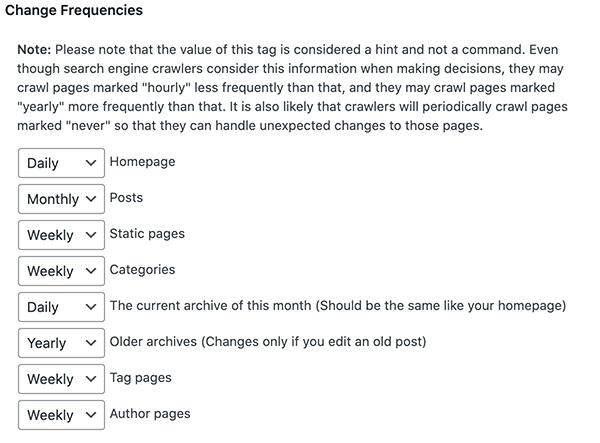
This is good to tweak, depending on how your site operates. For example, if you have several blogs posted daily, you may want to change the “Posts” to hourly. Or, if you rarely update at all and have just a static website, possibly yearly might do.
Finally, you can set up Priorities.
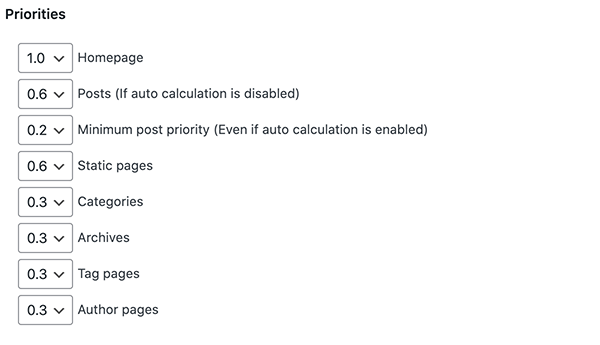
I touched on this early about the specific range of priority levels, so this area lets you set up how important your content is with minimum and maximum values.
For example, your Homepage is probably the most important page on your WordPress site, so having this set at 1.0 will be best.
As you can see, there’s a lot of tweaking and adjusting you can do with the XML Sitemaps plugin. It also is an easy option — where you activate, and you’re all set!
Obviously, there are some similarities between the Google XML Sitemap and SmartCrawl — and also some significant differences!
With all that we just went over, let’s look at them, side-by-side.
SmartCrawl does offer additional options in terms of settings, reporting, and caching. It goes beyond the Google XML Sitemap limited capabilities.
Plus, as mentioned earlier, SmartCrawl includes other SEO goodies, such as schema markup, title and meta descriptions, one-click setup wizard, Hub integration, and much more!
So, considering SmartCrawl offers other XML sitemap features AND other SEO tweaks, we’d go with SmartCrawl. However, if you want simplicity, the Google XML Sitemap might be right for you.
They both provide value for your WordPress SEO. And now that you’ve seen the rundown of what both offer, the decision is yours!
SEO, what’s it going to be?
Source: wpmudev.com
