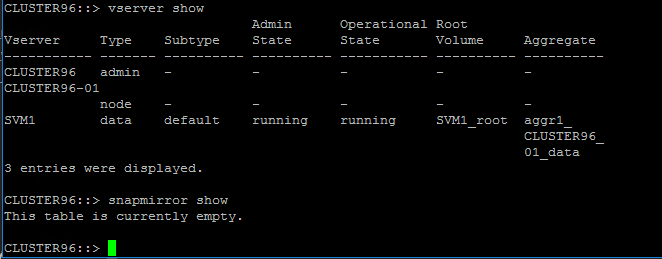
Who loves creating root load-sharing mirrors (LS-mirrors) ? If you manage 1 Ontap system with 1 SVM you may enjoy it, but if you manage multiple systems with many SVM’s then you may not enjoy it as much.
The above process can become quite repetitive in large environments. In today’s blog post I’m going to show you how to make these tasks a little less time consuming and more enjoyable.
Using Ansible along with NetApp modules we can automate the above tasks.
Ansible Playbooks for NetApp Root Load-Sharing Mirror
Similar to my previous Ansible posts I’ll be breaking down the code bit by bit so you can understand what is going on under the hood.
Steps involved in Creating a NetApp Root Load-Sharing Mirror
First up, let’s break down the steps required to create an LS-mirror and then we’ll look at the Ansible code.
- Create 2 DP volumes, each 1GB in size. If you have more than 1 HA pair in your cluster, these 2 volumes need to be created on an HA pair that do not contain the original svm root volume.
- Create snapmirror relationships with type LS, and assign a schedule
- Initialize the snapmirror relationships
Ansbile Files for NetApp Root Load-Sharing Mirror Creation
The files I’ll be using to create my LS-mirrors are:
- variables.yml (contains all my inputs)
- 01_create_ls_vols.yml (Create 2 x DP volumes each 1 GB in size)
- 02_create_ls_mirror.yml (Create and initialize LS-Mirror snapmirror relationships)
- svm_ls_mirror_setup.yml (main Ansible playbook that calls each mini playbook above)
Variables.yml
The first part of this file contains our connection settings to the NetApp ONTAP cluster.
##################################################
# Variable File for 'netapp_ls-mirror_setup.yml' #
################################################## # Cluster Login
clusterip: 192.168.1.50
user: ansible
pass: Password123
https_option: true
validate_certs_option: false
We then have our source cluster name. As this is an LS-Mirror the source and destination cluster name will be the same.
# Source Cluster Name
sourcecluster: CLUSTER96
Next variable is the SVM or Vserver name where we will be creating the LS-Mirror
# SVM Name
vservername: SVM1
This is the primary or source root volume that is created when you first create your SVM. It will be the source of our snapmirror LS relationships.
# SVM Name
vservername: SVM1
This is the primary or source root volume that is created when you first create your SVM. It will be the source of our snapmirror LS relationships.
# LS Mirror Source Vol Variable
lsvolsrc: SVM1_root
The next group of variables contain the first and second root volume name, size and the aggregates they will be created on.
# LS Mirror Vol 1 Variable
aggr1: aggr1_CLUSTER96_01_data
lsvol1name: SVM1_root_m01
lsvol1size: 1 # Size is in GB # LS Mirror Vol 2 Variable
aggr2: aggr2_CLUSTER96_01_data
lsvol2name: SVM1_root_m02
lsvol2size: 1 # Size is in GB
01_create_ls_vols.yml
First part of this playbook contains the connection information for my NetApp ONTAP cluster and also imports the variables.yml file.
---
- hosts: localhost name: Create LS Root Vols gather_facts: false vars: login: &login hostname: "{{ clusterip }}" username: "{{ user }}" password: "{{ pass }}" https: "{{ https_option }}" validate_certs: "{{ validate_certs_option }}" vars_files: - variables.yml
Next, we have 2 tasks. Each task creates a Data Protection (DP) volume by referencing the variables in the variables.yml file:
tasks: - name: Volume 1 Create na_ontap_volume: state: present name: "{{ lsvol1name }}" vserver: "{{ vservername }}" aggregate_name: "{{ aggr1 }}" size: "{{ lsvol1size }}" size_unit: gb type: DP policy: default percent_snapshot_space: 0 space_guarantee: none <<: *login - debug: msg="Volume {{ lsvol1name }} has been created." - name: Volume 2 Create na_ontap_volume: state: present name: "{{ lsvol2name }}" vserver: "{{ vservername }}" aggregate_name: "{{ aggr2 }}" size: "{{ lsvol2size }}" size_unit: gb type: DP policy: default percent_snapshot_space: 0 space_guarantee: none <<: *login - debug: msg="Volume {{ lsvol2name }} has been created."
02_create_ls_mirror.yml
First part of this playbook contains the connection information for my NetApp ONTAP cluster and also imports the variables.yml file.
---
- hosts: localhost name: Create LS Mirror gather_facts: false vars: login: &login hostname: "{{ clusterip }}" username: "{{ user }}" password: "{{ pass }}" https: "{{ https_option }}" validate_certs: "{{ validate_certs_option }}" vars_files: - variables.yml
The next 2 tasks create snapmirror relationships with type LS. I have found that only the first snapmirror gets initialized at this stage.
tasks: - name: Create First LS Mirror na_ontap_snapmirror: state: present source_volume: "{{ lsvolsrc }}" destination_volume: "{{ lsvol1name }}" source_vserver: "{{ vservername }}" destination_vserver: "{{ vservername }}" schedule: hourly relationship_type: load_sharing <<: *login - debug: msg="First LS Mirror Created." - name: Create Second LS Mirror na_ontap_snapmirror: state: present source_volume: "{{ lsvolsrc }}" destination_volume: "{{ lsvol2name }}" source_vserver: "{{ vservername }}" destination_vserver: "{{ vservername }}" schedule: hourly relationship_type: load_sharing <<: *login - debug: msg="Second LS Mirror Created."
I then added in a sleep command of 20 seconds which should be enough time for the first snapmirror relationship to initialize.
- name: sleep for 20 seconds to allow for Volume 1 Snapmirror Initialization wait_for: timeout: 20
This task uses the na_ontap_command module which allows me to execute the same command as I would on an ONTAP cli shell. Here I’m initializing the second snapmirror relationship.
- name: Initialize Snapmirror for Volume 2 # This is due to na_ontap_snapmirror not initializing second LS Mirror na_ontap_command: command: ['snapmirror', 'initialize', '-source-path', "{{ sourcecluster + '://' + vservername + '/' + lsvolsrc }}", '-destination-path', "{{ sourcecluster + '://' + vservername + '/' + lsvol2name }}"] privilege: admin <<: *login - debug: msg="Second LS Mirror initialized."
Svm_ls_mirror_setup.yml
This is the main Ansible playbook that I will execute in the next section. All this playbook does is run the 2 other playbook in order.
##########################################################
# This Ansible Playbook calls multiple sub yml playbooks #
########################################################## #########################################################################################################################################
# -= Requirements =-
#
# 1. Make sure ansible user has been created
# 1a. security login create -vserver CLUSTER96 -role admin -application http -authentication-method password -user-or-group-name ansible
# 1b. security login create -vserver CLUSTER96 -role admin -application ontapi -authentication-method password -user-or-group-name ansible
# 1c. security login create -vserver CLUSTER96 -role admin -application console -authentication-method password -user-or-group-name ansible
########################################################################################################################################## ---
# Create 2 x 1GB DP Volumes
- import_playbook: 01_create_ls_vols.yml # Create SVM LS Mirror
- import_playbook: 02_create_ls_mirror.yml
Now it’s
time to run our playbook and watch how quick the LS-Mirror is created

It’s probably a good time to mention now that I’m using Microsoft’s Visual Studio Code to connect to my Ansible server, manage files and run playbooks.
Within the terminal (which is the ssh connection to my Ansible server), I change to the directory and run the following:
svm_ls_mirror_setup.yml

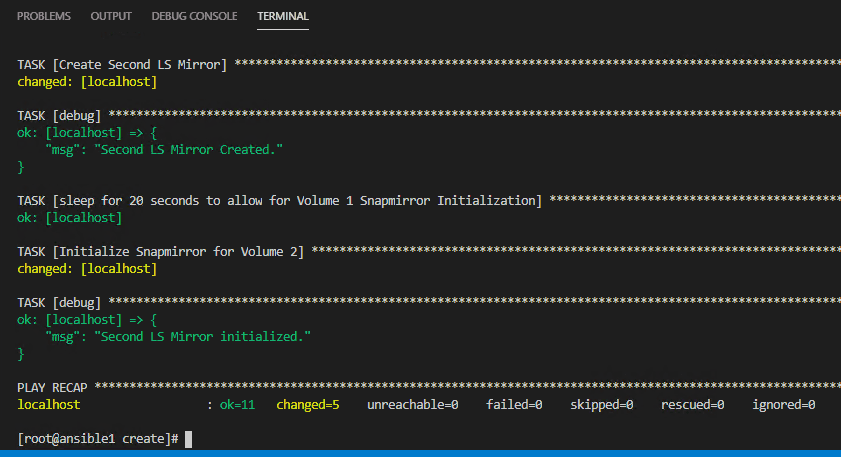
Once the playbook finishes its run, we can see a summary of changes in yellow:

If I now return to my NetApp ONTAP cluster we can see that I have a healthy root LS-Mirror setup.

Ansible Playbook Video
Ansible Code On GitHub
You can download and clone all the Ansbile playbook files from my github. The direct link to the code is here: https://github.com/sysadmintutorials/netapp-ansible-ls-mirrors
The post Creating NetApp Root Load-Sharing Mirrors with Ansible appeared first on SYSADMINTUTORIALS IT TECHNOLOGY BLOG.