Learn how to install VMware vCenter 7 Appliance via the GUI and CLI with this easy to follow step-by-step video tutorial.
vCenter 7 Appliance GUI Deployment
In this lesson we first start off by performing a traditional installation using the vCenter Server Installer (GUI).
During the installation I make reference to an important pre-requisite. This is having your vCenter server DNS name set up prior to finalizing Stage 1 of the setup.
If you are not familiar with setting up forward and reverse lookup records, you can reference my ‘Windows Server 2019 Active Directory Domain Controller Install‘ video and skip to 10:33
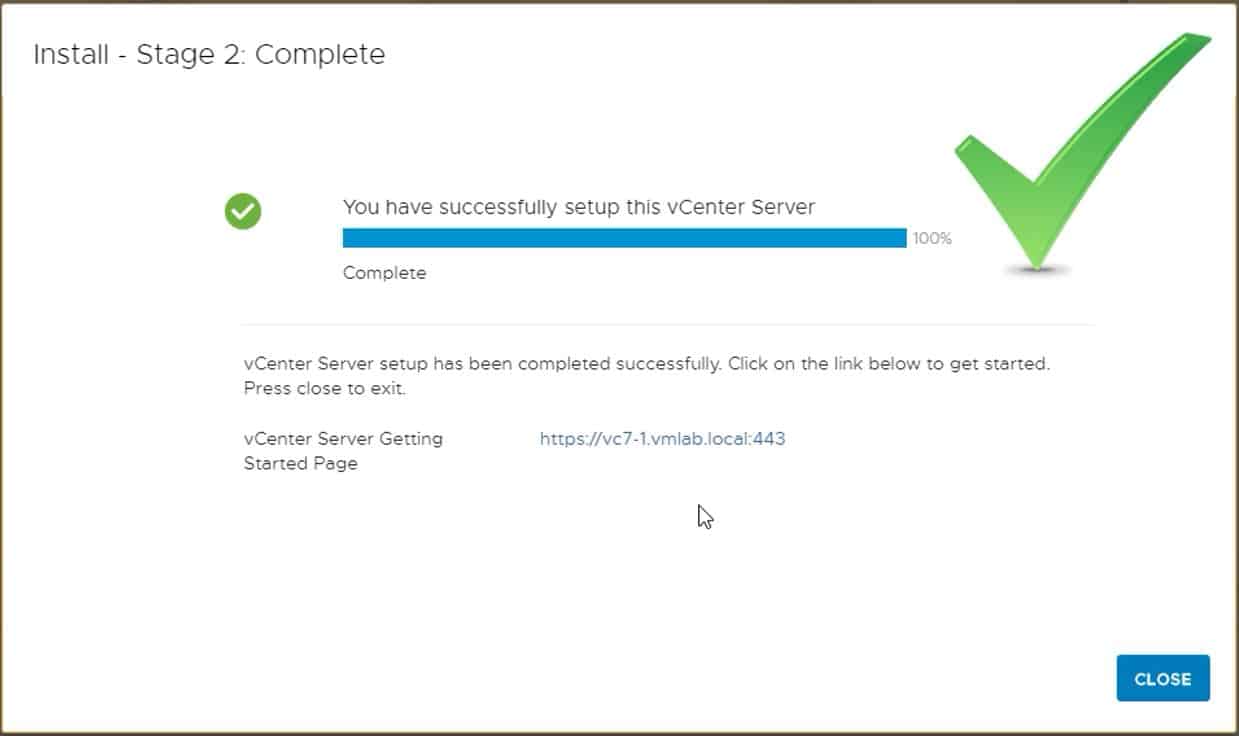
Once our DNS is verified, we complete Stage 1 followed by Stage 2 of the setup.
To verify the installation was a success, we then log into vCenter WebUI and ensure we can see the home page. Once that check has been ticked off, we then make sure we can log into the vCenter Server Appliance WebUI.

vCenter 7 Appliance CLI Deployment
Before starting the automated CLI install, I first power off the vCenter 7 VM we created and delete it.
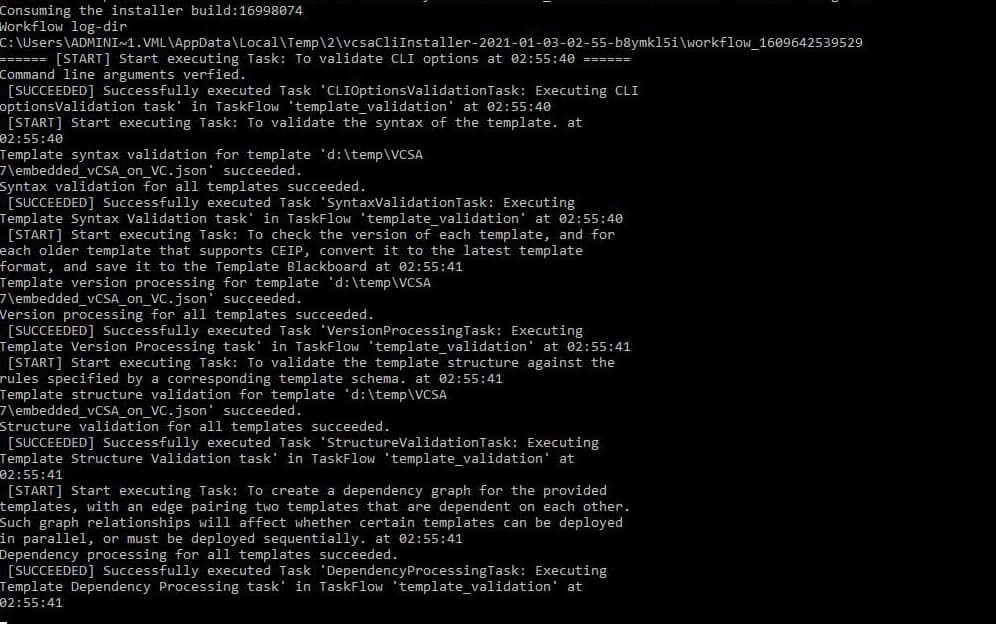
Using the CLI method to install vCenter 7 is a great way to save time and avoid performing repetitive tasks. We simply use a very basic JSON file that holds all our vCenter setup information.
Don’t worry if you don’t know what a JSON file is. I walk you through step-by-step with what you need to change so that you too will be able to deploy your very own vCenter 7 server via the CLI.
Since I’m constantly building and tearing down lab environments, I almost always use the CLI method to create new vCenter servers. It just saves me so much time, and works really well with automation.

How To Install VMware vCenter 7 Appliance via GUI and CLI
The post How To Install VMware vCenter 7 Appliance via GUI and CLI appeared first on SYSADMINTUTORIALS IT TECHNOLOGY BLOG.

