This is a beginner’s guide to creating your first Amazon AWS EC2 Linux Instance in one of the world’s largest hyper scalers.
Before Getting Started
If you are just starting out with Amazon AWS, I would encourage you to have a read of the following posts, which will help you set up your free-tier account, enable multi-factor authentication and set up a billing alarm
- How to create an Amazon AWS Free-Tier account
- How to Enable Multi-Factor Authentication on AWS Root Account
- How to Create an Amazon AWS Billing Alarm
Video Tutorial Contents
Within this video tutorial, I walk you through step-by-step, in how to create an AWS EC2 Linux instance, where I give a full description of each setting being used.
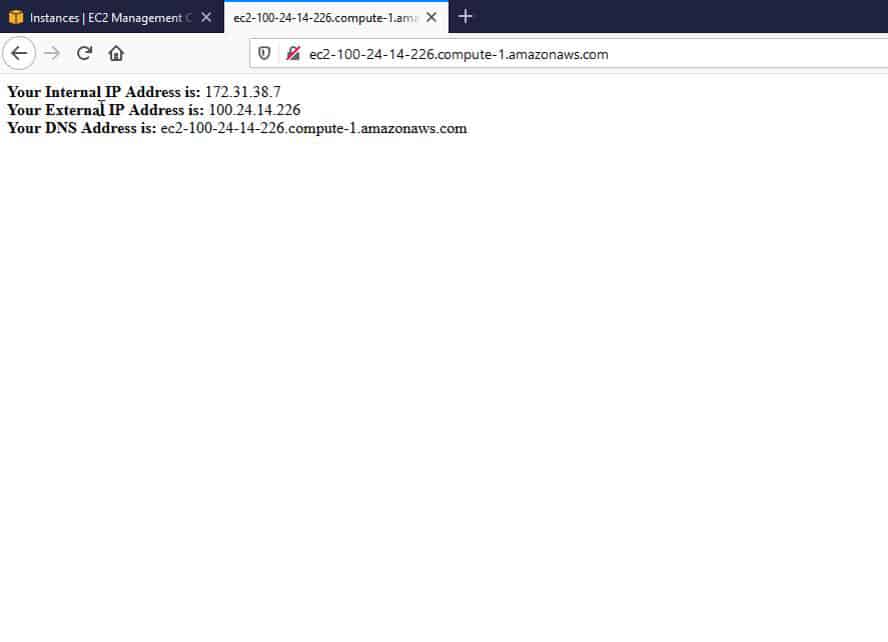
Not only will we be setting up a Linux server, but I’ll be using some code that you can paste into the setup wizard which will automate the setup of the webserver. When we browse to the webserver, a static page will display the internal IP address, the public IP address, and the public DNS name. We can do this by making use of the internal metadata URL’s (which are explained within the video)
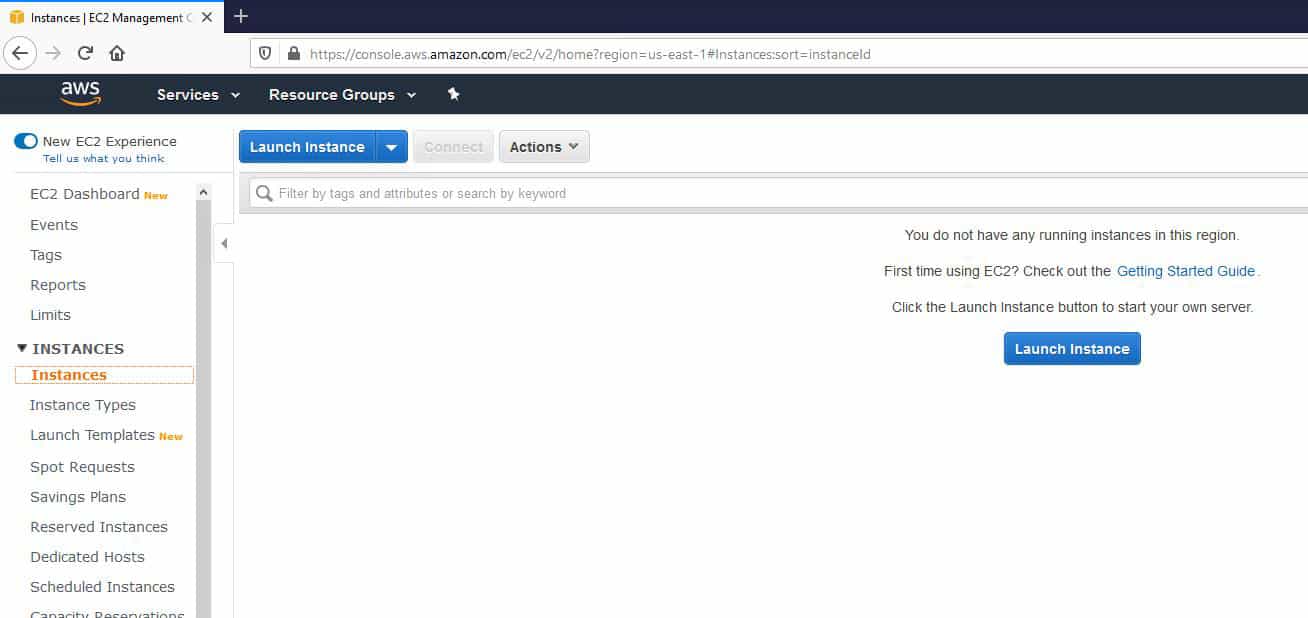
We will work through the tutorial together and go from this:

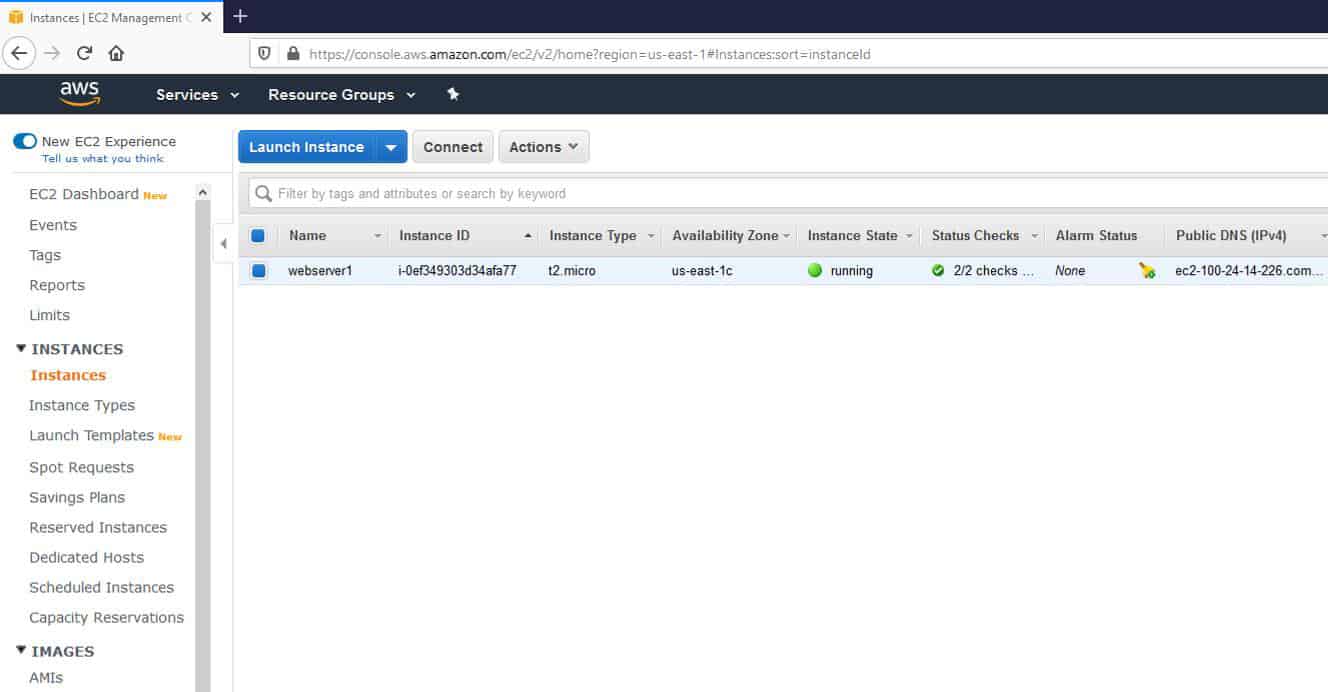
To a brand new Amazon AWS EC2 t2.micro Linux Instance

Once the server is fully initialized and running, we test the webserver component by browsing to the external DNS. You will then see the following contents within your browser

Lastly, we create a new public/private key pair and use PuttyGen to extract the private key. I then import this key into Putty where we then establish an SSH session to the EC2 Linux instance.
Amazon AWS EC2 Video Tutorial
If you want to skip to a specific section of the video, you can click on the links below:
1. All ‘Instance Details: 2:48
2. provide a ‘user data’ script that will automatically make your Linux EC2 instance a web server (including 1 custom static index.html page displaying server network information): 10:50
3. Explanation and setup of the firewall rules: 14:45
4. creating a public/private key pair: 17:12
5. extracting the private key and importing it into Putty: 23:35
6. and finally establishing an SSH session to the Linux EC2 Server: 25:18
AWS EC2 User-Data Script
The user-data script referenced in the video is not too long but not too short either, therefore I’ve added the code to my GitHub page where you can easily copy it.
3rd Party Software Needed
In order to extract the private key from the public key pair, as explained in the video, you will need to download Putty and PuttyGen.
The post How To Easily Create An AWS Linux EC2 Instance appeared first on SYSADMINTUTORIALS IT TECHNOLOGY BLOG.
