Animated GIFs are everywhere on the internet. From blog posts to social media, GIFs can be used in a humorous as well as explanatory way.
Even on It’s FOSS, we use GIFs to show a certain step in action. It is better than still images and shorter than loading a video.
In this tutorial, I will show you how to convert a video clip to GIF. I’ll discuss both:
- Command line way to convert video to GIF
- GUI tool for converting video to GIF
Method 1: Create GIF from Video using ffmpeg in command line

FFmpeg is a video and audio converter that can also grab from a live audio/video source. It can also resize video on the fly without compromising the quality.
FFmpeg is a powerful tool and can be used for various scenarios, if you are curious here is the official documentation. We also have a good collection of ffmpge usage examples.
In this example, I will use the Linux Mint 20 new feature presentation video. I downloaded the video from YouTube using youtube-dl and then I trimmed the video to get the first 5 seconds.
Make sure to install ffmpeg using your distribution’s package manager:
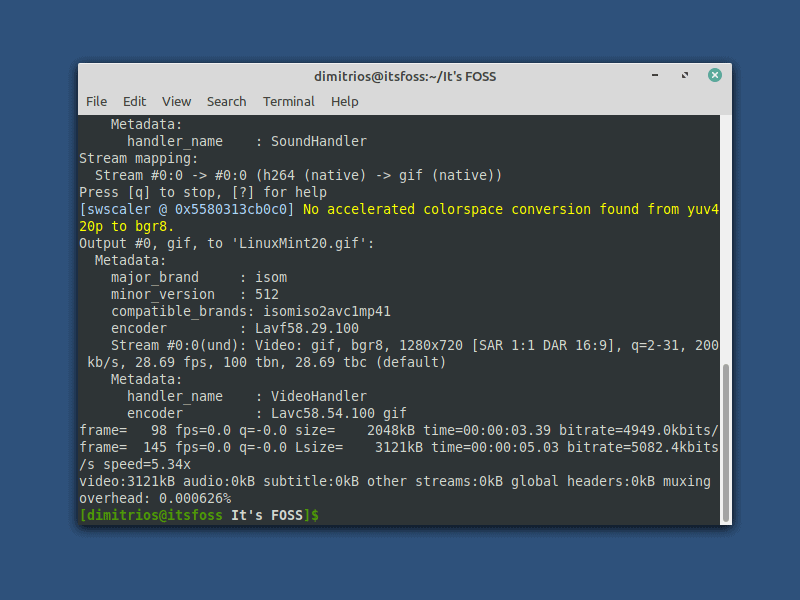
sudo apt install ffmpegOnce you have selected the video that you want to convert, open your terminal and change directory where your video is saved. Below is a general principle, where input is the actual name of the video, following by the video format and the name that you want your gif to be.
The output name can be something totally different to the input name, but I tend to use something similar, as it helps to identify it when you have a folder full of files.
ffmpeg -i input_video_file output.gif
Press the enter key to execute the command and your gif will be ready shortly.

You should find the GIF file in the same folder as your video file unless you specified some other path for the output file).

Method 2: Converting video to GIF using Gifcurry GUI application
Gifcurry is an open-source, easy-to-use app GIF maker app.
It uses ffmpeg and imagemagick to process video and convert to GIF. It can be used both in command-line and the graphical user interface, although this tutorial will only cover the GUI part.
It can be installed using snap and other package managers, but I recommend using the AppImage because I found some issue with other packages.
Before you attempt to open gifcurry, you need to make sure that the required dependencies are already installed.
- GTK+ >= 3.10
- FFmpeg >= 2.8.15
- GStreamer >= 1.0
- GStreamer Plugins
- ImageMagick >= 6
Open and use gifcurry
To make an Appimage executable is very straight forward and you grant the permission at the file properties as following:
< div class="wp-block-image">

When you open Gifcurry you will be prompted to navigate to the file that you want to convert and at this example I will use again the initial video. As ffmpeg, Gifcurry is not limited to purely converting videos to gif and vice versa. Some of the features are listed.
A few other Gifcurry Features
- Add text to gif
- Choose starting time
- Set duration
- Adjust gif width
- Adjust Quality

At the last step, you have to choose the file name, the file format and click save.

The final result is here:

Conclusion
If you are recording your screen in Linux, you may use Peek to record it a gif instead of a video instead of converting the video to gif later.
Either you choose the command line or the graphical user interface, your job will get done lightning fast both ways.
Let me know which way you prefer and feel free to request any further explanation at the comments section.