WordPress is often positioned as a great way to set up your site if you lack technical knowledge. This is true, although there are many tech-based terms that warrant further investigation. For example, after seeing the option in your hosting control panel, you may ask, “What is a subdomain?”
In short, it’s a way to assign a unique URL to another site in your network that’s connected in some way. However, there’s more to the concept than this.
In this post, we’ll look to answer the question of, “What is a subdomain?” and also show you how to set one up for your WordPress website.
What Is a Subdomain?
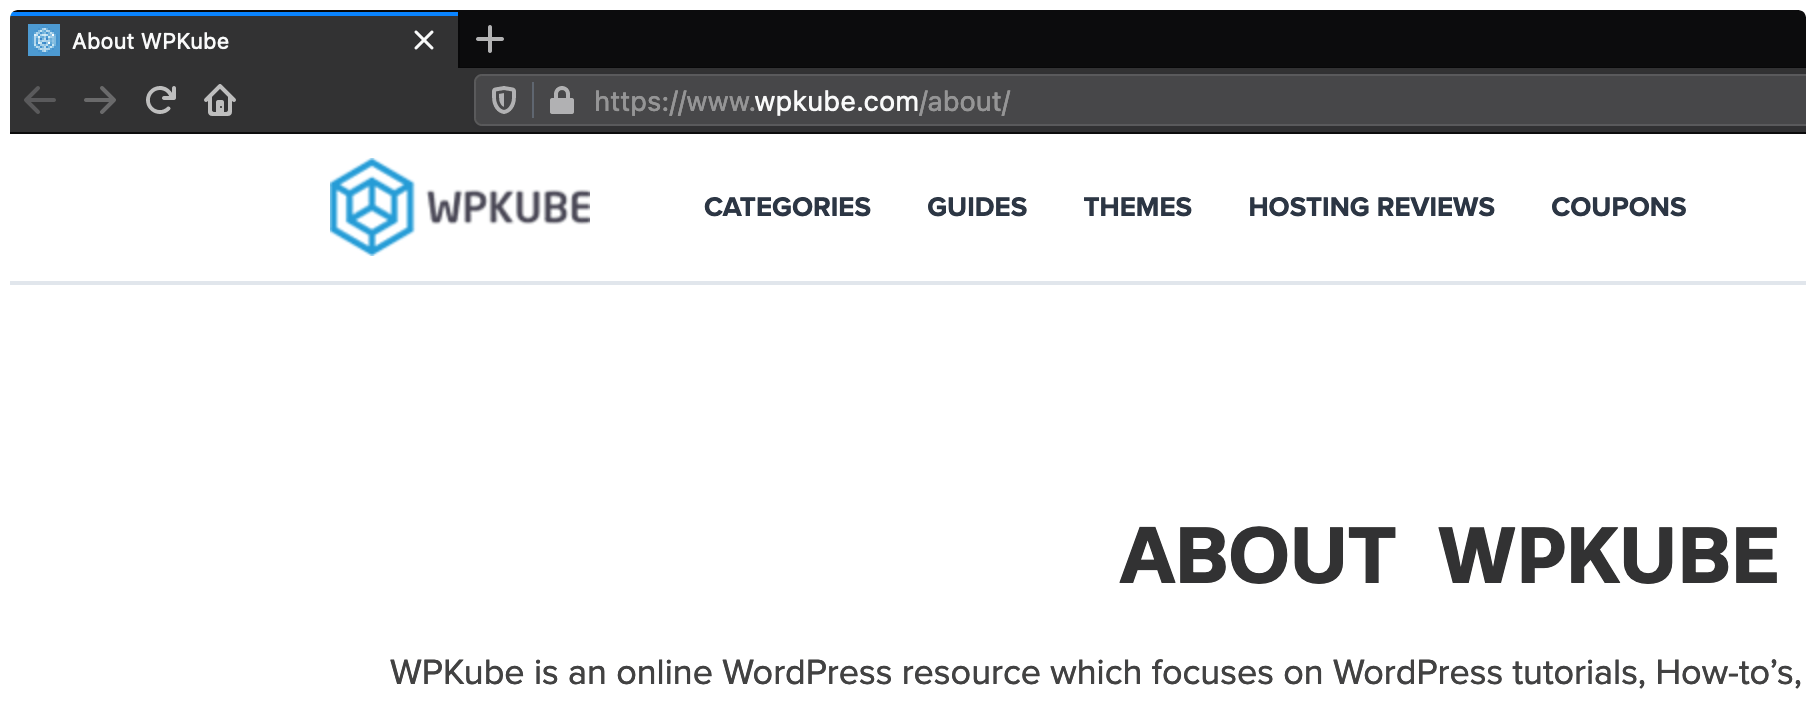
First things first: A subdomain is a unique URL connected in some way to a primary domain. There are three parts to a primary domain’s ‘hostname’:
- Your site’s ‘service pointer’. For a standard web address, this is www.
- Your domain name or ‘Second-Level Domain’ (SLD). In our case, it’s wpkube – it’s essentially the name of your site.
- The Top-Level Domain (TLD). This is often .com, but there are scores of other TLDs available.
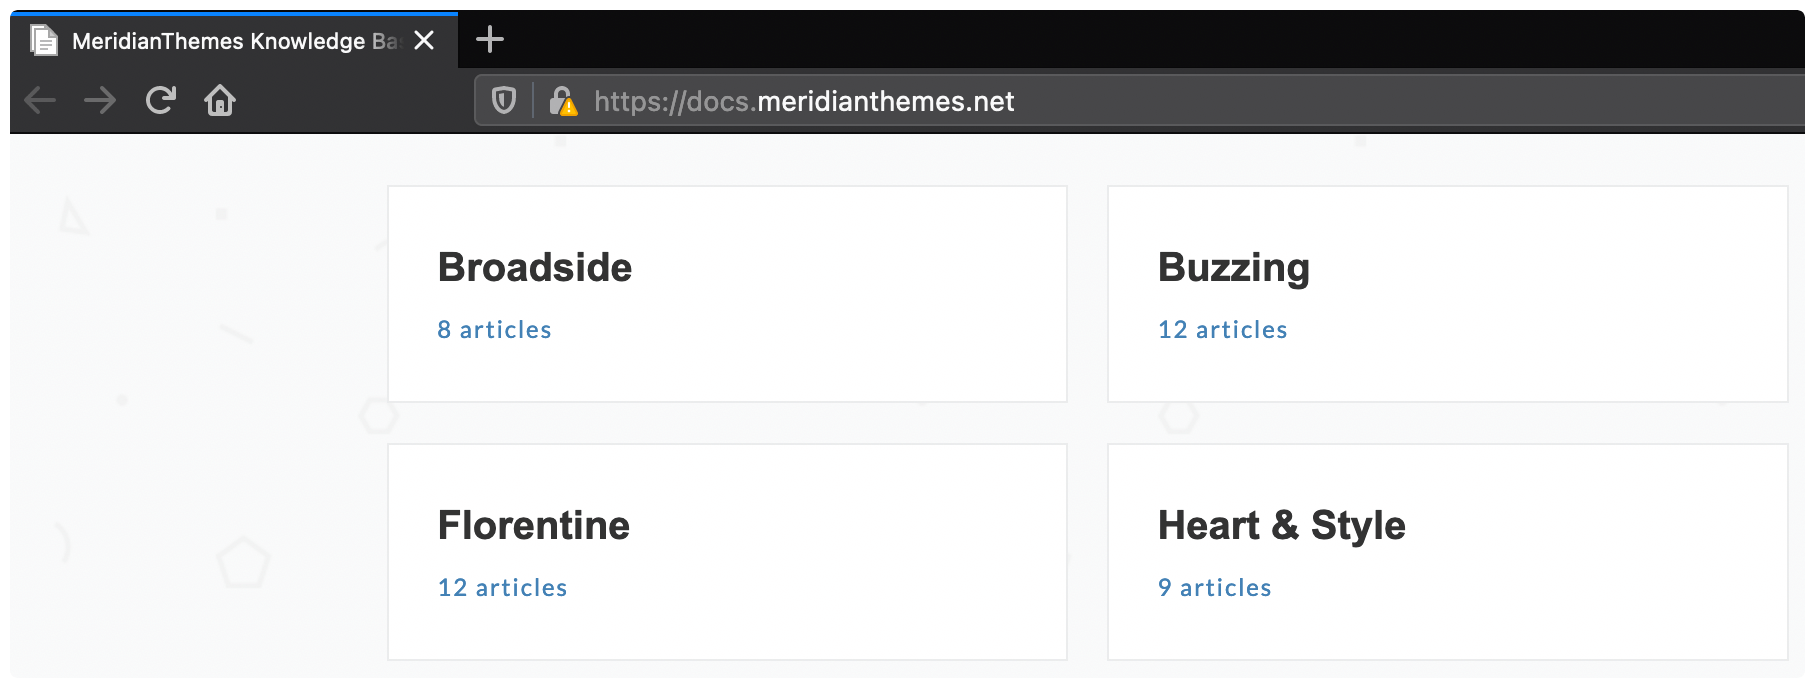
When it comes to a subdomain, our main focus is on the service pointer. Instead of www, a subdomain uses some other pointer. For example, our sister site MeridianThemes has a knowledge base on a subdomain:

In a nutshell, think of a subdomain as a separate ‘microsite’ – part of your primary site’s hierarchy like categories and tags – but autonomous with regard to its installation and management.
Why Do You Need a Subdomain?
No site needs a subdomain in reality. However, there are many benefits to using one. Here are just a few:
- You can set up a fresh installation on a subdomain that doesn’t ‘touch’ your main site.
- You’re able to ‘partition’ your various services with unique functionality needs from one another.
- There’s a benefit to your Search Engine Optimization (SEO) through setting up a subdomain.
You’ll often see blogs or online stores on a subdomain, because they require a different set of features and functionality.

Also, SEO should be a key concern whenever you look to implement anything new on your site. However, for subdomains it’s especially important. There are a few reasons for this, especially when you factor ‘subdirectories’ into the equation.
Is There a Difference Between a Subdomain and a Subdirectory?
The first difference between subdomains and subdirectories is in the makeup of the latter’s URL:

You’ll notice that it looks like a category, tag, or archive page, and you’d be right. Essentially, subdirectories have the following characteristics:
- It’s a separate section of your site, rather than a new install.
- You can access it by appending the subdirectory to your primary domain name, such as www.wpkube.com/about.
- There are different SEO benefits to consider.
In short, a subdomain is treated by search engines as a separate site to your primary one. As such, it receives all of the pros and cons a standalone site does. This means you can also link between your primary site and subdomains and they’re all treated as backlinks.
However, subdirectories share ‘link juice’ with your whole site, because they’re part of it. Unless you have a solid reason to do so – such as creating traffic-heavy sites such as a blog or store – it’s a good idea to use subdirectories.
How Do You Create a Subdomain (3 Steps)?
Fortunately, creating a subdomain takes very few steps, and doesn’t require much technical knowledge. Here are the steps we’ll show you:
Let’s start by finding the subdomain options screen within your hosting account.
1. Access Your Hosting Provider’s Control Panel
First off, you’ll need access to your hosting provider’s back end. Fortunately, this should be straightforward. To start, navigate to your hosting control panel and log in.
You’ll then be brought to your dashboard. Depending on your host, you may have a custom control panel in place…

…or one based on an open-source solution such as cPanel:

From here, you’ll want to find the right admin screen. It’s usually clearly named as Subdomains, or similar:

Some hosts will bundle subdomain administration in with your primary domains. If you can’t find the right screen, you may need to hunt around. Once you’re in, you’ll want to take a look at what you can achieve.
2. Use the Built-In Functionality to Create a Subdomain
Next, take a look at the Subdomains screen you’re in. Depending on your host, you’ll have a few different options at your disposal. However, the basic settings will be:
- Name your subdomain.
- Choose your root or primary domain.
This is practically all you need to set up a new subdomain:

However, other hosts will give you a greater set of options, such as choosing your version of PHP or whether you use a built-in Content Delivery Network (CDN):

Once you’ve filled in all of the relevant fields, click to save – usually it’s an explicitly-named button – and wait for your host to finish creating your subdomain. The final step from here is to set up your new site.
3. Install a Website on Your Subdomain
As we noted, a subdomain is a separate site from your primary domain. As such, you’ll need to go through the steps to set up a new website. Fortunately, we’ve covered this topic at depth over the course of various articles.
Also, remember to add a good number of backlinks between this new site and the others on your network. This helps out your new site’s authority and search engine ranking.
Wrapping Up
There are plenty of situations where having a separate, yet linked site to your primary domain makes sense. For example, you may want to set up a dedicated blog or online store that you expect will receive heavy traffic. In these cases, you can stay organized and prepared to hit the search rankings by using a subdomain.
In this post, we’ve shown you how to set up a subdomain for your website. Let’s recap the steps:
- Access the right admin screen within your hosting control panel.
- Create your subdomain and save your changes.
- Install WordPress and launch your site.
Do you have a need for subdomain, and do you have any questions for us? Ask away in the comments section below!