How to Install Exchange Server 2013
As Microsoft has released Exchange Server 2013, we have verified it on our development environment as well as live environment and successfully installed using below mentioned steps:
Prerequisites for installing Exchange Server 2013
The prerequisites that are needed to install Exchange 2013 on a Windows Server depends on which Exchange roles you want to install.
Here we will be installing both the Mailbox and Client Access server roles on the same computer.
- Please check the prerequisites for Exchange Server 2013 from Here
The Active Directory needs to be prepared on a Windows Server.
After installation and configuration of Active Directory, we need to follow below mentioned steps:
- Open Windows Power Shell and run below mentioned commands:
- Import-Module ServerManager [Press Enter..]
- Add-WindowsFeature Desktop-Experience, NET-Framework, NET-HTTP-Activation, RPC-over-HTTP-proxy, RSAT-Clustering, RSAT-Web-Server, WAS-Process-Model, Web-Asp-Net, Web-Basic-Auth, Web-Client-Auth, Web-Digest-Auth, Web-Dir-Browsing, Web-Dyn-Compression, Web-Http-Errors, Web-Http-Logging, Web-Http-Redirect, Web-Http-Tracing, Web-ISAPI-Ext, Web-ISAPI-Filter, Web-Lgcy-Mgmt-Console, Web-Metabase, Web-Mgmt-Console, Web-Mgmt-Service, Web-Net-Ext, Web-Request-Monitor, Web-Server, Web-Stat-Compression, Web-Static-Content, Web-Windows-Auth, Web-WMI [Press Enter..]

- Install .NET Framework 4.5 from Here
- Download and install Windows Management Framework 3.0 from Here
- Download and Install Microsoft Unified Communications Managed API 4.0, Core Runtime 64-bit from Here
- Download and Install Microsoft Office 2010 Filter Pack 64 bit from Here
Now, the Exchange Server 2013 is ready to install. You can download the setup from the Microsoft website and run setup.exe
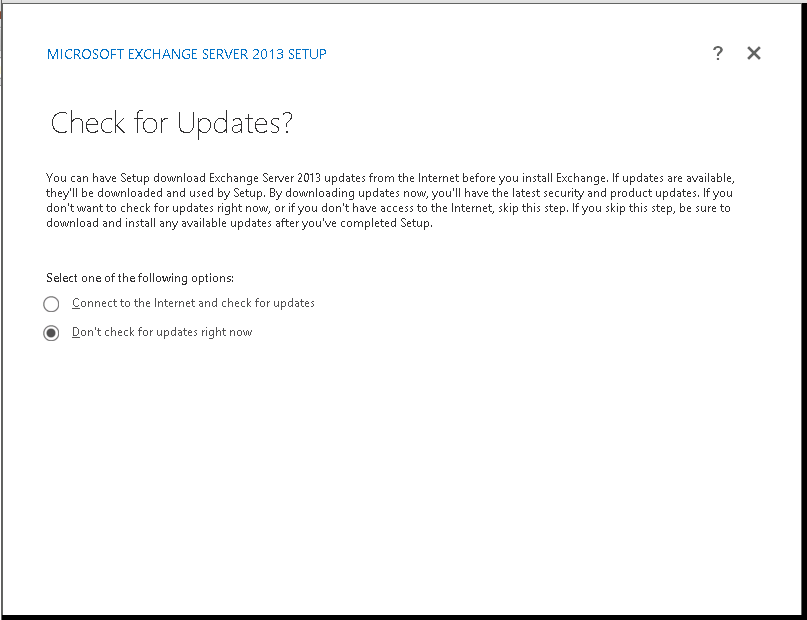
- On startup screen, it will ask for updates, simply click on Don’t check for updates and press Enter..

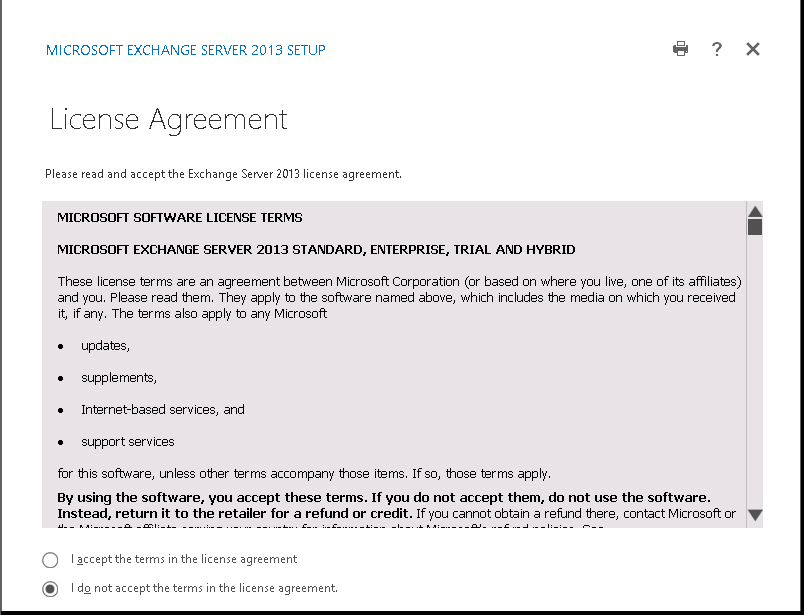
- Accept the license Agreement and press Enter

- Select Use recommended settings and press Enter…

- Select Mailbox role and client access role from role selection window.

- Select space and location [Default is okay] and click on next..
![Select space and location [Default is okay] and click on next](https://wiredgorilla.com/wp-content/plugins/wp-fastest-cache-premium/pro/images/blank.gif)
- Enter organization name and click on next..

- Malware scanning is enabled by default, select appropriate option and click on next.

- It will start readiness check and Install button will be visible

- Click on Install and allow all 15 steps to finish.

- Enter default username and password to start working.

Below are the steps to integrate Exchange Server 2013 with WebsitePanel
- Login to the WebsitePanel, Goto –> Configuration –> Server –> Server Name

- Here we need to make 2 settings, Hosted Exchange & Hosted Organizations

- Click on Hosted Exchange and make the settings shown as below screen capture.

- Now goto Hosted Organizations and make settings shown as below.

All the settings have been done now, we can start working with it….
- Goto user –> Hosting Space and Click on Hosted Organizations

- Click on the domain name and we will have a screen as shown below.

- Goto Mailboxes and click on Create New Mailbox

- Feel all necessary details and click on Create Mailbox

Will take few seconds….


One can view the settings by clicking on mailbox name.

Note: We recommend installing the exchange 2013 server in lab first before you start installing it on a live environment.