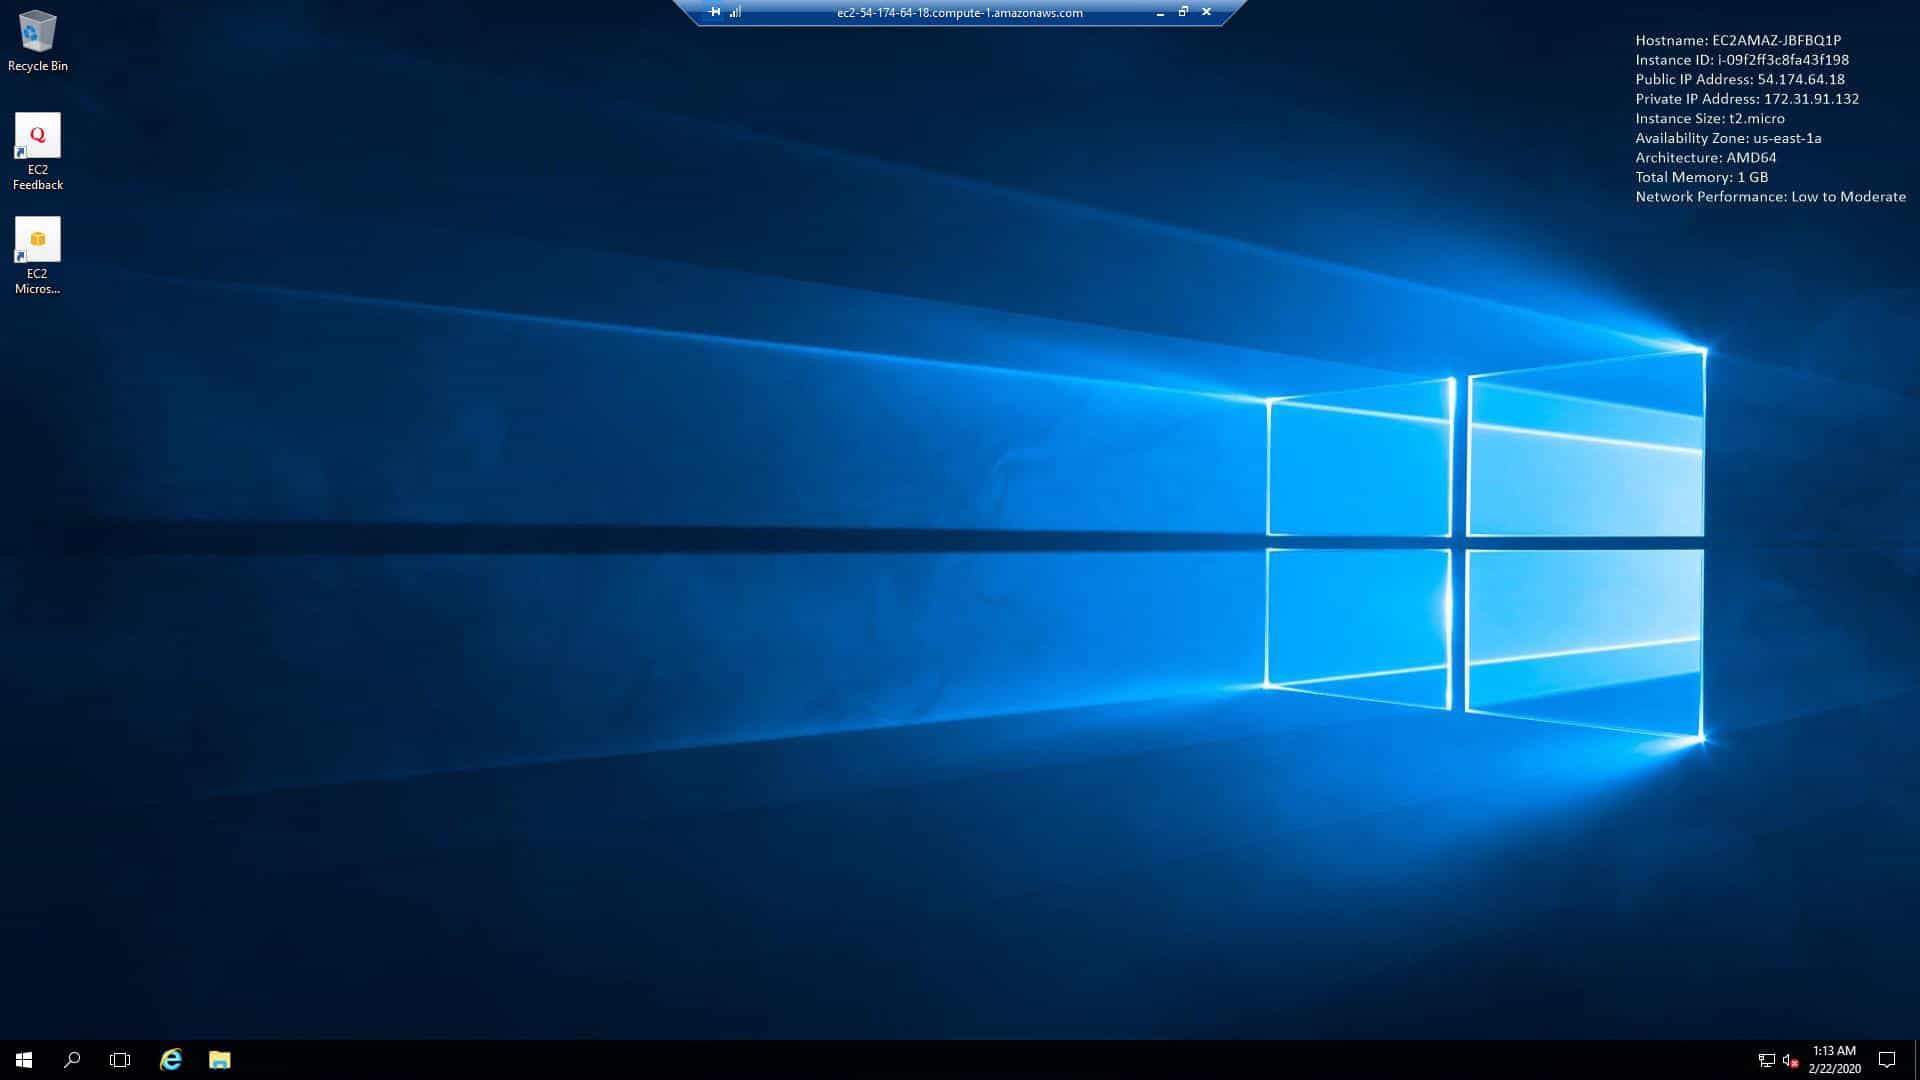
In last week’s post I went through how to create an Amazon AWS Linux EC2 Instance. Within that tutorial, we created a Linux web server and used an automated script to install the httpd service which then displayed a web page of the server’s internal IP, external IP and DNS name.
Today’s video tutorial is going to guide you through step-by-step, in achieving the same end result as we did with the Linux server tutorial, but on Microsoft Windows Server.

Windows EC2 Instance Pre-Reqs
If you are brand new and don’t have experience with Amazon AWS, don’t worry, I have written 3 getting started articles that you can easily follow to get you up and running, with a free-tier account.
The 3 articles listed below should be followed in order:
- How to create an Amazon AWS Free-Tier account
- How to Enable Multi-Factor Authentication on AWS Root Account
- How to Create an Amazon AWS Billing Alarm
However, if you already have an account and have some experience with AWS, you can jump straight into the tutorial.
Windows EC2 Instance Objective
I will guide you through using the AWS EC2 Instance creation wizard to:
- Deploy Microsoft Windows Server 2016
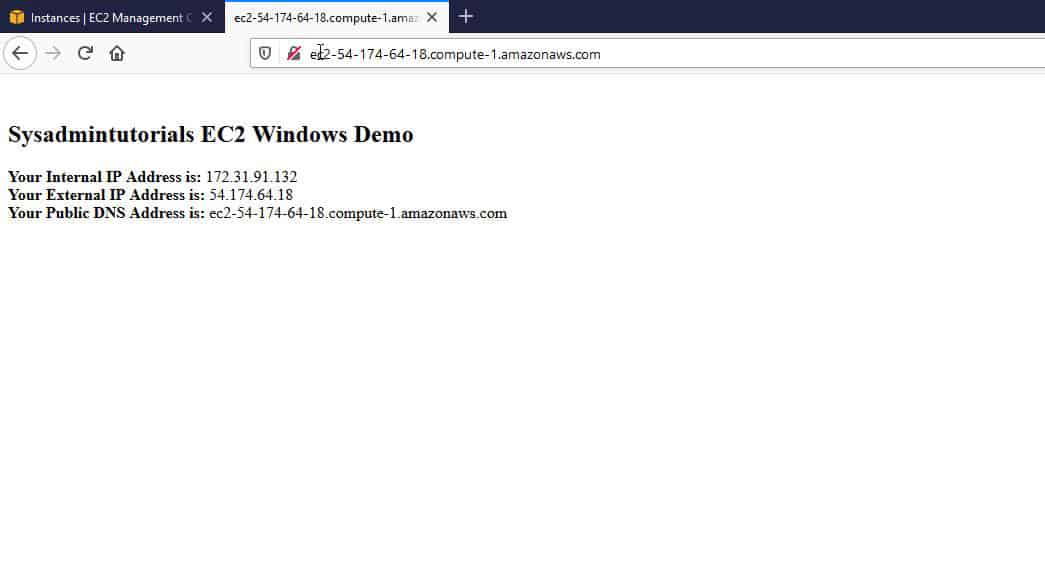
- Use a PowerShell script, to automate the install of IIS webserver, obtain AWS built-in meta-data such as internal IP address, external IP address and DNS name. Publish that information to a webpage called index.html.
- Secure HTTP and RDP access so that it’s only allowed via a specific source IP
- Create a new key-pair and use that key-pair to decrypt the Windows password
- Test RDP and HTTP access to the server
When we browse to our new server, we will see the web page below:

Windows Server Powershell Code
The Windows Server Powershell code that I paste into the user-data section of the EC2 creation wizard, is quite long. Therefore I have made the code publically accessible on my GitHub page. As a result, you can browse directly to the GitHub repository by clicking here.
Windows Server EC2 Instance Video
The post This Is How To Create An AWS Windows EC2 Instance appeared first on SYSADMINTUTORIALS IT TECHNOLOGY BLOG.

