Nextcloud makes online collaboration easier for remote teams. However, some users have less secure personal computers and unsafe internet browsing practices. Scanning files before they can be uploaded to Nextcloud helps protect your managed VPS/dedicated server and users from malware.
The Antivirus for Files Nextcloud application does this by connecting to a separately installed ClamAV application hosted on the same server or a remote location. Below we cover:
- Installing the Antivirus for Files Nextcloud Application
- Configuring Antivirus for Files with ClamAV
- Daemon (Socket)
- Executable
- Daemon
- Enable All Logging
Install Antivirus for Files
- Log into Nextcloud as an administrator
- In the upper-right corner, select your username icon, then + Apps
- On the left, select Security
- Under Antivirus for files, select Download and enable
Configure Antivirus for Files with ClamAV
- In the upper-right corner, select your username icon, then Settings
- On the left, under Administration, select Security
- Under Antivirus for Files, choose between three scanning modes:
Daemon (Socket), Executable, and Daemon
Daemon (Socket)
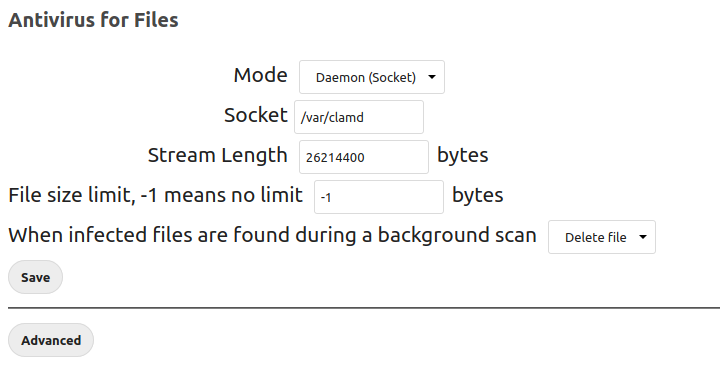
This is the recommended option for using ClamAV on the same server. This is less resource-intensive compared to the executable mode.
When selecting this option, your Nextcloud Socket path should match the file path to clamd. To verify this, SSH into your server and run the netstat command:
netstat -a | grep clam
The file path is at the end:
unix 2 [ ACC ] STREAM LISTENING 1754490 /var/clamd
Executable
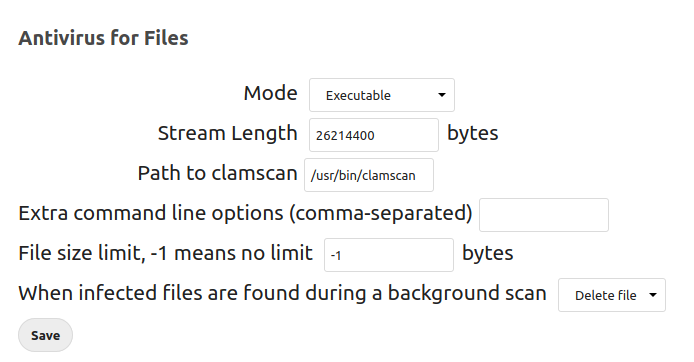
This option for using ClamAV on the same server is slower and more resource-intensive compared to the daemon (socket) mode.
With this option, your Nextcloud Path to clamscan path should match the file path to clamscan. To verify this, SSH into your server and run the find command:
find / -name clamscan
The example below is for the ClamAV cPanel plugin on a managed CentOS VPS.
/usr/local/cpanel/3rdparty/bin/clamscan
Daemon
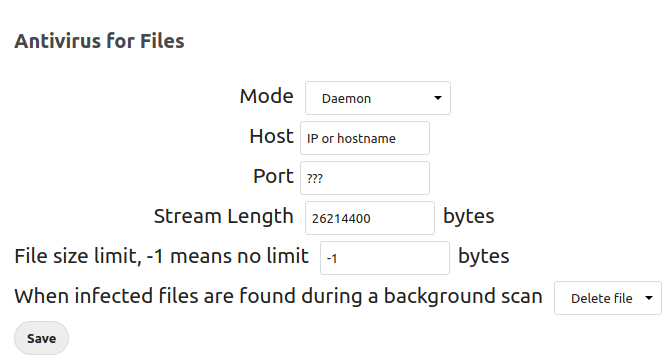
This option calls ClamAV on a remote server and requires the hostname (IP address or server name) and port number of that server. You can find the port number within the ClamAV clamd.conf file on that server.

We recommend changing When infected files are found during a background scan to Delete file.
Learn more from the Antivirus for Files official documentation.
Enable All Logging
Ensure all events are logged to help you track security incidents.
- In the upper-right corner, select your username icon, then Settings
- On the left, select Logging
- Select the 3-dot button beside Level and ensure all Log levels are selected
- On the left, under Administration, select Security
Learn more about ways to secure your managed VPS.
