With The Hub 2.0, you can give unlimited users multiple roles — even if they aren’t WPMU DEV members! All of this can be easily set up in a matter of minutes, allowing you the flexibility to give users access to as much or as little as you’d like on your WordPress site.
Plus, With The Hub Client, you can create your Hub for your clients and collaborators, using your branding.
Oh, and did we mention it’s all free for your users and you’re able to be set up in minutes?
In this article, we’ll be going over how to:
- Easily Set Up Users
- Set Up Roles in Just a Few Clicks
- Add User Customization Settings
- Gain Quick Access to Sites
- Set Up the Hub Client
- Include Users & Roles & The Hub Client
This post’s features are accomplished from the Users & Roles tab in The Hub dashboard, except for The Hub Client, accessed by the Hub Client Plugin (which I’ll show you how to activate).
1. see all of them listed here.
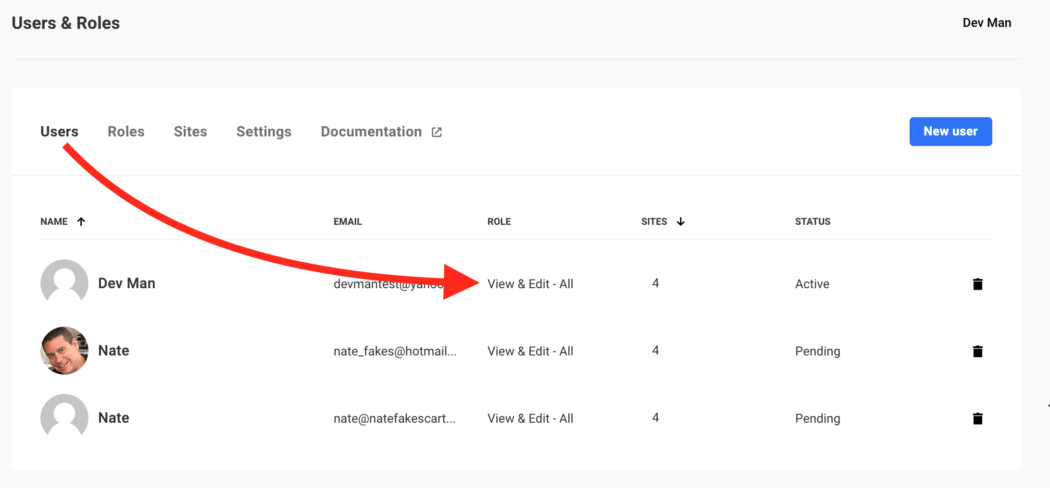
With roles determined, the ability to assign them is all in one place. Everything under Role shows what that user has access to.

Want to change roles? Customize what sites they have access to and switch roles accordingly by clicking on the roles and what sites you want the user to have access to.
Once updated, the user will have the roles that you applied to them.
And like all things in The Hub, you can edit anything whenever you want.
4. The Hub Client, you can provide access to clients, collaborators, and users using your personalized white label Hub. It’s your own Hub, the way you and your organization want it, customized to your perfection.
Plus, you can use any host (including our own managed hosting), sell our services, and run at your domain.
To use The Hub Client plugin, you have to be connected with The Hub to access its API. You can see how to do that here.
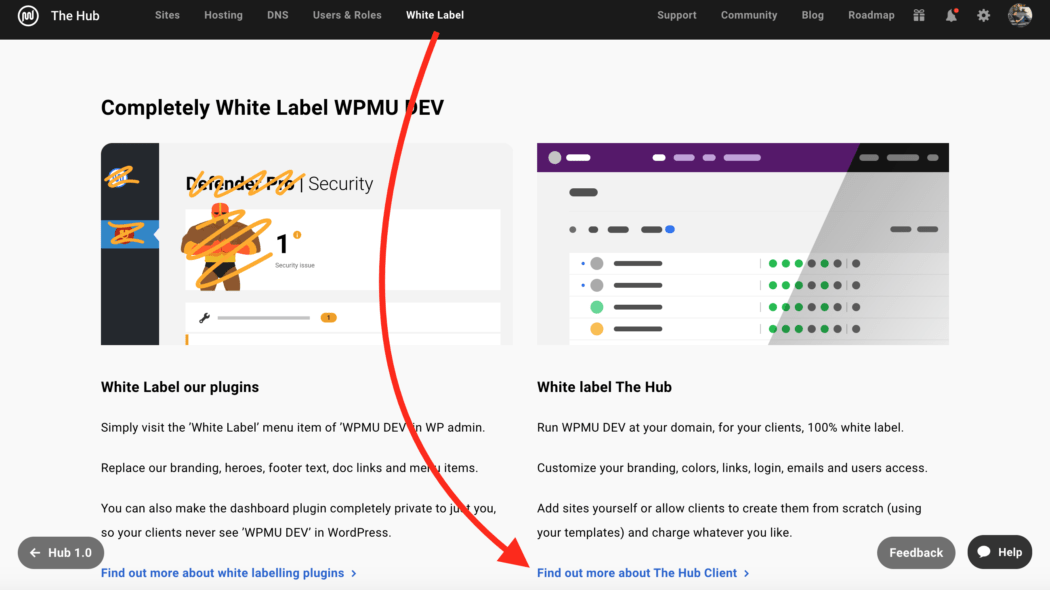
When connected to The Hub, the Hub Client plugin can be downloaded from the White Label page and then clicking on Find out more about The Hub Client.

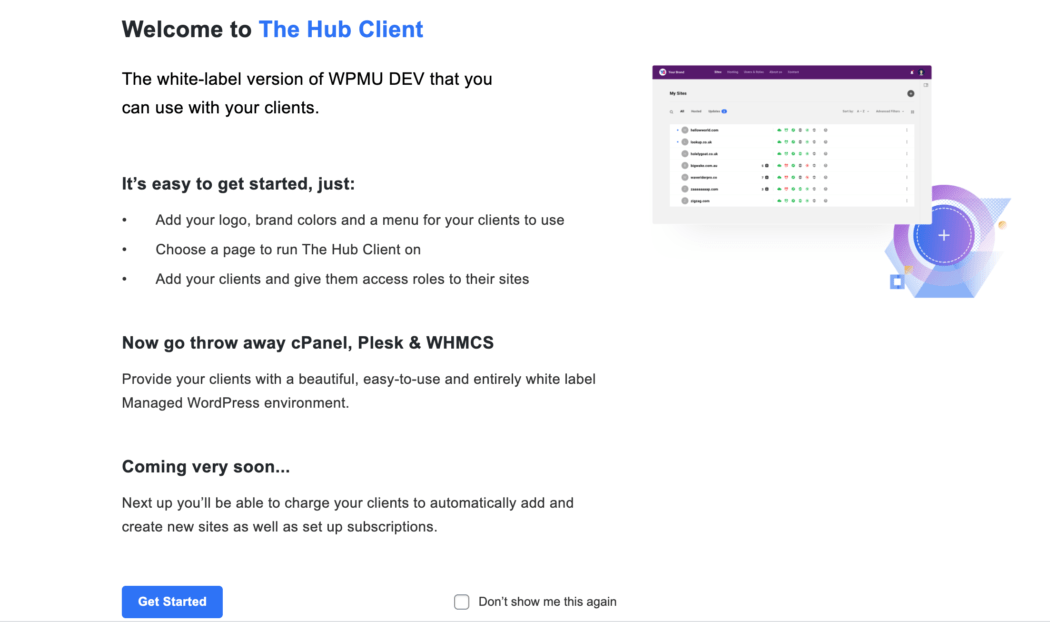
Once downloaded and installed, you’ll get a welcome message.

The welcome message can walk you through everything on getting started by, you guessed it – clicking Get Started.
Begin by changing your name to replace WPMU DEV by clicking on the title and entering whatever you’d like.

Replace the WPMU DEV logo with your own by uploading an image in the Your Logo section (e.g. Dev Man).

You can change the colors for the Navigation background, Navigation text, and Navigation text selected & hover in the Color scheme area. Do this by visually picking the colors or by color number (e.g. #FFFFFF for white).
Pick and choose appropriate colors that fit your branding.
Head over to the Configuration to select a pre-made menu to appear after Sites.

And for the client page, you can set up any page you’d like to replace your client hub. All the pages you have in your WordPress site will appear in the dropdown menu.

For example, I created a page called Client Login that I’m going to use for my clients to log in at.

And now, when your users log in, they’ll be greeted with your branding, colors, and configurations.

That’s how you have your own completely white-labeled Hub Client organization (yippee!).
So, let’s set up…
6. The Hub Client. The Hub Client includes controlling all user access levels and roles.
It has to be activated and running to do this, so be sure to read through the section in this article on setting up The Hub Client first.
Once The Hub Client is ready, adding, and setting up users & roles is all accessible in The Hub Client > Users & Roles.

This section is precisely how Users & Roles are set up in The Hub, except the Setting tab.
The Hub has the Settings tab, and The Hub Client has a Terms of Service & Privacy tab, so you can edit and set your Terms of Service and Privacy Policy.
You can easily add a new client or user by clicking the New User box.

Once clicking on that, you’ll fill out the new user’s email address, grant site access, and select the user’s role.

The user will get an email invitation to join. Once confirmed, they’ll appear in your Users & Roles admin as active.
When you have your users in the system, you can manage their access to websites. All you do is click on the individual, and a pop-up will appear where you can select Access to Selected Websites or Access All Websites.
If you choose Access to Selected Websites, you can remove or add sites that the individual can access in one-click.

Create a new role in the Roles tab. Plus, see what User Roles are already set up. (For more on New Roles, please see the Add User Customization Settings).

To quickly view your websites, view users for each site, and add or remove users from your site, go to Sites.

With the Users & Roles in the Hub Client, you’ll have your clients up-and-running in your white-labeled Hub in minutes. All accessible right from the dashboard in your WordPress site.
You can add an unlimited amount of collaborators and users with access to WPMU DEV products, plugins, and support.
Roadmap. And for more, check out The Hub’s documentation and stay tuned to our blog.
Source: premium.wpmudev.org