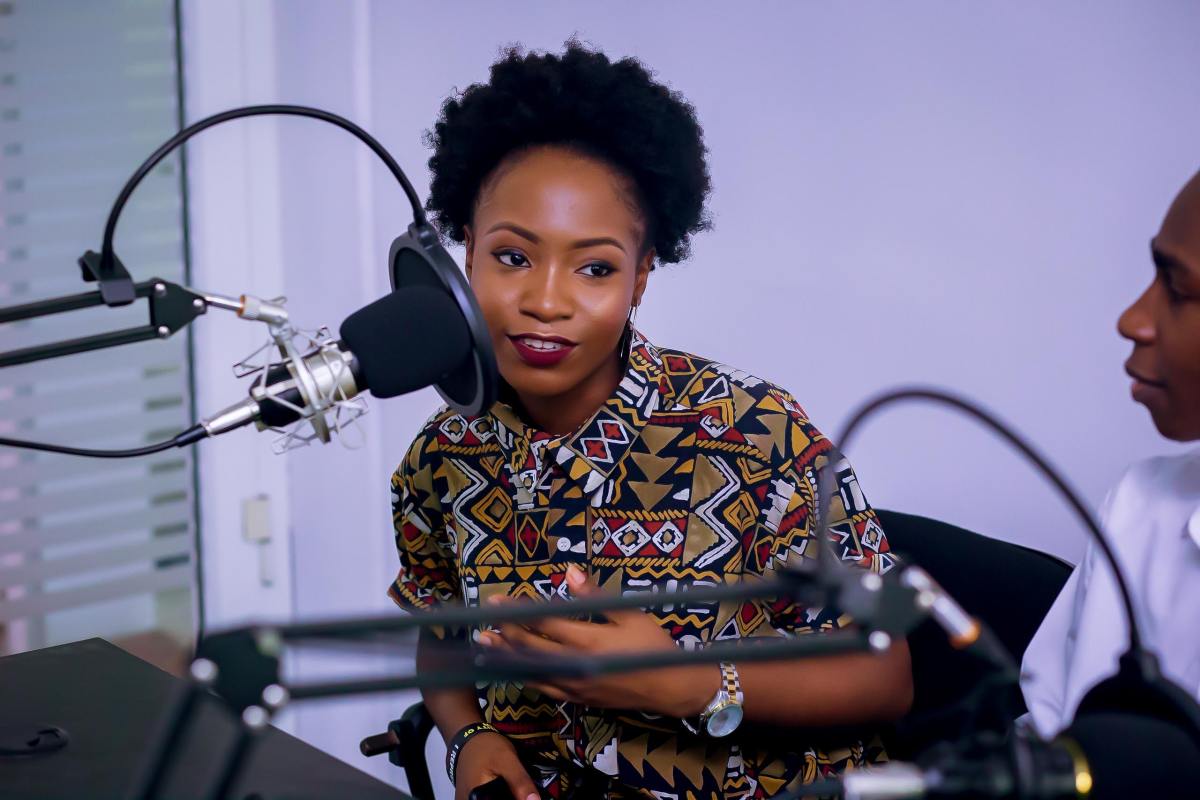
As the world continues to work from home, podcasts are serving as a helpful diversion to listen to when we’re washing dishes or walking the dog.
They’re fairly easy to produce from home, too.
Many of the conversations we’ve featured on the Distributed podcast have taken place over Zoom, with each of us calling in from our respective home cities. In the spirit of transparency, we thought we’d share some of our best practices and must-have equipment:
LOCATION
In many ways, where you’re recording your interview is just as important, if not more important, than any fancy equipment you’ll buy. Find a small, quiet place with minimal distractions. Some of us record from our closets (clothes help dampen the room noise) or from inside a car.
It doesn’t matter if you feel silly sitting in a closet, because these interviews will be audio-only.
There’s also a neat tool called Krisp.ai that filters out background noises. Give that a try, too.
RECORDING
We previously used Zoom for our podcast interviews, but we recently switched to a podcasting software product called SquadCast, because it captures better audio. SquadCast records high-quality audio tracks from each guest, and it automatically syncs the audio tracks.
There can still be a small handful of occasional internet hiccups, so just to be extra safe we also record each person locally for backup. That means guests also record themselves on their own computers using QuickTime or GarageBand, or using the Voice Memos app on their phone.
Local recordings only work if each guest is wearing headphones, so make sure everyone has headphones on. This way you’ll get a clean, isolated audio track of that guest’s voice. You’ll edit all the voices together later.
EQUIPMENT
You’ll want a microphone to record yourself. Here are three potential mic-recording options, listed from most expensive to least expensive:
Option 1: Professional microphone and headphones
The full podcaster kit includes a microphone and mic stand, a preamp to connect it to your computer, a windscreen, and some nice headphones.
Option 2: Plug-in headset microphone
Another good microphone option is a headset mic, like this Sennheiser SC 165. It’s small and portable, and the microphone is very good at blocking out external noise. On the downside, the mic being so close to the mouth can lead to pops.
From our experience, headset mics work much better than standard Apple EarPods with a lavalier mic. The Apple headphones tend to pick up more room noise.
Option 3: Voice memos app on your phone
One last backup option is to have your guests record their voices directly into the Voice Memos app on their phone. You’ll need to coach the guest to hold the phone steady and hold it about 3 inches away from their mouth, like a handheld microphone. They will also need to wear headphones so the other guests’ voices won’t bleed into their local recording. Results can vary, so use this option only if your guests don’t have access to a mic or headset mic.
EDITING
For editing, many producers rely on apps like Audacity, ProTools, or Adobe Audition. You can also use GarageBand, and our own editor uses a tool called Hindenburg, which is designed specifically for podcasting and the spoken word. Hindenburg also sets the final audio at the right loudness for publishing on our podcast feed.
PUBLISHING
Distributed.blog uses the built-in podcasting tools that come with WordPress.com. You can quickly publish new episodes from your RSS feed and syndicate them to all the major podcast apps. We also recently launched the new Podcast Player block that can embed your latest podcast episodes. Read more on how to get set up on WordPress.com.
Do you have other tips for recording from home? Tell us in the comments.
***
Photo by The Teens Network Daytime Show Studios from Pexels