Maintaining your website for easy navigation is essential for your human and robot visitors. As your WordPress website grows, cleaning up old, duplicate pages helps your SEO and keeps your users happy.
The best way to reorganize your content without deleting pages or posts, which will hurt your SEO and frustrate your users, is to use 301 redirects. As you create new content, or combine like topics, 301 redirects will push traffic from the old URL(s) to the new URL.
This may seem like a daunting task but thankfully there is a WordPress redirect plugin that will allow you to set up URL redirects with ease. With the beginner-friendly WordPress Redirection plugin, you can manage your 301 redirects directly from the dashboard – removing the need for you to edit your .htaccess file.
Continue reading to learn how to:
- Install the WordPress Redirection Plugin
- Create a 301 Redirect with the Redirection Plugin
Enjoy fast, secure hosting optimized for your WordPress site with our WordPress Hosting plans.
Install the WordPress Redirection Plugin
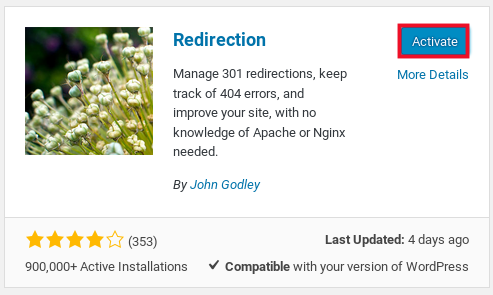
In order to set up 301 redirects from your dashboard, you’ll first need to install and activate the Redirection plugin. To install the plugin:
At the time of this review, this plugin, version 4.9.1, was tested up to WordPress 5.6 and is updated every 1-3 months.
- Log into WordPress Dashboard.
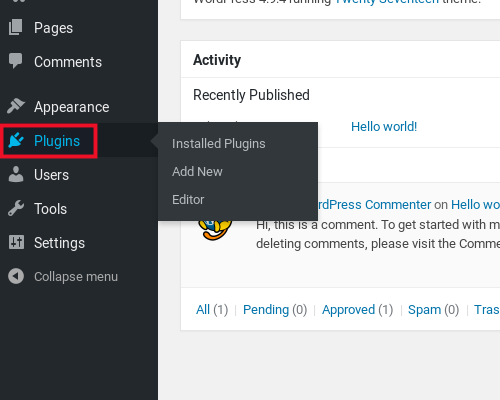
- Navigate to Plugins > Add New.
- Type Redirection into the search bar.
- Click Install > Activate.


