If you want to learn how to create a WordPress website with Elementor, then there’s no better time than right now. In this Elementor tutorial for beginners, we’ll show you how to make a website with one of the best page builders out there.
Building a website that’s good-looking no longer takes a lot of money and paid web designers. In this day and age, there are special tools known as page builders that can get that done for you. Not only are they easy to use, but they’re also powerful as well as super fast.
Of the various page builders, Elementor is among the most popular options, and for a good reason. We’re going to walk you through the whole process of creating a website in this Elementor tutorial for beginners.
Create a WordPress Website with Elementor
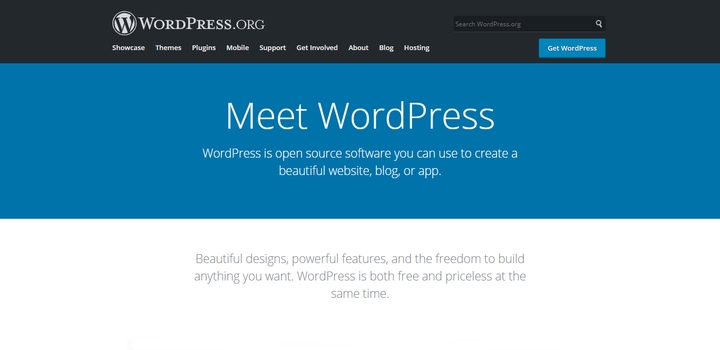
While there are a lot of platforms that allow you to build a website, WordPress still manages to stand out from the competition. For one, you can get WordPress for free. Not only that, it is completely open-sourced as well. As a result, you can check, edit, and repurpose the code as you see fit.

In practical terms, this means that WordPress provides you with complete control over your website. Unlike a lot of other platforms, you can make changes without any restrictions. On top of that, the WordPress software is incredibly flexible and will work for a wide variety of different sites.
To setup a WordPress website of your own, you need to prepare two things; Domain Name and Web Hosting. Web hosting is where all of your website’s data is stored, while a domain name will allow users to find your website.
Once you have purchased both, you can download the software off the WordPress website and move on to the step of installing WordPress. It’s all quite intuitive, really.
If you want to get started with using WordPress but are unsure as to where to start with Domain Name and Hosting, then you can check out our handy article on setting up WordPress.
Why Choose Elementor and Zakra to Build Your WordPress Website?
As useful as WordPress is, it alone might not be enough to help you build the website of your dreams. Fortunately, there are ways you can make it much easier for yourself. To be specific, you’ll have access to certain tools that you can add to WordPress.

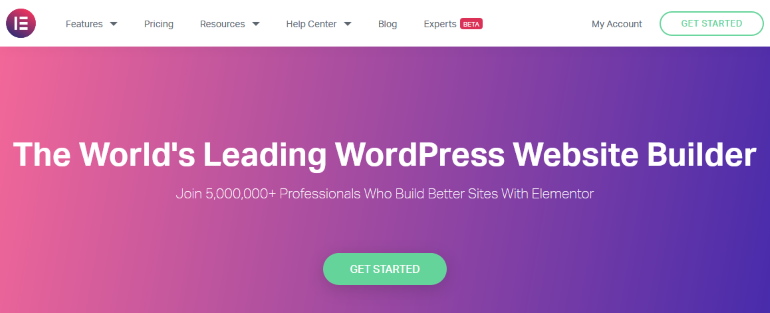
The first of them is Elementor. To put it simply, it is a plugin that allows WordPress users to build attractive looking webpages with very little effort. It boasts a drag-and-drop interface that requires absolutely no coding whatsoever, so no need to worry on that front.
As one of the most popular plugins out there, you can be assured that Elementor is a product that has provided high-quality service to a ton of people around the globe.
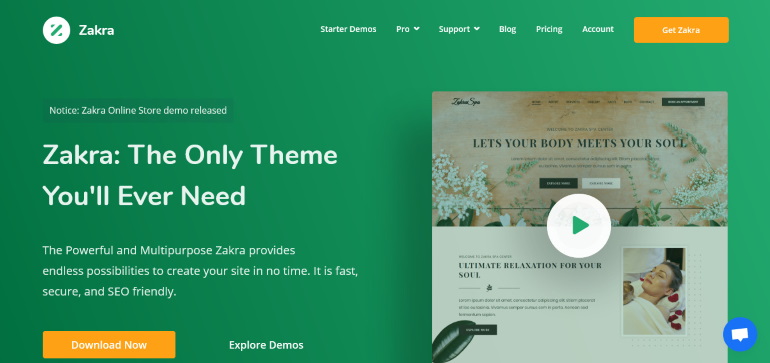
Along with Elementor, you’ll also need a high-quality WordPress theme for your site. For that purpose, you can’t go wrong with Zakra. Not only is this highly versatile and feature-rich, but it’s also been built specifically with Elementor in mind.

With a combination of Zakra and Elementor, you’ll be able to customize almost all aspects of your website to your liking, from posts and pages to the header and footer. Most importantly, you’ll be able to do all that without using a single line of code. In this Elementor tutorial for beginners, we’ll show you how.
How to Create a WordPress Website with Elementor
With WordPress set up, we’re ready to move on to the next step and show you how to create a WordPress website with Elementor.
1. Installing Elementor and Zakra
First things first, as this is an Elementor WordPress tutorial, you’ll have to install the Elementor plugin. It’s quite easy to install a WordPress plugin so no need to worry on that front. From your WordPress Dashboard, go to the Plugins>Add New option on the sidebar.
Now just enter ‘Elementor Website Builder’ on the search bar at the top right. Once it appears, click on the Install Now button, and then click on Activate. There’s also an Elementor Pro version with more features that you can purchase from their site.

Once that is done, look at your sidebar and go to Appearance>Themes page and click on Add New at the top. In this page, you’ll be able to add themes from the WordPress repository to your site.

Like before, you’ll have to use the search bar on the top-right and look for ‘Zakra’. Once it appears, just hover over the item and click on the Install. Wait for it to finish before clicking on the Activate button that appears.

Now, you can get started with creating a proper website in Elementor with the Zakra theme.
2. Tweak your Website with WordPress Customizer
With Zakra and Elementor installed and activated, you can begin customizing your site. With a high-quality theme like Zakra, you’re going to have a ton of options to play around with.
Start from your dashboard and navigate to Appearance>Customize. Doing so opens up the Live Customizer. As the name suggests, you can make changes to your website and see how it affects things in real-time.

Here’s a quick introduction to the options that you
’ll have access to with Zakra.
- Global: Edit the details that affect all parts of your website, like default colors, background, sidebars, button options, etc.
- Header: Set the options for the header at the top of your website. You can change the color, layout, header media, and more, as well as your site title and tagline.
- Content: Set how the content such as featured image, meta tags, title, etc appear on the different parts of your website.
- Footer: Change the color, widgets, scroll-to-top, etc found at the bottom of your website on the Footer.
- Colors: Set the color for the header text all over your site.
- Menus: Create, delete, and modify the menus on your website.
- Widgets: Place widgets all over the website and modify them.
- Homepage Settings: Select what the home page of your website displays.
- Additional CSS: Manually add CSS codes to the website for even more customization.
You can also click on the Hide Controls button at the bottom left for a full width view of the page.
Just play around with the settings and see if you like how things look. Once you’re done, just click on the Publish button that you can see at the top.
3. Customize your Website with WordPress and Elementor
Now that you have seen the Live Customizer, let’s get started with using the Elementor Plugin. From your Dashboard, go to Pages>Add New and then click on the prominent Edit With Elementor button at the top.

This will open up the Elementor editor, where you can use the drag and drop interface to start customizing everything. The left side of the screen has the Elementor Panel. There’s you’ll find a number of widgets that can be used to add all sorts of different content to your page, from media such as images and videos to paragraphs and buttons.

On the right side, you can find the Editing Screen. It shows what the page will look like to your visitors. To add content there, just click on a widget and drag it to the right side. If you want to remove the widget, just click on the cross icon on the top.

If you click on any of the widgets on the right, it will show the widget’s options on the Elementor Panel on the left. From there, you can change the various options for the widget.

Now a page obviously needs to have more than just one row. To add more sections, you can just click on the Plus Icon and select the structure for the section. You can then click on the plus icon of the new section to add another one, use the cross icon to delete the section. Section columns and widgets are how an Elementor page is structured.

So this is basically how you add sections and widgets in order to create an Elementor Page. There are a lot of options to play with here, so regardless of the type of site you want, you can find something to suit your needs.
4. Import Elementor Templates for your Website
Of course, you might not want to build up a whole page from scratch. In that case, Elementor has you covered as well. There are things called Templates that you can easily add to your page. They’re basically designs that have been created by professionals to be imported.

To open up the Template Library, just click on the Folder Icon on the editing screen.
Here, you can see a number of amazing Elementor Templates, from Landing Pages to eCommerce stores. You can look through it all and see if anything interests you. If you don’t want to import an entire page, just click on the Blocks tab on top to import some specially designed sections.

Here, you can hover over the template that you find interesting and click on it to preview it. Or, you can just click on the small Insert button underneath it to import it for the current page.

So that’s basically how you build a basic page using Elementor. Just drag and reposition the widgets, use the left-hand section to edit the information in the widgets, and import blocks and pages to spice things up. Once you’re happy, just click on the Publish button on the bottom left.

And that’s the Elementor tutorial for beginners which only the very basics of Elementor. There’s so much more you can do with it, and there’s plenty of resources out there to help you do just that!
Wrapping it Up:
So there you go! This was our article on how to make a WordPress website with Elementor. After going through this Elementor WordPress tutorial, creating a beautiful-looking site of your own is going to be a piece of cake. Most importantly, this Elementor tutorial for beginners is just one of the countless o
nes out there so you can keep on learning.
Of course, there’s more to a successful website than just making it look beautiful. Performance is another important metric. As a result, you’ll need to ensure that search engine optimization and site security are up to par with your competitors as well. Why stop there? There’s a ton of other plugins to help improve your site even further.
The post How to Create a WordPress Website with Elementor? (Beginner’s Guide) appeared first on ThemeGrill Blog.