
Creating an online portfolio is a fantastic way to showcase your work, skills, and personal brand.
Fortunately, you don’t need to be a web developer to get started, neither you need to spend money to host the server for your website.
GitHub Pages is a free and user-friendly platform that allows you to host your portfolio website directly from a GitHub repository.
Sounds exciting? In this tutorial, we’ll explore what GitHub Pages is, walk through creating a simple website and guide you on how to host it with your custom domain.
What are GitHub Pages?
GitHub Pages is a static site hosting service that takes files from a GitHub repository and serves them as a website. It’s designed primarily for hosting personal, project, or organizational websites.
You can use HTML, CSS, and JavaScript to create your site. GitHub Pages supports custom domains, making it a flexible option for anyone looking to establish an online presence.
Key features of GitHub Pages
- Free Hosting: Host your website without incurring costs.
- Version Control: Leverage Git’s version control features for your files.
- Custom Domains: Easily set up your own domain name.
- Jekyll Support: Utilize Jekyll, a static site generator, for more advanced setups.
Use a pre-designed template for your portfolio website
Okay, don’t judge me, I’m using a pre-built theme for this tutorial. But hey, it’s only because these themes are awesome and save a ton of time!
Of course, you can absolutely flex your creative muscles and design a jaw-dropping website from scratch if you want.
GitHub Pages works seamlessly with Jekyll, which offers an array of gorgeous themes to choose from.
Browse the Jekyll Themes directory
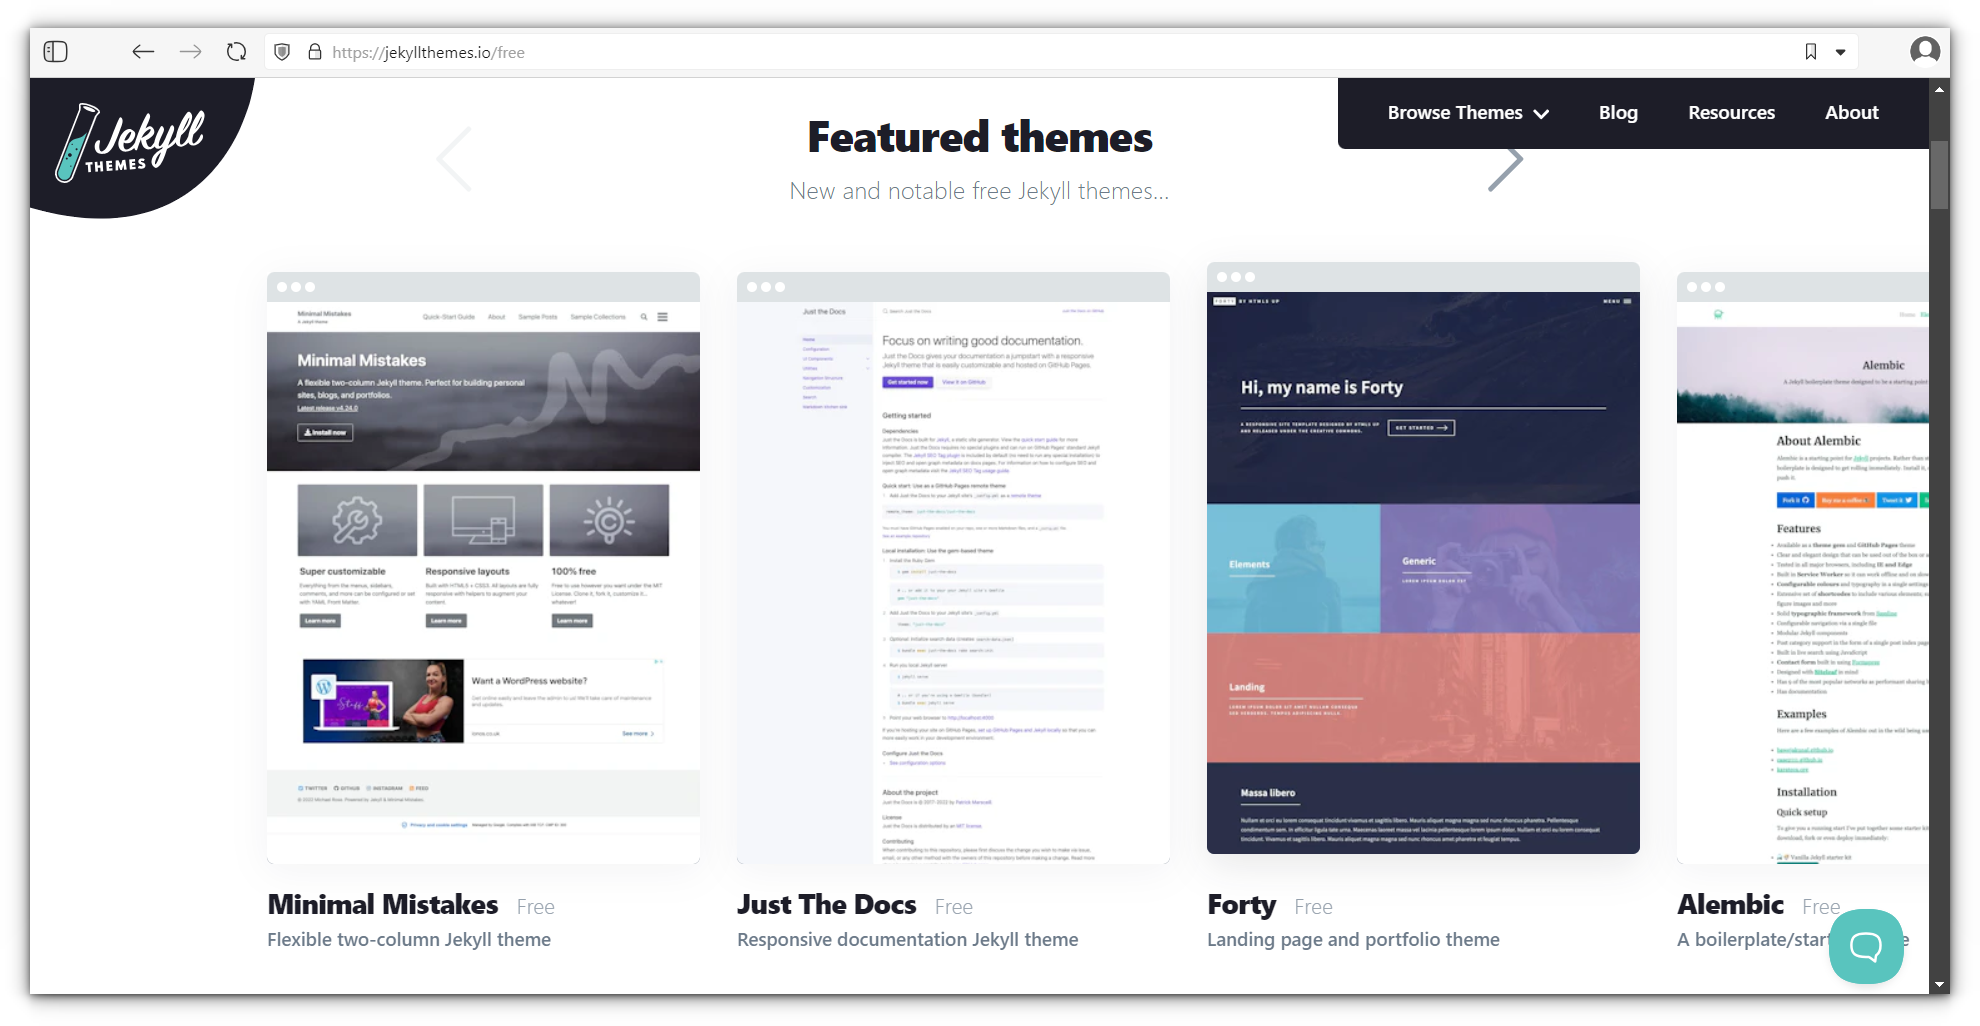
And pick one that fits your taste:
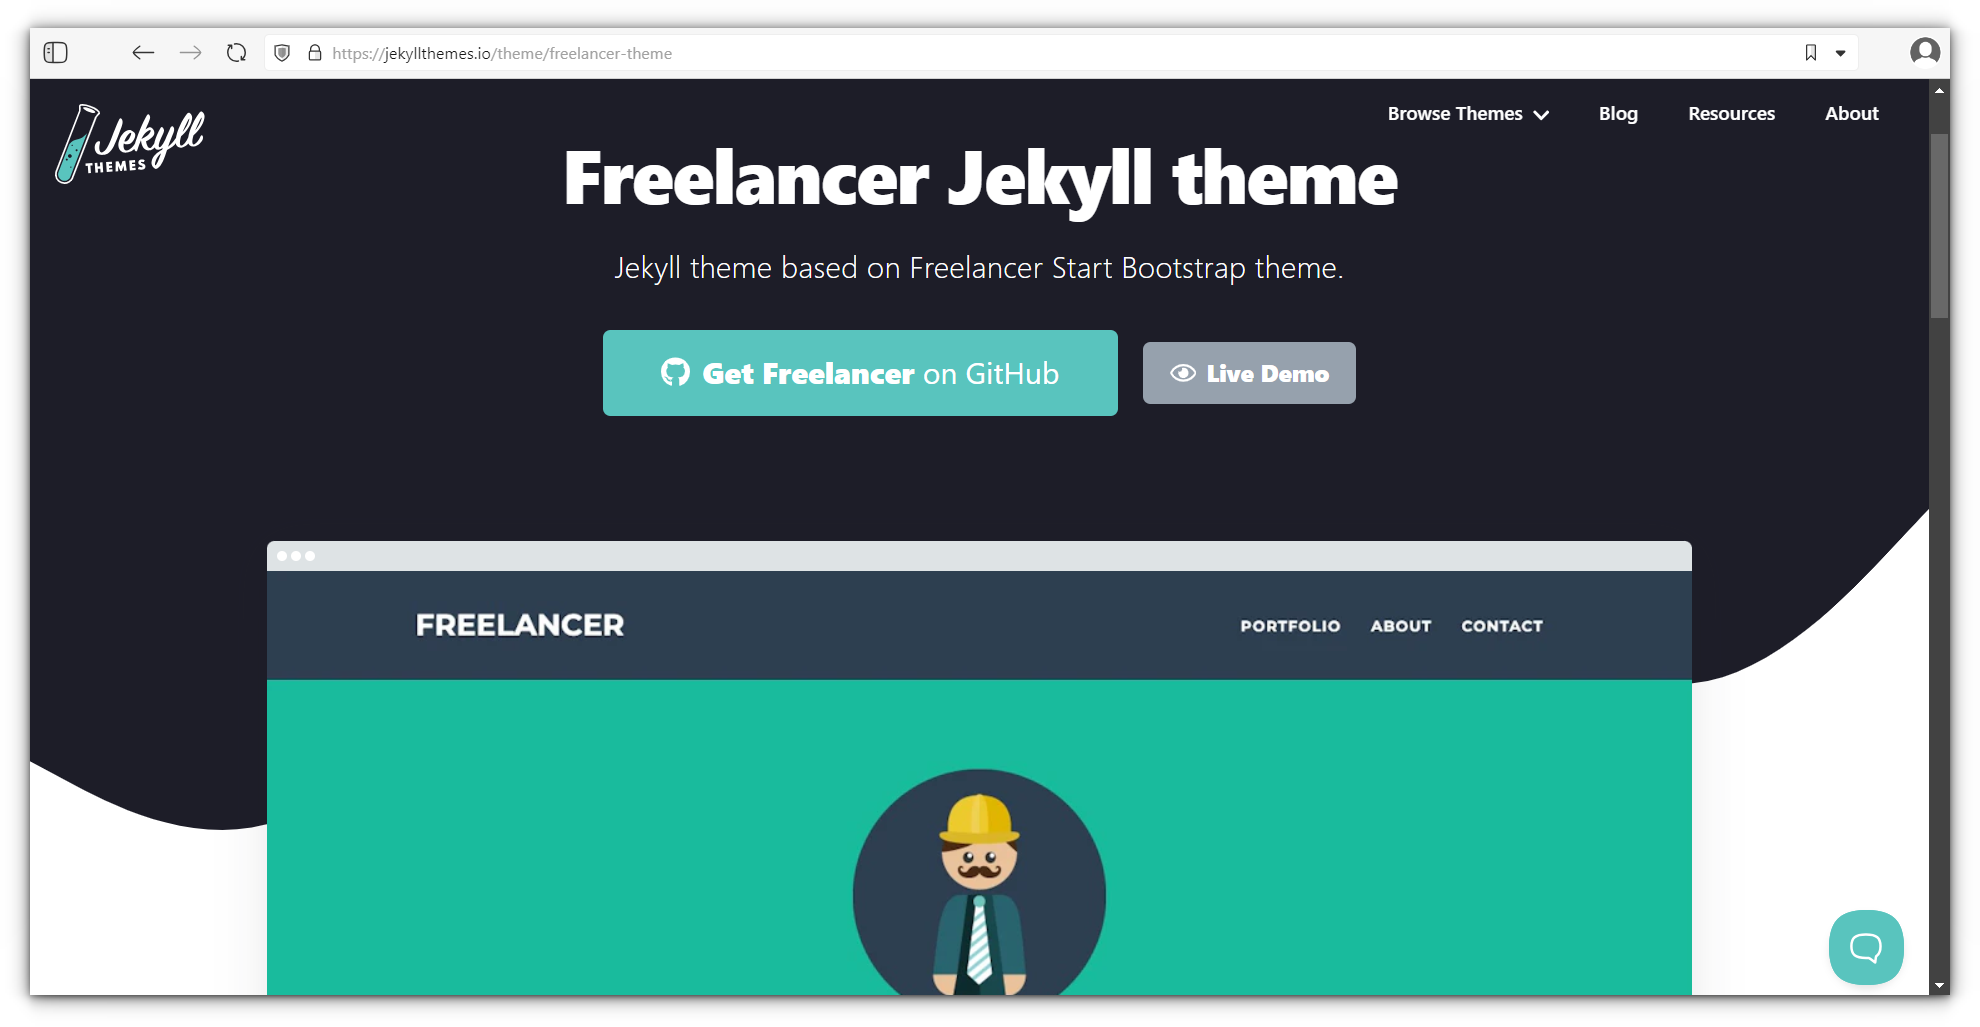
Fork or download the theme’s repository:

yourname.github.io or you can download it as a zip file and edit it locallyAnd start tweaking it to add your personality:
📋
You can edit even more details but that’s out of scope for this tutorial. I am more interested in showing the process of hosting websites with GitHub Pages rather than showing how to edit a theme.
Set up a GitHub repository
Create a GitHub Account: If you don’t have one, sign up at GitHub.
Create a new repository. Click on the “+” icon in the top-right corner and select “New repository.”
Name your repository e.g., yourusername.github.io and set it to public and click “Create repository.”
Upload your website files
Go to your new repository and click on “Add file” > “Upload files.”
Drag and drop your HTML files (and any additional files like CSS or images) that you downloaded with the theme and commit your changes.
💡
If you are familiar with Git and GitHub, you can push the new files using git commands or VS Code. I am keeping things simpler by showing the web based upload.
Enable GitHub Pages
In your repository, go to “Settings.” and Scroll down to the “Pages” section. Under “Source,” select the branch (main/ master) and click “Save.”
After a few moments, your website will be live at https://yourusername.github.io.
Set up a custom domain
If you have a custom domain, you can link it to your GitHub Pages site:
In your repository settings, under “Pages,” add your personal domain in the “Custom domain” section and save.
Add a CNAME record pointing to yourusername.github.io
If you are using an apex domain (like example.com), add an A record pointing to GitHub’s IP addresses:
185.199.108.153185.199.109.153185.199.110.153185.199.111.153
Verify your custom domain
After DNS propagation (which can take up to 48 hours), your custom domain should direct to your GitHub Pages site.
Conclusion
Hosting your portfolio website on GitHub Pages is a straightforward process that empowers you to showcase your skills and projects online.
With just a few steps, you can create and host a professional-looking site using HTML, customize it to fit your style, and even link it to a custom domain.
Start your journey today and present your work to the world with confidence! If you have any question, feel free to drop a comment below.

