1. Before Fedora 29 Installation
1.1 Download Fedora 29 Netinstall Image
Download Fedora 29 here.
Select Fedora 29 Netinstall image. On this guide I use server install image.
1.2 Burn Fedora 29 Image to CD/DVD, Create Live USB or use image directly and boot computer using Fedora 29 Network Installation Media
Remember to check Fedora 29 image MD5 sum and then burn image to DVD, create Live USB example with liveusb-creator, dd or use directly on virtual environment. And boot computer using Fedora 29 Installation Media.
2. Fedora 29 Installation
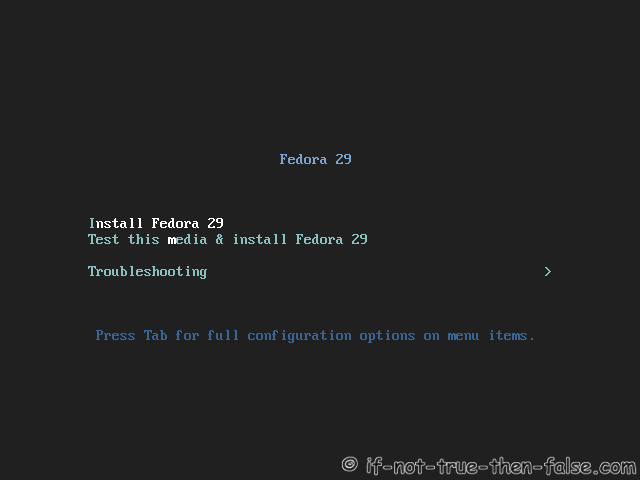
2.1 Fedora 29 Boot Option Menu
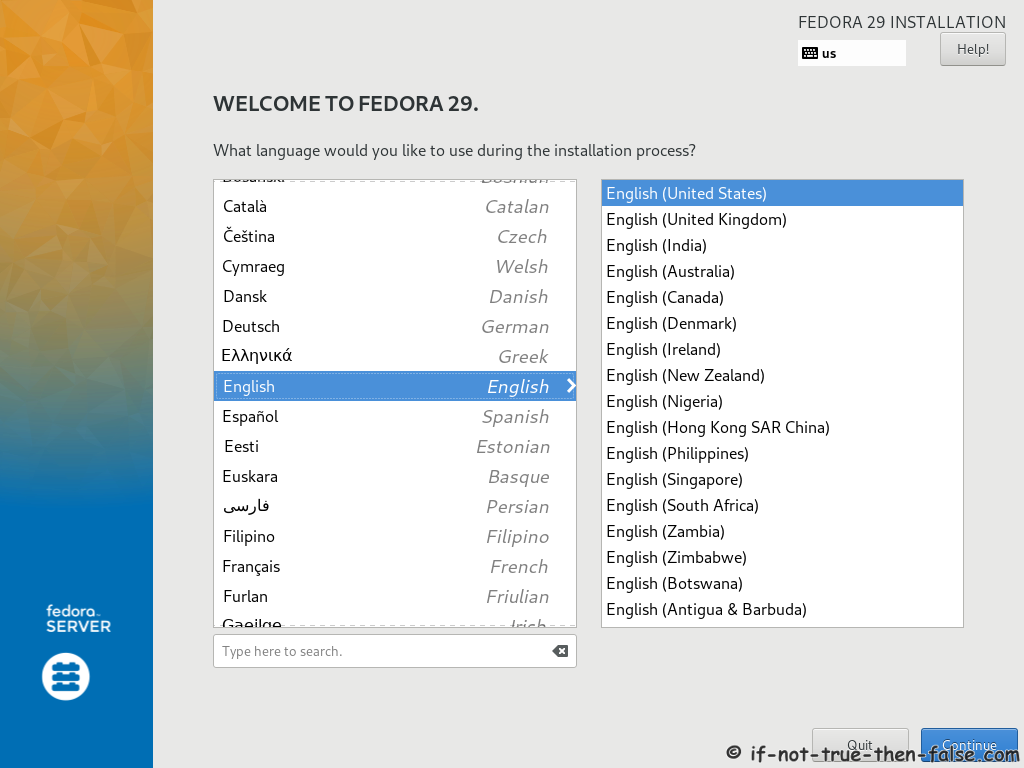
2.2 Select Language
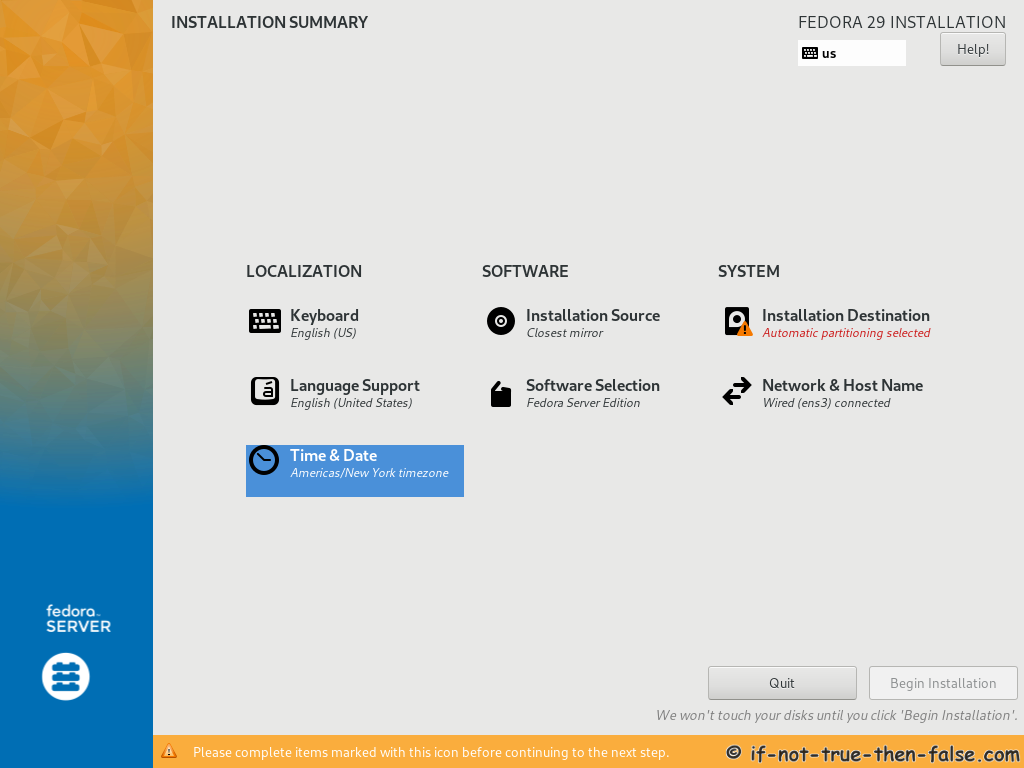
2.3 Fedora 29 Installation Summary Window
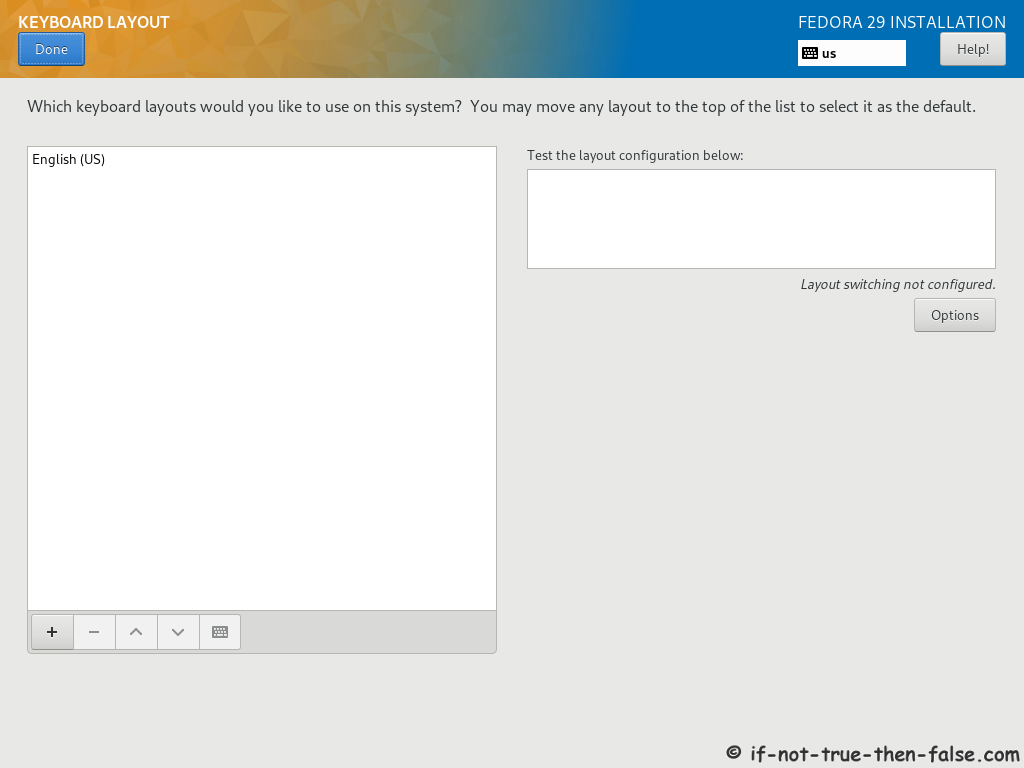
2.4 Select Keyboard Layout(s)
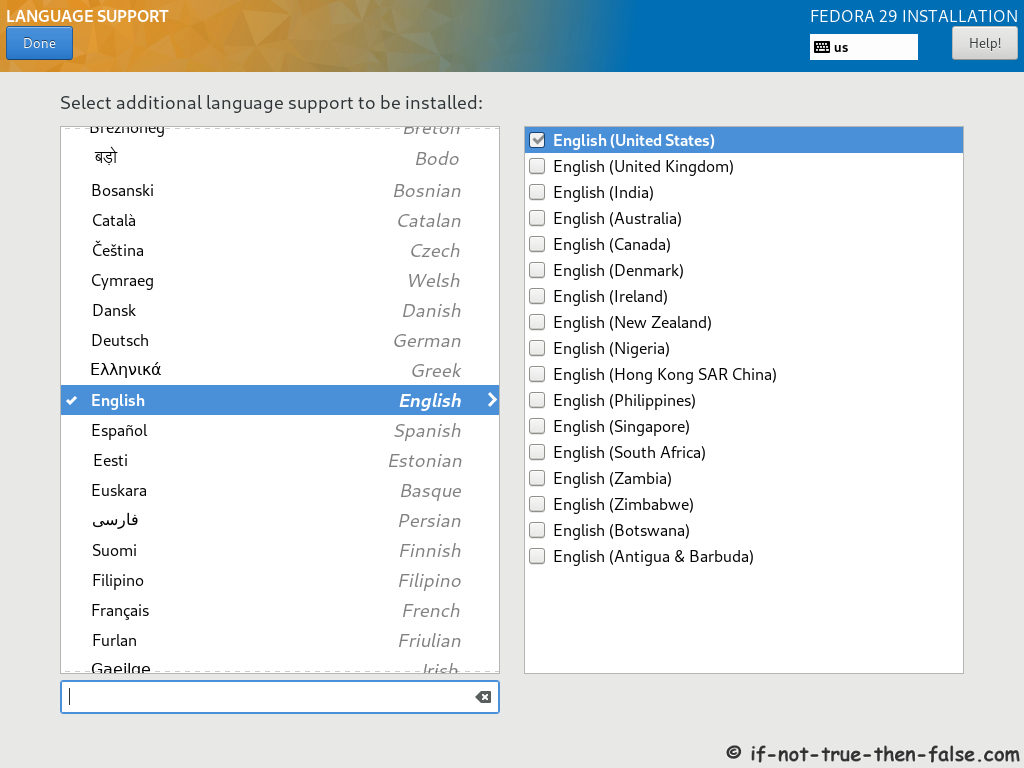
2.5 Select Additional Language
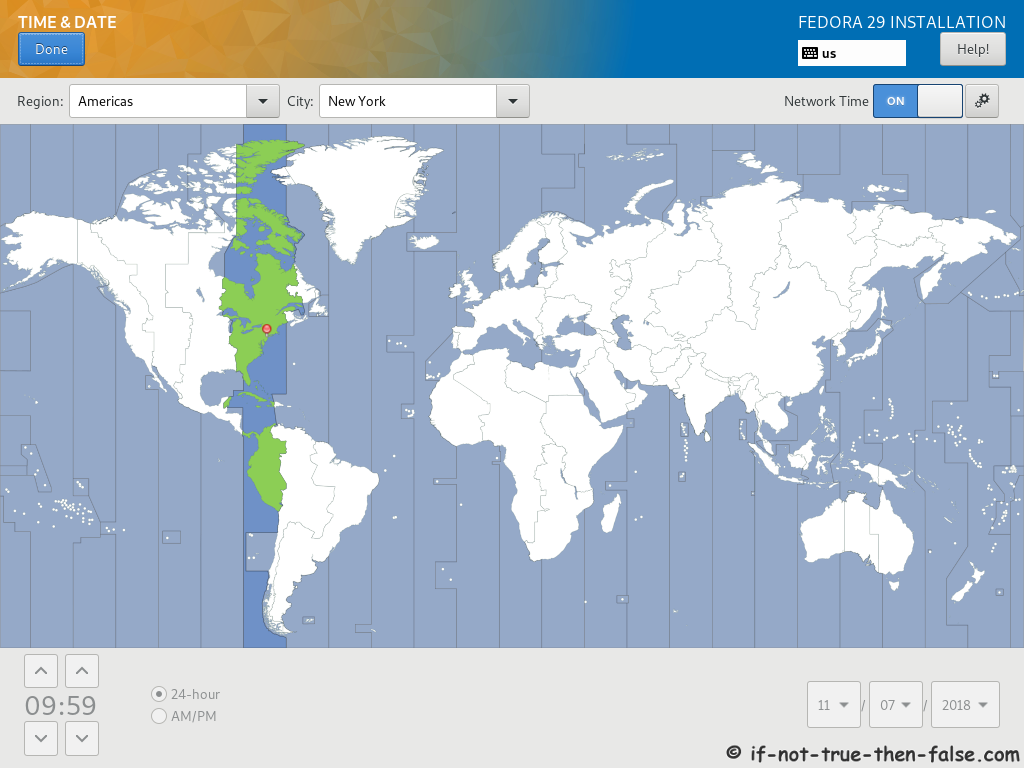
2.6 Setup Date and Time
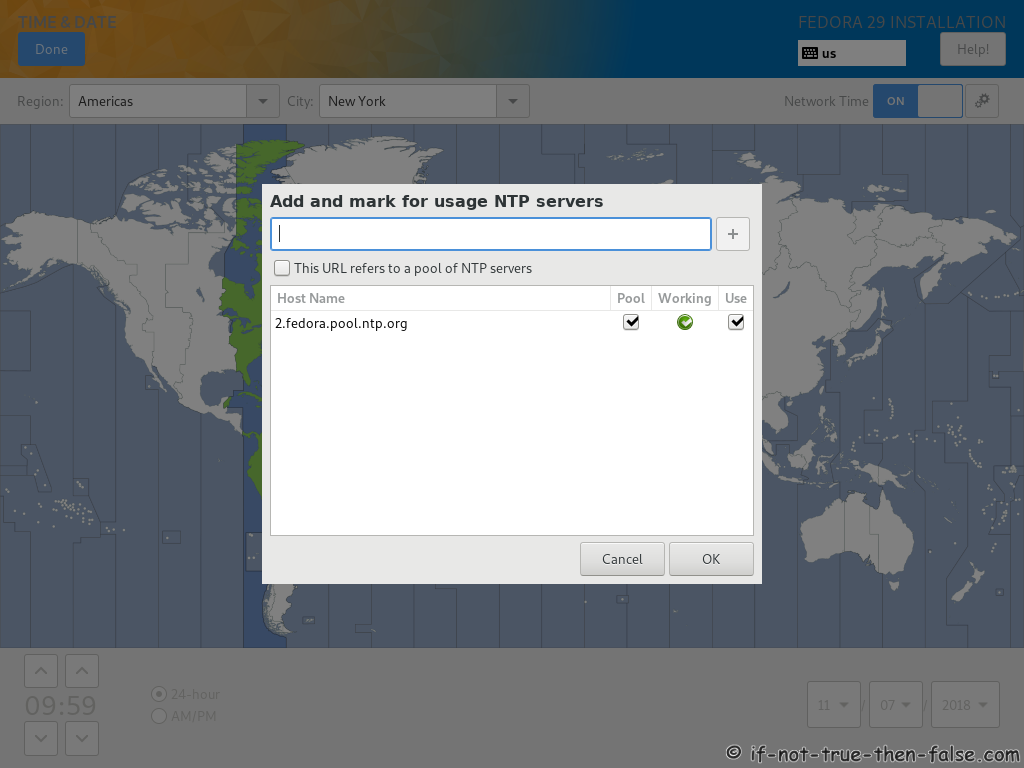
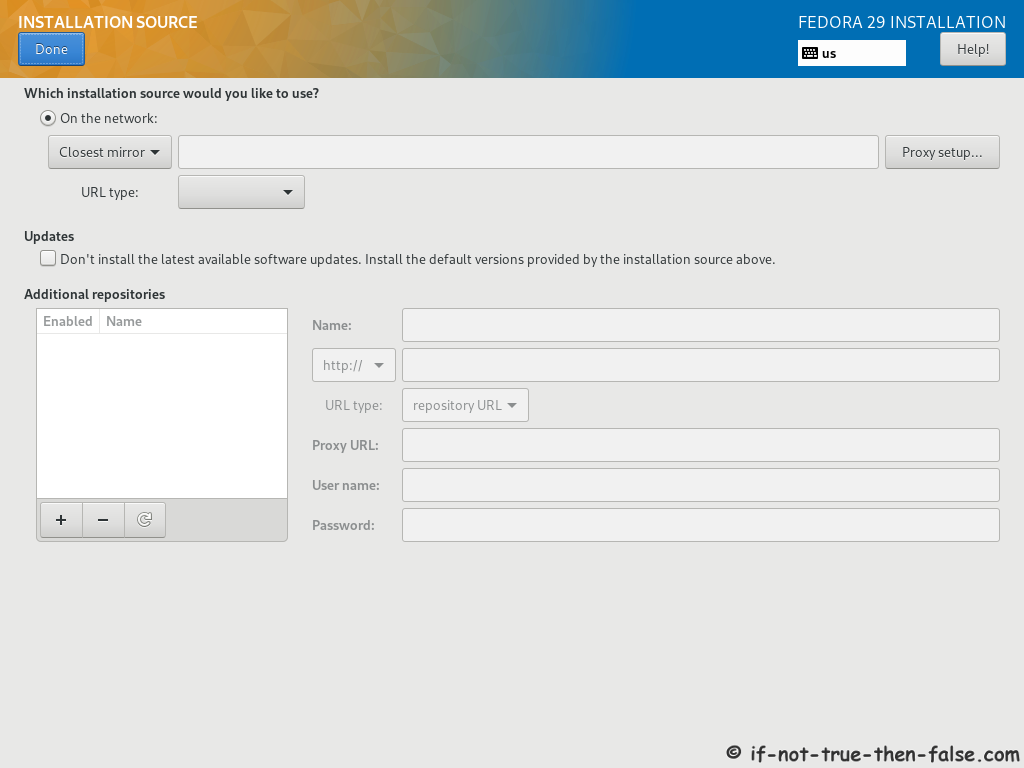
2.7 Select Installation Source
2.8 Software Selection
Here you can select Server, Minimal install, Desktop, etc.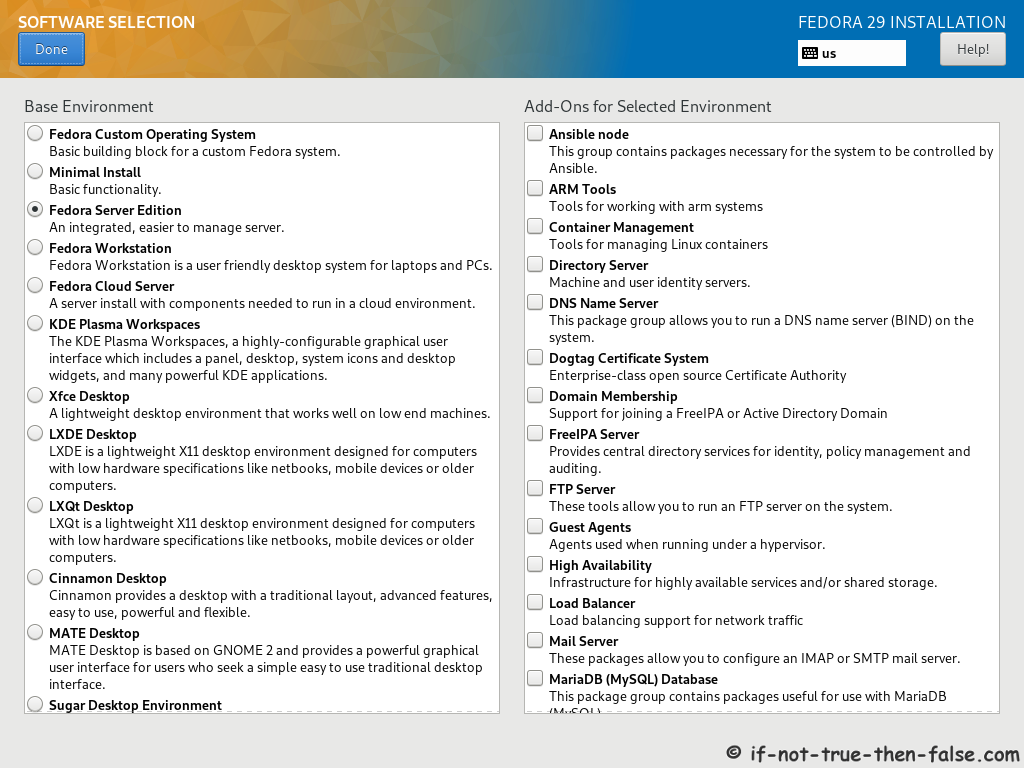
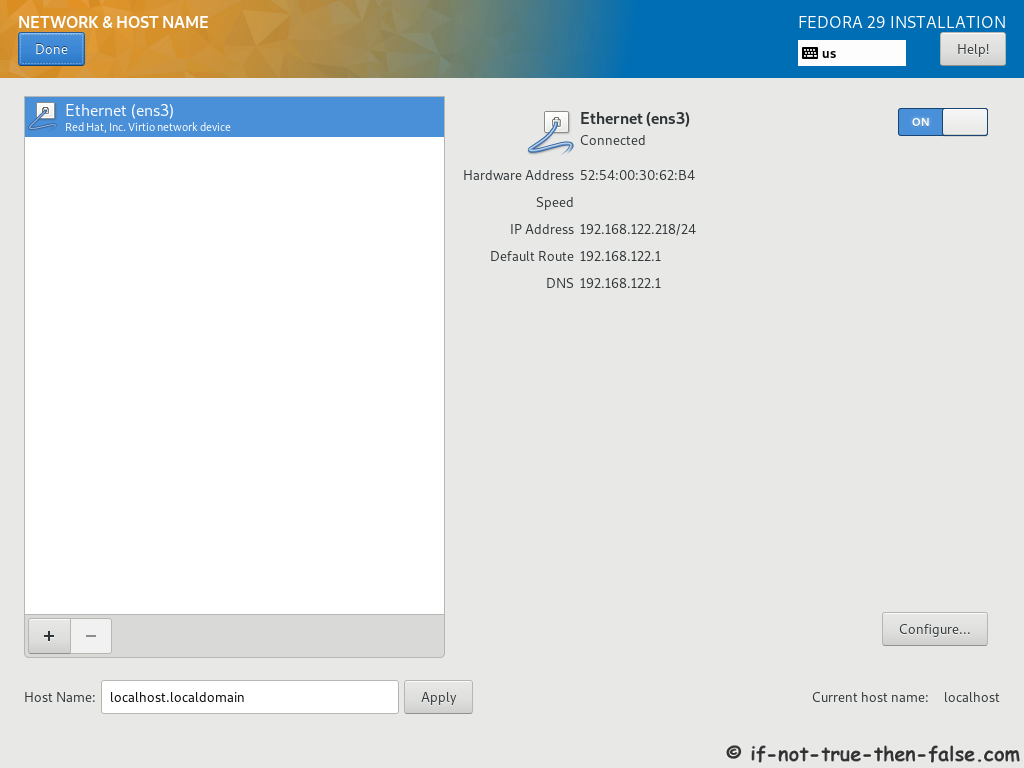
2.9 Setup Network and Hostname
2.10 Select installation Destination and Partitioning Type
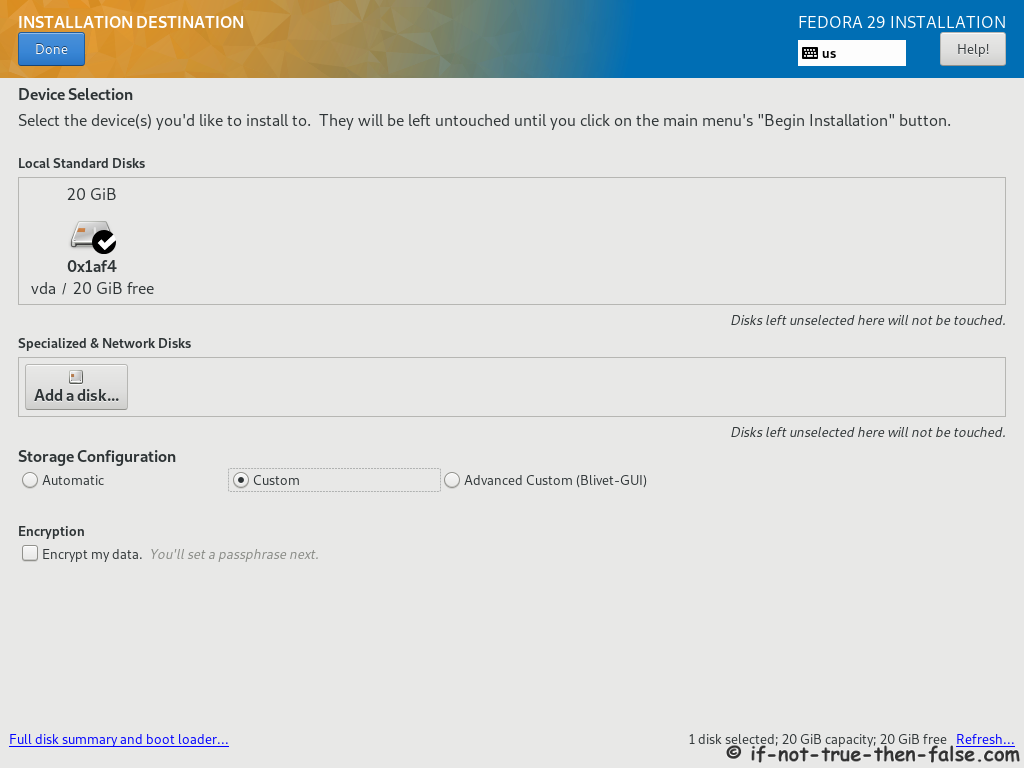
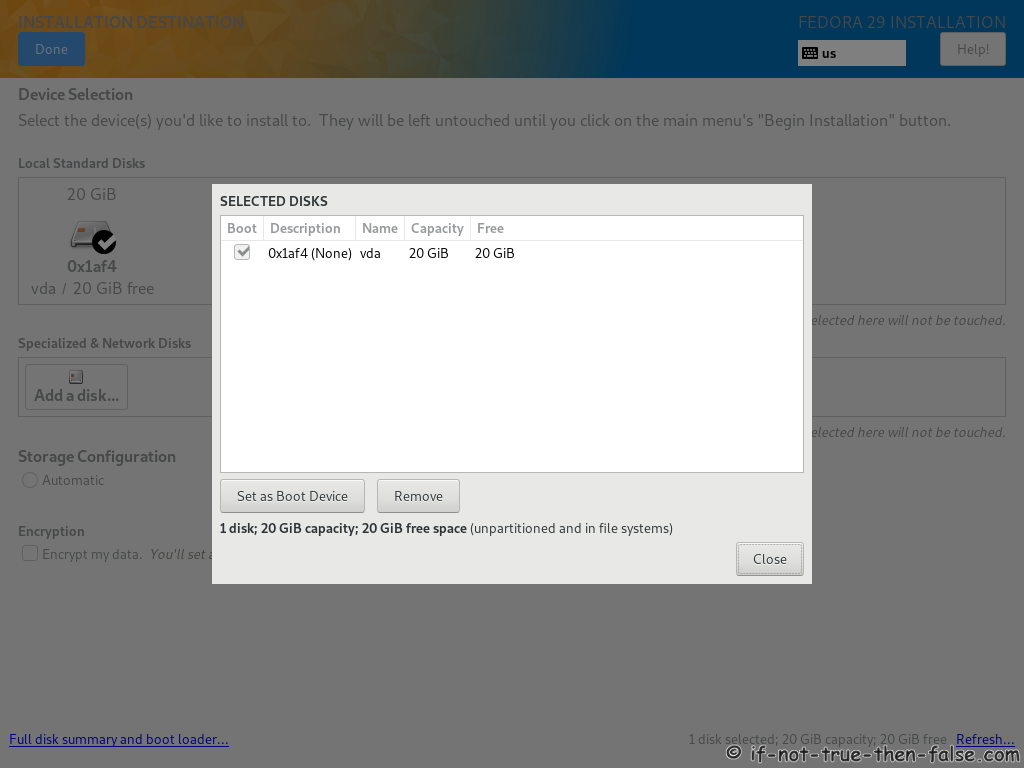
2.11 Full Disk Summary and Bootloader Configuration
2.12 Modify Partitions Manually
Here you can modify partitions as you wish.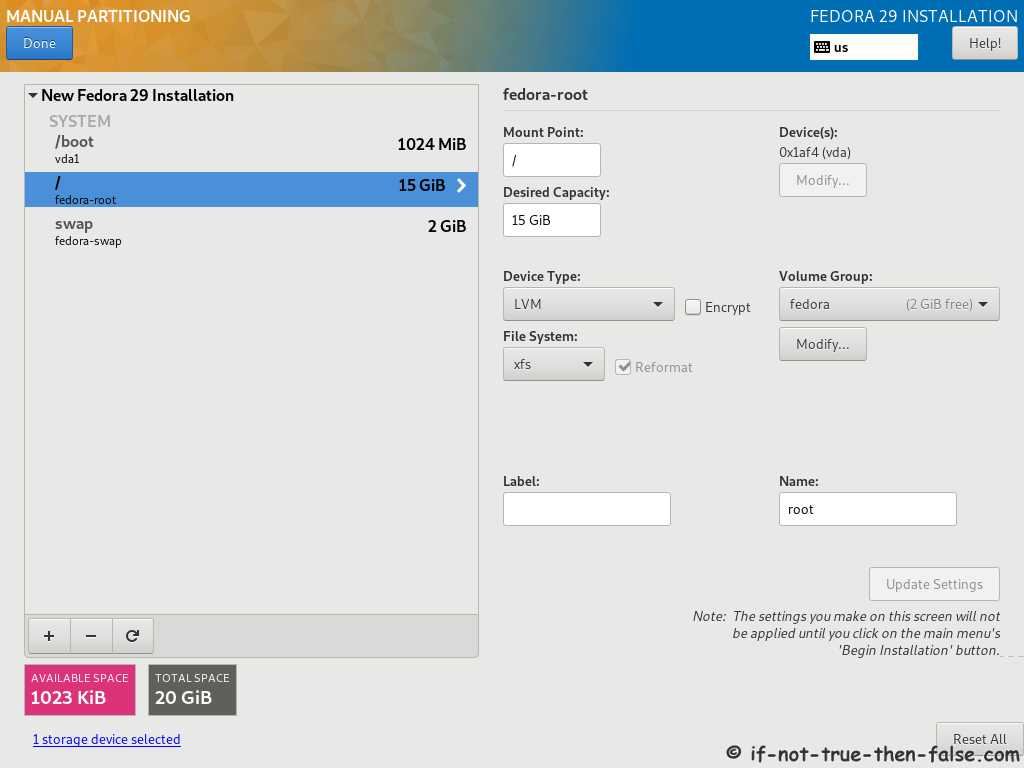
2.13 Accept Changes
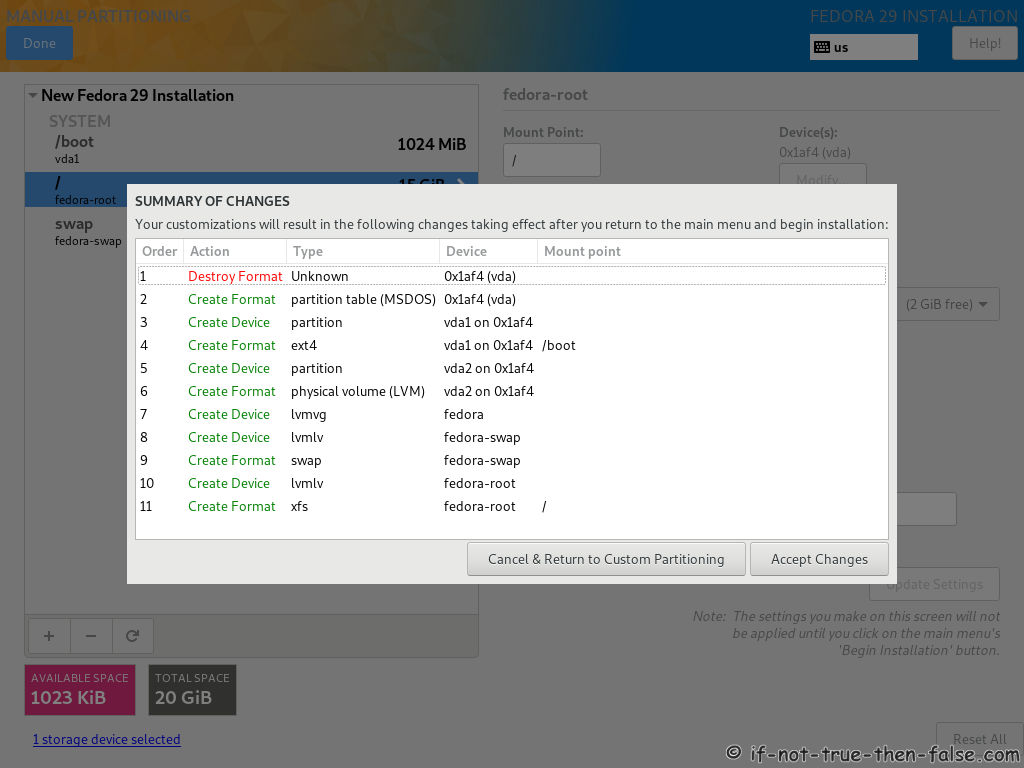
2.14 Begin Fedora 29 installation
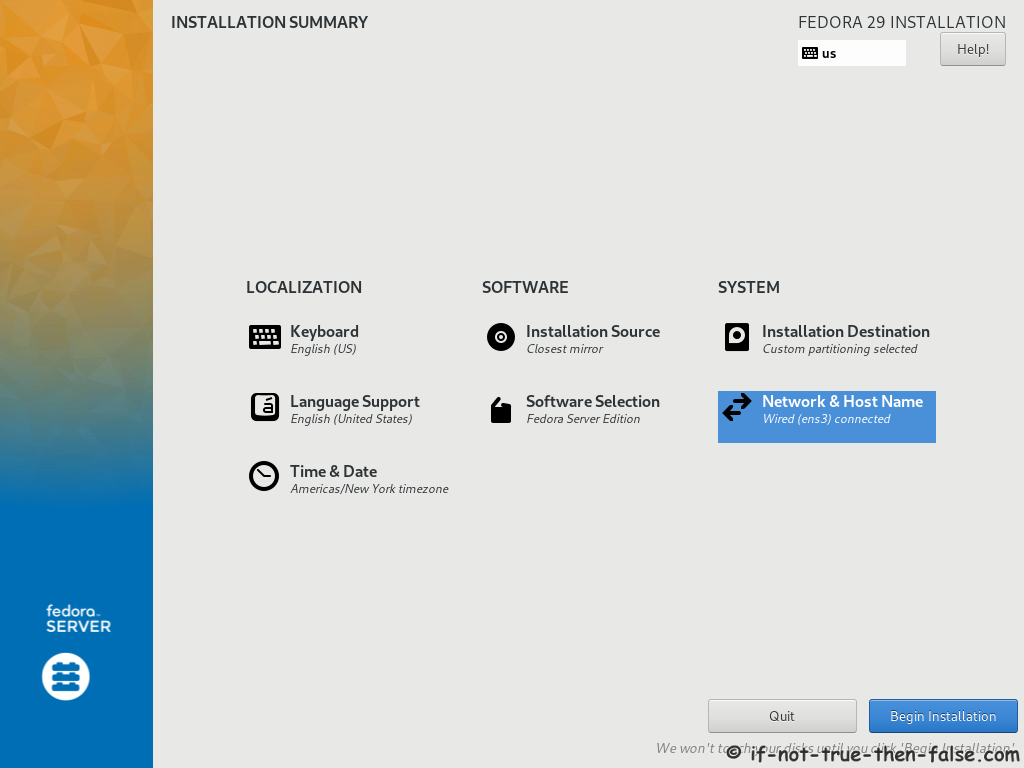
2.15 Package Installation and Setup
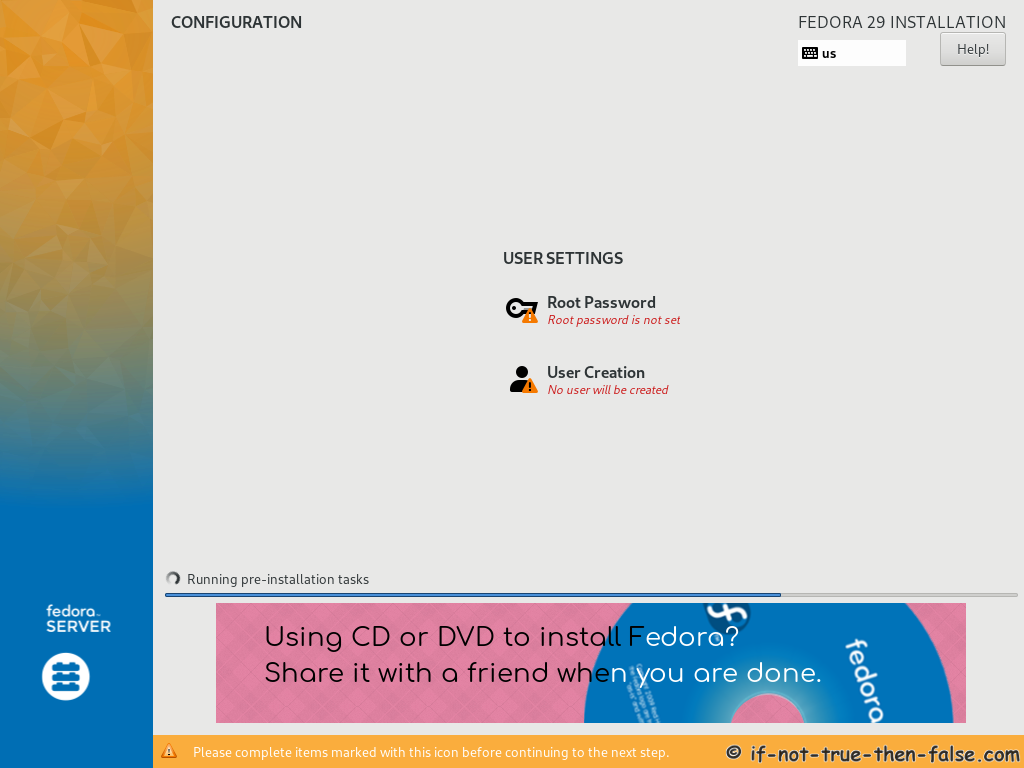
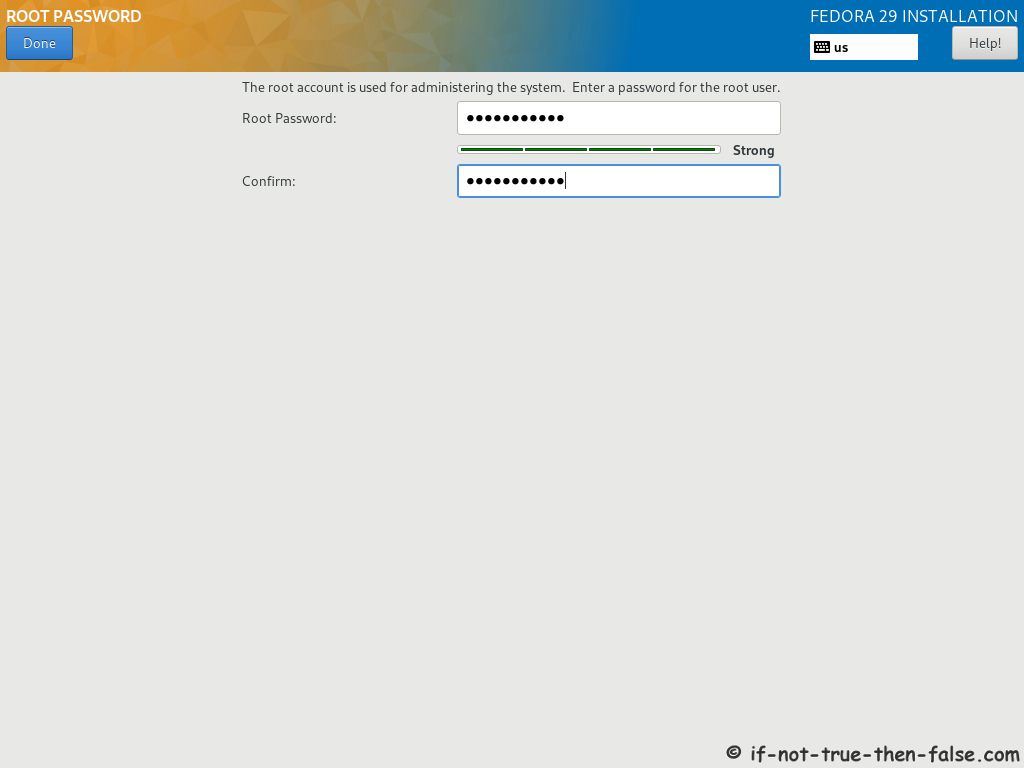
2.16 Setup root Password
2.17 Create User Account
Select “Create User Account” and create user.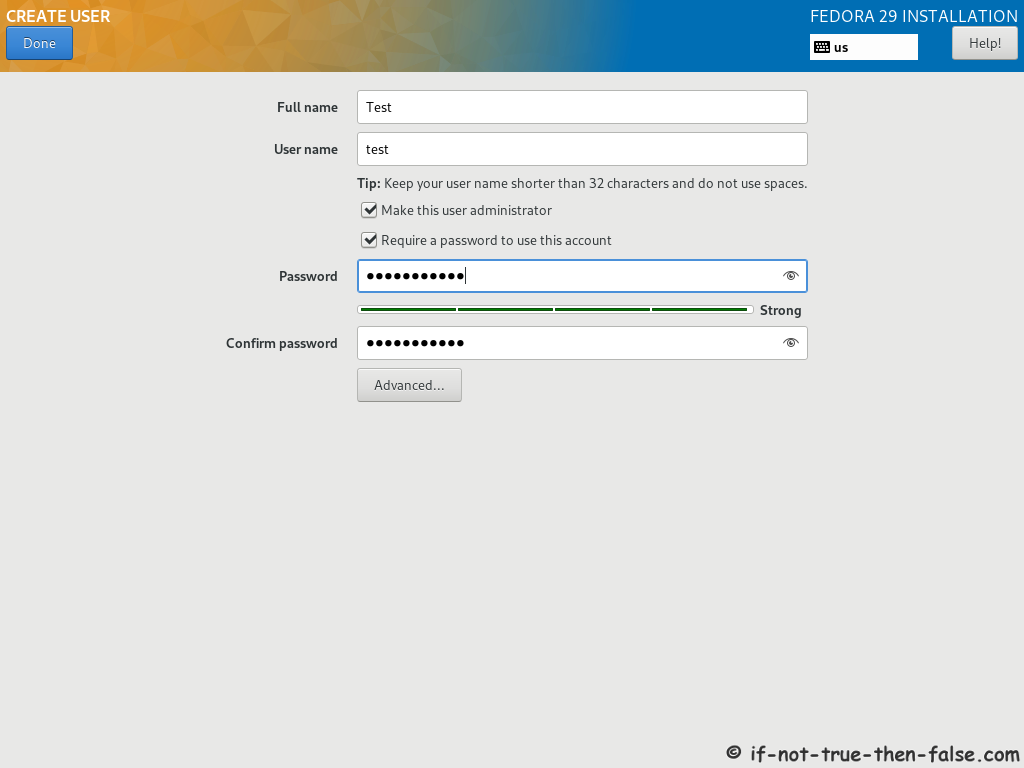
2.18 Fedora 29 Installation Done
Then simply reboot computer and remove installation media.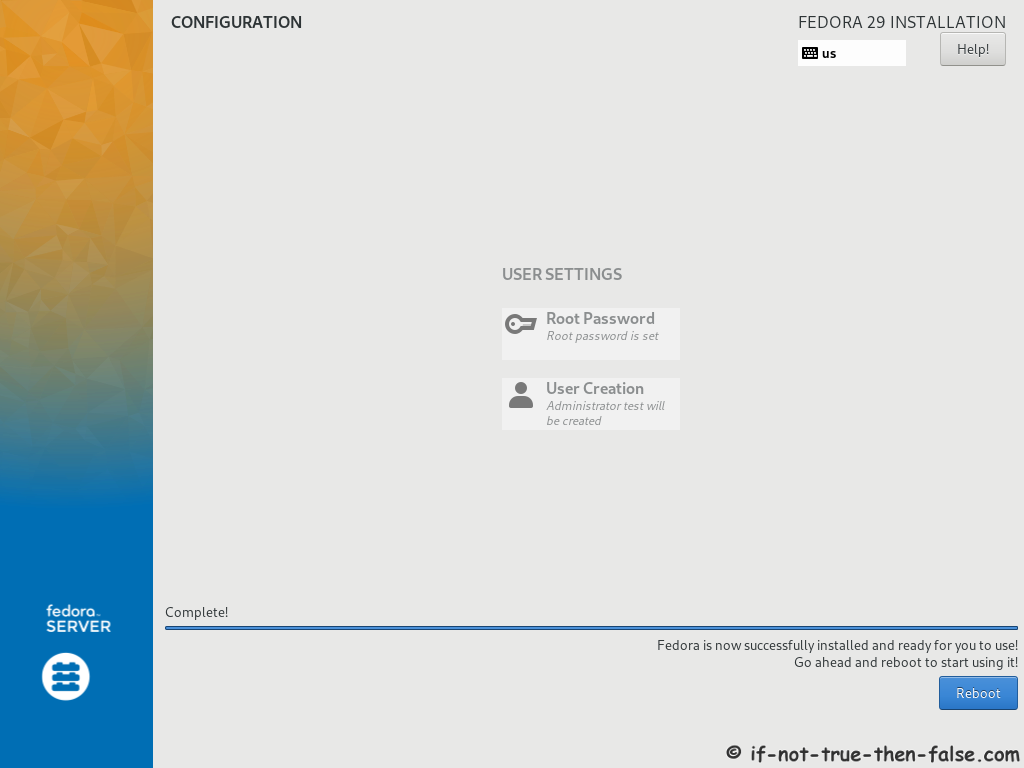
3. Using Fedora 29 Server
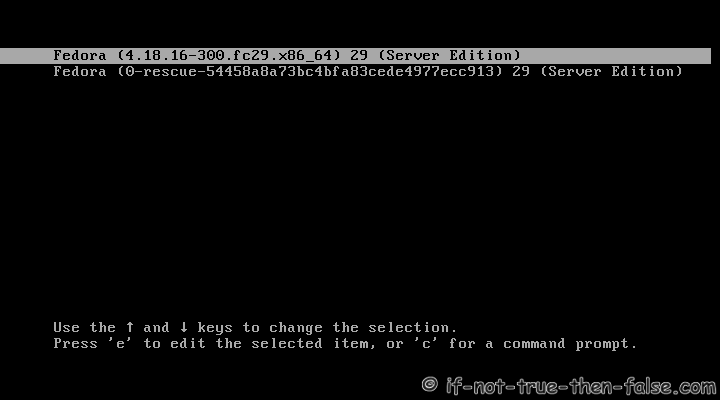
3.1 Fedora 29 Boot Menu (Grub 2)
3.2 Fedora 29 Server Command Line Login
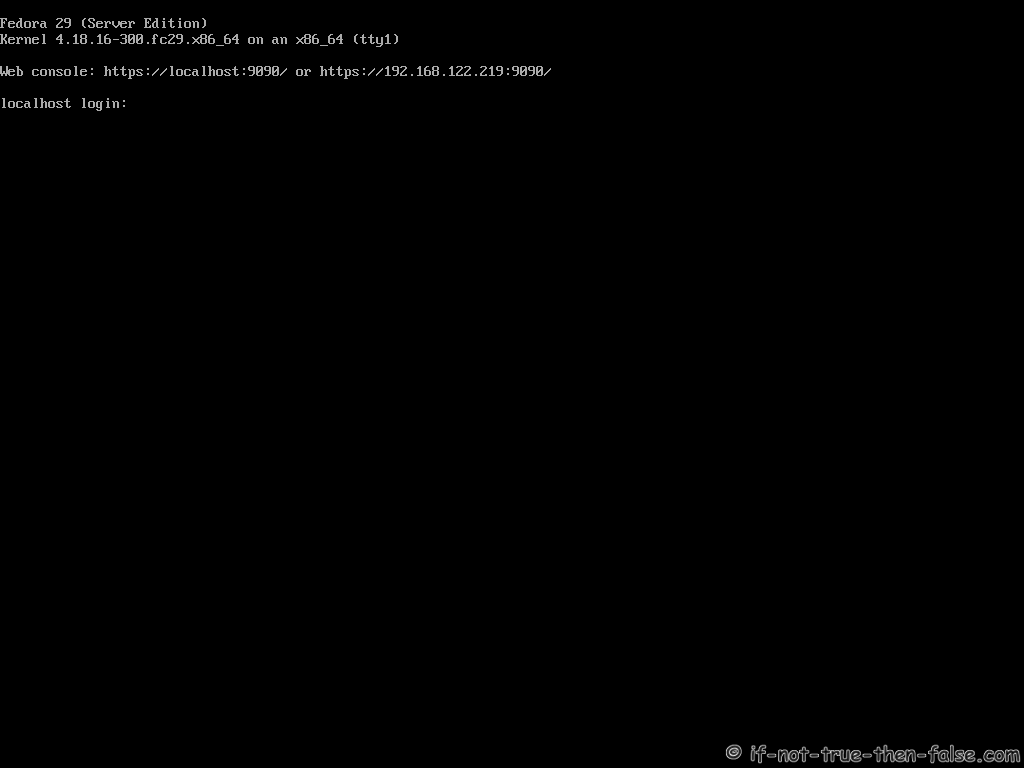
3.3 Fedora 29 Server Edition
