
Today, in this Cloudways Review, we will show you how choosing the right cloud hosting platform can make a real impact on your business. When you’ve got a business to run, you really don’t have to worry about what how and where to manage cloud hosting.
You’ve got much more important things to do than figuring out how, where and how to grow your platform. You just want it to work. Period.
Let’s have a look at whether Cloudways is a good choice as a cloud hosting service.
How to Decide What Cloud hosting Is Best for Your Needs
A web hosting service is an internet service that enables individuals and organizations to launch their websites over the World Wide Web.
Like choosing the right physical things, making the perfect choice can be tough.
Same goes for choosing the best web hosting platform.
IT Organizations have invested ostensibly in providing cloud services to individual website builders worldwide; each promising 99% uptime, unlimited resources and excellent support.
The real challenge lies in cutting through the jargon and choosing the best one to meet your needs, Right?
So how do we decide whether a web hosting platform is actually good?
Identify your hosting needs
In order to choose the best hosting platform for launching your online presence, you should first identify your hosting needs. Certain factors such as host reliability, uptime, upgrades and hosting features including add-ons are a must.
Pricing can differ depending on the quality of service and stability of the product on market. It should be an economical one, neither too expensive which makes it a monthly burden or accounting scare nor too cheap that the service becomes more of a drag for you.
Today we’re looking at Cloudways as a hosting platform. It is all you need to set up an excellent hosting environment. Cloudways is different than other cloud hosting platforms over the internet because of its ultimate software stack named ThunderStack.
It is a combination of Nginx, Varnish, Apache, FPM(FastCGI Process Manager), Memcached, Redis, and MySQL. Today we are going to review Cloudways and how it has eases the hosting headaches of thousands of users over the internet.
About Cloudways
Cloudways is a managed cloud hosting platform. It provides customers with a single click solution to launch web applications on different cloud servers. There are five cloud service providers you can use.
- DigitalOcean (3-day free trial)
- Vultr (3-day free trial)
- Linode (3-day free trial)
- Amazon Web Service AWS (3-day free trial)
- Google Compute Engine GCE (3-day free trial)
Before you start launching a server, you will have to select a web application. A web application allows you to create a website based on your business’s needs. From WordPress to Joomla and Drupal, Magento to Prestashop, PHP to CRM, you can easily launch any type of website that fulfills your requirements. Cloudways offers customers a wide range of web applications to choose from.
Try Cloudways hosting Now
This Cloudways review will continue with some details about the actual service.
Setting up Your Account
In order to launch your very own account, follow these really simple steps:
- Sign-Up using your required credentials. This may incorporate your pre-created email account and password.
- Once you are done with signing up, you will be prompt for verification. Verify your account and become part of the Cloudways.
- Log in to your Console, it will direct you to a Launch page. Hit the Launch button to start a new server.
- Setup your server and app details. Cloudways makes WordPress Hosting easy. For now, we will select WordPress. You will have to further provide a name for your application, server, and project.
Step #1: Create an Account on Cloudways
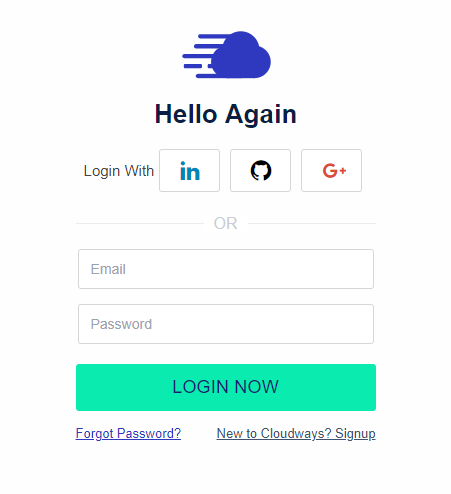
First, you need to set up an account with Cloudways. Go to their Sign up page and enter your details.


After you have created an account, log in.

Step #2: Launch Server
Let’s now launch the server. After you click ‘Launch’, you need to make a few choices.
For the purposes of this exercise, I have selected the following:
- WordPress 4.9.8 as application
- ‘Testing for CollectiveRay’ as the name of our application and server
- Linode as the cloud provider
- 1 GB as server size
- Fremont as location

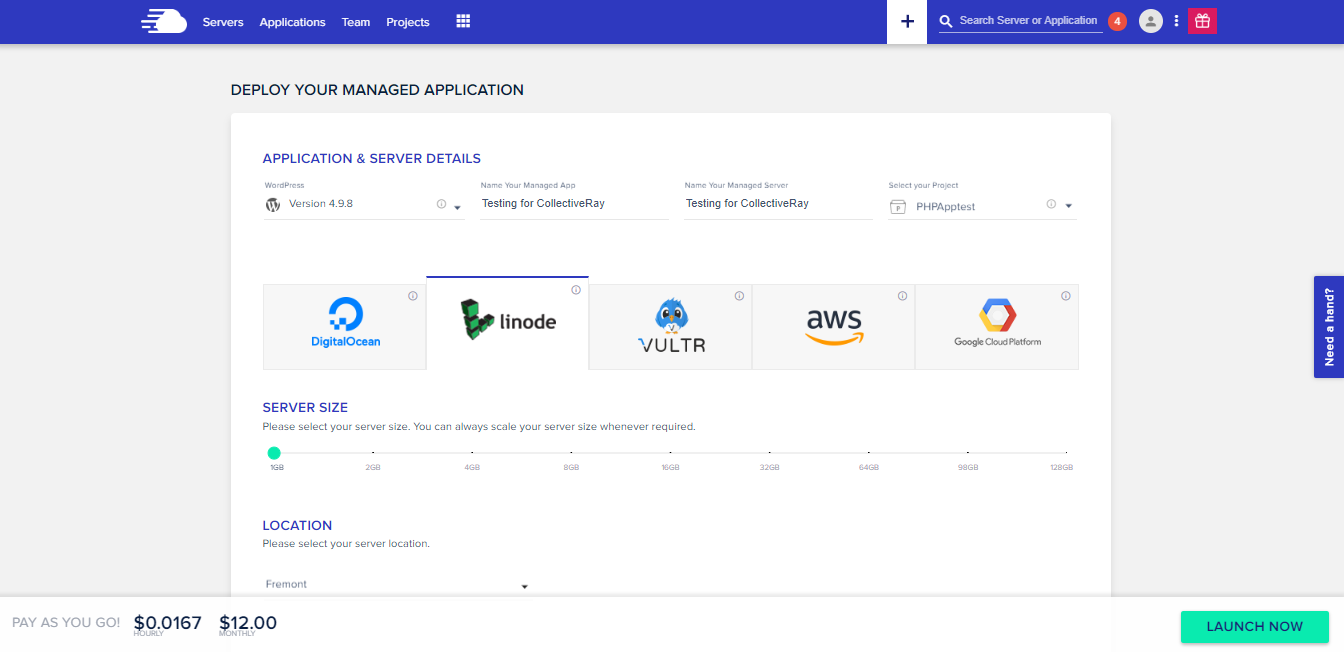
At the bottom, click ‘Launch Now’ button.
In just a matter of minutes, your server will be provisioned and launched. You can then see your server specifications and details by clicking on your server.
The Cloudways Server Management Stack
Server management is one of the most important features in this service. It provides the user with server access credentials, monitoring attribute, service management, security options and much more. Below are some of the features discussed in order to guide the viewers to the features that the Cloudways Server Management has in store for them.
Setup and access your Master Credentials
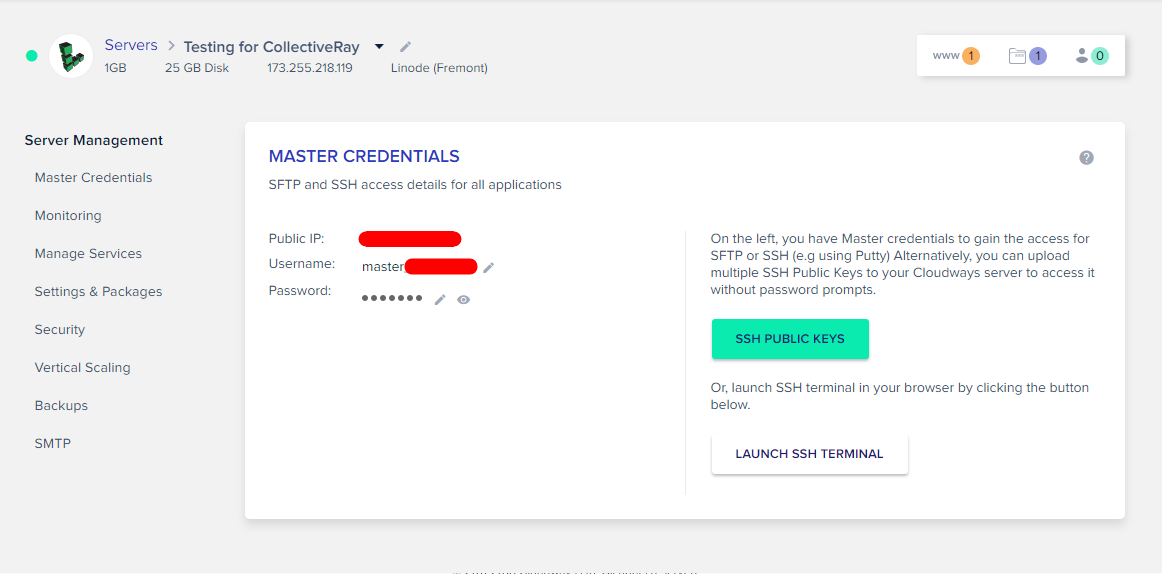
First up is Master Credentials. It contains your server’s public IP, Username and Password. You can upload multiple SSH Public Keys to your server to access it without password prompts. You can also do it manually by selecting SSH Public Keys button and set label and public keys.
Alternatively, you can set it automatically for your websites by simply launching SSH Terminal on your browser by selecting Launch SSH Terminal.

Monitoring the performance of your web application
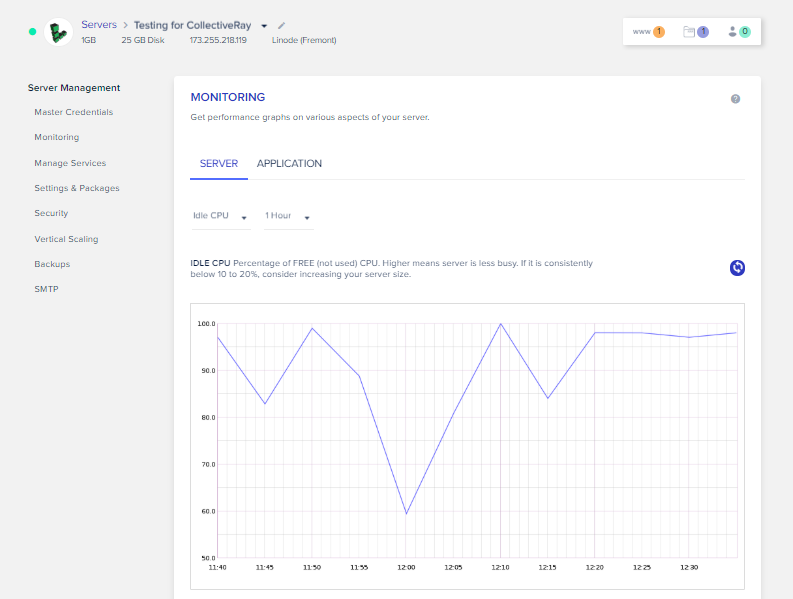
The Monitoring feature enables users to monitor their respective server and application performance. It provides 15 different real-time options to monitor your server. You can set your timescale to as low as per hour. As far as the application monitoring is concerned, Cloudways has partnered with New Relic to provide this feature to the users. In order to access it, you have to enable New Relic from your Manage Services option.

Use Manage Services to enable different server resources
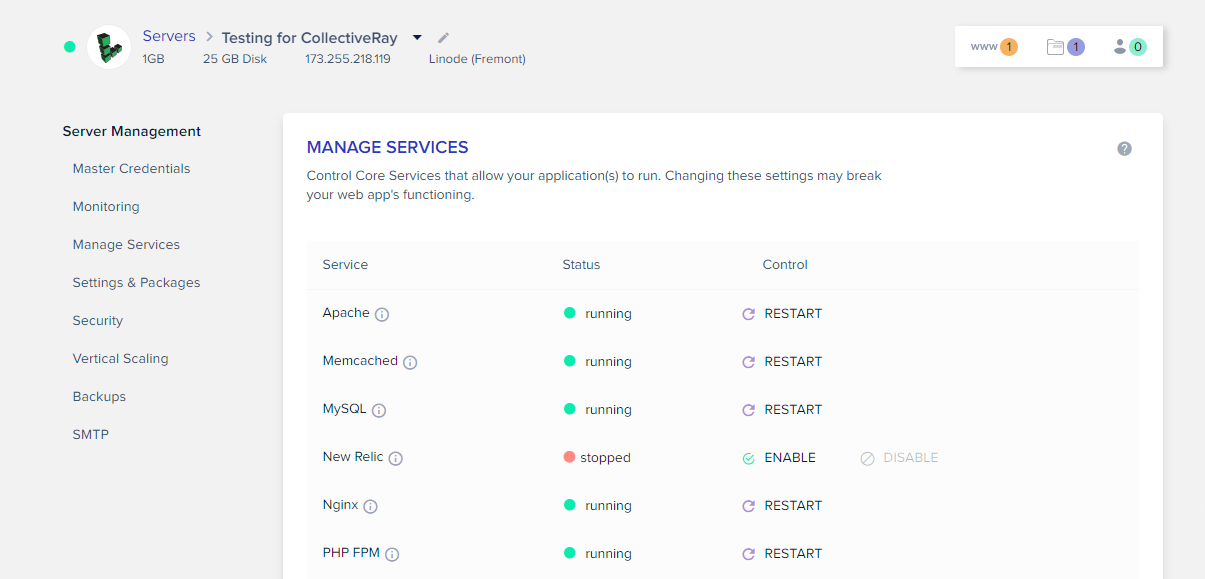
Speaking of Manage Services, this feature allows users to manage variable services on their server. These services include Apache, Memcached, MySQL, New Relic, Nginx, PHP FPM and Varnish. There are control options available for each service.
Using these control options, you can enable and disable your server resources as per your requirements. As for Varnish, it comes with an additional purge option which allows you to clear your cache with just a single click.
Before you go around tweaking with the services, we may recommend you to be careful, if you know what you’re doing, you bring out the best of the resources, but if you’re not sure, you may break your setup!

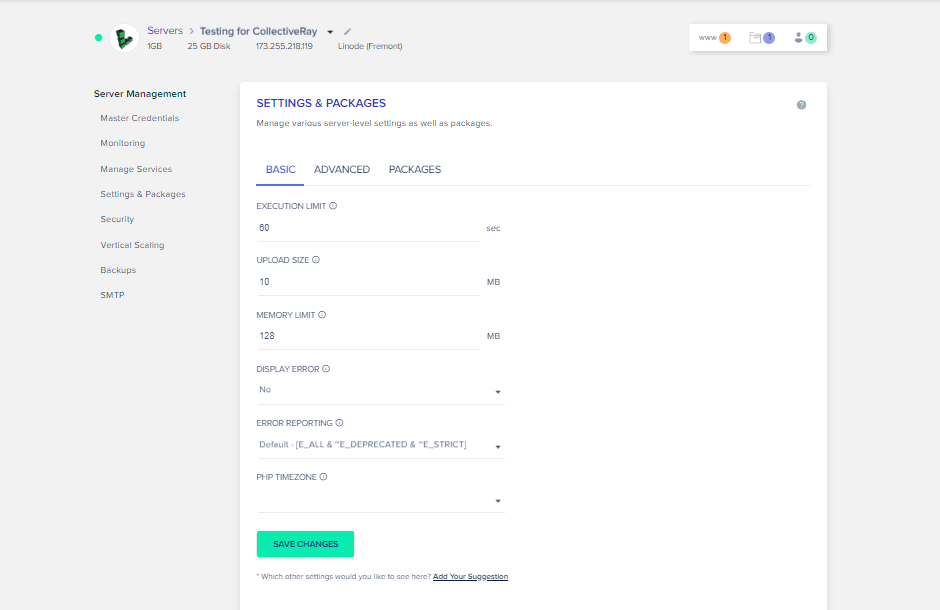
Set your Server package details via Settings & Packages
The Settings & Packages option lets you set the details of your server packages and harness settings in accordance with your website requirements. You can either access the basic server utility or the advanced server utility to set your preferences. You can also turn on Cloudflare, HTTP/2, Redis, and ElasticSearch from the Packages option in the same section. Before deploying any particular package, please make sure that your applications and its plugins or extensions are compatible.

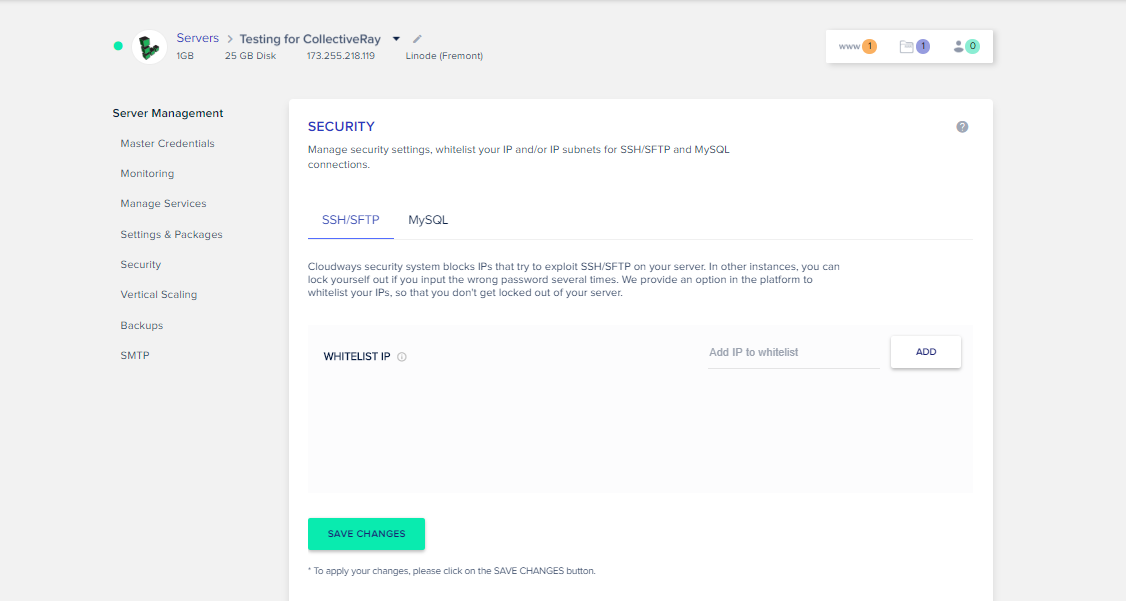
Customize your application’s Security
This feature enables you to whitelist your IP addresses in order to safely access your server over SFTP and SSH. With this feature, you can further check whether your specific IP address is open or blocked. Once you are done with adding IP addresses to whitelist you can simply hit ‘Save Changes’ in order to apply them.

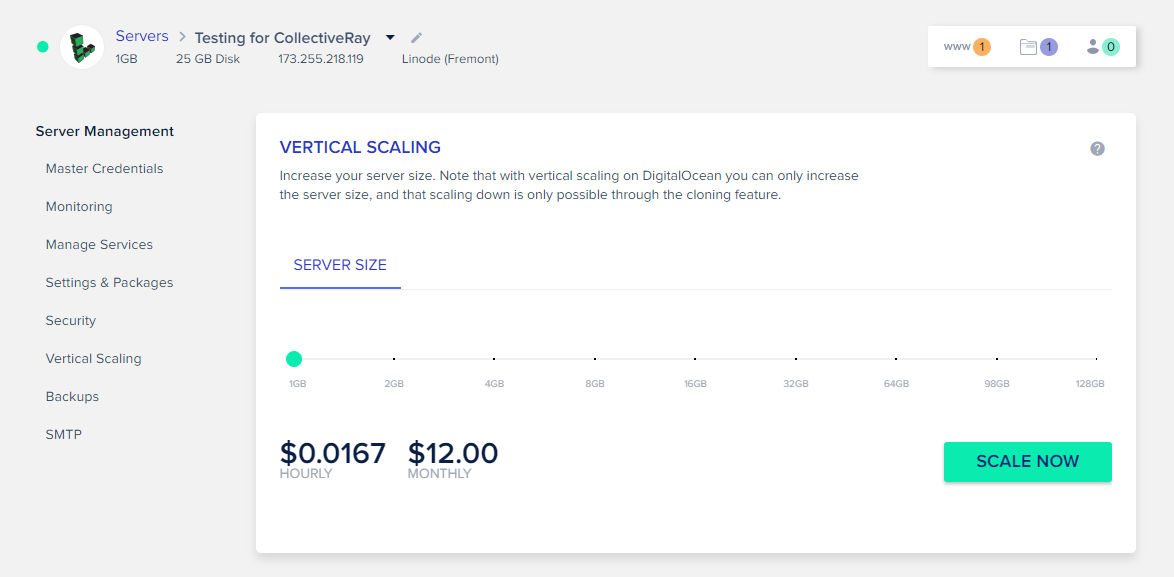
On-demand resources with Vertical Scaling
With vertical scaling, you can easily increase your server size without any hassles. DigitalOcean and Vultr only offer upgrading your server size while Amazon and Google Compute Engine allow you to downgrade them as well. As you scale your server, other attributes of your server such as RAM, SSD Disk and Core Processors are increased accordingly.

Keep your website safe with Backups
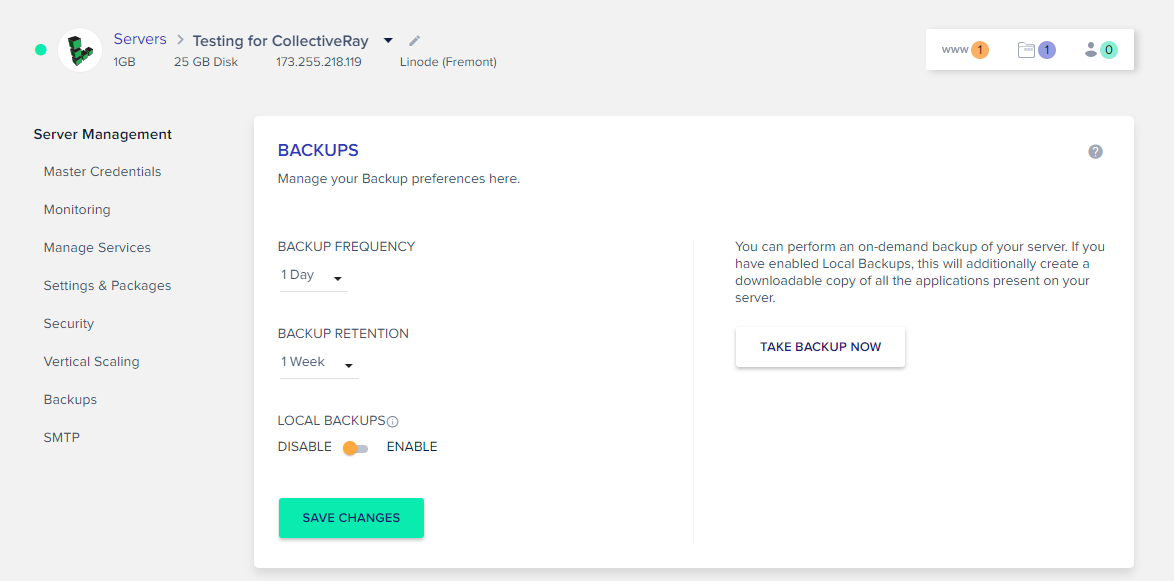
The Backup feature on the service helps you backup your server and application data at datacenters so you don’t suffer any serious data loss. You can automate your backup frequency up to as low as an hour. Furthermore, you can enable/disable your local backup. At any instance, if you think that you need to back up your data immediately, you get an additional option of Take Server Backup Now.

Service Add-Ons
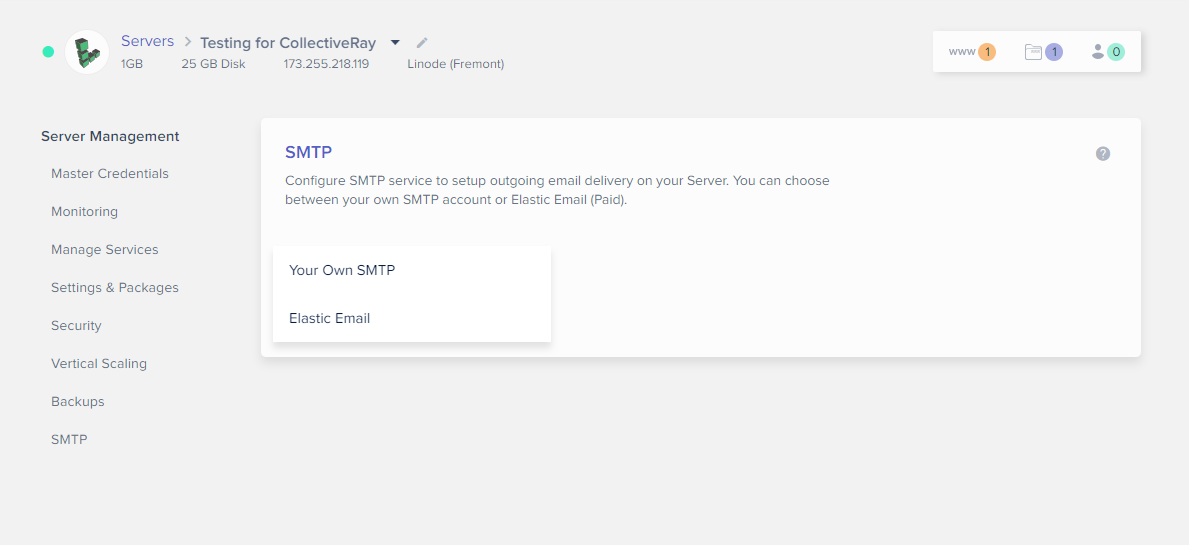
Cloudways offers customers two server add-ons: The SMTP Addon and Elastic email Addon. You will first need to Activate/Subscribe the Add-on from Add-ons Tab to configure Add-on for your server in order to access them. You can use Elastic Email add-on for transactional email delivery and management service. Activation of Custom SMTP Add-on will enable the user to configure an external SMTP service for transactional email delivery and management service.

Application Management
Application management allows users to manage application queries on your web server.
Access Details
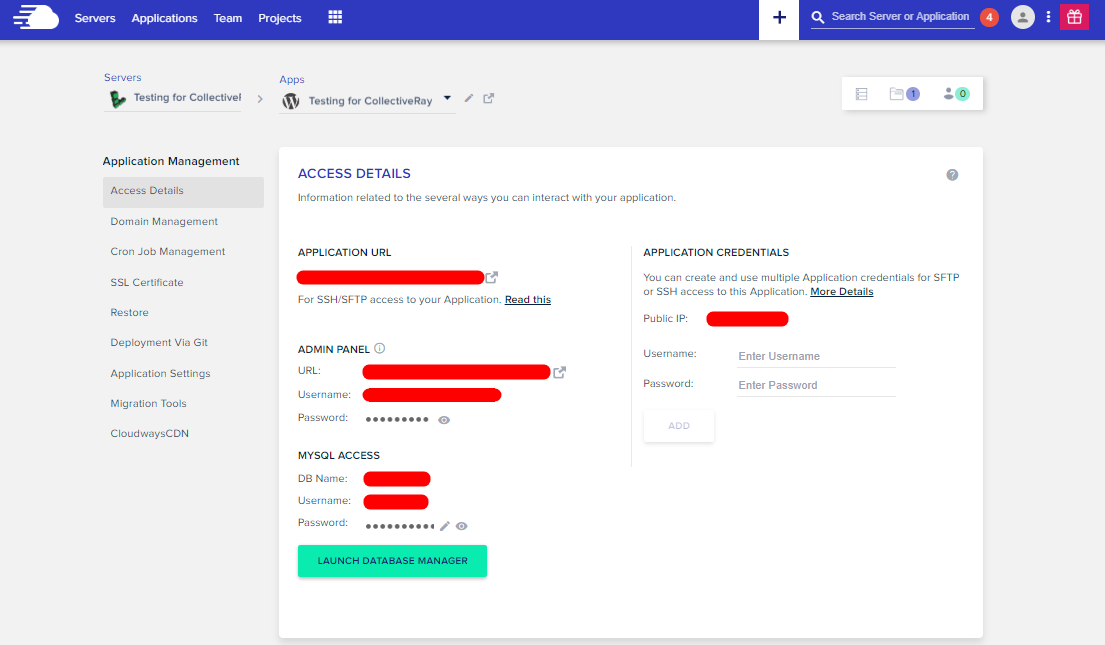
Access Details provides you with information related to different ways in which you can interact with your web application. There are three sections within Access Details; it encompasses Application URL, Admin Panel and MySQL Access. By simply clicking the link under admin panel will lead you to your web application (WordPress) login page. The username and password are available as well and all you have to do is click to copy it.

Enable your own domain with Domain Management
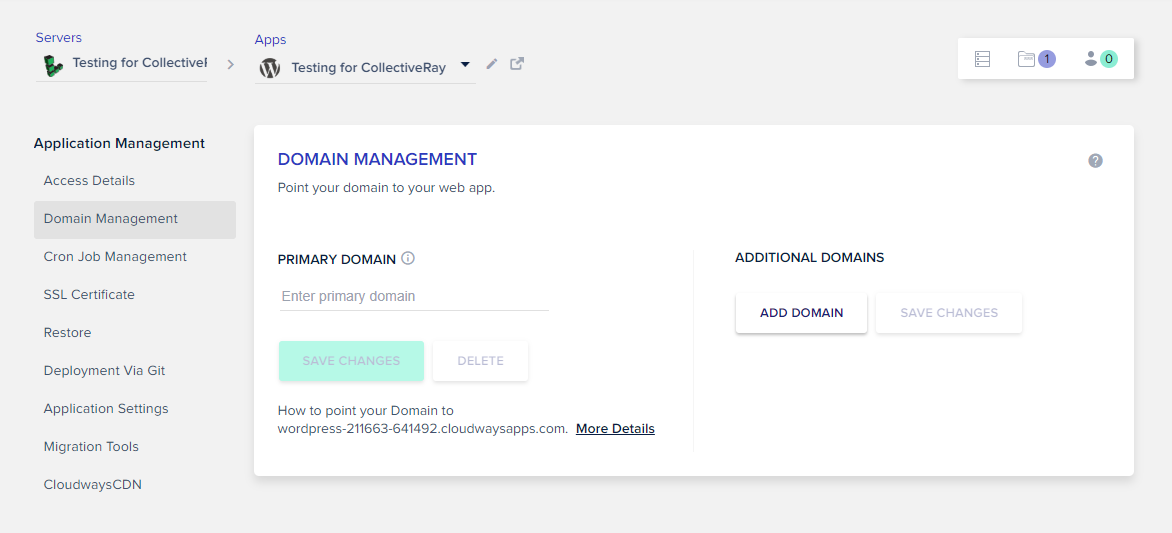
Domain management allows you to point your domain to Cloudways hosting platform. Domain pointing will link your purchased domain with the web application that you have launched. You can add a primary domain and further add additional subdomains depending on how many websites you wish to interlink with your web application. Once you are done hit Save Changes.

Automate tasks with Cron Job Management
Cron Job tool is a task scheduler. It allows individuals to schedule tasks which can take place on your website. In order to use cron job for your website, you have to add new cron job to the Cloudways hosting platform. Settings for Cron Job are categorized as following; Basic and Advance. Depending on the design of your website, you can set attributes for both accordingly.
Install an SSL Certificate to enable secure transmission
SSL certification provides a safe presence of your website over the Internet. Cloudways has added Let’s Encrypt SSL Certification for its customers. You can switch between using the pre-default SSL Certification available at Cloudways or a custom certification of your choice. You can use the custom SSL tool on the platform to install and configure your SSL certificate.
Restore your website backup
Restore option allows you to restore your web app from the available backups. It contains all files synced with your server database. Since automated backup is already up and running on your server, so you have several restore points to shift your web app to an earlier time. Once you have successfully selected the restore point you wish to shift to, all you have to do is select Restore Application Now.
Deploy your application via Git
At Cloudways, you can deploy changes on your website via Git. Your Git repository should support Git over SSH. SSH Keys identify your server without the need of passwords. You will first need to generate and download SSH Keys. It’s very easy. In order to do so, you have to click the button Generate SSH Keys.
Configure your applications via Application Settings
With the Application settings option, you can configure settings in accordance to your preference. You can configure as many applications as you like with specified settings. Application Settings is available in two different categories at Cloudways; General and PHP settings. You can even enable/disable Varnish for your web application and reset it as well.
Migrate Websites Using the Migrator Tool
Cloudways further comes with a built-in tool for Migrating WordPress websites to its hosting platform called the WordPress Migrator. It is available in the Application Management Tab and you can use to migrate data from your WordPress Dashboard to the one that you have launched.
Use CloudwaysCDN for Enhanced Website Performance
CloudwaysCDN is developed by the Cloudways team to enhance website’s performance for a wider audience. It is a geographically distributed server system that stores static copies of static assets of the website. This means that it is able to reduce traffic loads and page load times of websites.
Enable additional Application Add-Ons
Cloudways also offers several Application add-ons for your web application. You can go to to the ‘Add-Ons’ section from the dropdown menu at the top.
Here are the 6 add-ons that Cloudways offers:
- DNS Made Easy,
- Rackspace Email,
- Elastic Email,
- Application Migration,
- Application Upgrade, and
- CloudwaysCDN.
The CloudwaysBot
Cloudways has recently integrated a new feature to their platform, CloudwaysBot. CloudwaysBot is your very own personal server assistant that helps you to optimize your server and application settings at Cloudways. It is intelligently designed to keep track records of your server and application sending you notifications regarding security, settings, billings, and upgrades. In fact, it keeps an eye out on your overall performance.
Cloudways is working day in and day out to optimize and create CloudwaysBot as user-friendly as it could be to serve their users and customers effectively. Besides, it will further send you tips and tricks on how one can improve their server performance. You can further set Channels on which you want your CloudwaysBot to drop notifications. It can be your personal social platforms such as HipChat or Slack or it can be your email addresses.
Try cloud hosting now
Work with Teams & Projects
At Cloudways, you can now create Teams and do Projects with them. The platform offers you both options. You can assign team members, share project details with them and so much more. Join individuals working separately under a single platform and work together.
Cloudways Review conclusion – is it worth the money?
One can find a number of hosting platforms over the internet, however, some lack in providing the right customer service, some provide incomplete features, some demand high price rates while others are so low that they put quality at risk.
Our Cloudways review shows how it is a complete single click solution, offering you complete features at economical price rates. The customer support is great. The user-friendly interface makes it a breeze to work with, unlike CPanel powered hosts.
So what are you waiting for? Try it today and see whether this is the right hosting for you.
Launch your very own Managed Cloud Server and host a web application and see how it works. Whether it be a design of a blog, a business website, an online web store or a social forum, Cloudways make hosting as easy as it gets.
Try Cloudways hosting now
Please leave a useful comment with your thoughts, then share this on your Facebook group(s) who would find this useful and let’s reap the benefits together. Thank you for sharing and being nice!