
With over 4+ million active installs, a 4.6 user rating on WordPress.org, and an army of happy, loyal digital store owners to back it, WooCommerce is the most popular free e-commerce solution for WordPress by a mile. As of January 2018, WooCommerce powers over 35% of all online stores! If you’re looking to open up virtual shop on your WP-powered website, going with WooCommerce is one of the best decisions you could make. Here’s an extensive WooCommerce tutorial and how to get it up and running on your website.
WooCommerce Tutorial Index
WooCommerce Installation
Step 1
The first thing you will need to do is to install the WooCommerce plugin. You can download it for free from the WordPress repository or follow the steps below on how to do it from within your dashboard.
WooCommerce WordPress plugin
To install it from your dashboard navigate to WordPress Admin > Plugins > Add New, search for “woocommerce”, and click on “Install Now.” Ensures that the author shows up as Automattic. 3+ is currently the latest version of WooCommerce.
WooCommerce installation
Step 2
Then click on “Activate.”
Activate WooCommerce
Step 3
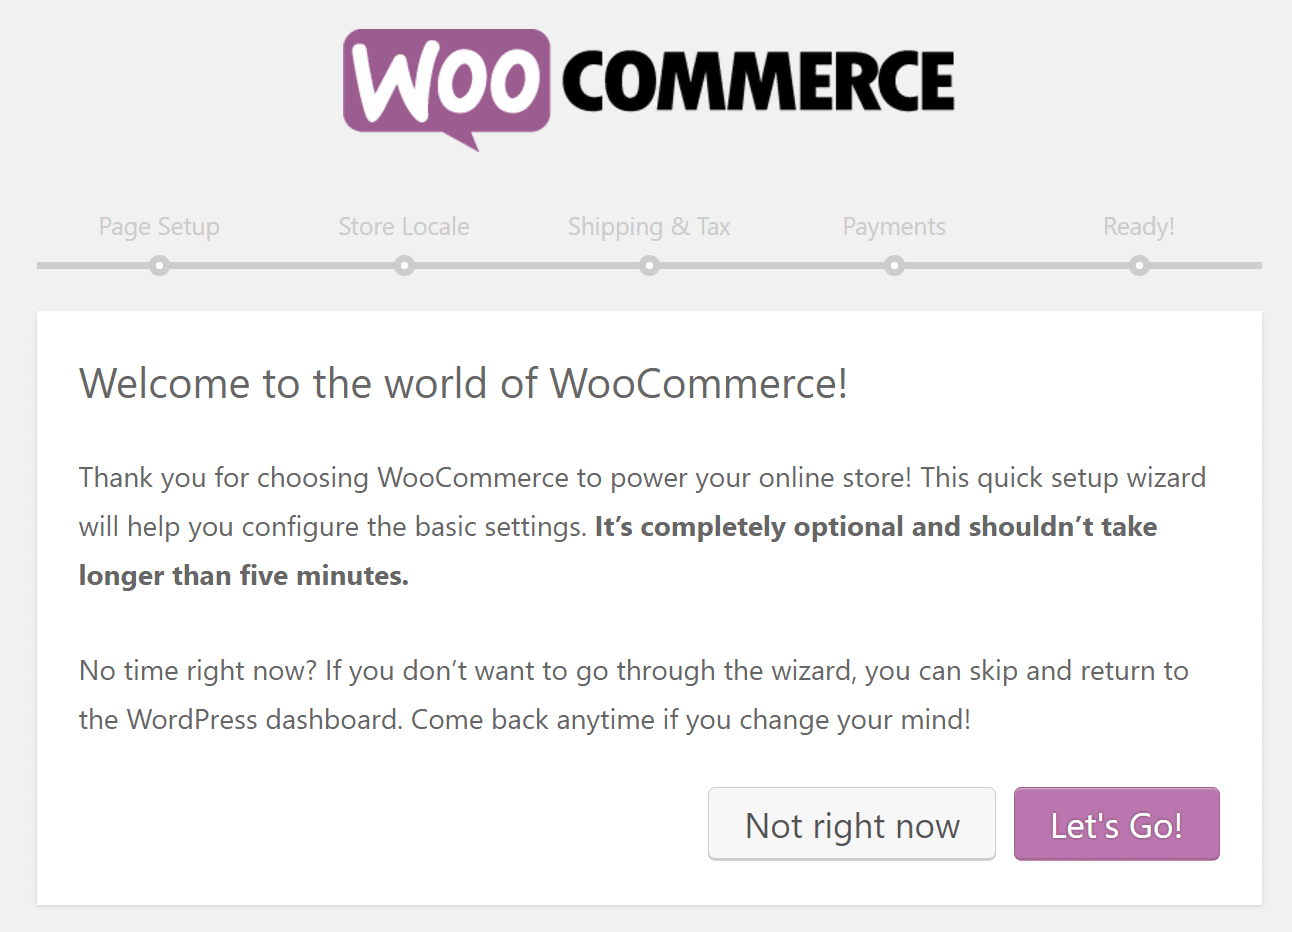
You are then met with a walkthrough to for WooCommerce setup. You can skip this but in our tutorial, we will click on “Let’s Go.” (Note: We will go into more detail for each of these options further below in our WooCommerce tutorial)
WooCommerce setup
Step 4
On the page setup screen, WooCommerce is notifying you that it will create a few pages for you automatically that are needed to complete the setup. This includes a shop, cart, checkout, and my account pages. Click on “Continue” to let it create these for you.
WooCommerce page setup
Step 5
On the store locale setup screen, WooCommerce allows you to quickly choose the country and or state you are based out of, the currency, and units for your products. Then click on “Continue.”
WooCommerce store locale setup
Step 6
On the shipping & tax setup screen, you can choose whether or not you are shipping physical goods to customers. Remember, WooCommerce can also be used to sell digital products and downloads. And then you can enable sales tax if required. Then click on “Continue.”
WooCommerce shipping and tax setup
Step 7
On the payments screen you can choose which 3rd party payment processor you want to integrate with. We are personally big fans of Stripe. And as of February 2016, the Stripe is free for WooCommerce (you will still pay the transaction fee). Then click on “Continue.”
Recommended reading: How to Prevent and Reduce Credit Card Fraud by 98% Using Stripe Radar
WooCommerce payments
And that’s it! Your WooCommerce store is now ready. You can click on the link at the bottom to return to your WordPress dashboard and start creating your products. Check out the rest of the WooCommerce tutorial below.
WooCommerce store is ready confirmation
Adding & Managing New Products
The first alteration you’ll notice is the addition of two new tabs to your dashboard’s side menu, named WooCommerce (your general settings area) and Products (your products settings area). To get started setting up your e-store, go to WordPress Admin > Products > Add Product to add your first product.
Create a title and short description of the product. Here’s what just a title & description looks like in a live preview.
New WooCommerce product
That done, scroll down below the post editor to reveal two new widgets on the post editing screen: product data and product short description.
Product Data
WordPress Admin > Products > Add New
In the product data screen widget, you can select whether or not the product is virtual (the former option removes the Shipping data tab) and if it is downloadable (digital). You can enter in the regular & sale price (sales can be time-sensitive) in the General tab.
WooCommerce product data
If you’re selling digital products, then you also have to upload the file to be purchased, customize the download limit (leave it blank to mark it as unlimited), the download expiry (leave it blank to keep it available permanently), and the file type (standard/application/music). The file type you select affects the schema.org markup for the product.
Next, in the Inventory tab, you can customize options to manage your stock by entering in the quantity of the product, stock status (in/out of stock), and if you’d like to allow backorders. Additionally, you can mark the product as individually sold, meaning only one can be bought in a single order. This is also where you enter the SKU (identification number) if you have one.
In the Linked Products tab, you can add upsells, cross-sells, and product grouping. Attributes allows you to enter in specific attributes of the product (e.g. reliable, never breaks down, etc.) that will be displayed under an Additional Information tab in the front end version of the product page. Finally, you can enter custom purchase notes, give the product a menu order, and enable/disable reviews in the Advanced tab.
Product Short Description
WordPress Admin > Products > Add New
With the product short description screen widget, you can create a short tagline for the image that will be displayed under the product title.
WooCommerce product short description
After playing around with all of that, don’t forget to add tags, place it in a category, and include a product image/gallery. Here’s what some sample data looks like in a live preview.
Sample product in WooCommerce
Managing Products
WordPress Admin > Products > [various tabs]
In the other pages under WordPress Admin > Products, you can view your products, categories, tags, shipping classes, attributes, and calendar. Each of these pages look like the standard WordPress Admin > Posts > Categories page, except the product view (displayed below).
View WooCommerce products
Managing WooCommerce
In the WooCommerce tab, you can explore various things about your digital store: you can view orders, coupons, and reports. You can also customize settings and add new extensions.
Orders
WP Admin > WooCommerce > Orders
This page displays a list of your current purchases and orders. If you sell digital products, there’s not much to do here other than see who bought what. But if you sell physical goods, here’s where you can organize what products you need to ship and what orders are being processed or put on hold.
WooCommerce orders
Coupons
WordPress Admin > WooCommerce > Coupons [> Add New]
WooCommerce has several powerful options for adding new coupons to your e-store. In the coupon editing screen, the coupon data screen widget allows you to customize the coupon discount and restrictions.
WooCommerce coupon
The General tab allows you to edit the basic coupon information: the type of coupon (cart discount, cart percentage discount, product discount, and product percentage discount), its value, free shipping options, coupon taxation, and its expiry date.
In Usage Restrictions you can set a minimum spend the customer has to make to validate the coupon. To restrict the use from use in conjunction with other coupons, check the box for Individual use only. If the coupon shouldn’t apply to items that are on sale, there’s an option for that, too. Here’s also where you select the products and product categories the coupon is applicable to. Lastly, you can even ban certain email addresses from coupon usage.
The final tab, Usage Limits, sets the usage limit per coupon or per customer.
The coupon management screen is below.
coupon management
Reports
WordPress Admin > WooCommerce > Reports
WooCommerce also offers powerful built-in tracking. You can view charts and graphs of your sales, orders, and shipping costs over five different time periods. Each graph can be limited to the sales of a particular product, product category, or coupon. In the Customers tab, you can view your customer acquisition over the same five time periods. Lastly, you can also view your low in stock, out of stock, and most stocked products in the Stocks tab. All this data can be exported in a CSV sheet.
Reporting
Settings
WP Admin > WooCommerce > Settings
Here’s where WooCommerce gets really impressive: in the Settings screen, you can customize pretty much every single aspect of your e-store. Everything from your thousands separator to the check out process to email options can be tailored to your satisfaction.
The General tab takes care of your basic information, including your currency, base & selling locations, and display options.
WooCommerce general settings
Your product data, including custom sorting, default displays, measuring systems, product thumbnail dimensions, download methods, and even Ajax/non-Ajax add to cart buttons is customized in the Products tab.
WooCommerce product settings
Taxation methods are modeled in the Taxes tab — if you wish, you can even disable taxation in your store.
WooCommerce tax settings
Shipping takes care of your shipping methods and pricing models. You can also enable/disable shipping store-wide, and edit various display options. Restricting your store availability only to specific countries is also possible.
WooCommerce shipping setup
Checkout allows you to customize the checkout process: you can choose from five payment gateways, edit the pages, add a T&C page, and change URL appendages.
WooCommerce checkout configuration
Account edits all front-end account display and registration options.
WooCommerce account setup
In the Emails tab, you can customize all things customer support. Specifically, you can tailor all the sender options for WooCommerce-generated email, right down the email background color.
Tired of WordPress hosting support that seems to know less than you do?
We understand! That’s why Kinsta only employs high-skilled developers and Linux Engineers. The expertise of our support department is second to none, and we’re available 24×7 to help!
WooCommerce emails setup
And lastly, in the API tab you can enable the REST API, Keys/Apps, and Webhooks.
Rest API
System Status
WordPress Admin > WooCommerce > System Status
All your back-end information — your WooCommerce/PHP/MySQL/etc. version, size limits, logging, and more — is found here. In the Tools tab on the same page , you can clear your website caches for multiple variables, install new options, and reset settings to the default.
WooCommerce system status
Add-ons
WordPress Admin > WooCommerce > Add-ons
WooCommerce add-ons and extensions
One of the attributes that make WordPress the most popular CMS on the planet is the community behind it. Thousands of themes and tens of thousands of plugins; nearly 100% of them are user-contributed. It’s pretty much the same thing with WooCommerce, although on a smaller scale.
WooCommerce extensions and themes
The plugin developers allow you to purchase native and third-party WooCommerce extensions from their Extensions store. Literally, hundreds of various add-ons and WooCommerce-specific themes and styling options are available at the store.
WooCommerce Hosting
When you have an online store time is literally money, and that is why it is important to also have a fast and reliable WordPress host to ensure better uptime, conversions rates, and ROI. WooCommerce is sometimes known for slowing down a WordPress site, especially on large installations. But that is not the case with Kinsta. We provide managed hosting services and highly optimized WooCommerce hosting designed specifically with performance in mind. Thanks to our scalable infrastructure on Google Cloud Platform and the latest technology such as PHP 7, NGINX, MariaDB; we can ensure that a move to Kinsta will help increase your sales!
“The COO contacted me with an actual solution instead of lot of “trust us” fluff I was getting elsewhere. He was honest and straight-forward which was very refreshing. After migration, support was handled by the CEO who made some excellent suggestions and tweaks which dramatically improved performance.”
– Caleb Worm, Swagway.com
Summary
WooCommerce truly is, beyond a shadow of a doubt, the best free e-commerce solution for WordPress. On the outside, the plugin has phenomenal stats, but it’s only when you dig deeper into the WooCommerce options and back-end that the pure awesomeness is truly revealed. Anything important that we missed in our WooCommerce tutorial? If so, let us know below!
We also have something awesome for you! We’ve spent months putting this 18 chapter long WooCommerce optimization guide together. With a ton of lessons and free tools on how you can optimize and grow your million dollar company!

![15+ Top Black Friday & Cyber Monday Deals for Developers and Designers [2023]](https://wiredgorilla.com/wp-content/uploads/2023/11/15-top-black-friday-cyber-monday-deals-for-developers-and-designers-2023.jpg)