The Yoast SEO WordPress plugin is a powerful tool that allows you to optimize your website for search engines. Once installed, the plugin will present SEO tasks for you to apply to your website content for better search engine optimization.
In addition, the plugin will also allow you to connect your Google Search Console account, integrate your social media profiles, bulk edit your settings, and more.
Continue reading to learn how to:
- Install the Yoast SEO WordPress Plugin
- Configure Yoast SEO Plugin
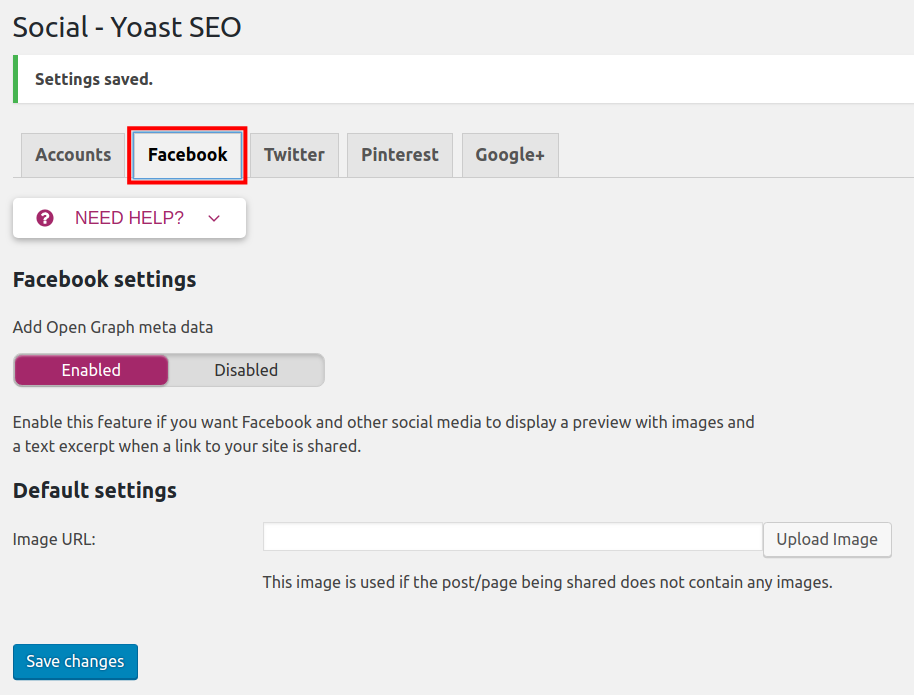
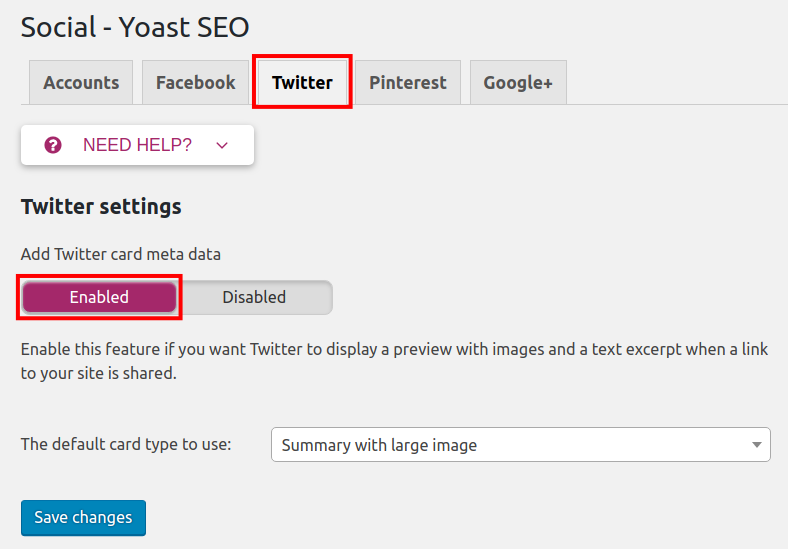
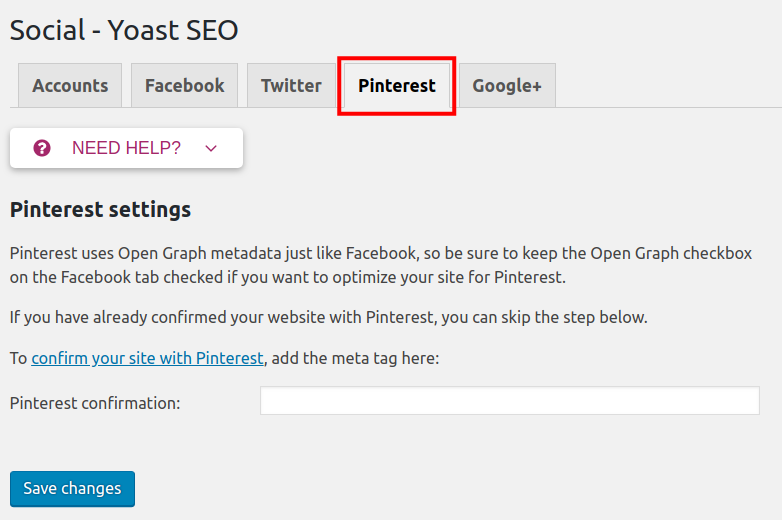
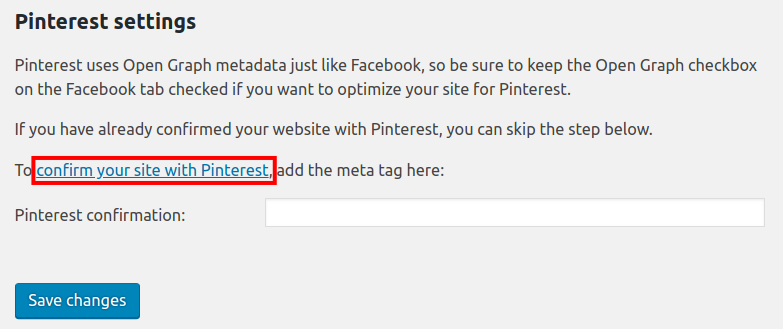
- Setup Your Social Profiles in Yoast
- Create a Sitemap in WordPress with Yoast
- Use the Yoast Bulk Editor
- Use the Yoast File Editor
- Import and Export Yoast SEO Settings
Install the Yoast SEO Plugin
The first step to using the Yoast SEO plugin is to install and activate it. Follow the steps below to learn how:
- Login into your WordPress dashboard.
- Navigate to Plugins < Add New.
- In the search box type ‘yoast‘.
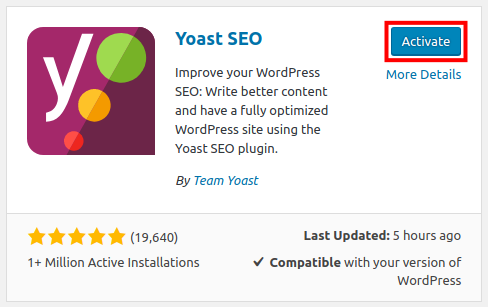
- You will see the Yoast SEO plugin by Team Yoast listed. Click Install Now < Activate.
- You are finished when you see a Plugin activated message.
Configure Yoast SEO Plugin
Next, you’ll need to configure the Yoast plugin using their configuration wizard. This includes setting up one of the best features of Yoast: connecting to your Google Search Console (GSC) account.
In addition to giving you SEO suggestions, the addition of GSC will give you analytics on your website’s performance. You can setup Yoast SEO and connect your GSC account by following the instructions below:
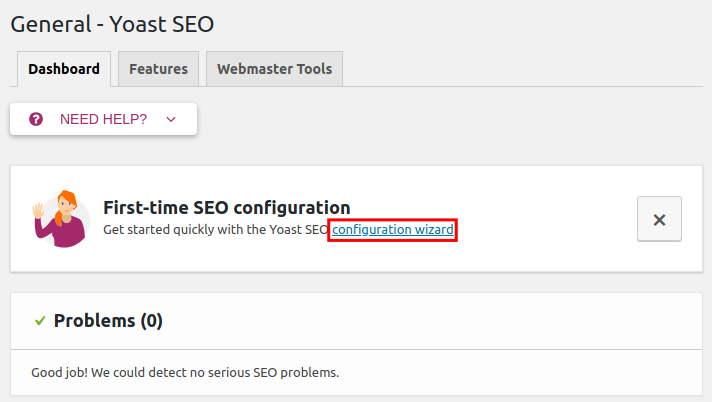
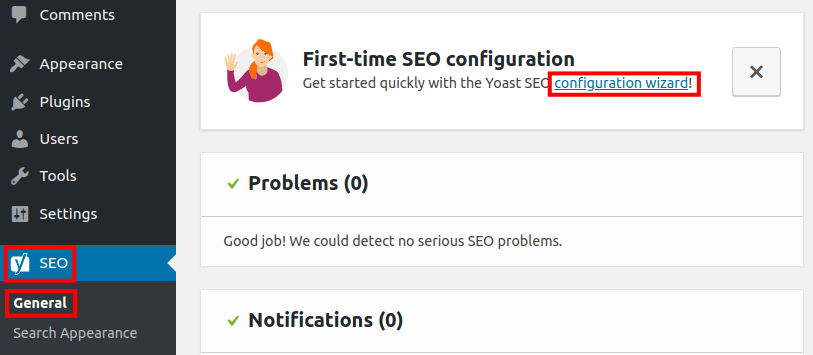
- Click on the SEO link in your WordPress Dashboard.
- You will see a First-time SEO configuration section, click on the configuration wizard.
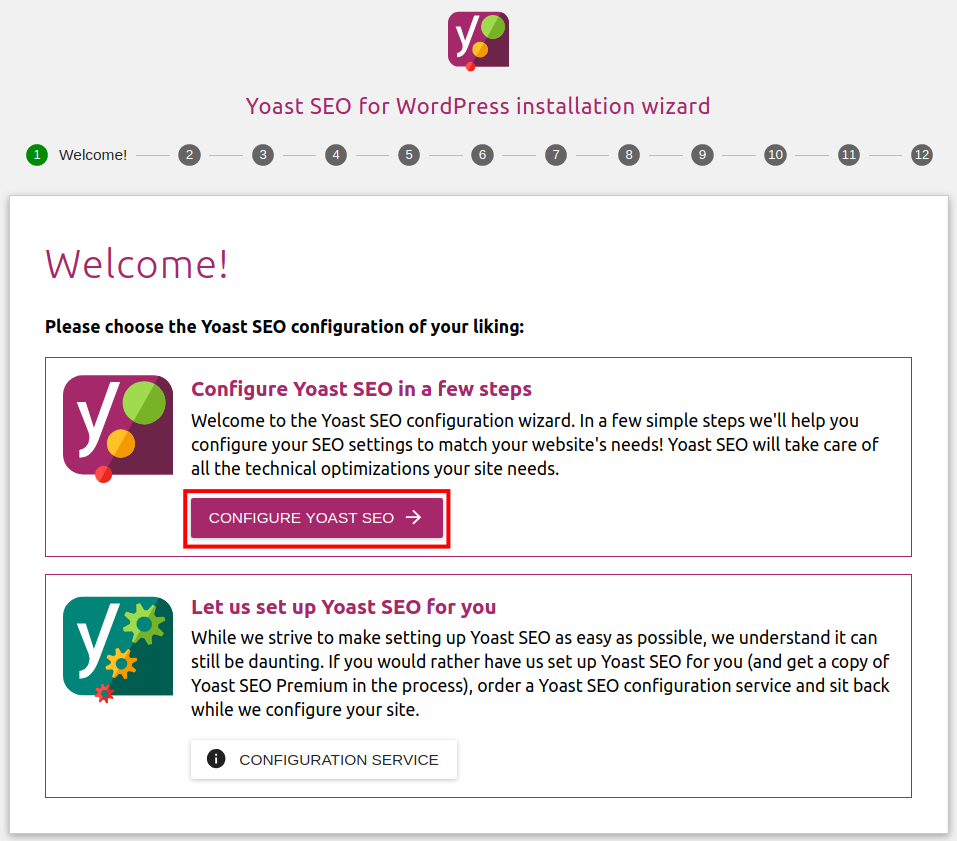
- A welcome message will appear, click on Configure Yoast SEO.
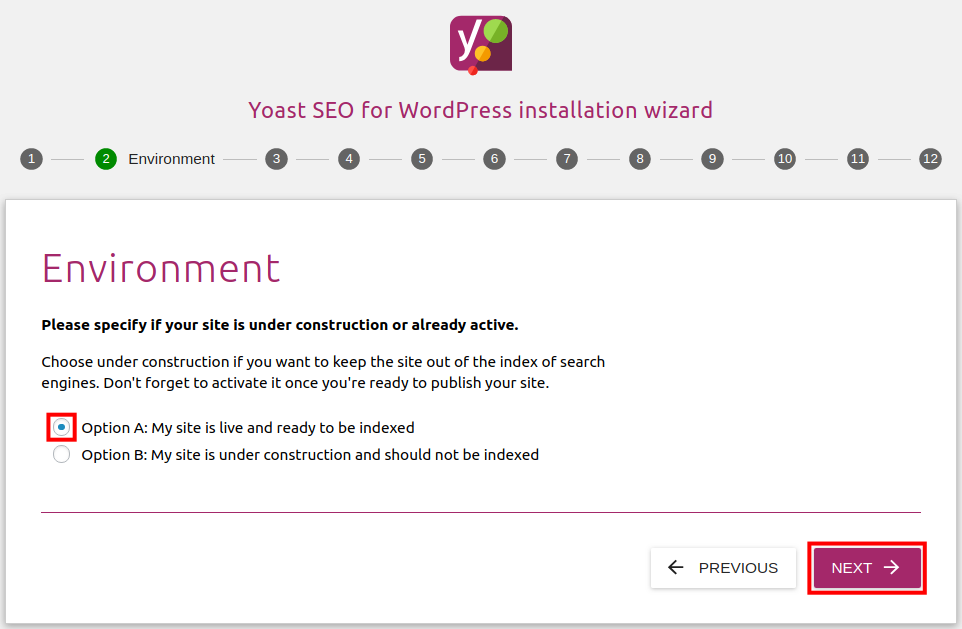
- On the Environment page, choose Option A if your site is live and ready to be indexed or crawled by search engines. Choose Option B if you do not want your site to be indexed now. In this guide, we chose Option A. Click Next.
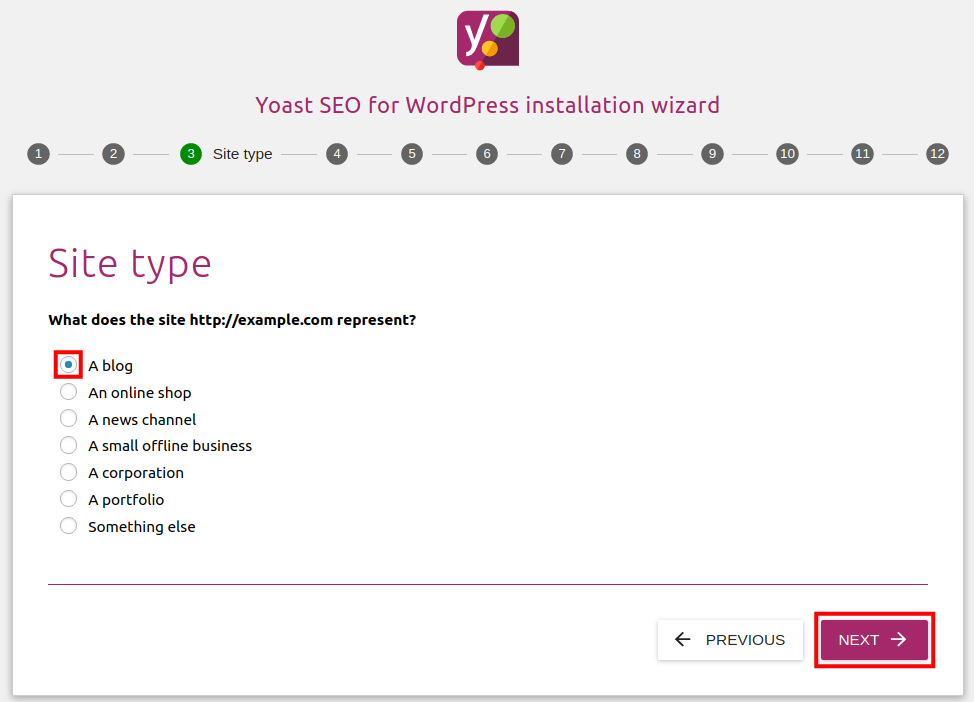
- Choose your Site type then click the Next.
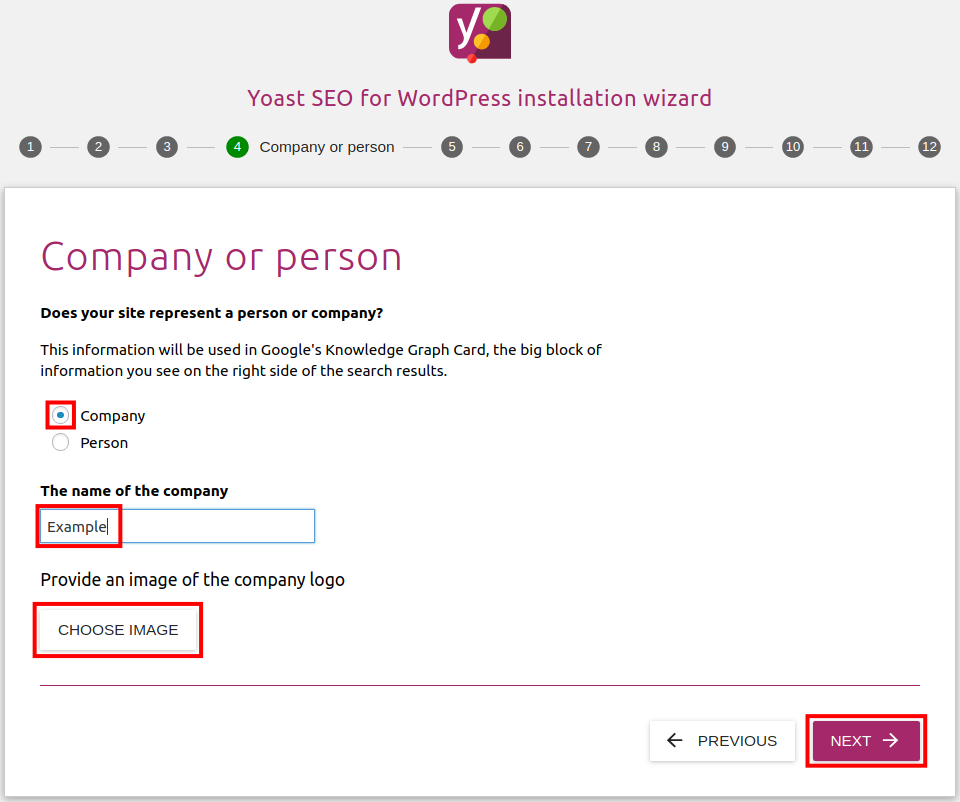
- Select if your site is for a Company or Person. You will then be able to enter the name of the person/company or upload a company logo.
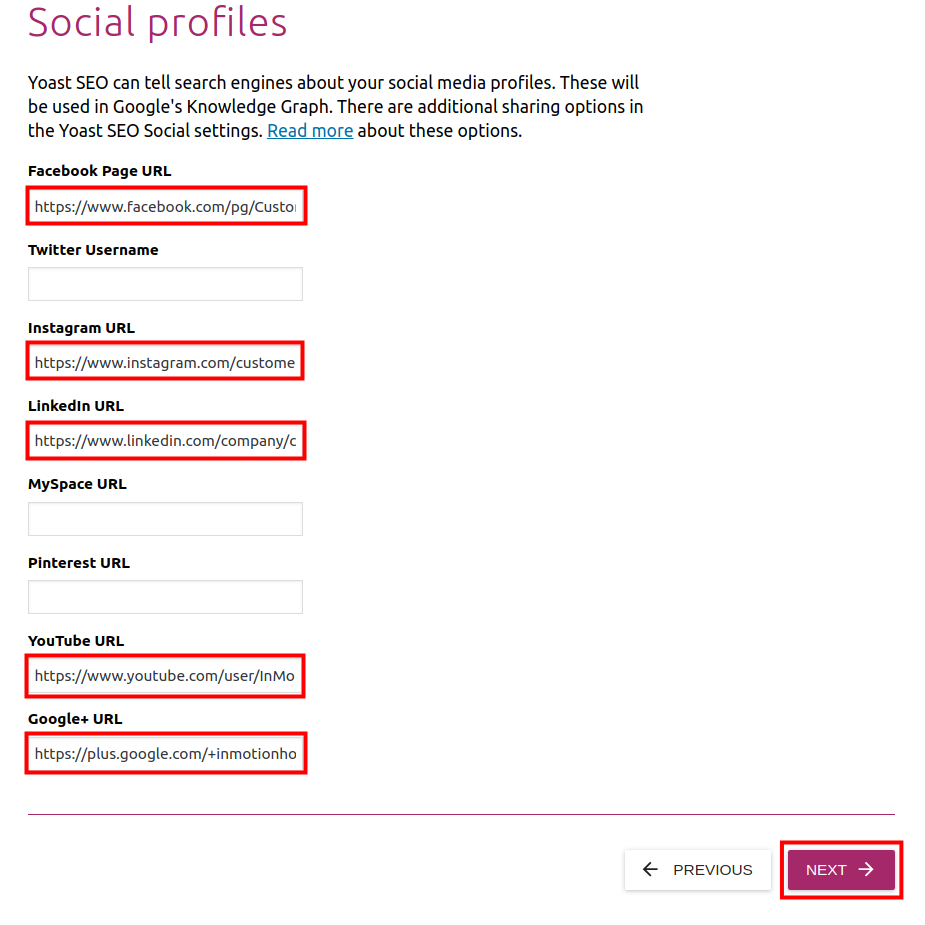
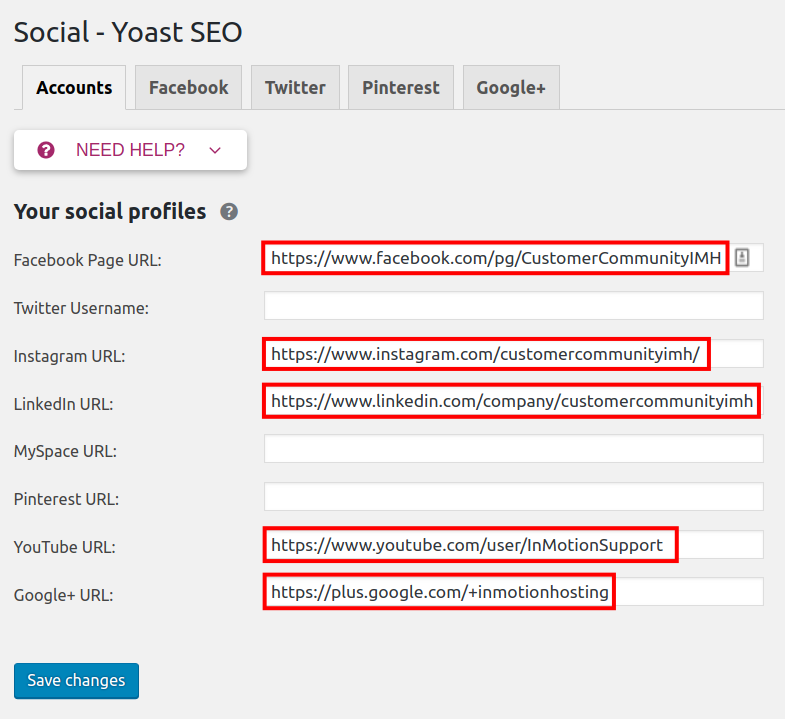
- Next, enter links to your Social Profiles then click Next.
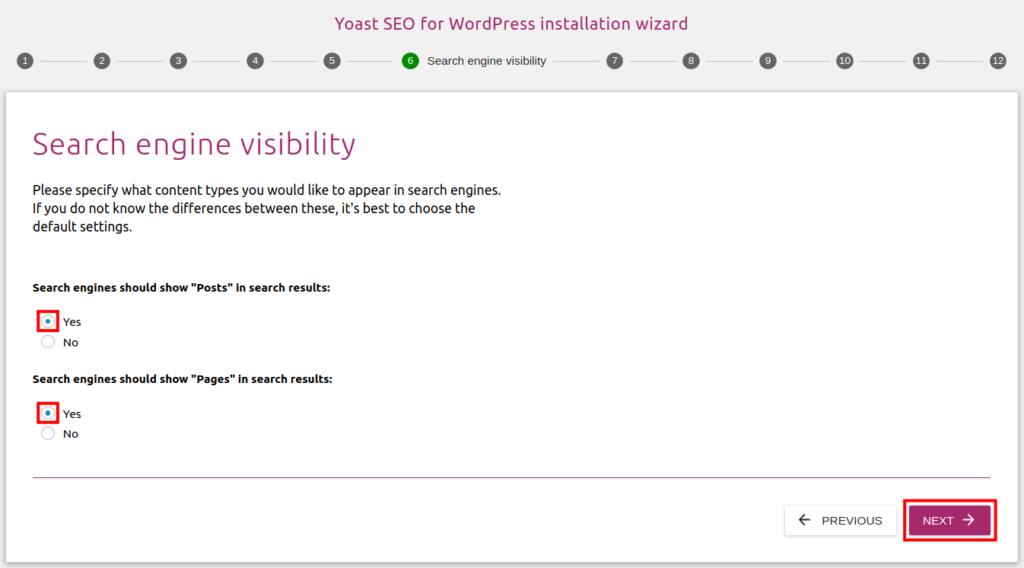
- On Search engine visibility, choose if you want to allow your Posts/Pages to display on search engine results pages. Click Next.
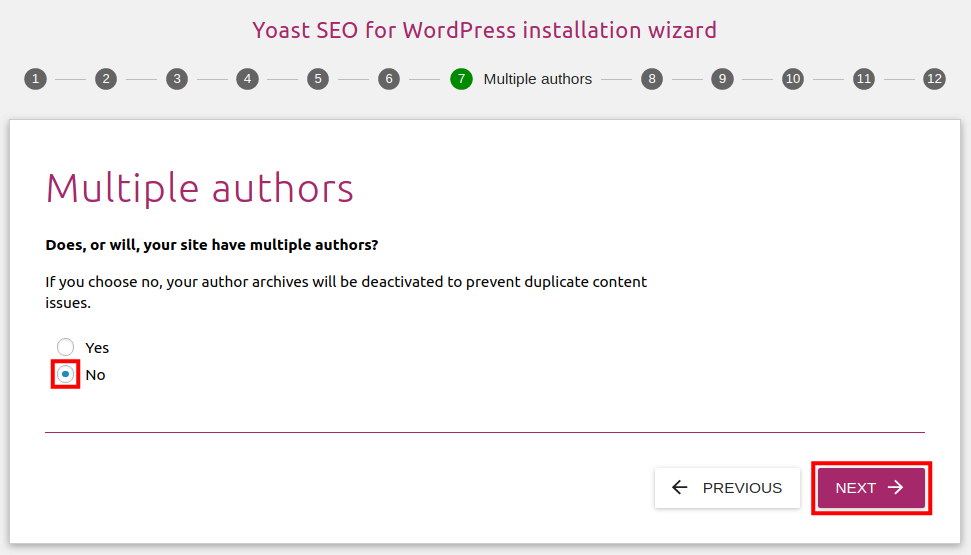
- On Multiple authors, choose if you will have more than one author for the site. Click Next.
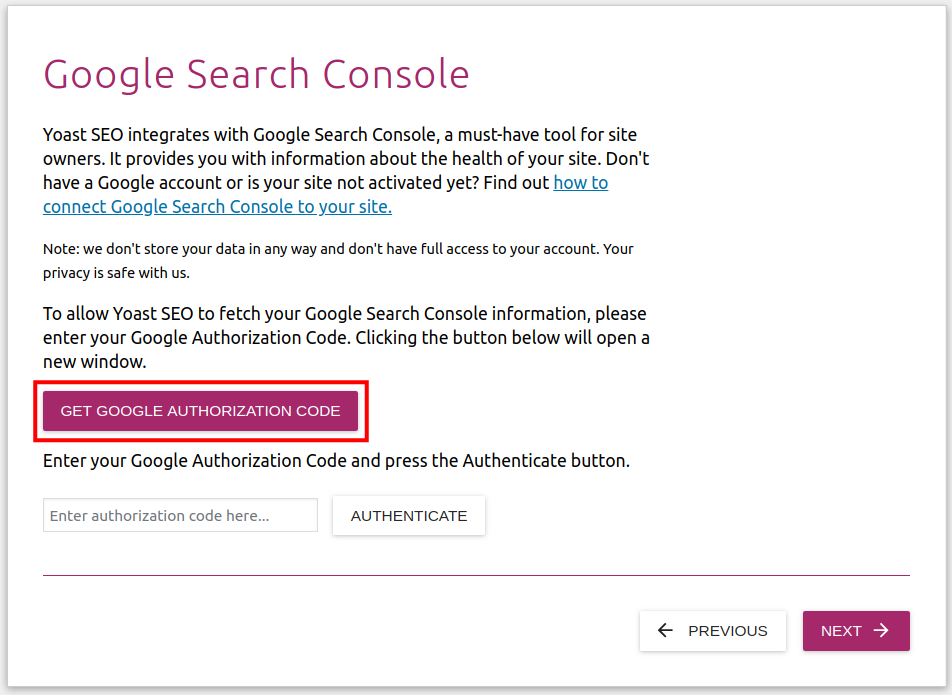
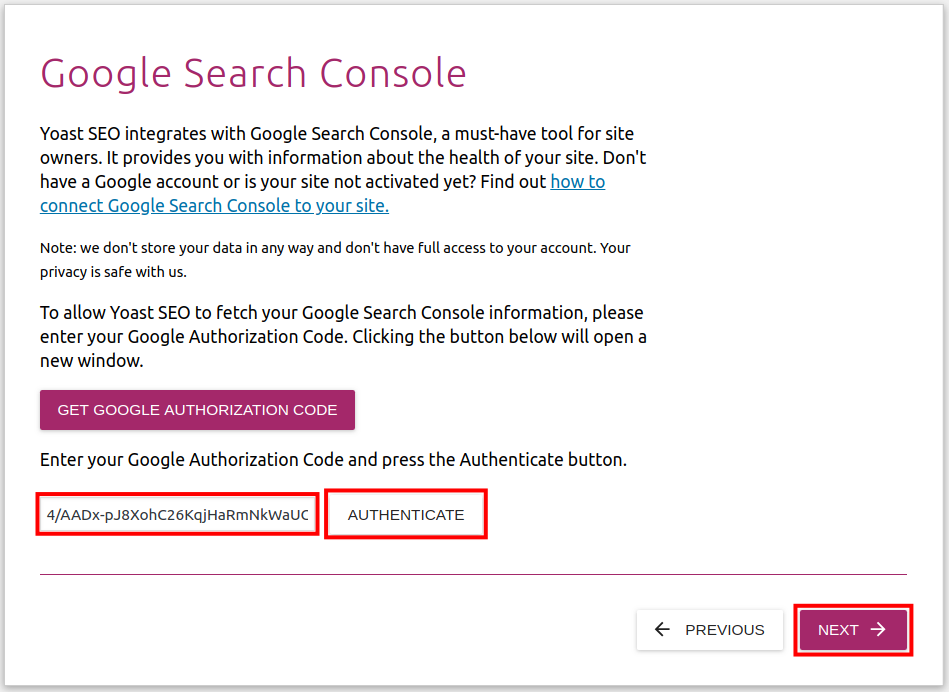
- On the Google Search Console menu, click Get Google Authorization Code.
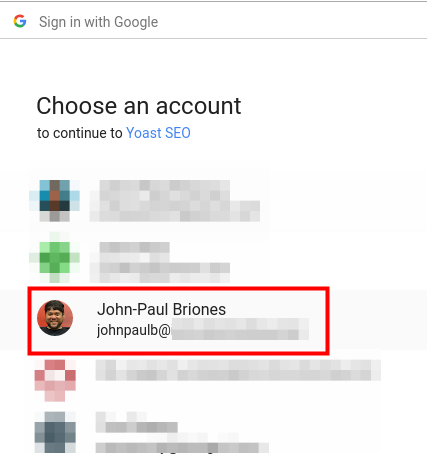
- A window will appear. Choose the Google account that is associated with your website.
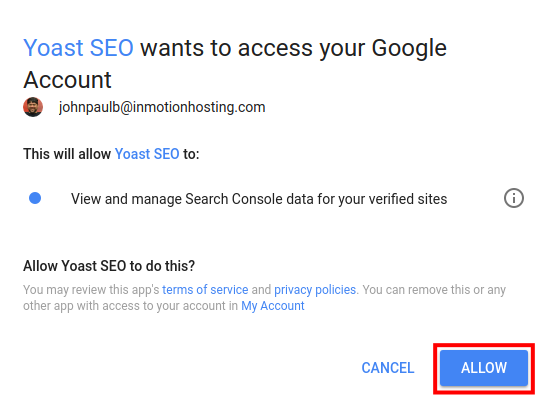
- When asked if you want to allow Yoast SEO to access your Google Account, click Allow.
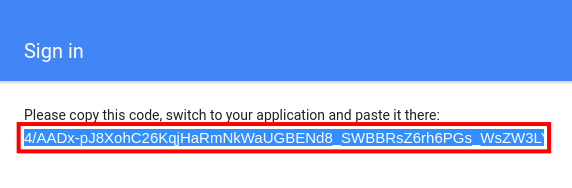
- You will then be provided with an authorization code, copy it.
- Paste it into the field on the Yoast Google Search Console page and click Authenticate < Next.
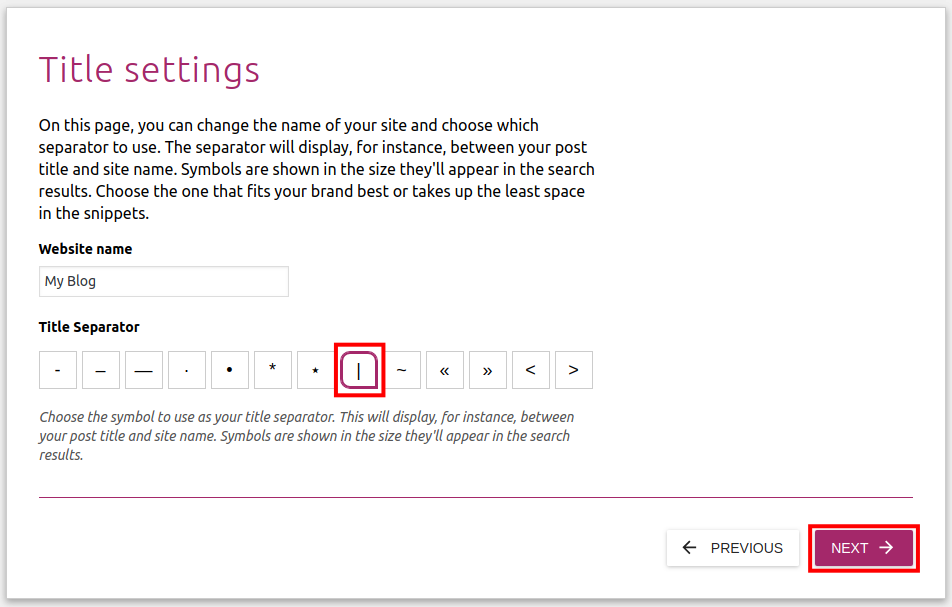
- On Title settings, choose a character for separating your title and site name. Click Next.
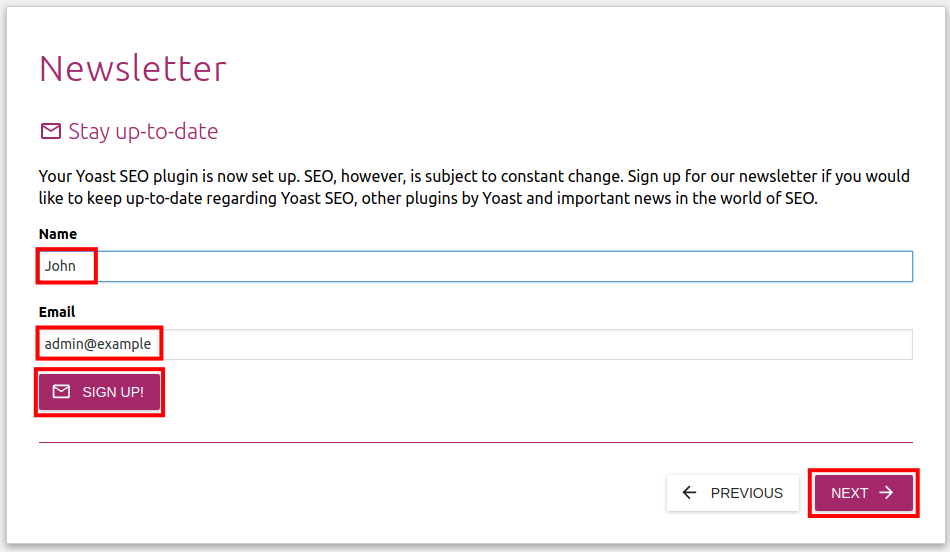
- If you want to subscribe to the Yoast SEO Newsletter, enter your Name, Email, then click Sign Up! >Next.
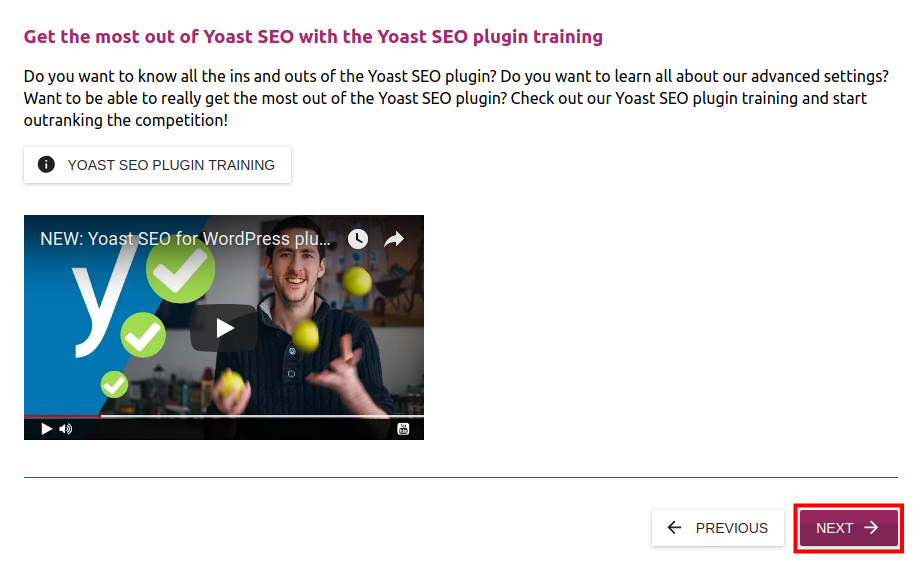
- Yoast will then ask if you want to Upgrade to Premium and/or explore training opportunities. Make your choices, then click Next.
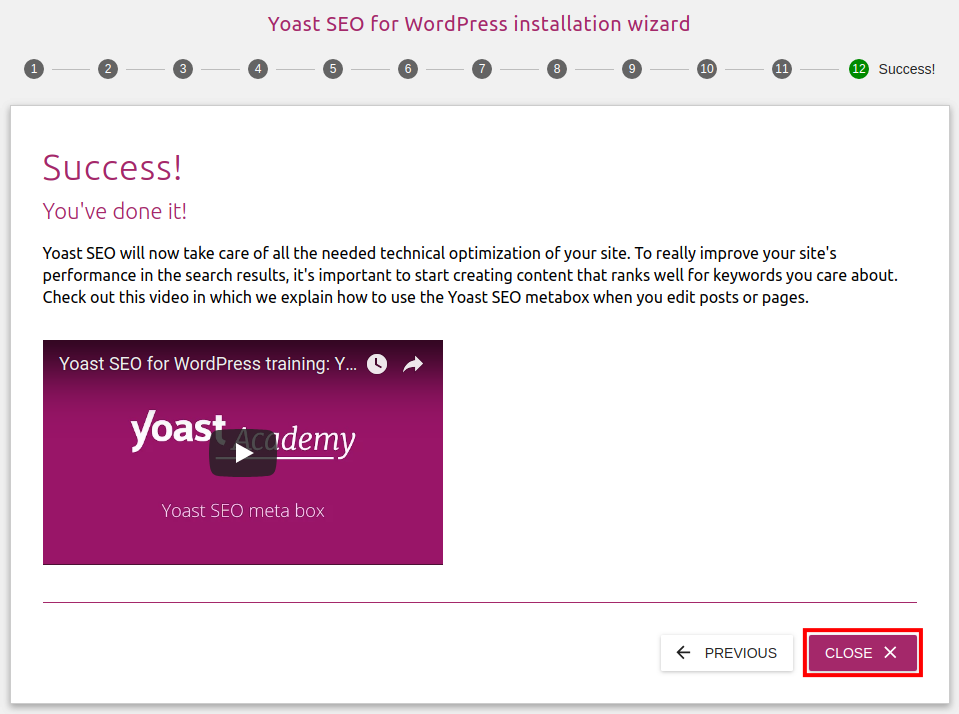
- You are finished with the Yoast SEO Configuration Wizard when you see Success. Click Close.
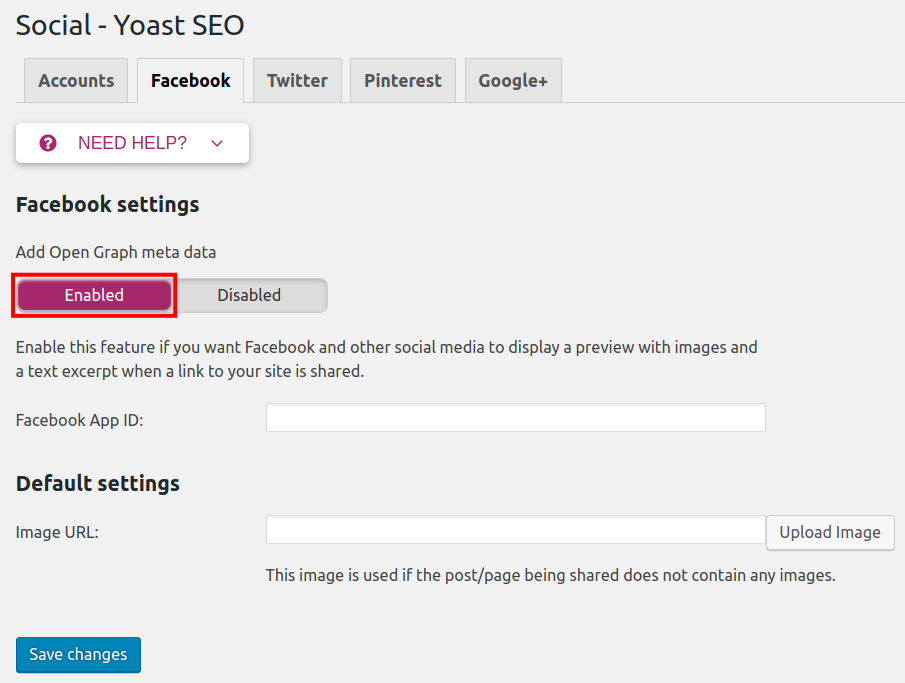
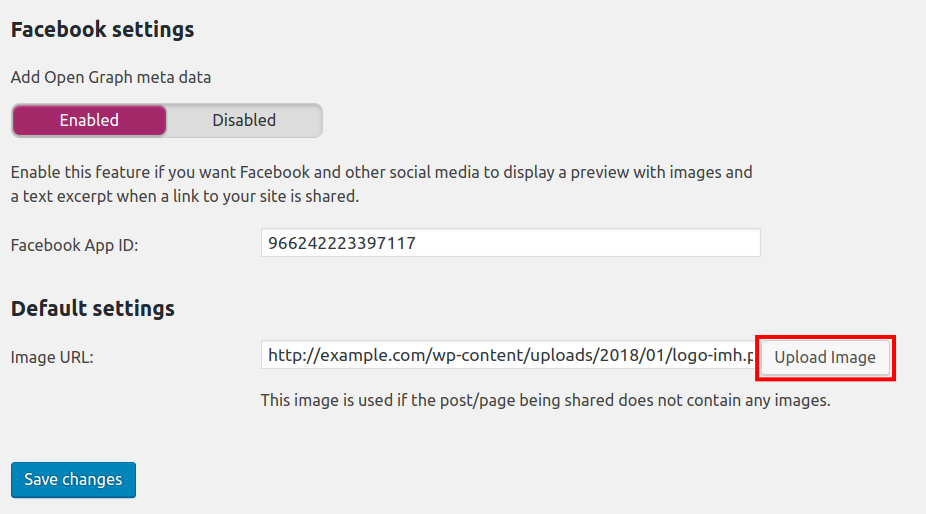
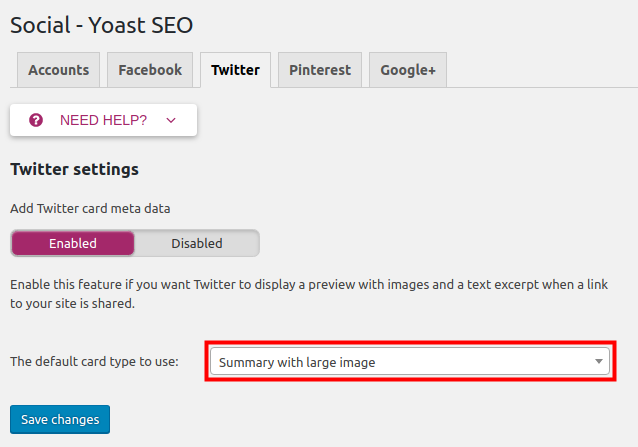
Creating an App ID. Next, click Upload Image to set a default image. This will display when you share a post/page that does not have any images. Click Save changes.

cPanel File Manager or use an FTP client to access these files. Follow the instructions below to learn how to use the Yoast file editor.
- Navigate to SEO > Tools.
- Click the File editor.
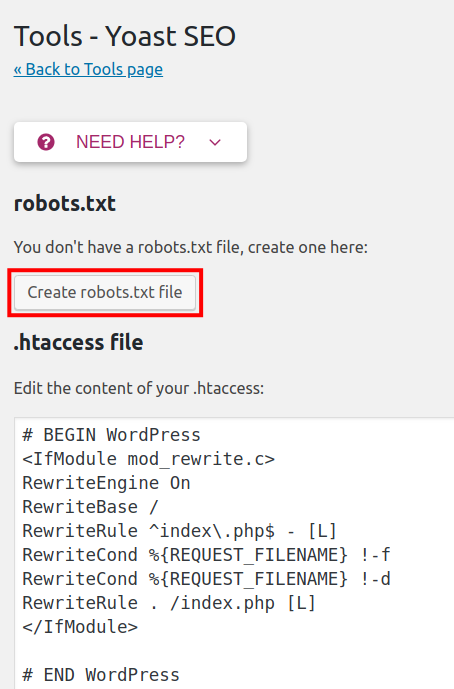
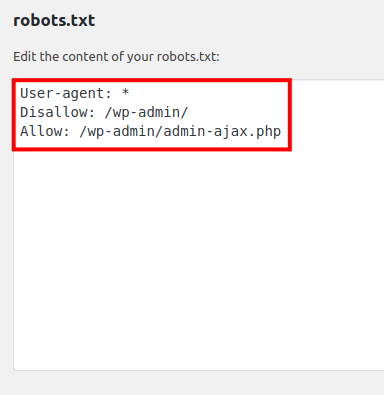
- You will see your robots.txt and .htaccess files listed if you have them. If you do not have an .htaccess file, you can create one in cPanel. If you do not have a robots.txt file, click the Create robots.txt file button to make one.
- Edit your robots.txt file as needed. For more information on robots.txt rules, see our full guide on How to Stop Search Engines from Crawling your Website.
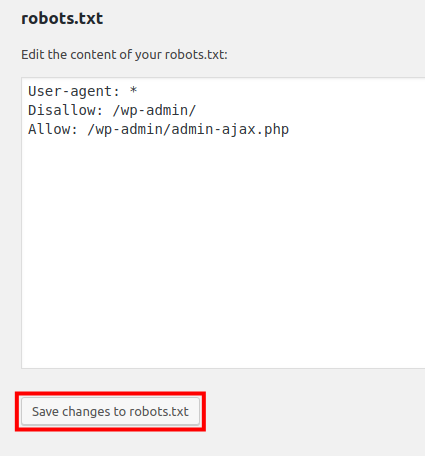
- Click Save changes to robots.txt
- You will then see a message stating “Updated robots.txt“.
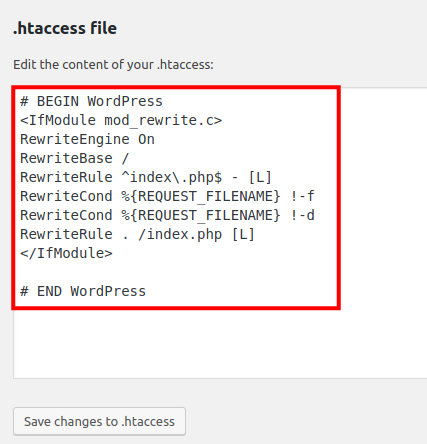
- Edit your .htaccess file as needed. For assistance on creating .htaccess rules see our .htaccess file reference list.
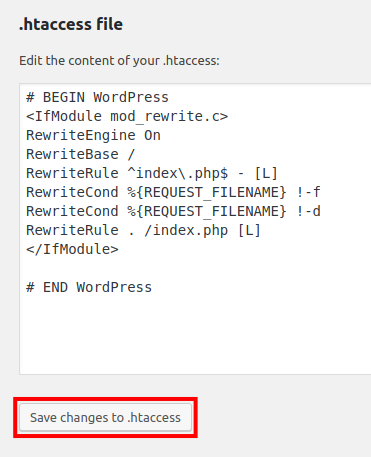
- Click Save changes to .htaccess to complete the change. You will not see an update notification.

backup up your database before following these steps.
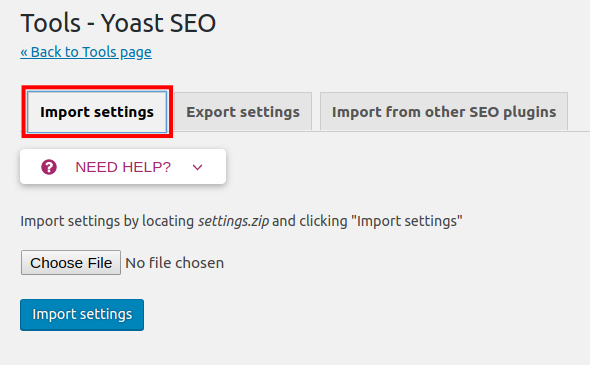
- Navigate to SEO > Tools.
- Click Import and Export.
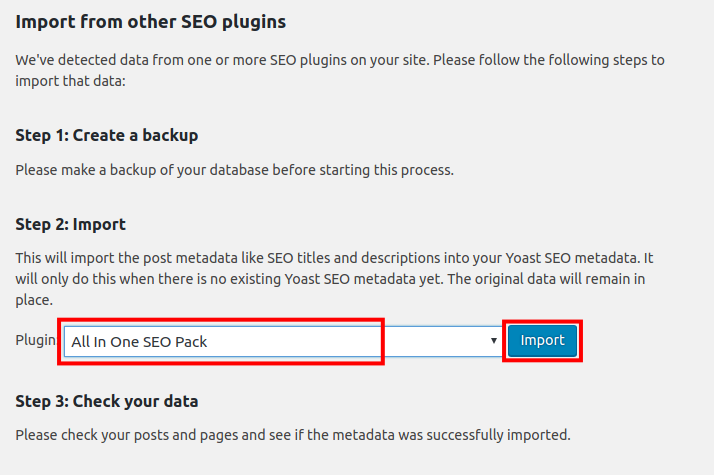
- Click the Import from other SEO plugins tab.
- Yoast SEO should automatically detect your other SEO plugins. In the “Step:2 Import” section, click the drop-down menu and choose which plugin you want to import settings from. Then click Import.
- You should then see a “data successfully imported” message.
- Now, review the metadata of your Pages and Posts to verify the settings were imported successfully. You can view this by Editing a Page or Post and scrolling to the bottom.
- Yoast SEO recommends running the Setup Wizard on the Yoast SEO General settings page. Please see the instructions above.
- Once you have verified the SEO plugin settings have been imported successfully, return to the SEO > Tools > Import and Export > Import from other SEO plugins page. Select your SEO plugin from the drop-down menu and click Clean.
- You are finished when you see a “data successfully removed” message.

WordPress plugins! Protect, optimize, secure, and expand the functionality of your website easily with the help of WordPress plugins!