
Let’s face it: a picture really is worth a thousand words, but an image you made yourself?
Priceless.
Compelling images create a connection between you and your audience and help you build on that relationship. They encourage discussion and shares.
In short, images convert.
According to Venngage, 64 percent of marketers say images are “very important” or “essential” to their marketing strategy.
Yet, 40 percent of marketers use stock photos in their content.
While there’s nothing wrong with the occasional stock photo, businesses that want to stand out need to make the effort to create unique, stunning visual content.
The good news? You don’t have to drop thousands on a graphic design pro. With the right tools and knowledge, you can create stunning visual content on your own.
In this guide, you’ll learn which tools are the best for creating the most in-demand graphics (like social media cover photos, infographics, and trendy header images) and basic graphic design principles to help your visual content stand out.
Graphic Design Tools to Create and Optimize Visual Content
You know you need to be able to create stylish, professional-looking results – but how do you do it?
Fortunately, there’s no shortage of tools offering easy-to-use graphic design platforms.
The best part is that there’s no graphic design experience needed to create stunning, share-worthy images. You can simply drag and drop the elements you want to get surprisingly good results.
Even when you’re done, you can optimize the finished graphics to load fast and look great on any device; no designer necessary!
Here are a few of my personal favorites, along with the types of images you can create with them.
Tools to Design Your Own Visual Content
Creating graphics doesn’t require a degree in visual arts. Drag and drop editing tools make it easy to create infographics, blog photos, social media posts, and more.
Canva
This is a full-fledged graphic design program distilled into a simple, drag-and-drop platform. It works right from your browser, so there’s no huge software download or complicated licensing scheme to wade through.
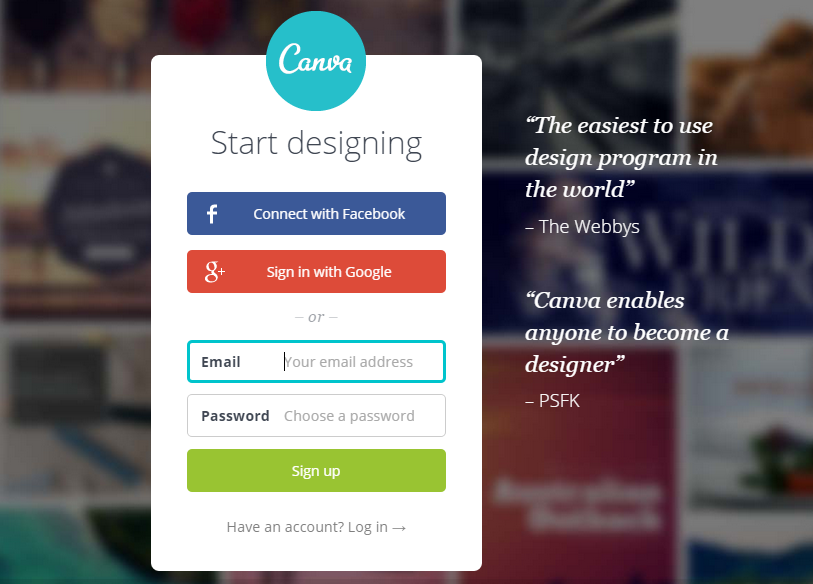
Canva lets you create a whole host of graphics and sizing and dimensions are already taken care of.
Create everything from flyers to business cards or social media images and infographics. Use your own photos or browse Canva’s 1 million+ stock photo library where you can license images for as little as $1 each.
Simply choose a template as a starting point (or create your own if you’re feeling brave). Then, customize your colors, icons, photos, and fonts to design your own perfectly built graphic masterpiece.
Beyond photos, Canva also has a fully stocked library of graphical elements and shapes that form the perfect backdrop for any image. Simply search, drag and drop your way to an image you’ll be proud to say that you created.
A wide range of images and styles are available – ranging from social network graphics to collage-style images and everything in between.
The best part is most of Canva is free to use, apart from the photo licensing fees and added features. So you can create as many graphics as you want without restrictions. You can even log in using your Google or Facebook account – saving you from yet another password to remember.
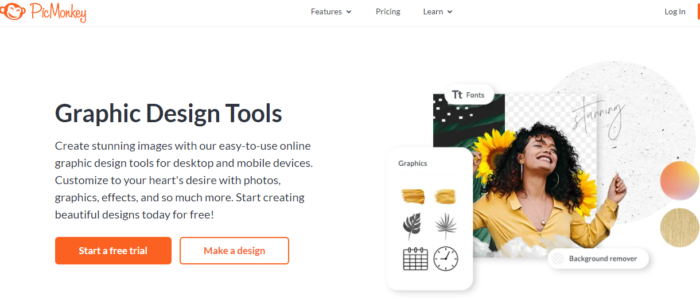
PicMonkey
If Canva isn’t your jam, I suggest PicMonkey. It’s a pretty similar platform, but slightly more in-depth. If you want to erase backgrounds, add fonts, and even edit photos, it’s a great choice.
Pricing starts at $7.99 a month for their basic plan, which includes 1GB of cloud storage, video editing, tons of fonts, and premium effects, templates, and touch-up tools.
Tools to Optimize Your Visual Content and Graphics
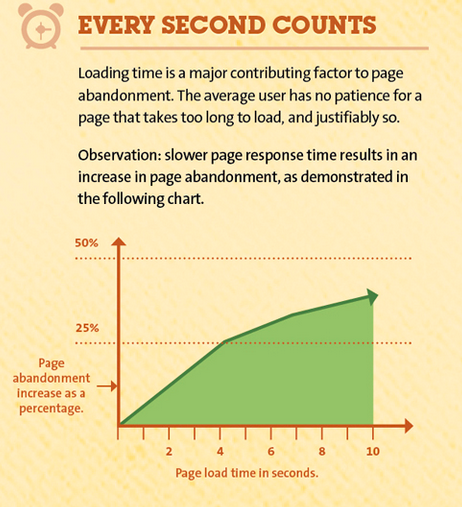
Slow load times can clog up your site and eat up your bandwidth.
What’s more, every second your visitors spend waiting on your page to load is a lost conversion or a lost sale.
Fortunately, several resources can help you tame large images without the help of a graphic pro. You can even resize or rescale them in bulk.
Optimizilla
Drag and drop up to 20 images and quickly optimize them on the fly. You can click/tap through the images and then use the slider bar to adjust the quality and compare the two files:
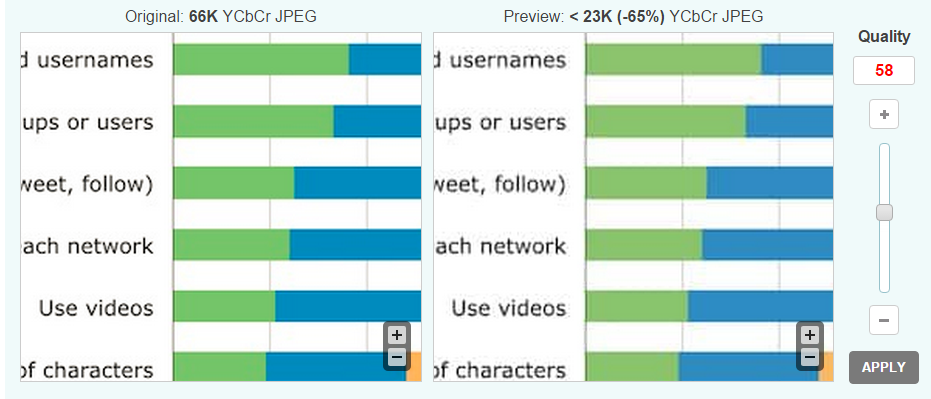
Optimizilla works with both JPG (photos) and PNG (logos and transparent images) formats since both of these file types tend to be larger in size. All of the images you upload are automatically deleted after an hour and you can download the optimized versions selectively or all at one time.
Optimizilla is perfect if you have a limited number of images that need a size change and also tweak the quality of those images visually.
EWWW Image Optimizer
This WordPress plugin lets you optimize images fast. The end result shows you how much space was saved, as well as the percentage of reduction.
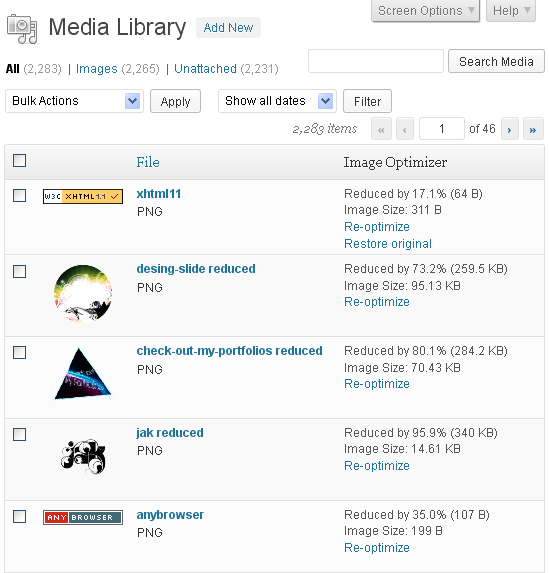
It works with other popular WordPress image plugins too, like NextGen photo gallery. If you don’t like how a reduced file size image looks, you can either re-optimize it with different settings, or restore the original.
The plugin leverages several unique optimization utilities in one complete package. Because each individual image format has different ways of conserving file size, each one has its own unique utility to compress images without sacrificing quality.
Even as a graphic designer-in-training, you can still be inspired by unique website and graphic designs. Trying to save them directly from your browser can be a download nightmare, though.
You end up saving a lot of extra scripts, content, and other junk that clutters up your hard drive. What if you could just have a screenshot of the page instead?
Page2Images
This site takes a screenshot of any page for you or converts multiple URLs into images.
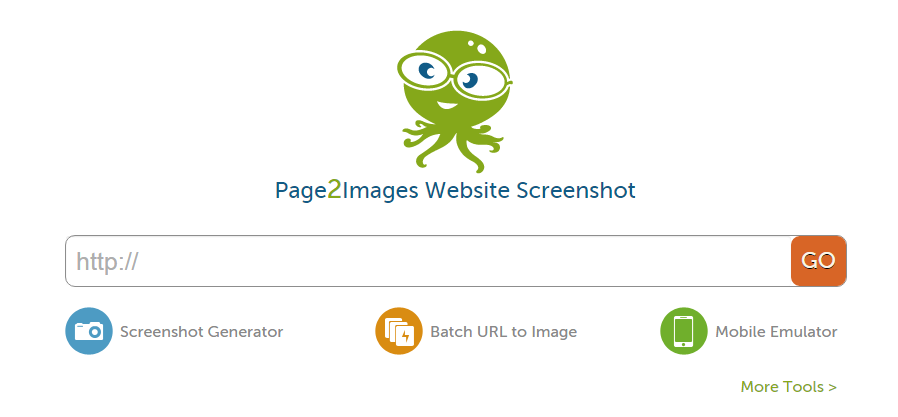
It’s great for saving images for inspiration and for creating more engaging how-to content.
Page2Images also lets you see what your site looks like on mobile devices via its mobile emulator:
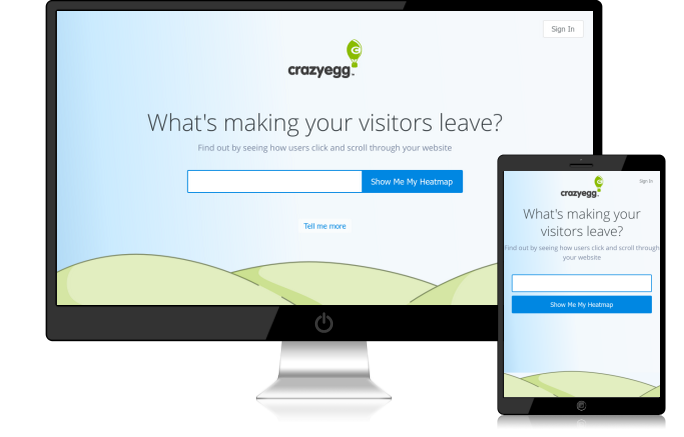
If you’ve ever wondered how to get that trendy “my site on a smartphone” look – this is how it’s done. It’s also a quick and easy way to tell whether or not your page is optimized for mobile devices.
If you’d like something beyond the typical computer screen and mobile device as your choices, check out:
PlaceIt
PlaceIt lets you drag and drop your site to a variety of smartphones, monitors, tablets, and other devices. Don’t have a screenshot? No problem. You can choose an image and enter your URL to have PlaceIt grab an image of your site.
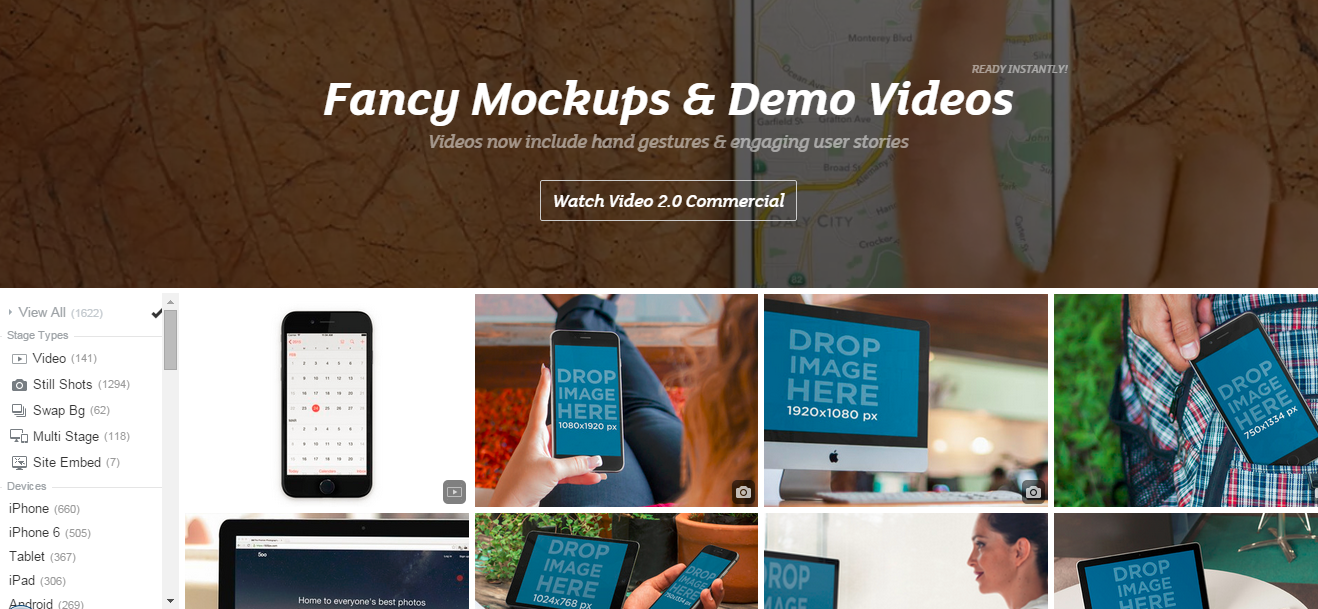
Want to show a group of people interacting with your app? Done.
Want to show off your new smartwatch program? Easy.
From billboards to bus stations, Placeit lets you put your site anywhere.
If you need a more human touch, PlaceIt also includes headshots of people of all ages and in a variety of situations. You can even narrow down your search to a specific gender, location, job, and much more.
Data Visualization Tools
Good data makes a larger impact when it’s visually relatable. When people see the numbers in a tangible, interactive way, your mission and goals go from being abstract terms to meaningful information.
These tools make it easier to use data visualization to create appealing charts, tables, and graphics.
Chartblocks
A tool that helps you create colorful, full-featured charts. Data can be imported from spreadsheets, databases, or even live feeds and every aspect can be customized.
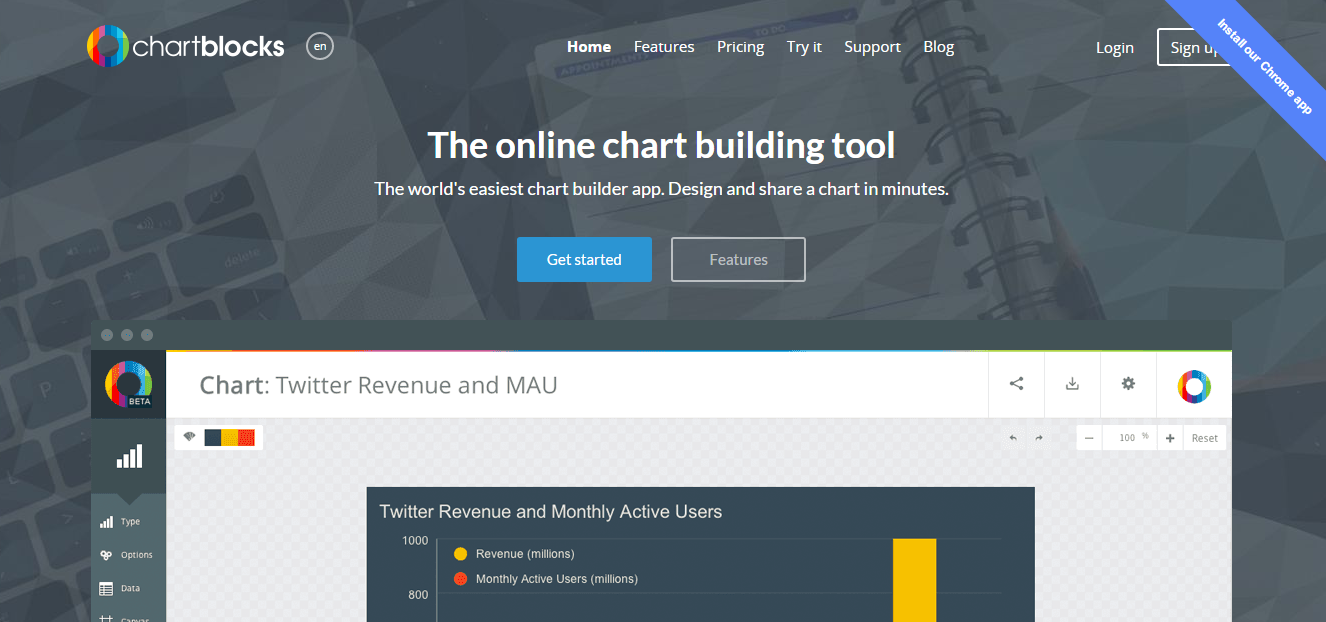
The charts are designed using HTML5 and Javascript, so they’re optimized for mobile devices and can be embedded directly into third-party sites, like websites and social networks like Twitter and Facebook.
What’s more, the finished graphic can be saved in a vector format, meaning it can be resized to any height and width without a loss of quality or resolution.
A free plan is available which lets you create up to 50 charts as transparent PNG files. The free plan includes up to 50,000 monthly views and your charts are viewable publicly.
Paid plans give you more monthly views and the ability to make charts private. On the lowest-priced plan and the free plan, charts are branded with the Chartblocks logo.
Timeline
Timeline is an easy way to create an interactive timeline of events on just about anything. Timeline can pull media from sites including Twitter, Flickr, Google Maps, and Wikipedia as well as video sites like YouTube, Dailymotion, and Vimeo.
It can also pull sound files from Soundcloud, letting you create a rich media experience that’s interactive and informative.
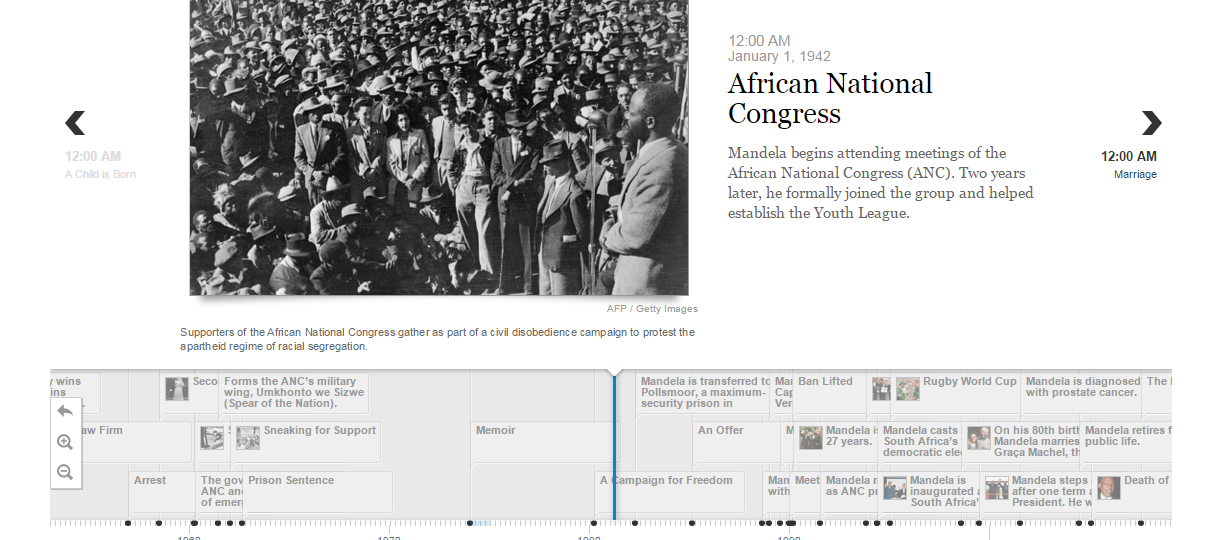
Using a Google Spreadsheet, you’d simply enter the data into the pre-made template, including major and minor events, dates, and associated media. Timeline then builds the finished product for you.
When it’s ready, you’ll get a finished URL that you can embed in your website, showing off a timeline with an associated media slideshow in a similar format to the example above.
Social Media Graphic Design Tools
Whether you want to create awesome images for Instagram or interesting social media profile photos for Facebook, there’s a social media tool for that.
Here are a few of my personal favorites:
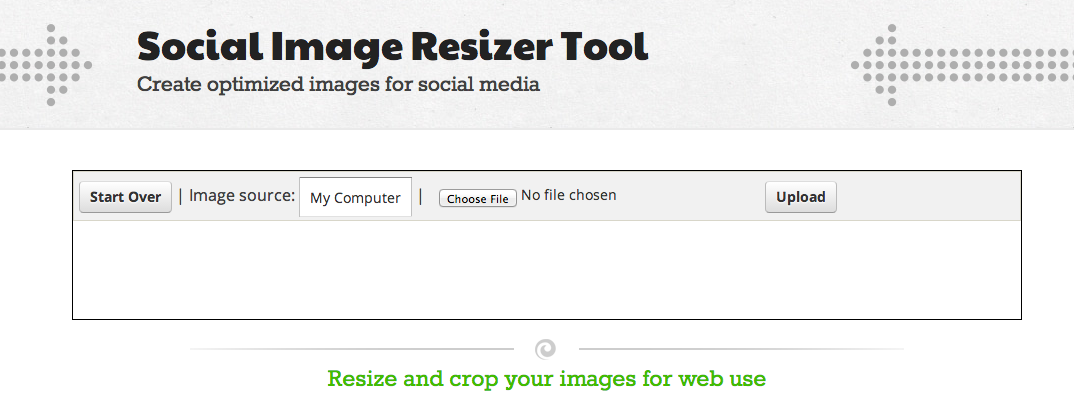
Social Image Resizer
This web-based tool features a quick and easy way to take your existing images and resize them for use in just about any social media context. You can turn images into icons (even favicons), as well as Facebook and Twitter images.
What if you need more social network-ready images beyond Twitter or Facebook?
Desygner
This tool helps you create images for a variety of social networks. In addition to Twitter and Facebook (both cover and profile photos), you can make images for use on Snapchat, YouTube, Tumblr, and Pinterest.
They offer a free plan with thousands of free images.
With these tools, you’ll never run out of unique professional looks for your social network pages.
Of course, now the question becomes – where do you find graphics?
There are plenty of stock photo sites online, but for those just getting started with graphics, there are also plenty of free (even for commercial use) images and photos you can use.
Where to Find Images for Visual Content
One of the biggest challenges to overcome when designing your own graphics is finding pre-made images that you can use as a starting point. Fortunately, these sites will make finding images and icons for your projects (even commercial ones) as easy as searching and downloading.
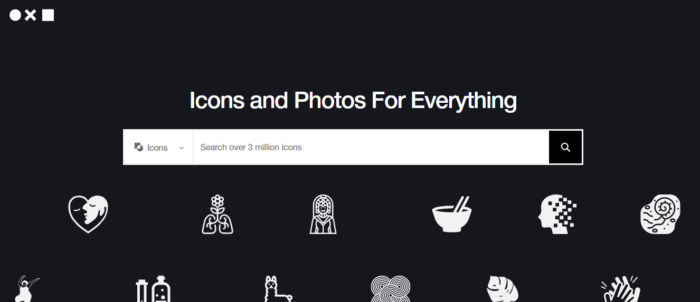
Flat Icon
Flat Icon contains over five million icon and stickers to choose from. These include all of the common computer-style icons (cursors, pointers, and the like) but also include icons of a variety of other things like people, objects, animals, and more.
Many of the icons are free to use with proper attribution to the author.
The Noun Project
An icon-illustrated repository of graphics depicting just about anything. Anyone can volunteer and artists from around the world have created miniature works of art on anything you can imagine from summer camp to tattoos.
Just because you have all the tools at hand doesn’t necessarily mean you can create great graphics (although it certainly helps!). That’s because none of them teach you how to actually design.
While the subject of how to design graphics from scratch is far more involved than this guide can cover, there are nevertheless a few basic principles to keep in mind.
Graphic Design Basics: Principles and Elements
There are six basic principles to graphic design. These apply whether you’re designing a logo for your website or a print brochure.
Graphics of all sizes and styles use one or more of these principles, so knowing them and how to apply them to your design will help you create the kinds of results you can’t wait to show off.
The Line
Lines are the building blocks of graphics. They separate and create borders. Thin, straight lines give the impression of a more corporate and professional look, while hand-drawn lines can show a more artistic, or even childlike flair.
These days, many websites trend toward segmenting content in large “blocked” areas, dividing each one with a line to keep the user scrolling. Not only does this give you a visual separation, but it lets you transition from one thought to another without losing your visitor in a sea of content.
The Shape
Shapes can impart meaning. Think about the octagonal STOP signs; you don’t need to see the word STOP to know what the sign is. Or, the cross symbol that denotes first aid tells you that is a place to get medical help.
Shapes impact our world, our feelings, and how we interact with the world around us.
Sharp, angular shapes are seen as being more rigid and forceful, whereas gentle sloping or curved shapes have more of a feminine appeal to them. Keep these points in mind when considering your target audience for your new design.
Texture
Textures create a wide range of design possibilities and still remain popular on web pages to this day.
From natural patterns like wood and leaves to background designs like paper or chalkboards, texture communicates a great deal about the page itself, even before you read a word.
If you’re looking to create a certain impression in the minds of your users, consider the available textures that lend themselves to that type of design.
Color
Color is one of the most important, but also one of the most overlooked, aspects of graphic design. It’s important not just in logo and website design, but also in print.
Color and its various shades (see more on that under Color Values below) have very different meanings to visitors around the world. Depending on language and colloquialisms, colors can impart feelings as well.
For example, many people associate “going green” with doing things that are good for the environment. But when someone is “green” with envy, it can convey a sense of jealousy.
That’s why it’s important to properly balance color with other aspects of your page or design so that you create a positive association in the minds of your visitors.
Even if you’ve gone to great lengths to choose an appropriate color scheme, there’s still the shade, hue, and degree of lightness or darkness of the color that can change its perception.
Color Values
A color’s value is the intensity of its lightness or darkness. For example, orange may be perceived as a color of warmth, friendliness, and confidence, but once lightened into more of a peach tone, can give off more of a feminine, comforting vibe.
Darkening a color can make it seem more foreboding or unapproachable. Many corporate sites follow the “dark blue and grey” color scheme which, while it seems “safe,” can also be off-putting to consumers and make them feel as if the company is cold and uncaring.
It’s a lot to keep in mind, but having some basic knowledge of how colors affect your user and how you want your design to be visually perceived and understood can make a significant difference in how well it resonates with your chosen demographic.
Space
Space is the last of the graphic design principles, but it is certainly not the least. You may have heard the term “white space” before – meaning the area of a page with no graphic elements or color.
Having enough white space on a page gives each individual element a sense of “breathing room.” Having too much white space can make a page seem like the elements are floating all over the place with no real cohesion.
Like all of the other graphic design principles covered here, you need to carefully balance your use of space to avoid making your graphic look too cluttered or too empty.
How to Improve Your Graphic Design Skills
Once you have a firm understanding of the basics, you’ll want to branch out and try new things.
Even if your artistic ability ends at drawing a stickman (and a shaky one at that!), improving your graphic design skills is more about being observant and perceptive rather than having amazing artistic ability.
Study Famous Graphic Designers
Having the tools and knowing the basic principles of graphic design will take you far, but one of the most crucial ingredients of a great graphic design is creativity. Contrary to popular belief, creativity is not born, it is learned and made through practice.
What better way to practice and learn than by seeing what others have done?
For example, you may not have heard of a graphic designer named Paul Rand, but you’ve most certainly seen his work:
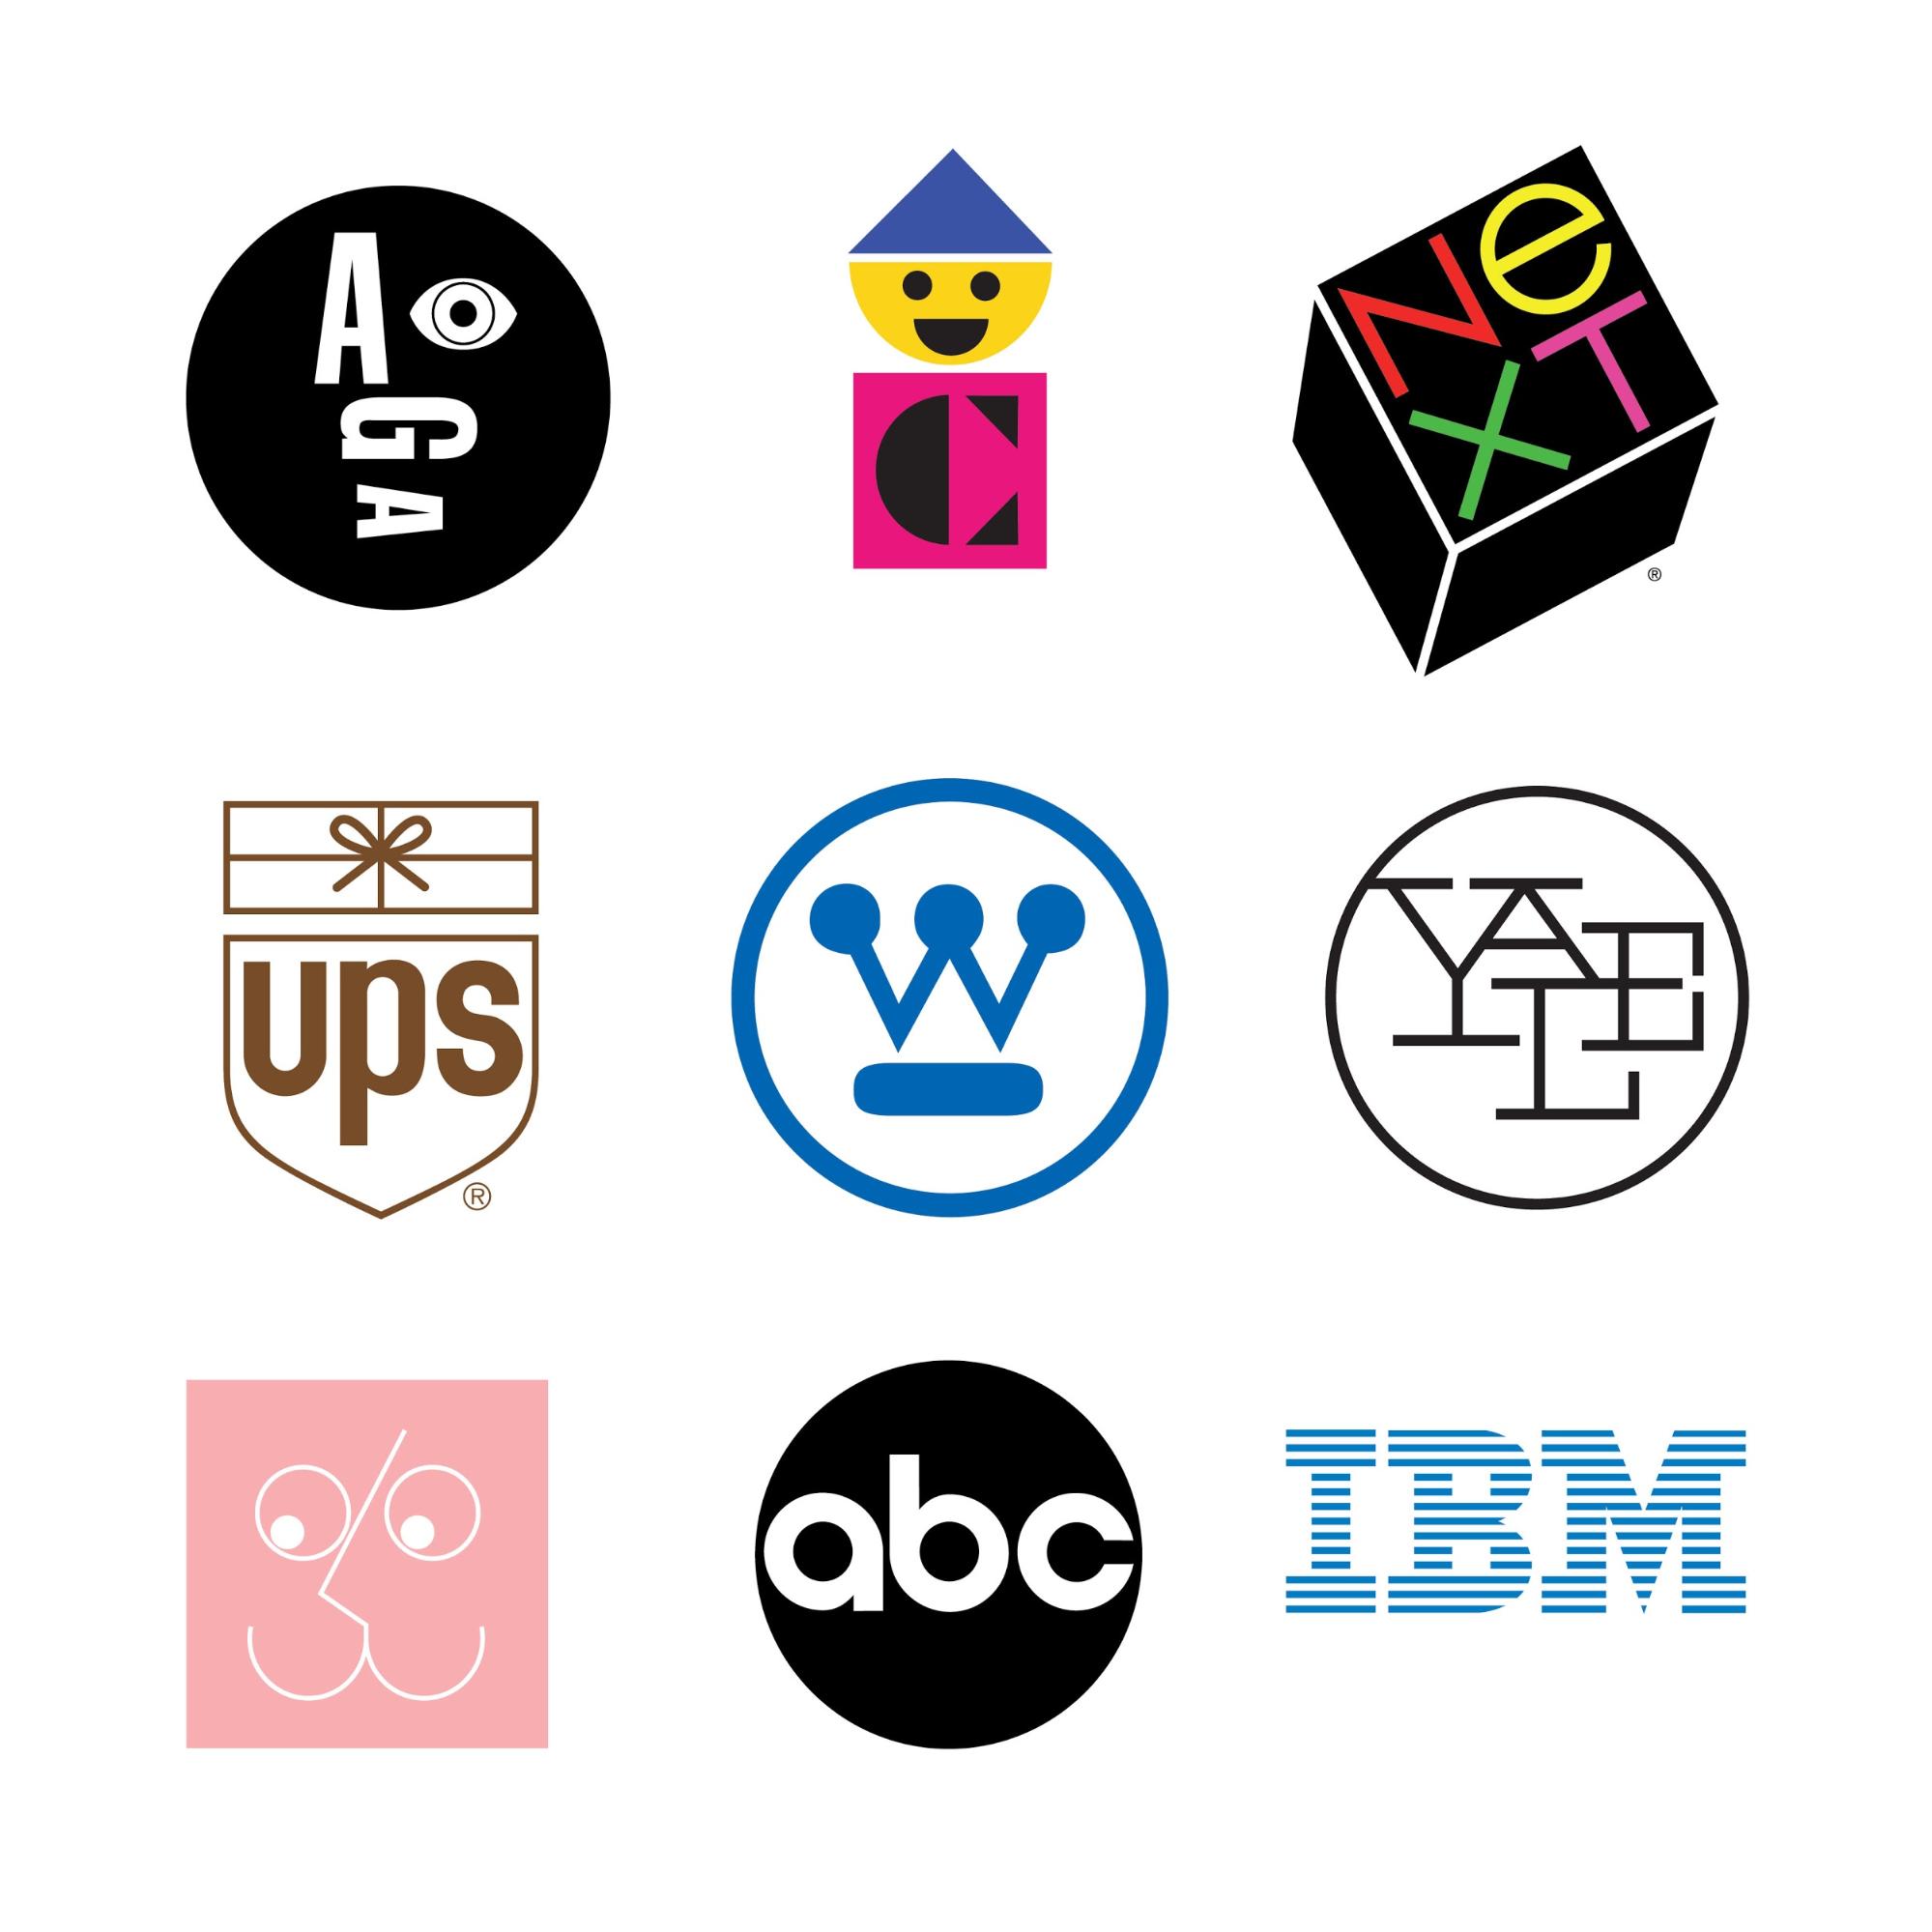
Largely self-taught, Rand’s best advice to aspiring graphic designers was the “you don’t have to be original. You just have to be good.” Even if you weren’t familiar with the brand’s logo, Paul was determined that eventually, you would be.
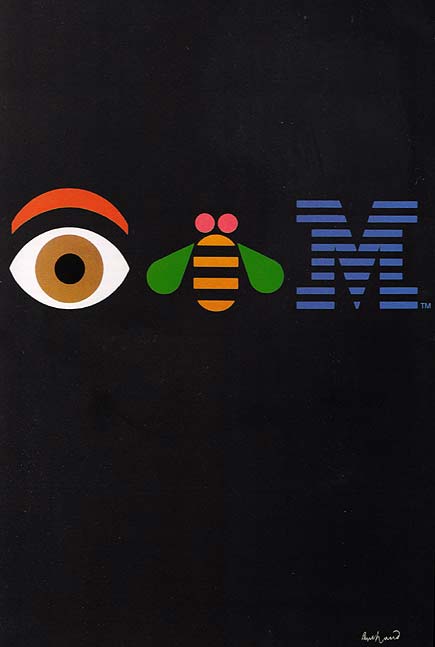
One of his most famous corporate poster designs reflects that insistence:
Create a Swipe File
The best way to start is to look around. Check out sites like Dribbble and Behance for design portfolios you like and then follow those designers so that you’ll get updates when they add new selections to their portfolios.
Create your own little “swipe file” of ideas, concepts, and images that you like. Remember, even the most complicated designs can be broken down into their core pieces — shapes and lines.
When you learn the process behind the design, you can work on how to recreate it on your own.
If you like what you see, stretch your skills a little more and learn about filters and layers — core components of top-tier graphic design tools like Photoshop and Illustrator.
Obviously, I’m not advocating that you infringe on someone else’s copyright. Everything in this guide is meant to walk you through the learning process to create your own graphics with no experience starting out.
Don’t be afraid to emulate those whose style you enjoy. Over time you’ll come to refine it and create your own style.
Don’t Be Afraid to Ask for Feedback
It can be hard to ask for feedback on your work – especially when you’re just starting out.
You’re anxious. Unsure of yourself. Afraid of criticism.
We’ve all been there and experienced that. Don’t be afraid to ask for feedback. However, instead of saying “What do you think about this?” ask “How can I make this better?”
People won’t want to openly criticize your work, so asking what they think is bound to get you some praise – but praise isn’t what we’re going for – we’re going for improvement.
Some feedback is well-meaning, but when put into your design, it would make the end result look terrible. That’s okay, too. As the designer, you’re free to dismiss any or all feedback.
However, take the time to reflect on criticism before dismissing it. Is something lacking from the piece? Does it communicate the brand and message well? Is it something that others would want to share on their own social media pages?
Remember, everyone was a beginner once. Some may have more artistic or creative talent than others, but it’s not something that can’t be developed over time.
Taking the time to learn the skills behind great graphic designs will help you appreciate and admire the work that goes into them even more.
Create Visual Content: Frequently Asked Questions
Can I learn graphic design myself?
Yes. There are a number of tools and guides (including this one) that can teach even non-designers the basics of graphic design. Using a tool like Canva or PicMonkey, you can create visually appealing content for your blog, social media channels, and more.
What's the fastest way to learn graphic design?
The fastest way to learn graphic design is through practice. Use a tool like Canva or PicMonkey that offers templates. Then create a swipe file of graphics you like and use those for inspiration.
What is the best graphic design tool for beginners?
PicMonkey and Cavna are easy to use for beginners. They feature drag and drop functionality and templates you can customize to fit your needs.
What is white space in graphic design and why does it matter?
White space refers to the space between design elements. It can be used to direct the eye to important details or make websites easier to use.
{ “@context”: “https://schema.org”, “@type”: “FAQPage”, “mainEntity”: [ { “@type”: “Question”, “name”: “Can I learn graphic design myself? “, “acceptedAnswer”: { “@type”: “Answer”, “text”: ” Yes. There are a number of tools and guides (including this one) that can teach even non-designers the basics of graphic design. Using a tool like Canva or PicMonkey, you can create visually appealing content for your blog, social media channels, and more. ” } } , { “@type”: “Question”, “name”: “What's the fastest way to learn graphic design? “, “acceptedAnswer”: { “@type”: “Answer”, “text”: ” The fastest way to learn graphic design is through practice. Use a tool like Canva or PicMonkey that offers templates. Then create a swipe file of graphics you like and use those for inspiration. ” } } , { “@type”: “Question”, “name”: “What is the best graphic design tool for beginners? “, “acceptedAnswer”: { “@type”: “Answer”, “text”: ” PicMonkey and Cavna are easy to use for beginners. They feature drag and drop functionality and templates you can customize to fit your needs. ” } } , { “@type”: “Question”, “name”: “What is white space in graphic design and why does it matter? “, “acceptedAnswer”: { “@type”: “Answer”, “text”: ” White space refers to the space between design elements. It can be used to direct the eye to important details or make websites easier to use. ” } } ] }
Guide to Visually Stunning Content for Non-Designers Conclusion
As you can see, getting started designing your own graphics doesn’t have to be overwhelming.
A basic sense of how colors, lines, space, and other principles play together on a canvas is only the beginning. Today’s most in-demand graphic designers spend years perfecting their skills and building upon these core concepts.
For the rest of us, however, the web has made it easier than ever to craft beautiful, interactive designs that don’t take an artistic touch.
If you want to build upon what you’ve learned in this guide, there are plenty of fantastic resources, portfolios, and graphic design tips out there waiting for you.
Have you tried out any of these tools? Which one is your favorite?