Get Our Free Ultimate Guide to Coding for Beginners
Make a plan for learning the tech skills you need to land a new job with this 60+ page FREE ebook!
It’s probably no surprise that web development (the job of creating a website) is at the heart of tech. Websites and web applications ARE the main point of this whole internet thing, right?
Which means—if you’re interested in a career pivot to tech—understanding the basic principles behind how to create a website should be high on your list of topics to cover. Fortunately, you’ve found the right article!
The term “website” covers a lot of ground, and “creating a website” can include everything from building a few pages of static text to developing complicated web applications like Facebook, Netflix, or Amazon. But no matter how humble or grand a site may be, the basic principles behind creating a website remain the same.
To show you what those principles are, we’ve rounded up the four key steps at the heart of building a website so you can know what to expect when it’s time to take a crack at making your own. And if you’re looking for the skills you’ll need for making your own website, look no further than Skillcrush’s Front End Developer and Web Developer Blueprints—online courses designed to be completed in just three months by spending an hour a day on the materials.
Table of Contents
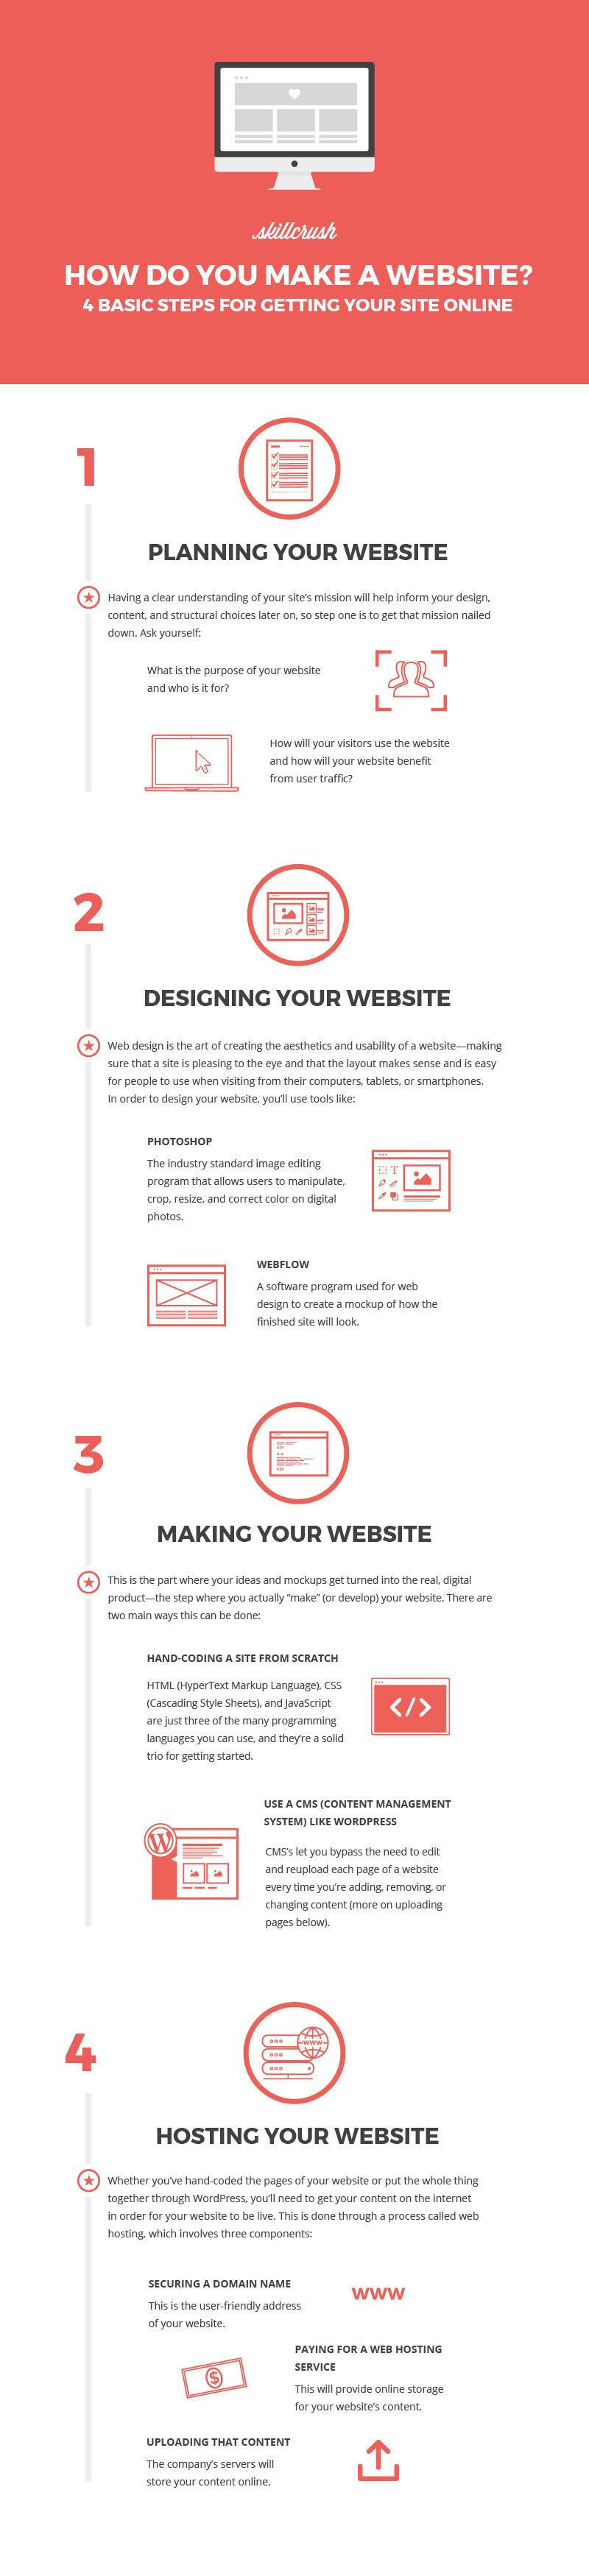
1. Website Planning
2. Website Design
3. Website Development
4. Website Hosting
1. Plan Your Website
Before any of the tech jargon, design chops, or programming skills related to building a website come into play, your site has to take shape as a solid idea. Being able to respond with a clear and actionable purpose to the question, “what is the website for?” will help inform your design, content, and structural choices later on, so step one is to get that mission nailed down.
Bust out a whiteboard, open a Google doc, grab a pen and paper, or use whatever other tools you’re comfortable brainstorming with and consider the following:
What is the website for and who will be using it?
According to web and graphic designer Crissy Bogusz:
“a website can only be successfully planned once the expected audience is studied, which then determines how the site should function.”
So, is the website meant for a business hoping to connect with customers online and alert them to upcoming events and sales? Is it a fansite for a TV show looking to provide a forum for members of a fan community? Is it a website for a non-profit or charitable organization trying to attract donations or volunteers? Understanding who you’re trying to attract is key to determining what your site will look like and how it will work.
Similarly, Bogusz says it’s a smart idea to get a feel for what successful websites serving similar audiences are doing. Are there certain forms, layout choices, or keywords that seem to be a universal standard? By knowing what works on other sites—and what your target audience expects—you’ll be able to balance originality with enough familiarity that users will feel confident in your website.
How will visitors use the website and how will your website benefit from user traffic?
According to Bogusz:
“If you’re not successful at engaging your audience, then your traffic (the number of visits to your website) becomes irrelevant. Users who engage with your site’s content and make return visits will sign up for your emails and newsletters, share your content on social media and other online platforms, and buy your products.”
Following the examples above, if you’re creating a website for your business (or someone else’s) consider asking users to add themselves to an email list in exchange for receiving updates and coupons. This allows the business to then include those visitors as leads for future sales.
If you’re building a fan site, consider including a message board or chat room. This will allow users to interact, connect with one another, and turn the site into a pillar of the fan community.
And if you’re creating a site for a charitable organization, be sure to build forms into the site that let users make online donations or sign up for volunteer opportunities.
But, Bogusz says, it’s also critical to balance these kinds of features with what you know about your specific target audience. If you know your audience has a short attention span, for instance, consider strategies like limiting the colors you use as a way to minimize distractions or relying more on images than blocks of text to relay information. And if your audience isn’t particularly tech savvy, think about including plenty of navigation buttons, explainers, and FAQs.
Getting a sense of how you plan to maximize traffic and how you’re going to interact with that traffic will be a big part of moving on to . . .
(back to top)
2. Design Your Website
After you have a clear idea of your website’s function and target audience, the design phase involves deciding how the site will be arranged and what it will look like.
Web design is the art of creating the aesthetics and usability of a website—making sure that websites are not only pleasing to the eye, but that their layout also makes sense and is easy for people to use when visiting from their computers, tablets, or smartphones. Web design can be its own specific career path, but—when you’re taking your first stab at creating a website—you’ll probably be designing AND building a website yourself (more on developing a website below).
In order to design your website, you’ll use tools like Photoshop (an industry standard image editing program) and Webflow (a software program commonly used for web design) to create a mockup of how the finished site will look. You’ll choose fonts, color schemes, and page layouts, decide which content goes on which page, and make a general sitemap—a list of all of your website’s pages—that you can refer to when you move on to building a website and getting it live and online.
(back to top)
3. Create Your Website
This is the part where your ideas and mockups get turned into the real, digital product—the step where you actually “make” (or develop) your website. Web development is the process that takes place following web design, and—like design—can be its own dedicated tech career path.
In order to create a website you’ll need to use a programming language (or languages) to code the site’s pages—meaning you’ll need to create instructions that a computer can follow to display your website on your users’ screens. There are two main ways this can be done—one is through hand-coding a site from scratch. The other is to use a content management system like WordPress.
If you choose to make your site by hand-coding, HTML (HyperText Markup Language), CSS (Cascading Style Sheets), and JavaScript are just three of the many programming languages you can use, and they’re a solid trio for getting started.
HTML is a primary coding language used for building a web page. While it is possible to hand-code a website without using HTML, HTML is a universal standard that can be understood by all web browsers—applications like Safari, Firefox, and Google Chrome, which are used on computers, tablets, and smartphones to view and interact with websites. HTML itself is used to define the parts of a web page (paragraphs, headlines, embedded video content, forms, etc.) to the browsers that visit them. Those browsers then take a site’s HTML content and translate it into what you see on your screen.
After your site’s page structures are defined with HTML, its cousin language CSS can be used to specify each web page’s style. Page layouts, colors, and fonts are all determined with CSS. Finally, Javascript adds interactive elements on a site, like pop-up ads, slideshows, search field autocompletes, and other web features that change without refreshing a page.
As mentioned above, another option for how to build your own website is to use a content management system (CMS) like WordPress (the industry standard CMS). Content management systems are software applications that help web developers create digital content, publish that content, and manage it once it’s online. The main difference between using a CMS like WordPress and hand-coding is that a CMS lets you bypass the need to edit and reupload each page of a website every time you’re adding, removing, or changing content (more on uploading pages below).
A CMS like WordPress operates through a graphical user interface (GUI)—a series of menus and control panels that allow you to choose options for your site and enter content through forms and text editors. Through a CMS interface you can theoretically develop an entire site without coding, but you’ll also be limited to the templates and options offered by the CMS. Once you get to a point where you want to customize a site past the point of what the CMS’ default choices offer, you’ll need to rely on coding to take your site to that next level.
(back to top)
4. Host Your Website
Whether you’ve hand-coded the pages of your website or put the whole thing together through WordPress, you’ll need to get your content on the internet in order for your website to be live, searchable through search engines like Google, and viewable through web browsers. This is done through a process called web hosting.
Web hosting involves securing a domain name (the user-friendly address of your website, like Skillcrush.com), paying for a web hosting service that will provide online storage for your website’s content, and uploading that content to the hosting company’s servers (the computers that store your content online).
As far as domain names go, first you’ll need to pick one that is appropriate for your site. Of course, many names will already be taken, so use a domain name registry like Whois to look for names that are still available. Once you’ve found one you can use, you’ll have to register the name, which you can pay to do for a small fee through a domain registrar (which is often included as a service from your web hosting company).
Hosting companies—as mentioned above—store your site’s pages, images, and other assets, and assist with your website setup process for a fee. Finally, your developed site pages—whether files that you’ve hand-coded or pages you’ve developed through a CMS—are uploaded to the hosting company through a program called a file transfer protocol (FTP) client. FTP clients are separate programs you’ll need to install on your computer, and they range from free to paid. Once your content is uploaded, your website will be live, online, and ready to be viewed and used by other people—in other words, you’ll have officially made a website.
If you’re ready to make your own website, consider enrolling in our Front End Developer or Web Developer Blueprints where we’ll walk you step-by-step through all the skills you’ll need.
(back to top)
Get Our Free Ultimate Guide to Coding for Beginners
Make a plan for learning the tech skills you need to land a new job with this 60+ page FREE ebook!