Although the platform is generally speaking beginner-friendly, there are a few concepts new WordPress users may struggle with. File Transfer Protocol (FTP) is one of them. Becoming acquainted with this process is key to solving many errors, as well as making certain customizations to your site.
Fortunately, you don’t need to be an FTP expert to save the day when things go a bit sideways, or if you’re just looking for a faster way to accomplish a task. All you need is a decent FTP client and a basic understanding of when and how to use it.
In this article, we’ll cover what FTP is and why you might want to use it for WordPress. We’ll also recommend a few clients and give you a three-step crash course on how to use one to connect to your server. Let’s go!
An Introduction to FTP for WordPress
FTP is used to transfer files between a client and a server. For WordPress users, this usually means accessing files on your web host’s server remotely from your personal computer.
An FTP client is software that enables you to connect to your web host’s server. After connecting to the server, you can upload, download, and edit the files stored there.
There are many uses for FTP when it comes to WordPress. For starters, you’ll want to use it any time you can’t log in to your WordPress dashboard.
This may happen if your site is hacked. Errors such as the dreaded White Screen of Death can also prevent you from reaching your admin dashboard.
However, FTP isn’t just for emergencies. You can also use it to shave some time off of your more tedious website management tasks.
For example, if you’ve ever wished you could bulk upload media files, you can use FTP to do just that. If you’d like to back up your WordPress files, you can quickly download them using FTP as well.
If you’re concerned about security, you may choose to disable editing through the WordPress dashboard. In this case, you’ll need to make any changes to your site by editing your files directly via FTP.
3 of the Best FTP Clients for WordPress Users
Now that you understand what FTP is and how you might use it, you’re probably ready to give it a try. The first thing you’ll need is an FTP client. There are plenty of options, but we’ve narrowed down three of our favorites for you to consider.
FileZilla is free, open-source software that works on Windows, Mac, and Linux machines. It’s a popular choice, likely due to its ease of use. You can drag and drop files, and there’s an active support forum if you ever need help:

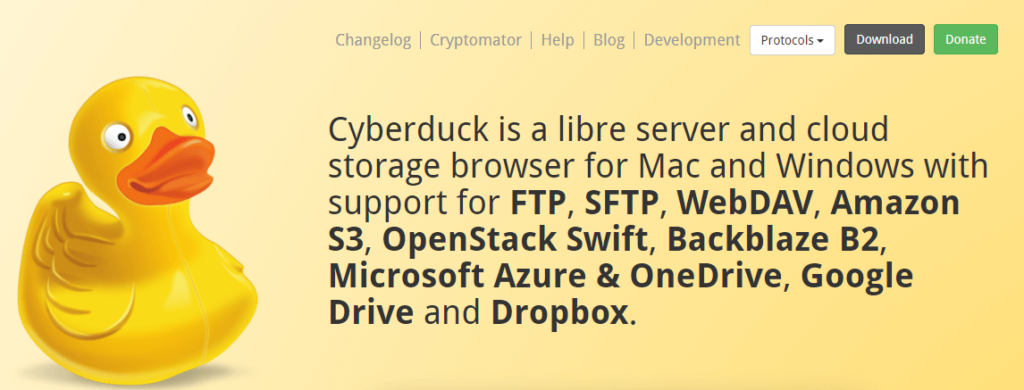
Cyberduck is another free, beginner-friendly option that you can use on Windows and Mac computers. It includes a few features professionals will appreciate, such as the ability to work in your preferred code editor when modifying files:
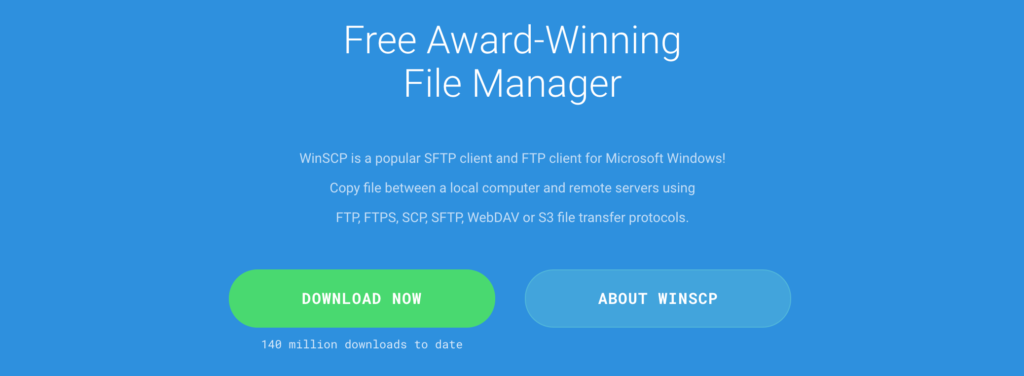
Finally, we have WinSCP. This Windows-only FTP client may look a bit intimidating, but beginners can use it as well as more advanced users. You’re also able to customize the User Interface (UI) if you’d like:
You have a ton of choices when it comes to FTP clients, but these three are some of the easiest to get started with. Once you’ve chosen one, you can start practicing how to use it.
How to Use FTP for WordPress (In 3 Steps)
Let’s have a look at how to use FTP for WordPress. For this tutorial, we’re going to assume that you’ve already installed your preferred client on your computer.
We’ll be using FileZilla to illustrate these steps, but other clients should work similarly.
Step 1: Access Your FTP Credentials
The first thing you’ll need to do is access your FTP credentials. These are simply your login details and will consist of a server address, port number, username, and password.
You should be able to find these credentials through your web hosting control panel:
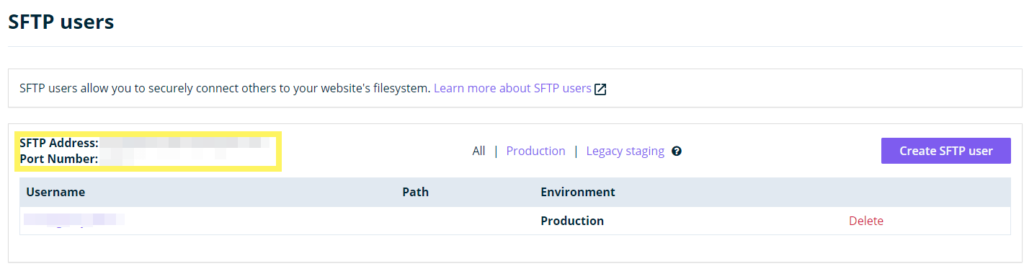
The exact location will depend on your host. Don’t worry if you have trouble finding this information on your own. You can always reach out to your provider’s support team if you need some help.
Step 2: Connect to Your Server
With your FTP credentials at the ready, you’re prepared to connect to your server with your FTP client. In FileZilla, go to File > Site Manager:
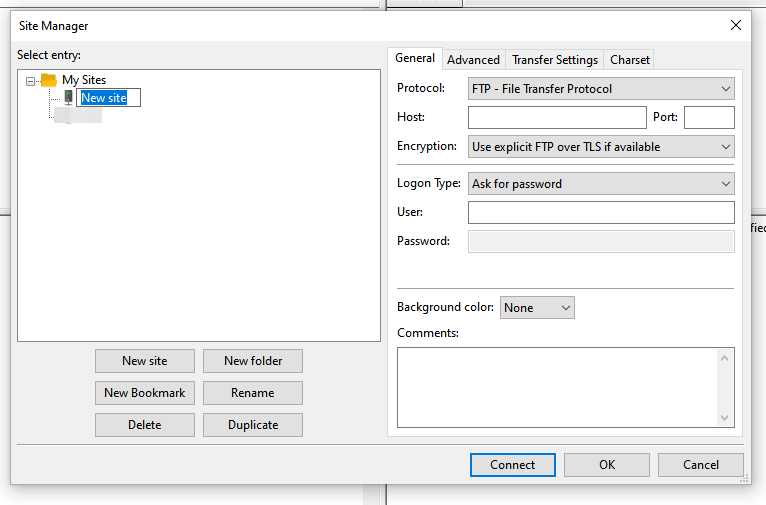
Adding your site’s details here is not strictly required, but will enable you to connect to your server more quickly in the future.
Once in the Site Manager, click on the New Site button and enter a name for your website. You can adjust settings, such as requiring a password each time you connect. You’ll also want to choose SFTP whenever possible, as it’s more secure than FTP.
When you’re happy with your settings, enter your FTP credentials and click on the Connect button. Then, you’ll be able to see your local files and the files stored on your server.
The files stored on your computer appear on the left side of the screen. The right side of the screen shows the content saved on the server you’re connected to:
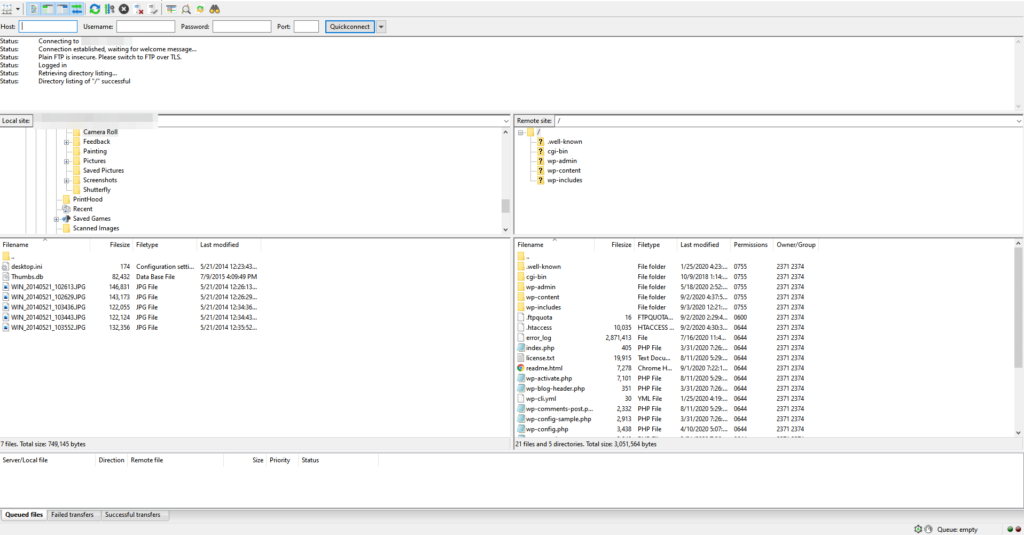
Note the Host, Username, Password, and Port fields at the top of the FileZilla interface. You can enter your credentials here to connect to your server without opening the Site Manager.
Step 3: Upload, Delete, or Edit Files
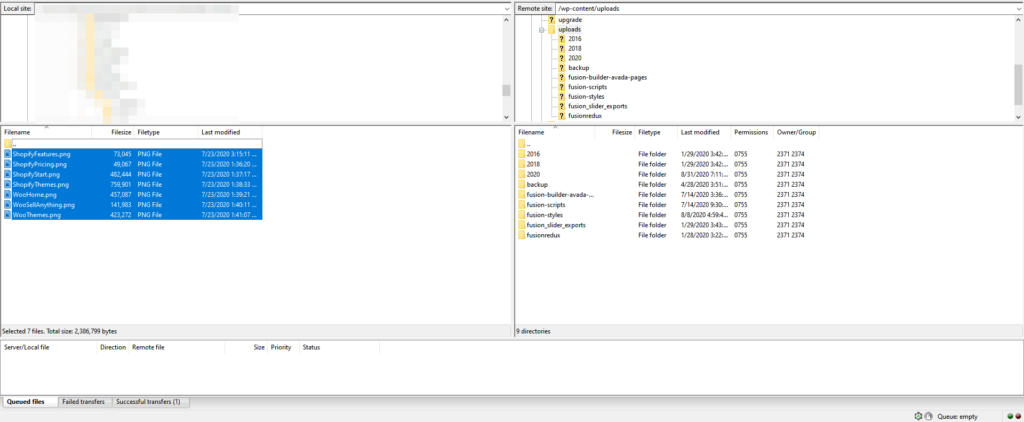
Now that you’re connected, you’ll be able to upload, delete, or edit files. To add files to your site (such as for bulk media uploads), find the ones you’d like to upload on the left side of the screen.
Then, on the right side of the screen, navigate to the folder you’d like to upload the files to (for media files, this would be public_html > wp-content > uploads). Drag the files over and drop them into the desired folder.
If you prefer not to drag and drop, you can always right-click on a file and select Upload:
You can delete files using FTP as well. Holding on to a lot of old files can slow down your site, so it’s smart to ‘clean house’ periodically.
Removing files from your server is a simple process. Simply right-click and select Delete:
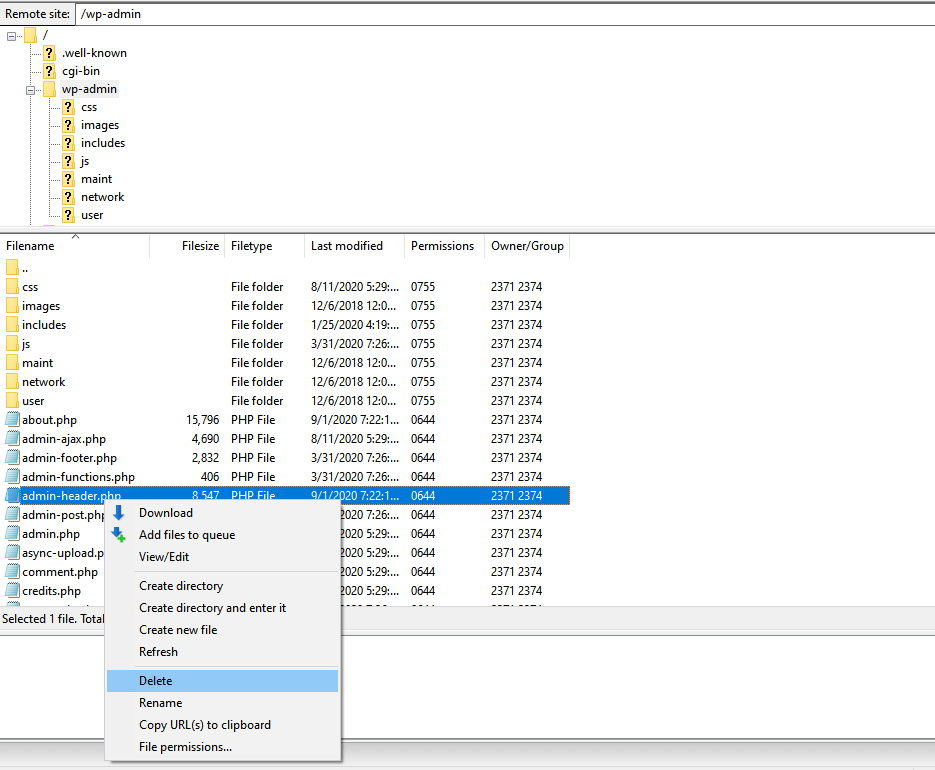
Just be very sure you’re not deleting anything important.
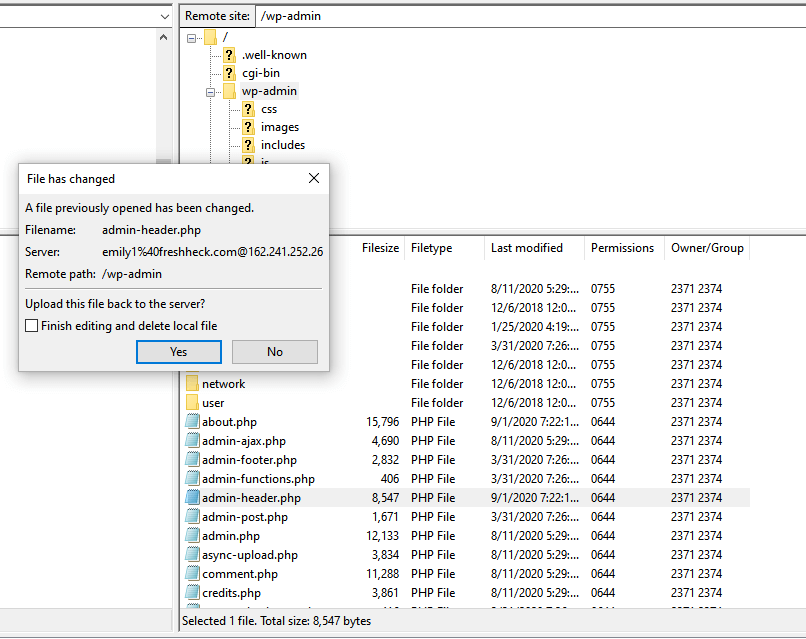
Finally, you can edit files directly using FTP. Before attempting this, understand that you’ll be editing the file live. We suggest you create a backup first in case something goes wrong.
Right-click on the file you need to make changes to and select View/Edit. Once you’ve finished editing, save the file. If you’re using FileZilla, you’ll see a prompt to reupload the new version to your server:
If you prefer, you can also download the file, make your edits in your favorite program, and then reupload it yourself. To download a file, right-click on it and select Download.
Conclusion
Having a grasp of the basics of using FTP for WordPress can help downgrade website emergencies to mere inconveniences. Whether you’ve run into issues with accessing the back end of your site or you have a lot of files to upload, FTP can be a valuable tool to have at the ready.
In this post, we covered some basics of File Transfer Protocol that can make your WordPress workflow easier. Then, we shared some common use cases for FTP, as well as some popular clients. We wrapped up with a few beginner tips to get you started.
Do you have any questions about using FTP for WordPress? Let us know in the comments section below!
The post How to Use FTP for WordPress (And Why You Should) appeared first on Torque.