No one likes being bombarded by unsolicited junk email. Luckily, there is a way to significantly reduce the amount of spam that makes it to your inbox.
Email applications like Mozilla Thunderbird have built-in spam filtering. However, you may need something that is a bit more effective and configurable.
In this tutorial, I’m going to show you how to protect email addresses from spam using the SpamAssassin tools available in cPanel. If you haven’t created an email account, here’s an article that will take you through that process.
Configuring Apache SpamAssassin
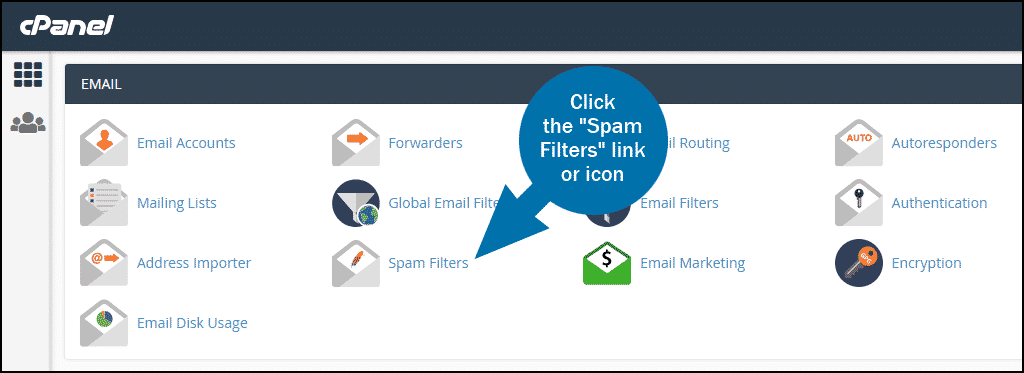
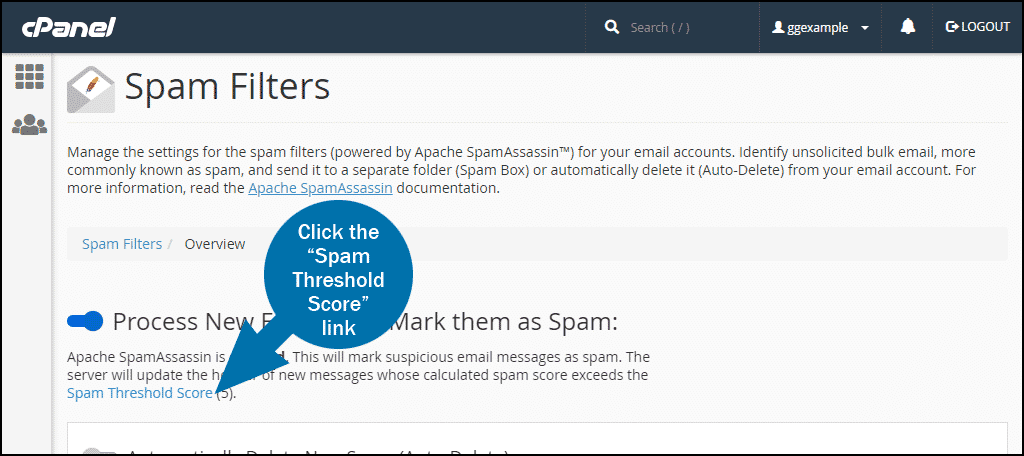
Log in to cPanel, and in the “EMAIL” section, click the “Spam Filters” link or icon.
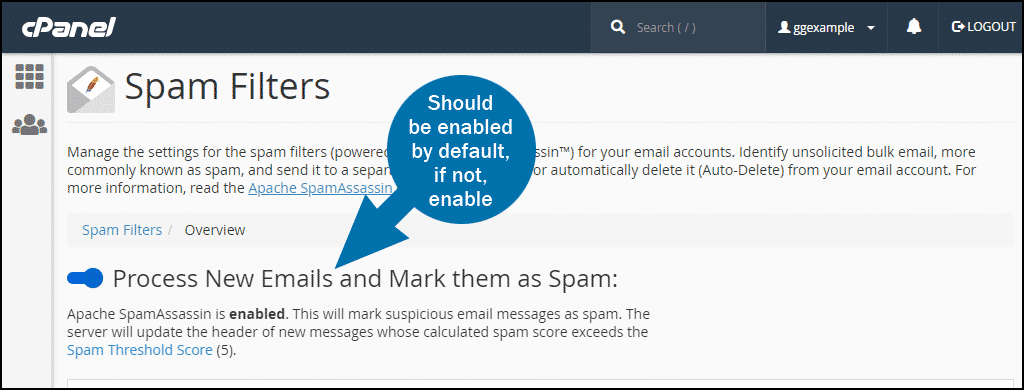
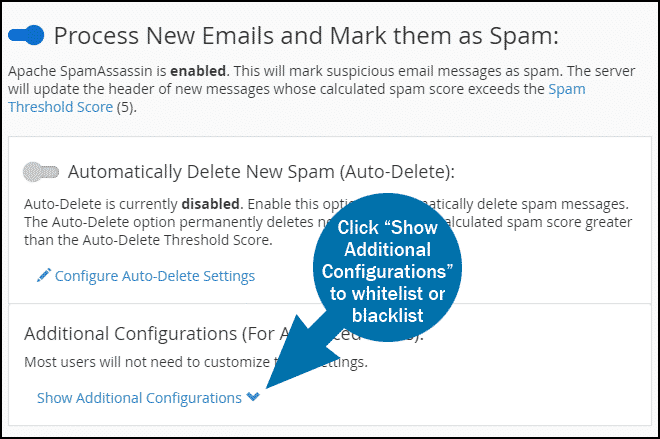
SpamAssassin may be enabled by default. If so, the “Process New Emails and Mark them as Spam” option will be enabled. If “Process New Emails and Mark them as Spam” is not enabled, enable it now.
Let’s take a look at some of the configuration options that are available.
Configuring SpamAssassin Auto-Delete
Auto-Delete will prevent spam from ever reaching you. Of course, the drawback to Auto-Delete is you never see the messages, so it isn’t possible to check for false positives.
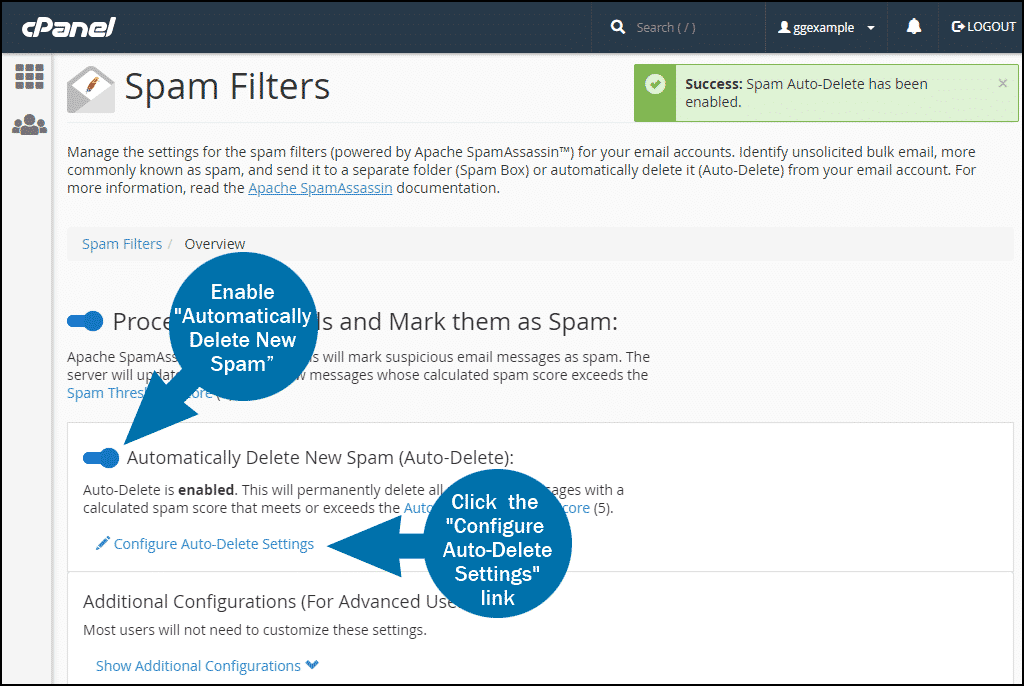
But if you want to use the feature, enable “Automatically Delete New Spam (Auto-Delete)” and click the “Configure Auto-Delete Settings” link.
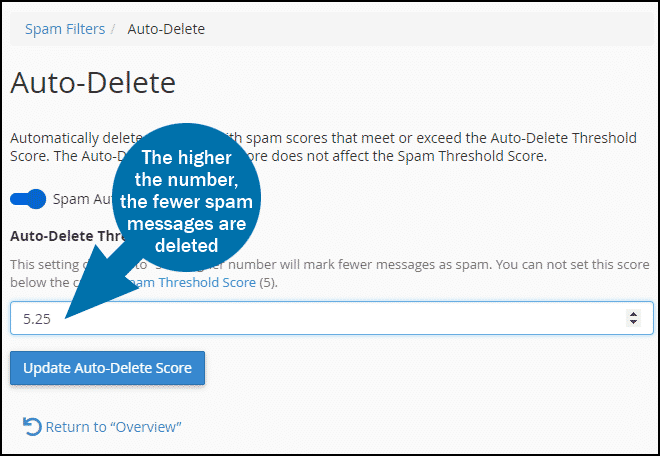
The default Auto-Delete threshold is 5. The higher the number, the fewer spam messages are deleted. Note that the threshold can be adjusted in tiny increments.
Configuring SpamAssassin Whitelist and Blacklist
Another useful feature is the whitelisting or blacklisting of email addresses or entire domains.
Whitelist trusted domains so messages sent from those domains are never filtered for spam (and can never be accidentally flagged or auto-deleted).
Blacklist domains that only send spam. All messages from blacklisted domains will be flagged or deleted.
Click “Show Additional Configurations” to whitelist or blacklist an email address or an entire domain.
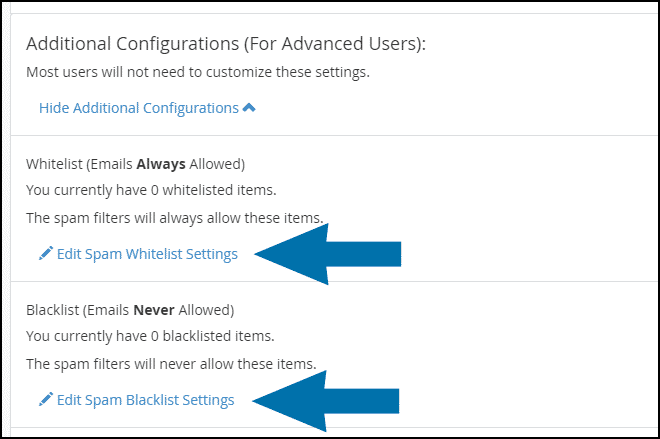
Click “Edit Spam Whitelist Settings” or “Edit Spam Blacklist Settings.”
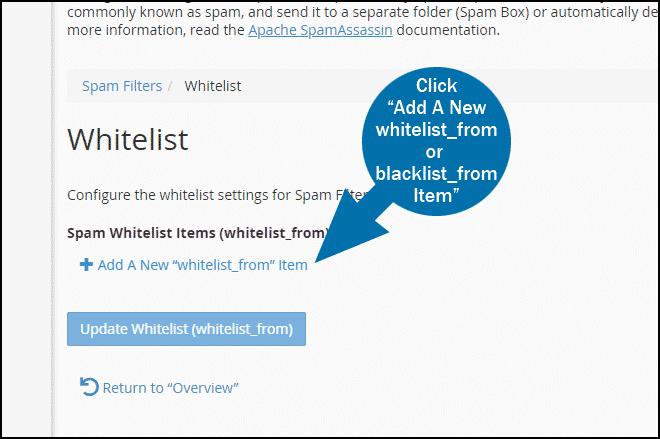
Click the “Add A New ‘whitelist_from’ Item” or “Add A New ‘blacklist_from’ Item” link.
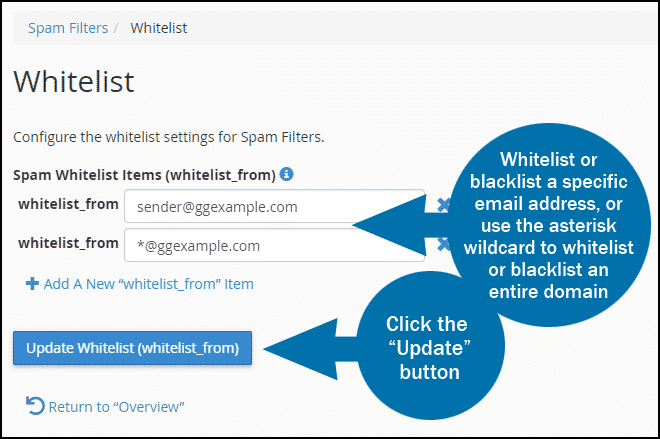
To whitelist or blacklist a specific address, enter the address. To whitelist or blacklist an entire domain, use an asterisk as a wildcard, e.g., *@ggexample.com.
Click the “Update Whitelist (whitelist_from)” or “Update Blacklist (blacklist_from)” button to save your entries.
Configuring SpamAssassin Spam Threshold Score
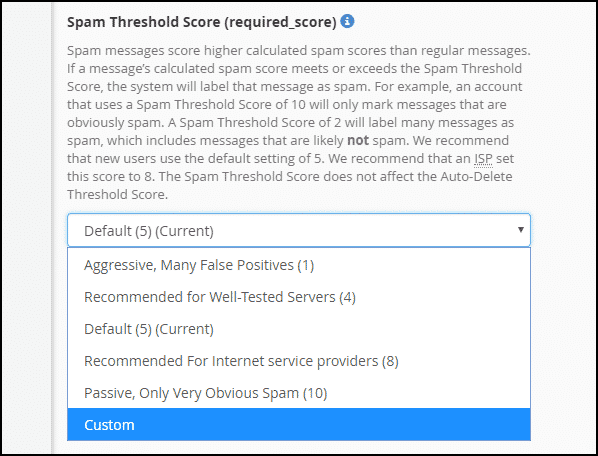
There is also an overall “Spam Threshold Score” setting that works the same way the Auto-Delete threshold settings works as described above. It defaults to a setting of 5, so if you find that legitimate email messages are being flagged as spam, you may want to set the “Spam Threshold Score” to a higher number.
In the “Adjust Spam Threshold Score” section you can select a pre-determined setting from the drop-down, or click “Custom” to enter your own setting. Selecting “Custom” allows you to set the threshold in tiny increments, which may be useful for dialing in the best anti-spam settings for your personal use.
Enter the custom threshold setting and click the “Update Scoring Options” button.
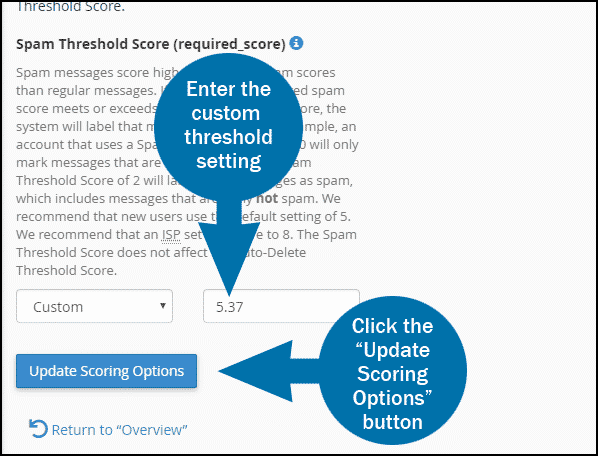
Remember, the higher the threshold score number, the fewer spam messages are flagged or deleted. If you find that legitimate email messages are being flagged or deleted, set the “Spam Threshold Score” to a higher number.
The post How to Protect Your Email From Spam appeared first on GreenGeeks.