Splitting a WordPress multisite network into single WordPress websites used to be quite challenging and downright clunky…until now! Shipper makes moving a website from a WordPress multisite network to a single WordPress install hosted on its own domain a breeze.
There are many benefits and advantages to running a multisite network. There are times, however, when you may want to take a site from a multisite network and set it up as a single WordPress site on its own domain.
In this post, we look at:
- Why Split a Site from a Multisite Network?
- How to Migrate a WordPress Multisite Subsite to a Single WordPress Install
Why Split a Subsite From a Multisite Network?
Here are some of the reasons why you may want to take a site out of a multisite network and set it up as a single WordPress install:
- A site may have outgrown the network and needs to have its own space or identity.
- You want to have more control over the site and install plugins, themes, or third-party apps that can’t be added to Multisite or that may require its own server.
- Your site isn’t performing as well as it could and you want to improve its performance.
If you search online, you will find a number of articles and tutorials aimed at showing multisite admins how to migrate a subsite to a single site. These are generally clunky and involve a number of steps like making backups, importing XML files, renaming database tables, making search-replaces via WP-CLI or a plugin, etc.
While this may work fine if you want to move a single WordPress site to a Multisite network, going the opposite way to split a subsite from a multisite environment and migrate the entire site over to a single WordPress install hosted on its own domain is more challenging.
Is there a simpler and easier way to automate this process–maybe just click a button or two–and have the whole thing done for you?
Sure! In WordPress, we call it a “plugin.” 😉
WordPress Multisite To Single Site Migration With Shipper Plugin
In version 1.2, Shipper Pro introduced the ability to migrate a subsite from a multisite network to a single site. This eliminates all the “clunkiness” of trying to split and migrate subsites manually.
Let’s go through the migration process step-by-step and show you how easy Shipper does it…
Initial Setup – Pre-Migration Checklist
Migrating sites with Shipper is so easy. Shipper works with any host. Just set up your destination site and make sure that the Shipper plugin is installed on both the source (ie, your multisite installation) and destination sites.
Notes:
- There’s no need to back up your source site. Our migration method is 100% safe for your source site (i.e. your Multisite installation). We do recommend, however, performing a complete backup of your destination site in case something goes wrong while the system overwrites your destination site’s files, folders, and database.
- If you’re a WPMU DEV member, use Snapshot Pro to perform an automatic backup of your entire site to our secure cloud storage (and restore your site in just one click if required).
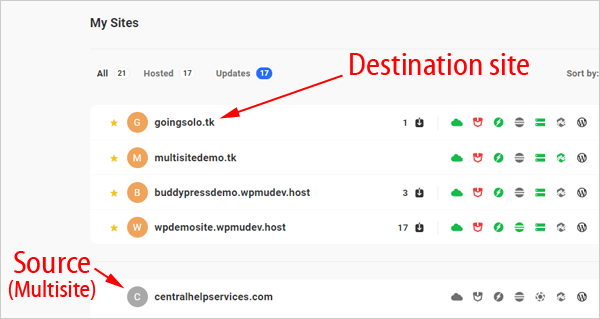
For this tutorial, I have set up a demo multisite network with three subdirectory subsites on a dedicated server using cPanel and Softaculous.
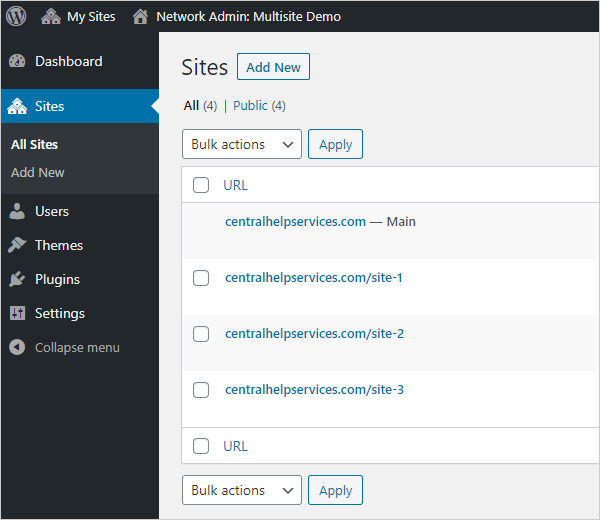
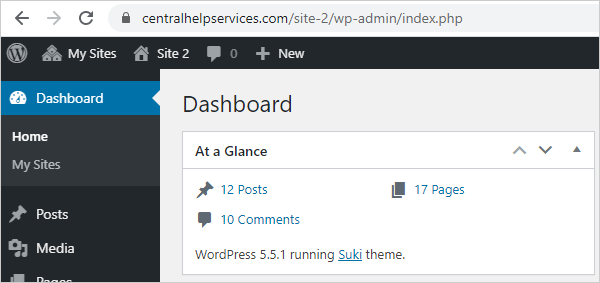
Let’s suppose that we want to split Site 2 away from the Multisite environment and migrate the entire site over to a single WordPress install on its own domain.
This is what our demo site looks like:
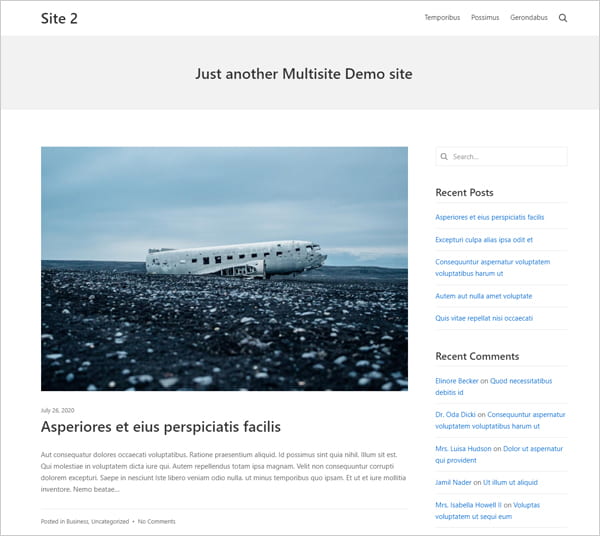
Our demo Site 2 includes posts, pages, comments, categories, tags, plugins, themes, media, etc. We want to migrate all of this over to a single WordPress install.
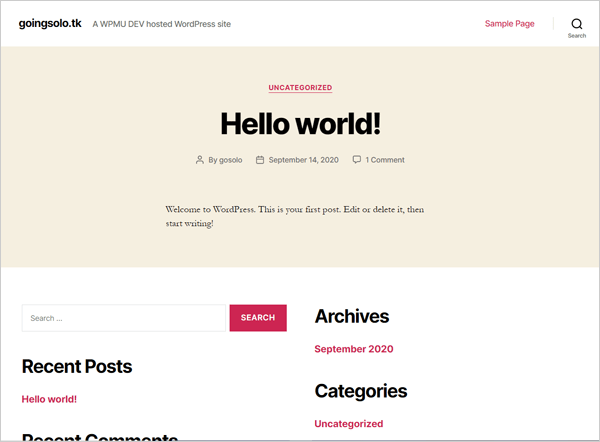
Here is our brand new single WordPress installation.
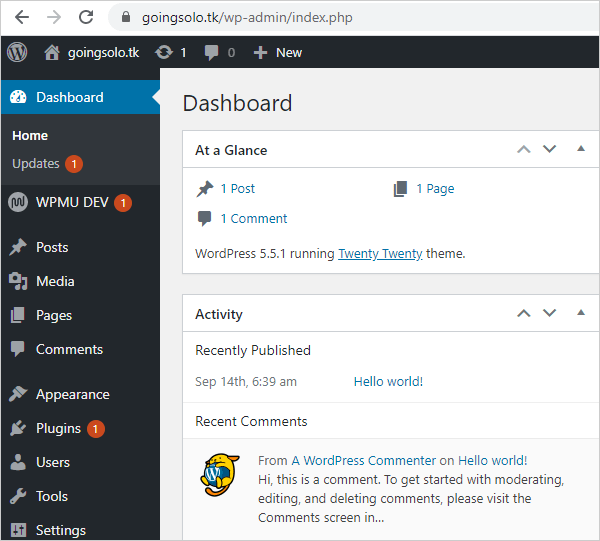
And here is the dashboard of our brand new WordPress single site.
We are now ready to begin the migration process.
How to Migrate a WordPress Multisite Subsite to a Single WordPress Install Using Shipper
Shipper’s Multisite to single site migration feature lets you migrate a subsite from your multisite network to a single site installation using the following methods:
Package Migration
With this method, your website is packaged as a file with an installer application so you can download and transfer your site to the new server using SFTP.
Package Migration lets you create a package of the whole network or one of the subsites. If you package a subsite and then install it on a server, it will be installed as a single site.
API Migration
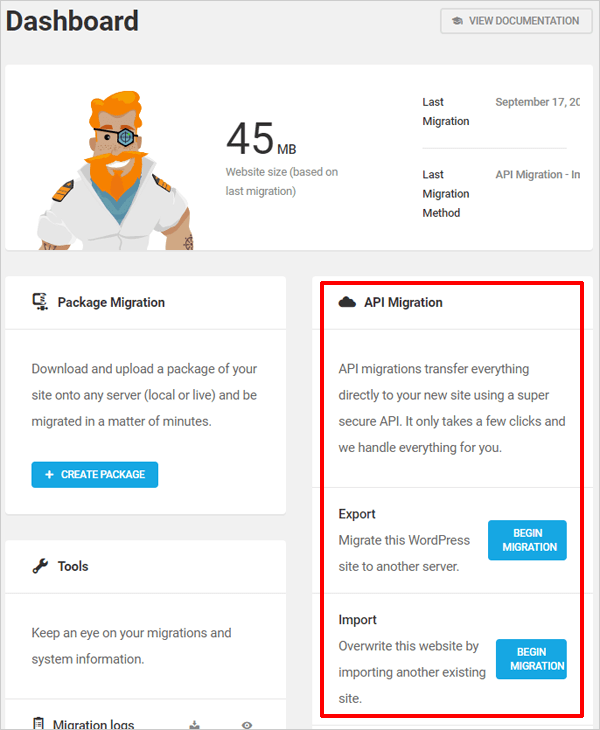
This method provides a one-click automated export/import function through secure server-to-server communication.
API Migration lets you both export and import a subsite from a network to a single site.
Refer to Shipper’s plugin documentation for a detailed step-by-step walkthrough on migrating sites using the above methods.
Time To Migrate Our Subsite…
Now that we have covered all of the preliminaries, let’s migrate our subsite to our new single WordPress install.
As per our earlier pre-migration checklist, you should already have connected both your source and destination sites to The Hub.
You should also have Shipper already installed on both sites.
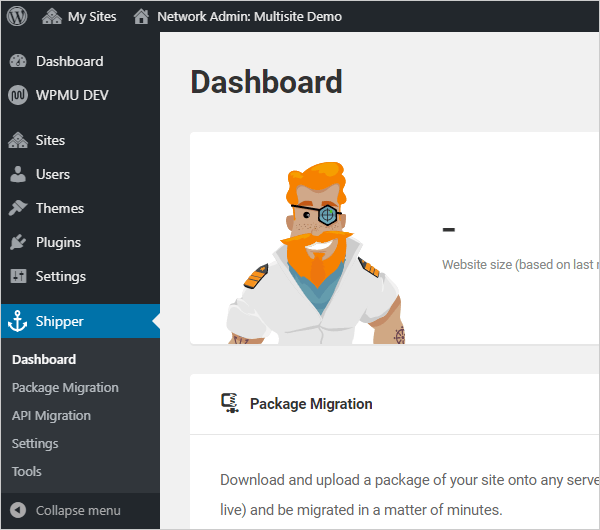
On your WordPress Multisite installation, navigate to the Shipper menu.
Method 1. Package Migration
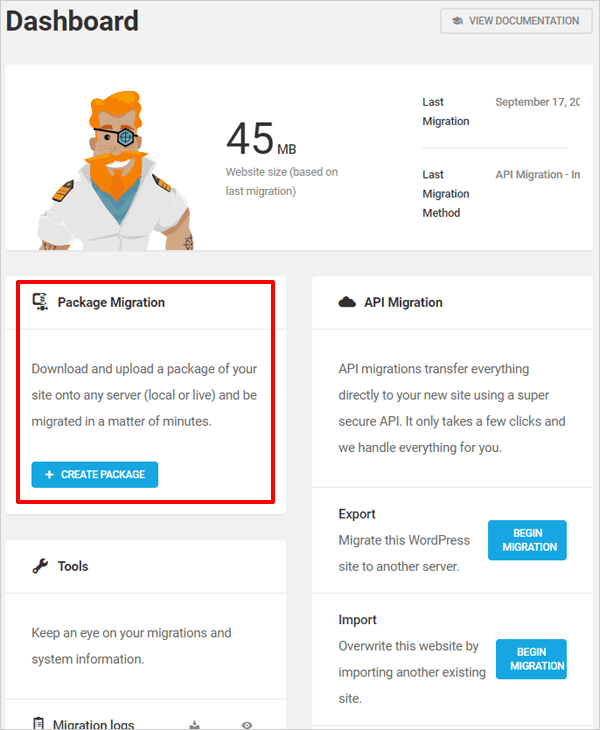
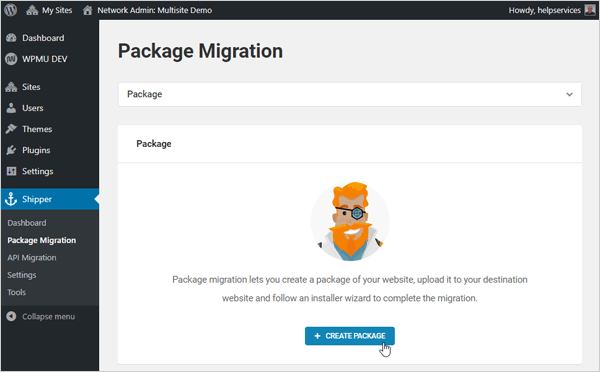
Let’s go through the Package Migration method first. You can select this method from the plugin’s dashboard or go to Shipper > Package Migration and click on the Create Package button.
In the Create Package screen, give your package a name, then select Subsite to Single site as the Package Type and select the subsite you would like to migrate from the Choose Subsite dropdown menu.
In this example, we’ll select “Site 2” as the subsite to migrate.
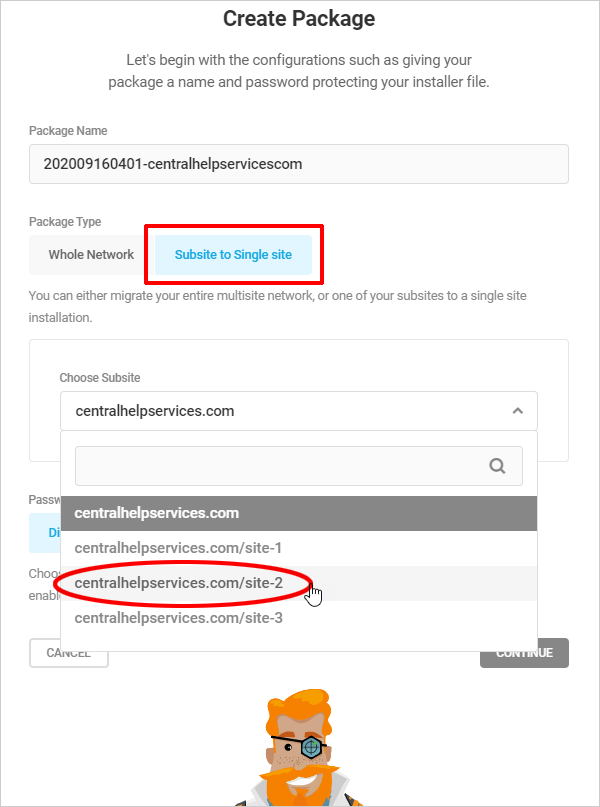
After selecting the subsite to migrate, choose whether or not to password-protect your package and click the Continue button.
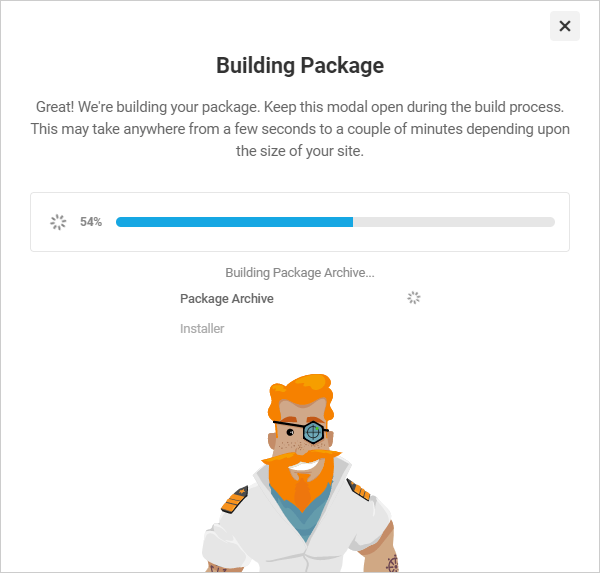
In the next modal window, click the Build Package button, unless you want to exclude specific files, folders, or database tables using filters.

Shipper performs a comprehensive “pre-flight” check and builds your package automatically.
Once your package is ready, download both the package archive and installer files to your hard drive.
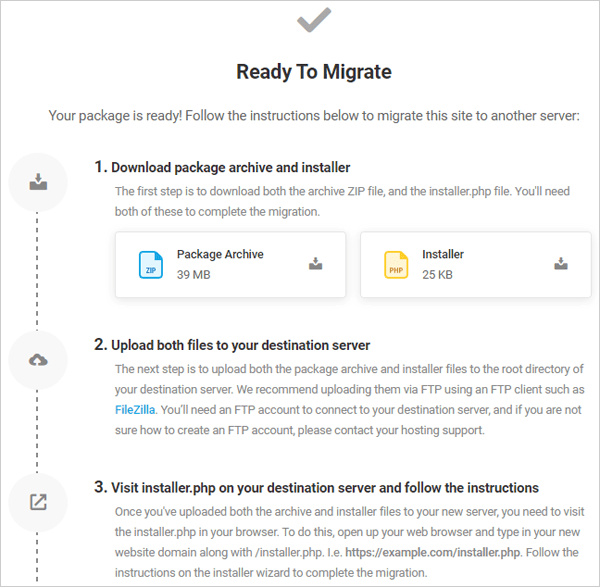
Next, upload both the package archive and installer files via FTP to the root directory of your destination site’s server (i.e. your single WordPress install) using an FTP client (e.g. Filezilla).
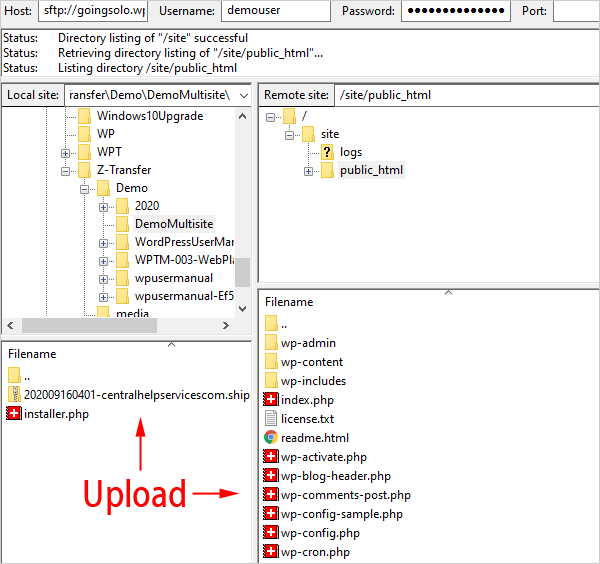
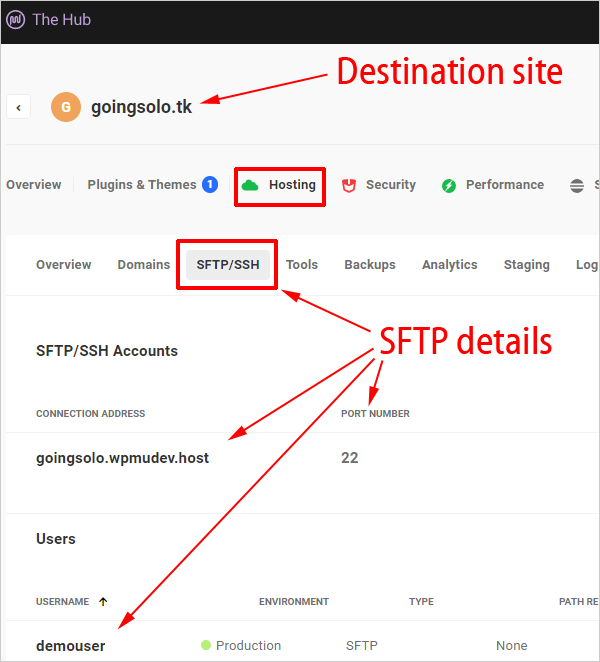
Note: You will need to obtain your FTP login details from your host. If your sites are hosted with WPMU DEV, you can grab your SFTP login details from The Hub by selecting your destination site and clicking through to the Hosting > SFTP/SSH tabs.
After uploading the package archive and installer files to your single WordPress install’s root directory, navigate to https://yourdomain.com/installer.php in your browser and follow the migration wizard’s instructions to complete the migration process.
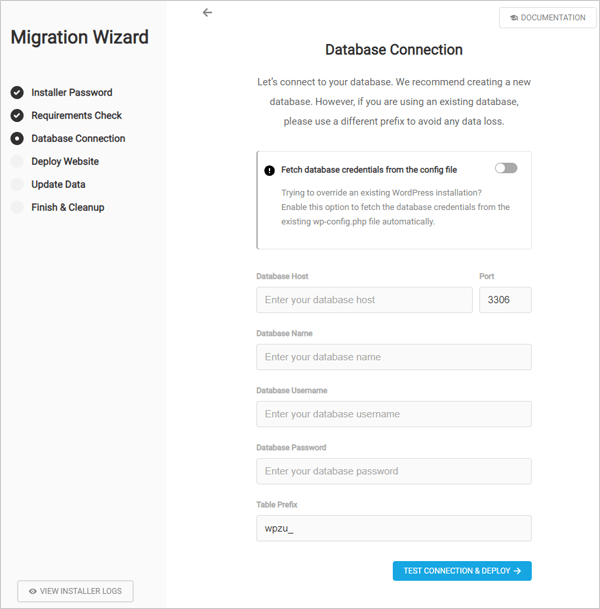
You can create a new database on your single destination site or overwrite your existing WordPress installation. If you choose to overwrite your destination site, we recommend enabling the “Fetch database credentials from the config file” option. Since the destination site is there, it will pull the database credentials automatically from the wp-config.php file.
Choose an option and click the button to test the connection and deploy your migration.
Create a new database on your destination site or overwrite the existing one.
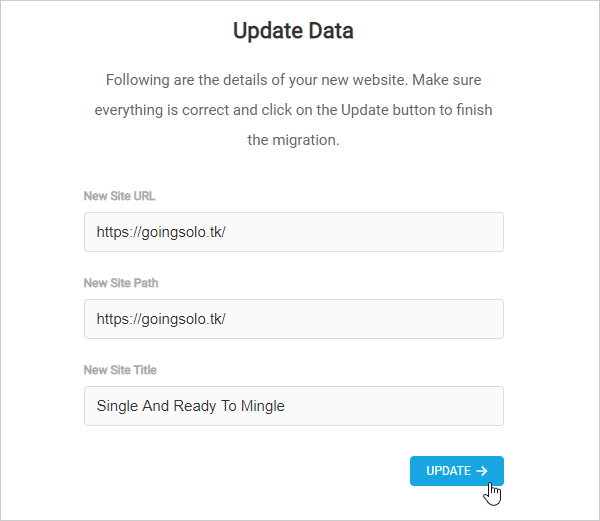
The Migration Wizard will automatically run through the deployment and installation process and then ask you to confirm and update your new site’s details.
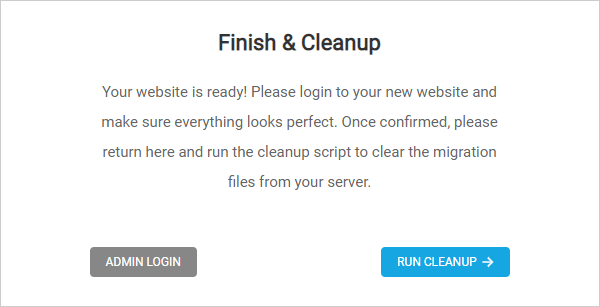
Once this process is complete, you will be asked to log into your newly migrated site and check that everything is ok.
Log in with your source site’s details. If everything looks ok, run the cleanup script to remove the migration files from your server.
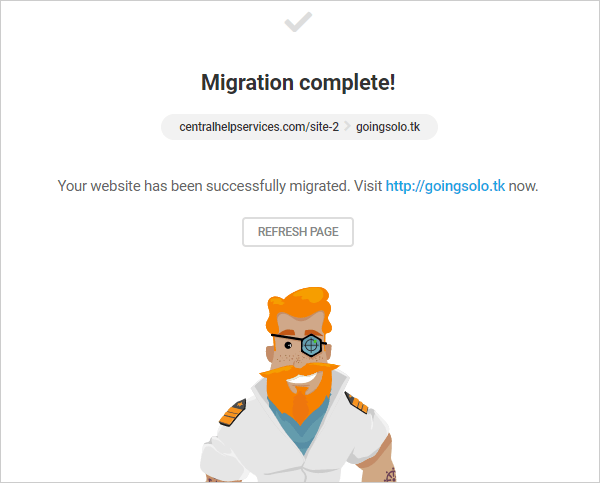
Everything from your source Multisite subsite should now be copied over to your new, single WordPress site.
Your newly-migrated site on a single WordPress installation with everything from the source site copied over.
Now that we’ve looked at migrating a subsite to a single site using the Package Migration method, let’s go through the API migration method.
Method 2. API Migration
You can select the API method from the plugin’s dashboard or go to Shipper > API Migration.
This method lets you export a site to another server or import another site into the site you are working on.
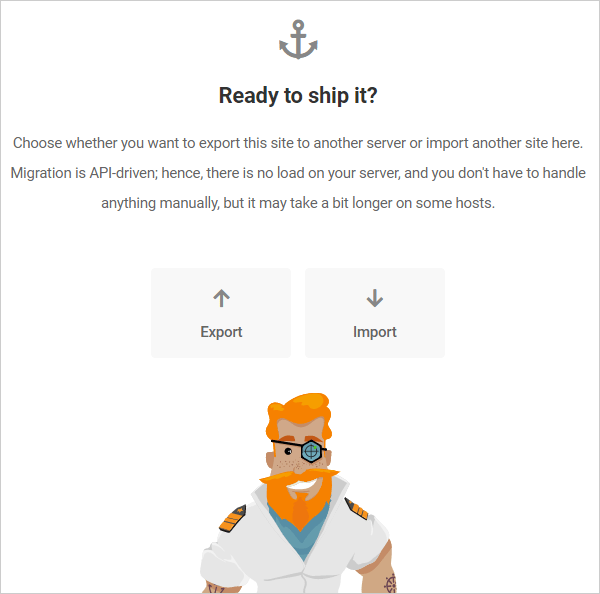
For this tutorial, we’ll export a subsite from a Multisite installation into the single WordPress installation we’ve previously set up.
Click the Export button to begin the process (if you’re in the plugin’s dashboard screen, click on Export > Begin Migration).
Choose Subsite to Single site as the Migration Type, select the subsite to migrate from the subsite drop-down menu, then click Next to continue.
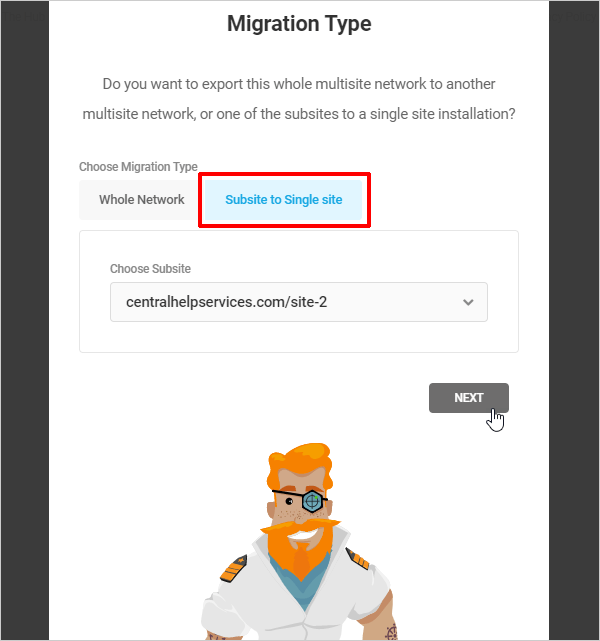
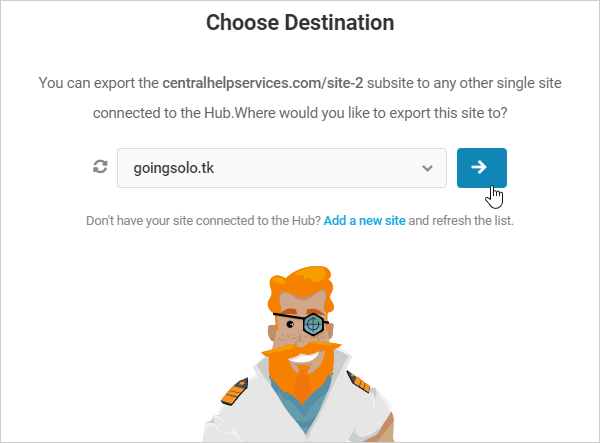
After confirming your password, Shipper does a few tasks in the background and asks you to select your destination site.
Choose the site you want to export your subsite to from the dropdown menu and click the blue arrow button to continue.
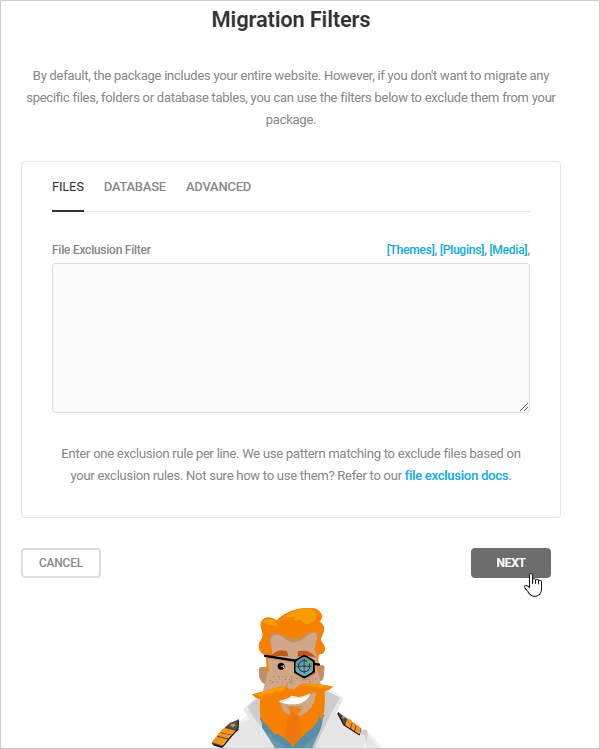
After preparing your files, Shipper presents you with the Migration Filters window. As discussed earlier, this allows you to exclude any files, folders, or databases you don’t want to export.
Use the filters to exclude items or skip this step to migrate the entire subsite and click Next.
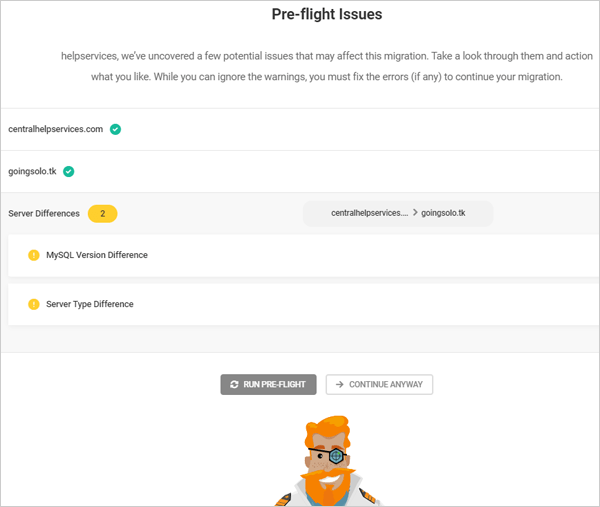
Shipper will run an extensive Pre-flight check and let you know if it detects any issues.
Issues in “red” indicate errors that will prevent your migration from completing successfully. These must be addressed before Shipper will allow your export to proceed.
If there are no red issues, you can ignore any yellow-coded warnings and continue.
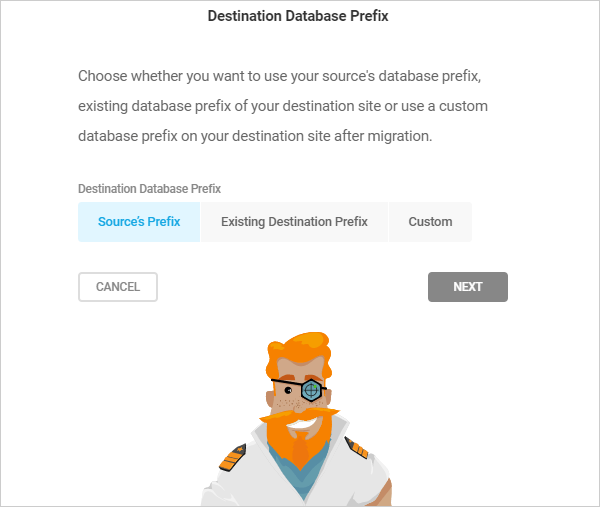
A modal window pops up asking you to select a destination database prefix. You can use the database prefix from your source site, your destination site’s existing database prefix, or create a custom DB prefix.
Shipper calculates the size of your package and estimates how long your migration will take.
Click Begin Migration to proceed.
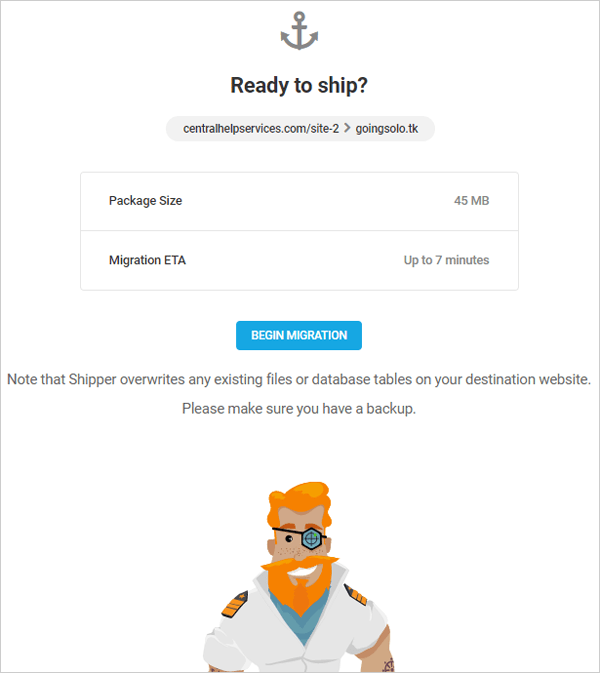
Shipper will begin to migrate your site and send you an email when it’s all done.
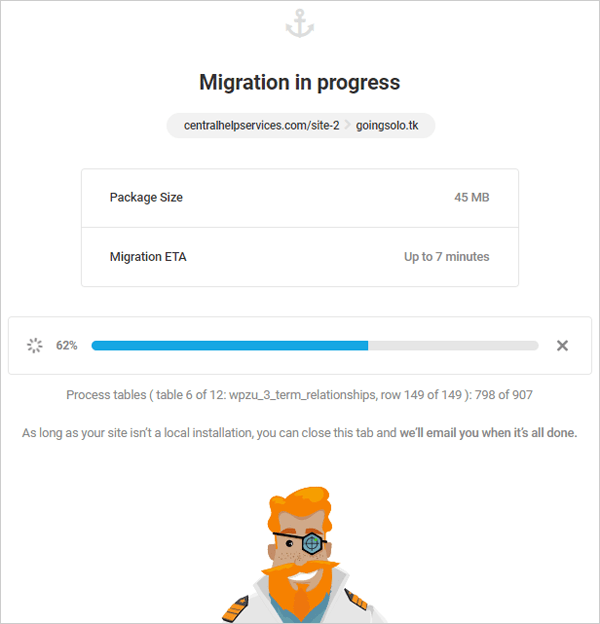
Once the migration has been successfully completed, you can log into your destination site and check your server to view all of your exported content, files, folders, databases, etc.
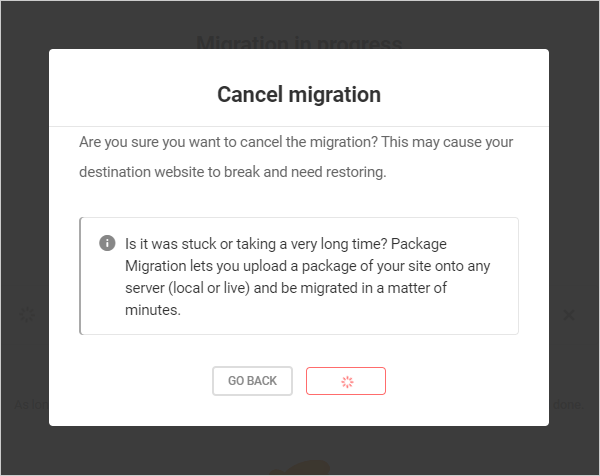
Note: If anything goes wrong while using the API Migration method (e.g. Shipper gets stuck exporting/importing files or is taking a very long time, you can cancel the migration process and try using the Package Migration method described earlier, or contact our support team for expert help.
Post-Migration Checklist
After migrating your multisite subsite to a single WordPress site, spend a little time going over your new site to make sure that everything has migrated successfully.
Check:
- Posts, custom post types, and pages
- Media attachments
- Plugins
- Themes
- Comments
- Settings (e.g. Permalinks)
- Folders and files (server)
- WordPress Database(s) (server)
Say Goodbye To Clunky Migrations
Whether you plan to migrate WordPress sites single-to-single, multisite-to-multisite, multisite-to-single, or single-to-multisite, Shipper makes the process easy and simple.
When migrating a multisite subsite to a single WP install, there’s no need to manually export or import files, migrate SQL databases, change wp prefixes, rename database tables, make search-replaces, etc. Shipper handles all this for you.
Shipper works with any host. However, we recommend hosting on WPMU DEV’s managed WordPress hosting service, using The Hub to manage your sites, and accessing our dedicated team of 24/7 support experts for hassle-free site migrations.
If you need help connecting sites to your Hub using the WPMU DEV Dashboard plugin, check out our documentation on how to add a site to The Hub.
And if you need a complete step-by-step walkthrough of the Multisite to single site migration process, refer to our Shipper plugin documentation. Also, make sure to check our roadmap for new Shipper features coming soon.
Source: premium.wpmudev.org