Ecommerce is one of many ways you can make money from your website. However, it’s much easier to do if you have a good solution installed on your web hosting. Magento is one such platform that comes with a variety of tools to help you succeed.
In this tutorial, I’m going to show you how to install Magento manually. As long as you have a website host, you can get started selling today with this system. Setting up this software is not as difficult as some might think.
Step 1: Downloading Magento
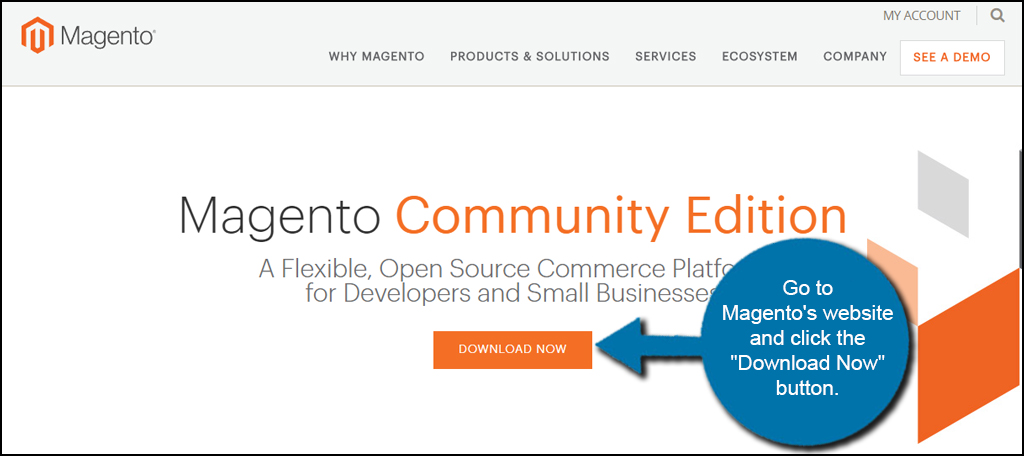
The first thing you’ll need is the installing package. Go to Magento’s website and click the “Download Now” button. Now, you will need to pay attention to what services you’re getting from Magento. There are paid platforms for the company that may cost quite a bit. You’re looking for what’s called the “Community Edition.”
The Community Addition is the open source platform which is perfect for developers as well as small to medium sized businesses.
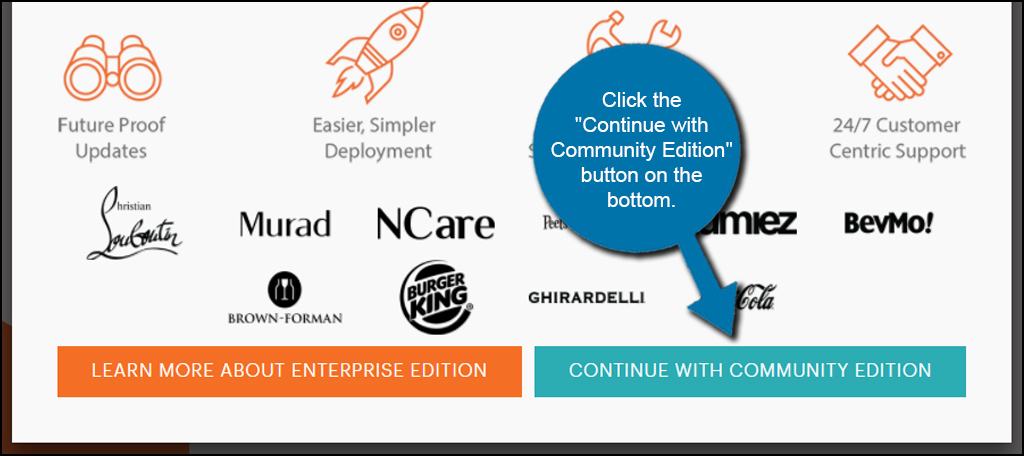
A message will appear asking you to take a look at the “Enterprise” edition of the software. Click the “Continue with Community Edition” button on the bottom.
On the next screen, scroll down until you see the files available under “Full Release.” Click to select your format and choose the “ZIP” only file.
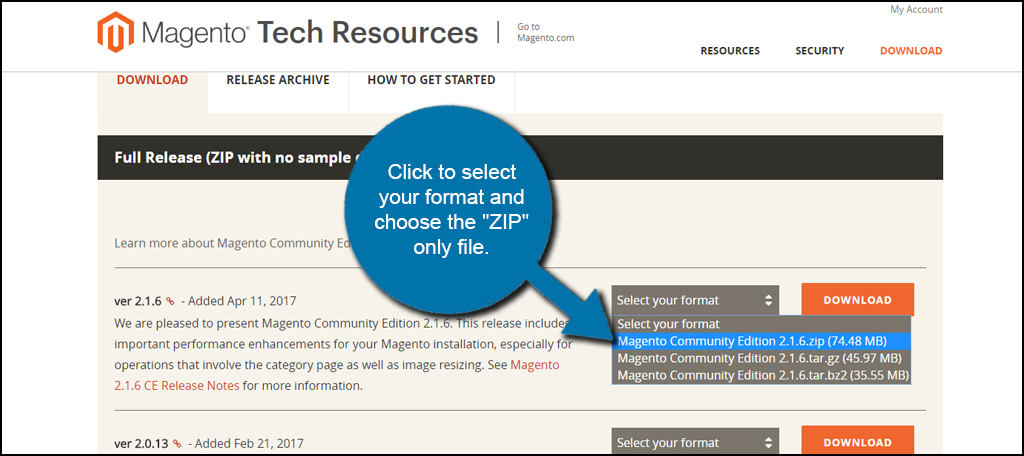
Click the “Download” button for the latest version without sample data. If you want to see how Magento looks, you can install the sample package. However, it means you will need to remove the fake products and make further adjust your settings.

You will then have to create an account to start the download.
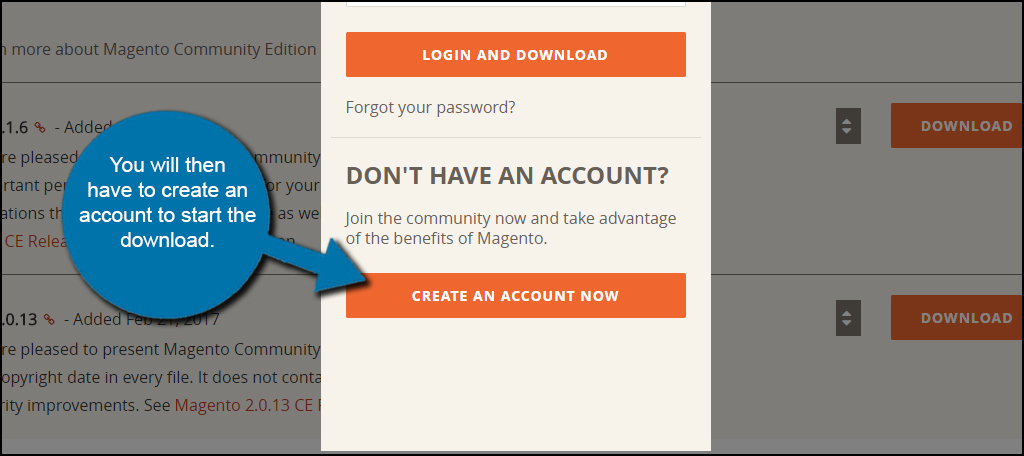
This is a free account, and you’ll probably only need it for customer support or if you need further assistance from Magento. Please note, you’ll need to validate your email address before you can actually download the Magento ZIP file.
You can save the file anywhere you like on your computer. I prefer the desktop only because it’s much faster and easier to find.
Step 2: Set Up the Database
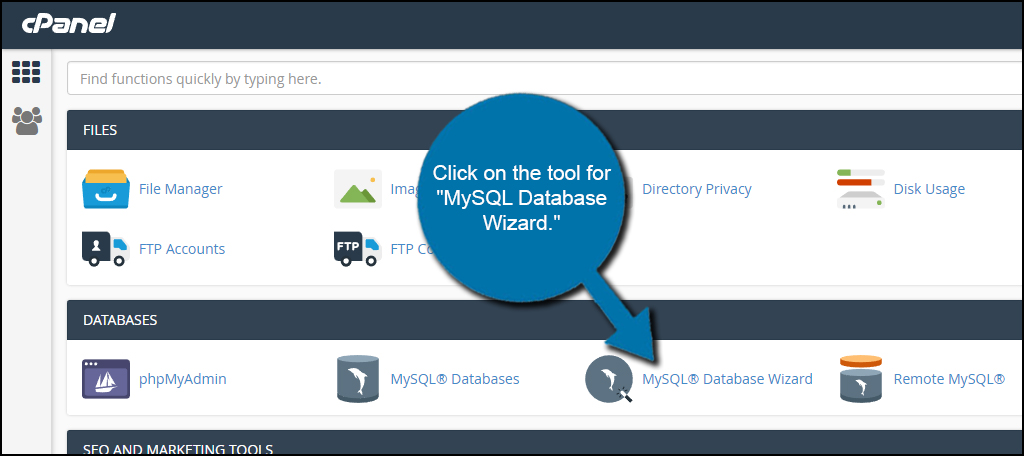
Magento will require the use of a database for operation. You will need to access your cPanel dashboard. Click on the tool for “MySQL Database Wizard.” This is the fastest and easiest way to set this up for Magento.
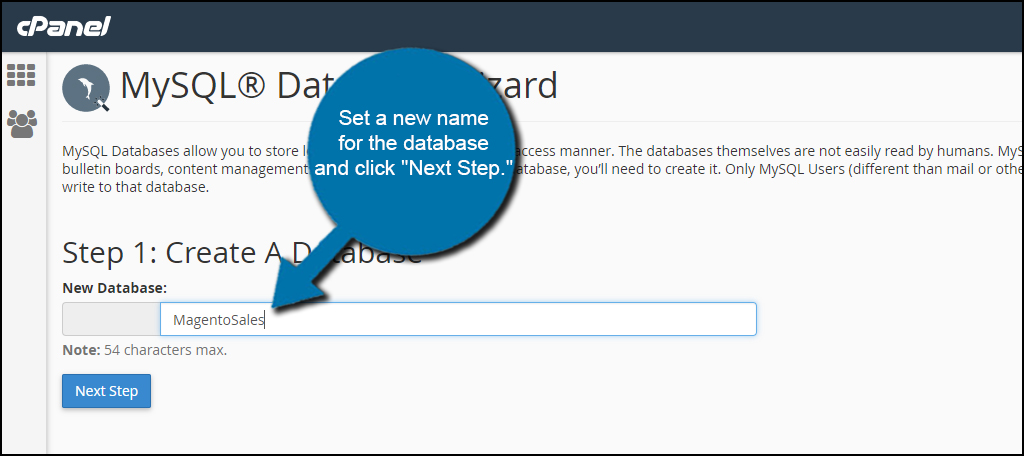
Set a new name for the database and click “Next Step.” I am just going to use “MagentoSales.” However, you can essentially use anything you want as long as you can remember it.
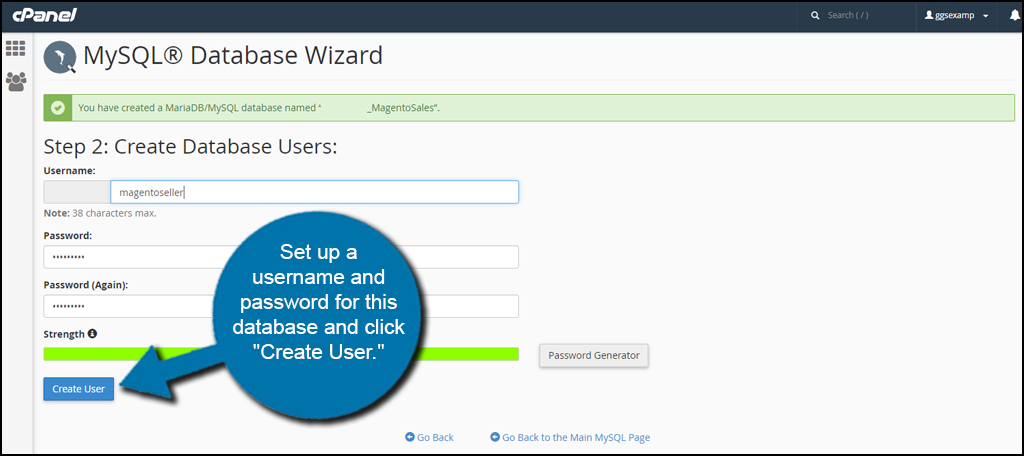
Set up a username and password for this database and click “Create User.” These are the credentials Magento will use to access the database. You may want to remember or write them down somewhere safe.
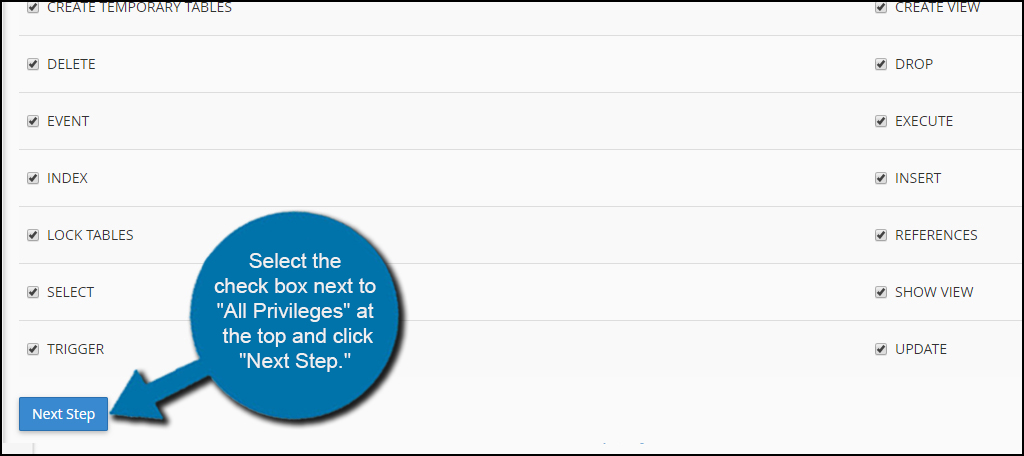
Select the check box next to “All Privileges” at the top and click “Next Step.”
Now the database is ready for input from Magento.
Step 3: Upload Magento
There are a number of ways you can upload Magento to your web hosting account. In this tutorial, I am going to show you how to use cPanel’s File Manager to upload and unpack the ZIP file. This is often a much faster way than transferring files through FTP programs.
I know a lot of people prefer the flexibility of using programs like FileZilla. This is completely up to you. As long as you upload all of the contents in the ZIP file into your root directory, it really doesn’t matter which method you choose.
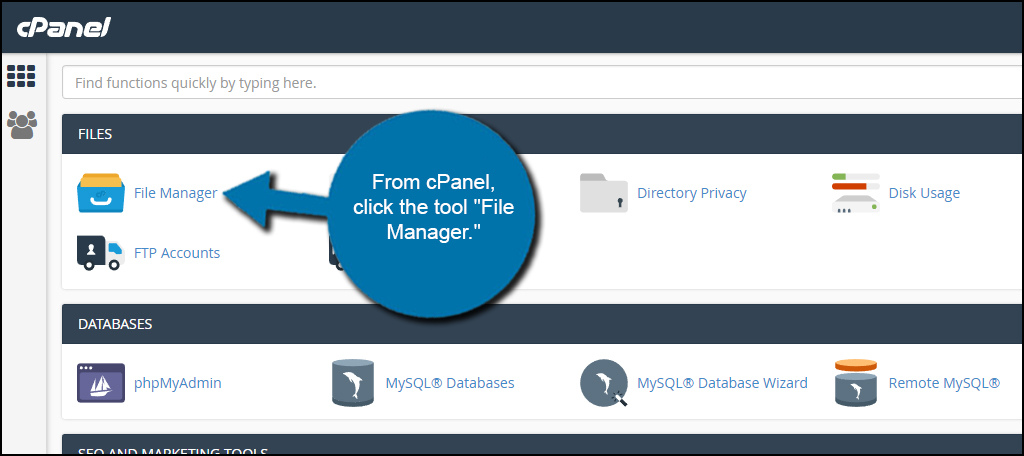
From cPanel, click the tool “File Manager.”
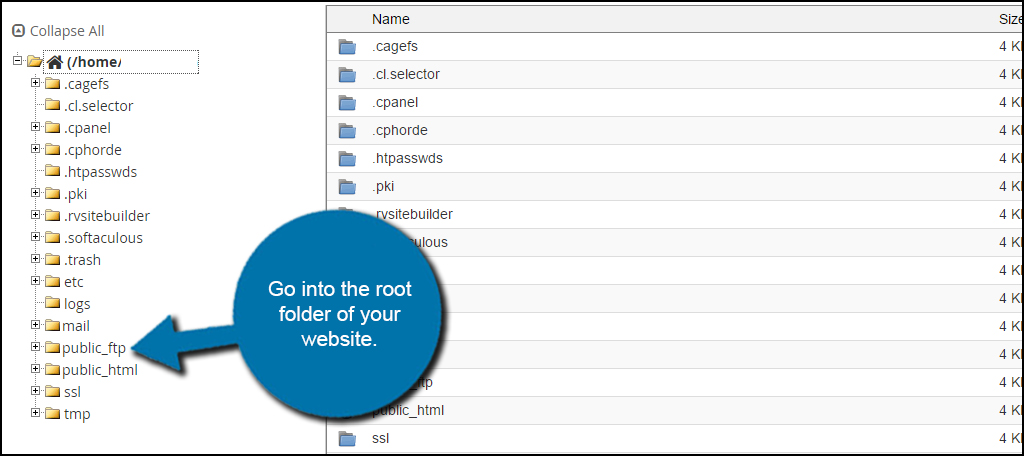
Go into the root folder of your website. This is often the “public_html” folder from File Manager screen. You want to be in the directory where you want to install Magento.
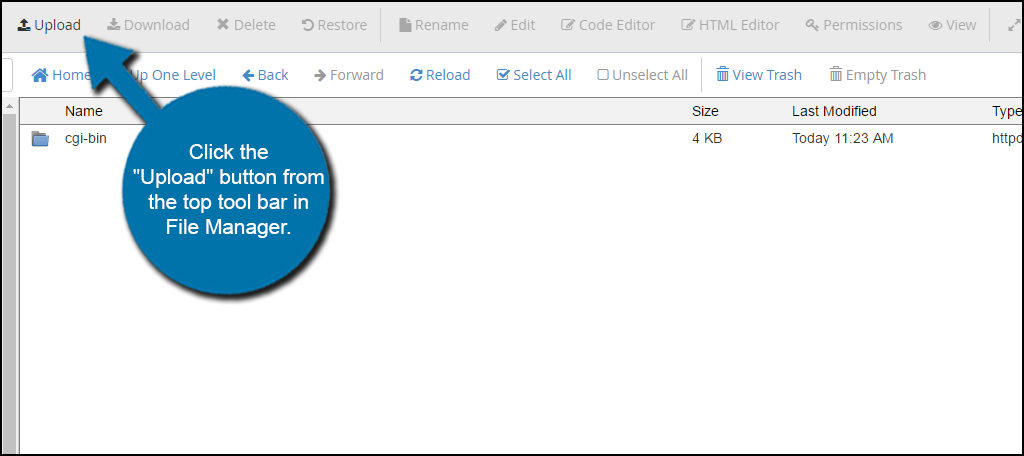
Click the “Upload” button from the top tool bar in File Manager.
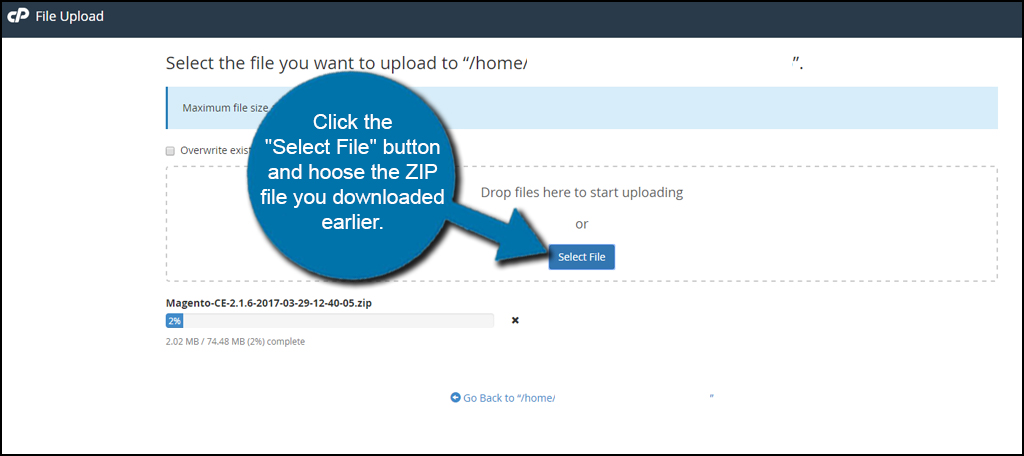
Click the “Select File” button and choose the ZIP file you downloaded earlier. The system will automatically start uploading the file. Once the file is completely uploaded, click the link at the bottom to “Go Back to” your website.
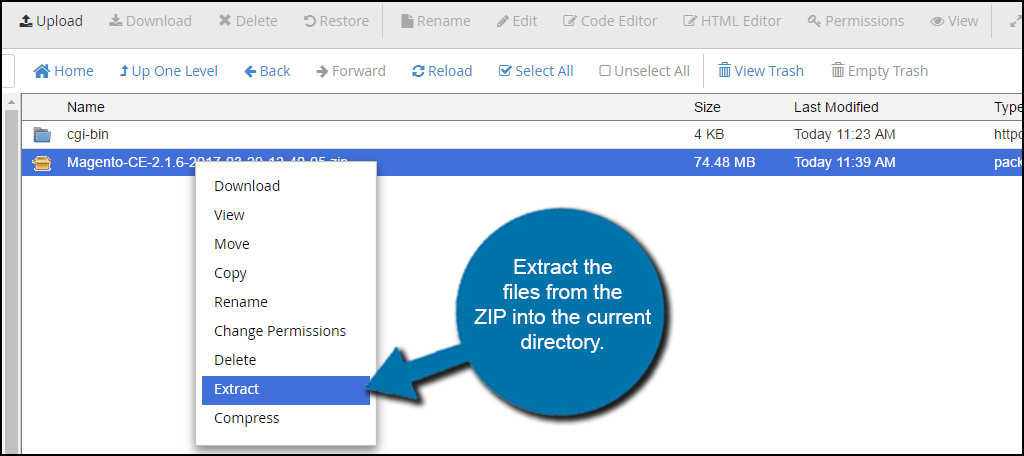
Extract the files from the ZIP into the current directory. This can be done by right-clicking the ZIP from a PC or CMD-click from a Mac. This will unpack all of the files into the directory.
Find the ZIP file of Magento and delete it from the folder. You will no longer need this and it’s just taking up space.

Step 4: Install Magento
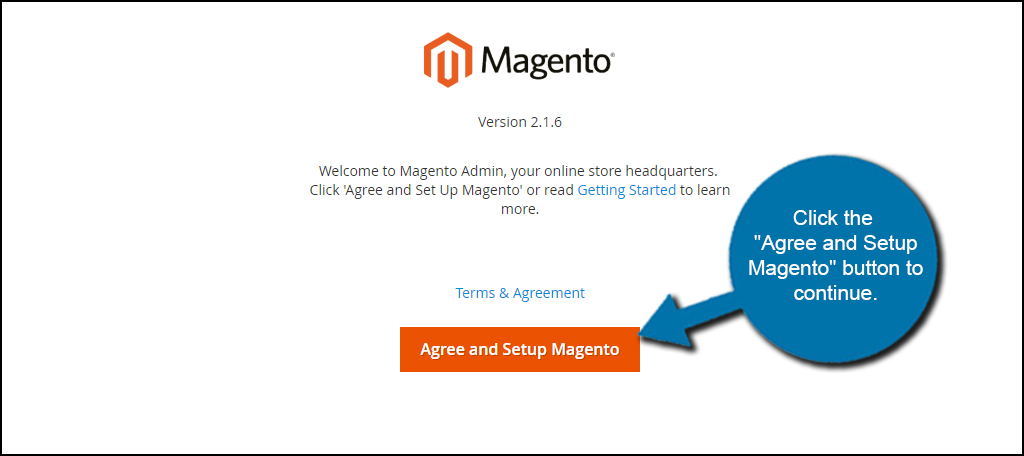
Now that the files are ready, access your website by typing in the domain from your browser. This will bring up the Magento installer application. Click the “Agree and Setup Magento” button to continue.
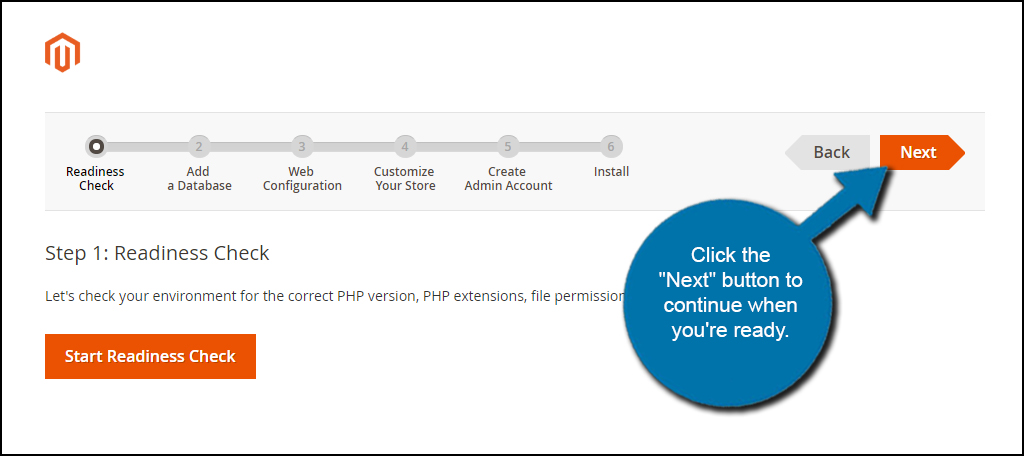
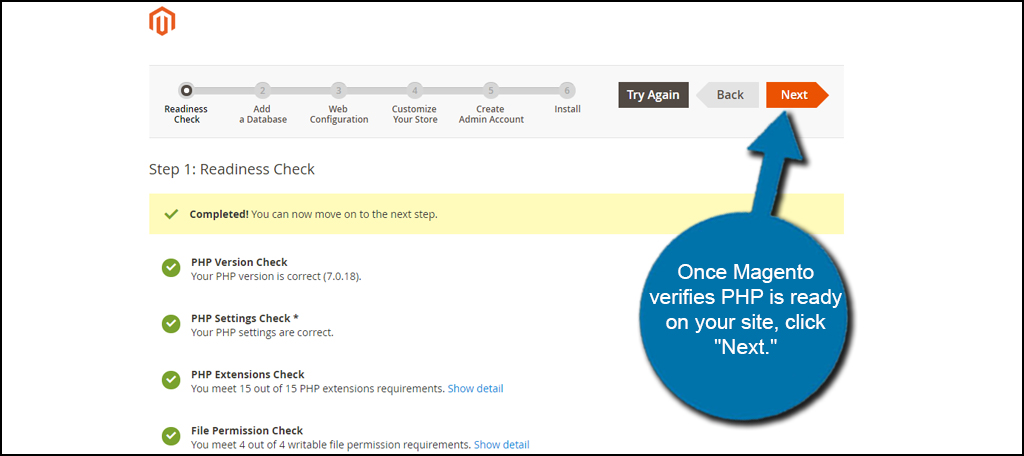
The first stage is a readiness check. This may be a good idea if you’re not sure what version of PHP you are currently using or if your host will support Magento in the first place. Click the “Next” button to continue when you’re ready.
Once Magento verifies PHP is ready on your site, click “Next.”
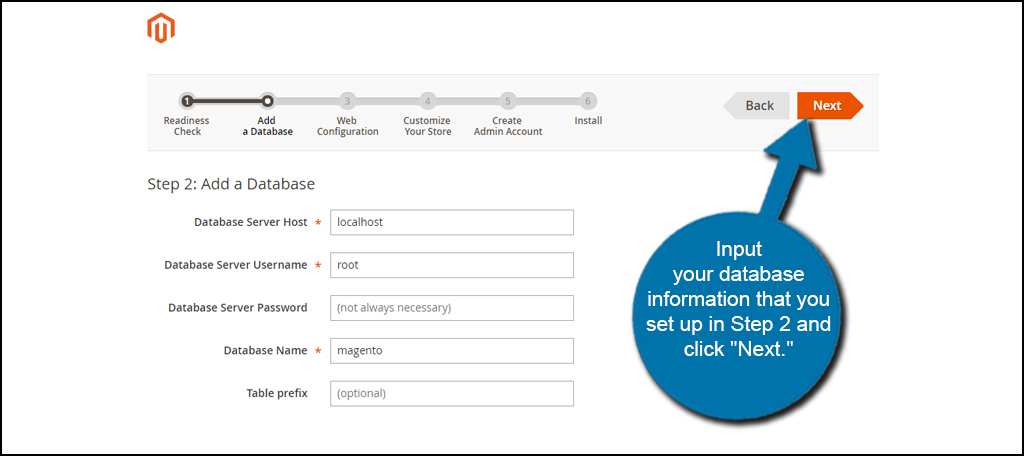
Input your database information that you set up in Step 2 and click “Next.”
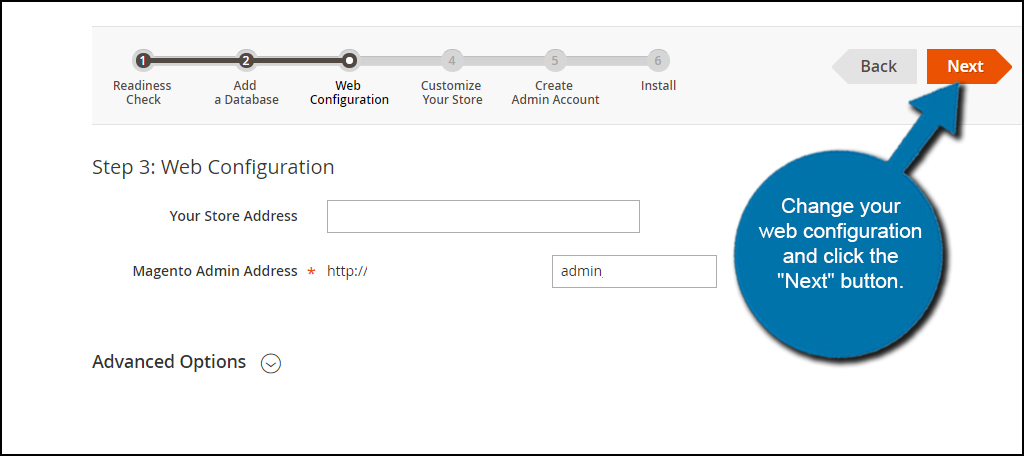
Change your web configuration and click the “Next” button. You may want to leave the store address as it is displayed. The admin address is a bit important, though. You can change the admin address for your site to keep it protected from hackers and bots. This is because Magento allows you to customize how you access the backend.
The system will add random characters behind “admin” by default, but you can label this anything you like. For this tutorial, I’m just going to keep the default random characters.
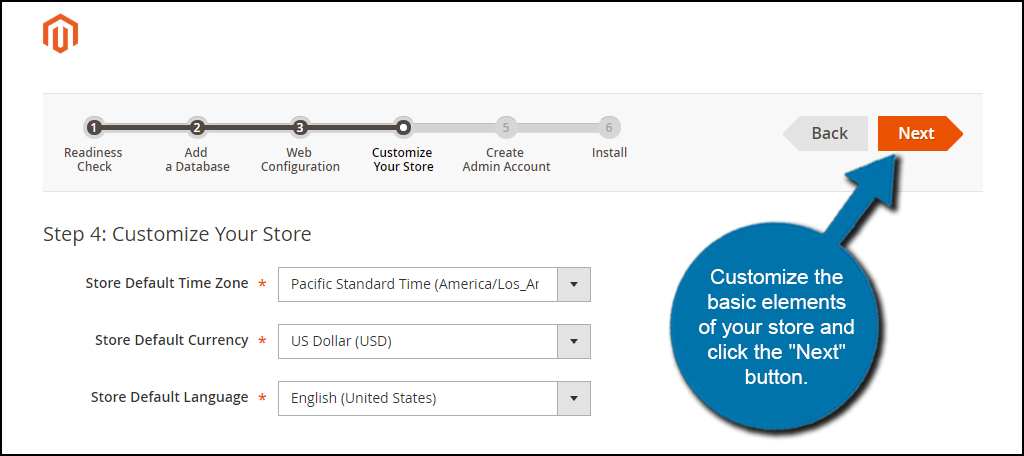
Customize the basic elements of your store and click the “Next” button. This screen is to change your time zone, currency and the default language. The only thing most of you may need to change is the time zone. Keep in mind these can all be changed later from the admin panel in Magento.
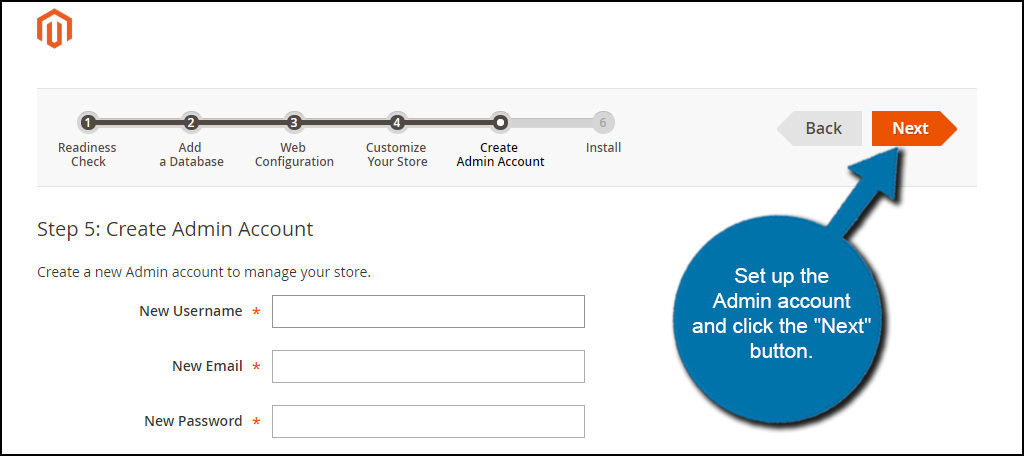
Set up the Admin account and click the “Next” button. When setting a username, refrain from using common terms like “admin” or “administrator.” A unique admin username make it more difficult for hackers and bots to gain access to your site.
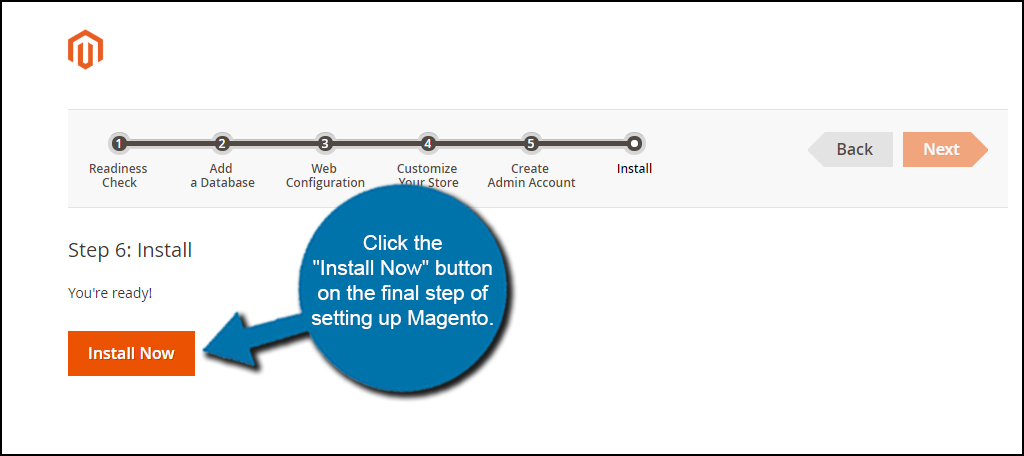
Click the “Install Now” button on the final step of setting up Magento. The application will do the rest.
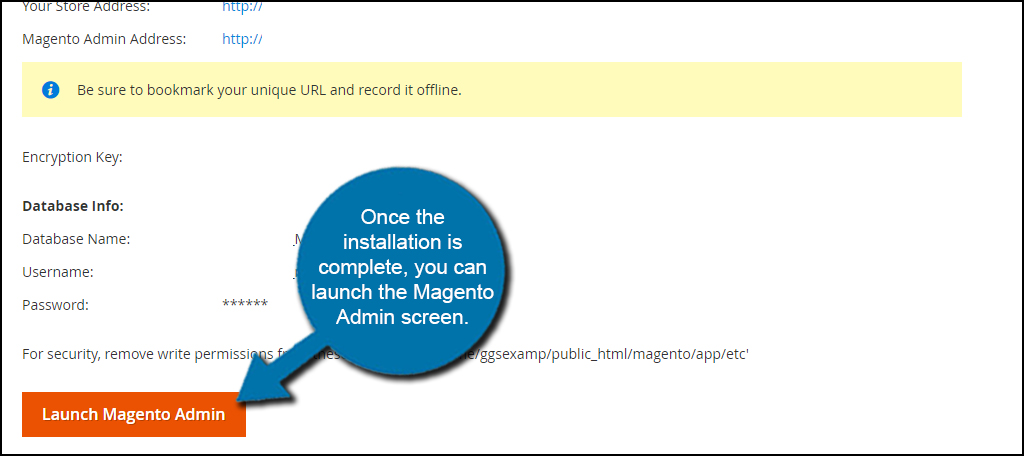
Once the installation is complete, you can launch the Magento Admin screen.
It’s not overly difficult to install Magento manually. A lot of the process is done by the application itself. As long as you set up the database for Magento, it can all be easily unpacked and ready to go in moments. Once the process is done, you can start making money by posting your goods for sale.
The post How to Manually Install Magento appeared first on GreenGeeks.