When it comes to dual boot, the general idea is that you have a system preinstalled with Windows and then you install Linux alongside Windows. On the boot, you select whether you want to use Windows or Linux.
How about the opposite situation? What if you have a system that has only Linux installed on it and you want to install Windows alongside Linux in dual boot mode?
In this tutorial, I’ll show you exactly how you can install Windows after Ubuntu Linux in dual boot.
Dual booting Windows on an existing Ubuntu Linux system
I tested this tutorial on an Ubuntu system with UEFI and GPT partitioning scheme. In theory, the same steps should be applicable to most Linux distributions, if not all.
Requirements
Here’s all the stuff you need to carry out the procedure safely and easily:
- A bootable Windows 10 USB stick (USB key, Pen Drive) of at least 8 GB in size
- A live Ubuntu USB stick (USB key, Pen Drive) of at least 4 GB in size
- A computer with UEFI boot and only Ubuntu Linux installed on it
- Internet connection is needed for creating the bootable Windows and live Linux disk
- A way to back up your important data on an external disk (optional yet recommended)
You may also manage this tutorial with just one USB key. You create the live Linux USB first, make the partition for Windows using this live Linux USB, and then use the same USB key as a bootable Windows USB.
I highly recommend that you read the entire tutorial first before you start following the steps.
Step 0: Make a backup of important data
Here’s the thing. You are going to play with disk partitions and boot settings. If you mess it up, you’ll lose the data.
Having a back up on an external disk will give you a safety net. In the worst case, if things go wrong, you can install either of Windows or Linux and copy the data back on your system.
How do you make a backup? The simplest method is to have an external USB or SSD disk and copy files from Documents, Music, Pictures and other folders where you have kept your files.
Step 1: Create a bootable Windows USB
If you have access to a Windows system, you can follow the instructions on the Microsoft website to create a bootable Windows media.
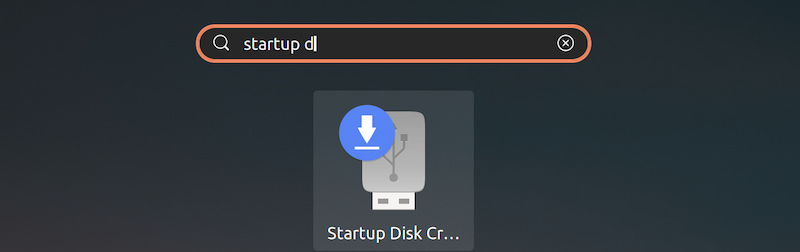
If you only have a Linux system, creating a bootable Windows USB could be tricky. Thankfully, a handy open source tool called Ventoy helps a lot in this case.
I have written in detailed about creating bootable Windows 10 USB on Linux. Please refer to the guide for detailed instructions. I’ll mention the crucial parts here.
Plug in your USB with at least 8 GB of size and format it. Now, download the ISO of Microsoft Windows.
Next, download the latest Ventoy release. Extract the folder and run the VentoyWeb.sh script with sudo. It will give you the URL when you run it. Copy this URL and paste it in a browser.
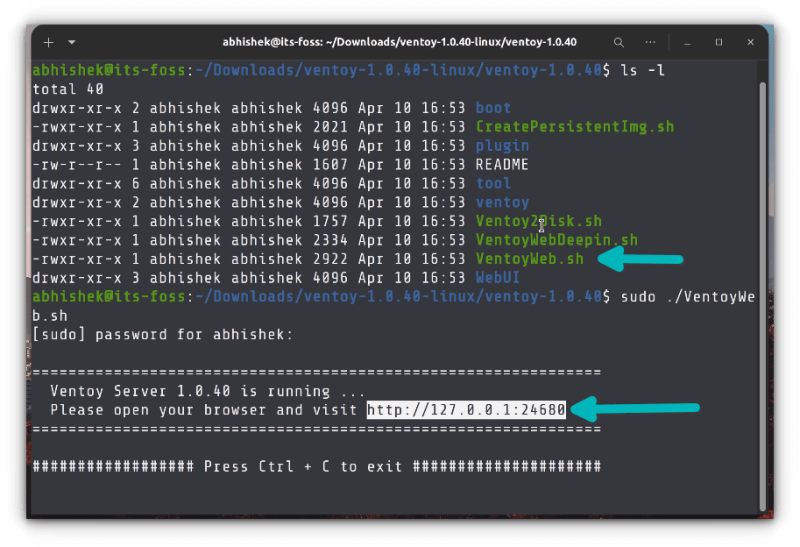
It will open a web page with Ventoy running in it. Go for UEFI installation and hit the install button.

Once installed, you’ll see two partitions on the USB disk: VTOYEFI and Ventoy. You need to copy the download Windows ISO image to Ventoy partition.
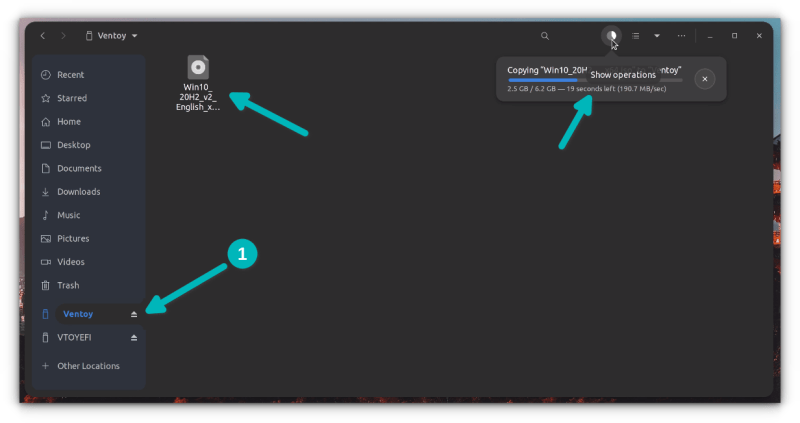
Once the copying finishes, DO NOT RUSH to plug out the USB just yet. Click on the unmount option from the file manager.
Okay. So now that you have a bootable Windows USB, it will be a good idea to test it out and see if works.
How do you do that? Plug in the Windows USB, reboot your system. When the system is turning on again and showing the logo of your system’s manufacturer, press F2/F10/F12 keys to access the BIOS settings.
When you are in the BIOS, choose to boot from the USB. In some cases, you may have to disable secure boot from the BIOS settings.
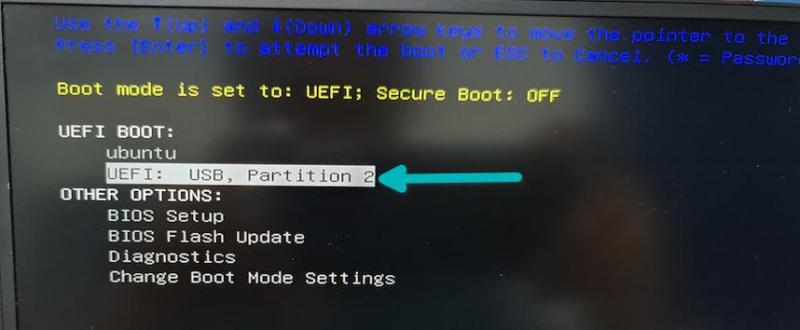
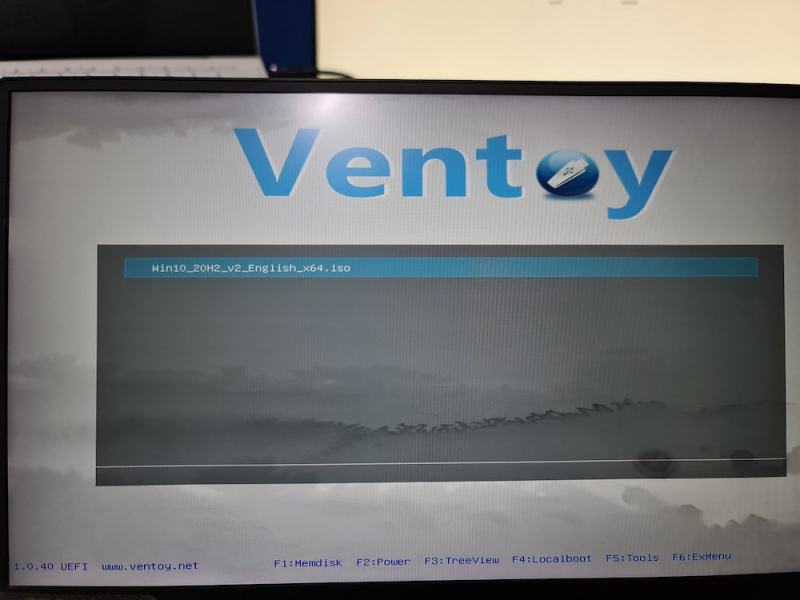
If the bootable Windows USB creation was a success, you should see Ventoy screen and select to boot into Win10.
After this, you’ll see some screen about Windows installation. Don’t go with the installation part yet. Close it and power down your system and then boot into Linux again.
This check was necessary because you need to have a working bootable Windows USB. Without that, there will be no point in following the rest of the tutorial.
Remove the bootable Windows USB at this stage.
Step 2: Create a live Ubuntu Linux USB
You may wonder why you need a live Ubuntu USB here when you already have Linux installed properly.
The reason is that you need to modify the existing partition and make some free space where you’ll be installing Windows. But you cannot modify an already mounted partition in Linux. When you are using Linux, your disk is mounted. You won’t be able to modify it and create a new partition in it.
This is why you need a live Linux USB. You boot from the live USB and make the necessary partition on the disk from the live session.
Now that you know the reason, let’s go on with creating live Ubuntu USB. First, download the ISO image of Ubuntu from its website. Any version of Ubuntu will work.
Now, plug in the USB with at least 4 GB in size.
On Ubuntu, you can find the Startup Disk Creator tool. You may also use Etcher on Linux. The choice is yours. Here, I’ll use Startup Disk Creator.
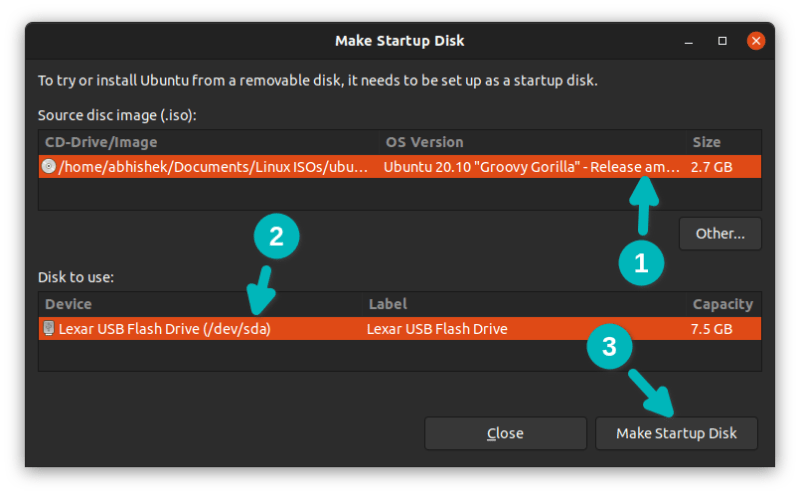
The process is really simple. Your plugged in USB should be recognized. It should also automatically find the Ubuntu ISO. If not, you can always browse to it. With that set, just hit the “Make Startup Disk” button.
It should take a few minutes to create the live Ubuntu USB. You can hit the Quit button below.

Step 3: Boot from live USB and make free space for Windows
Alright. Now you boot from the live Linux USB.
Restart the system. When it is powering on and displaying the manufacturer’s logo, press F2/F10/F12 keys to access the BIOS settings. In here, go to the boot order and boot from the Linux USB.

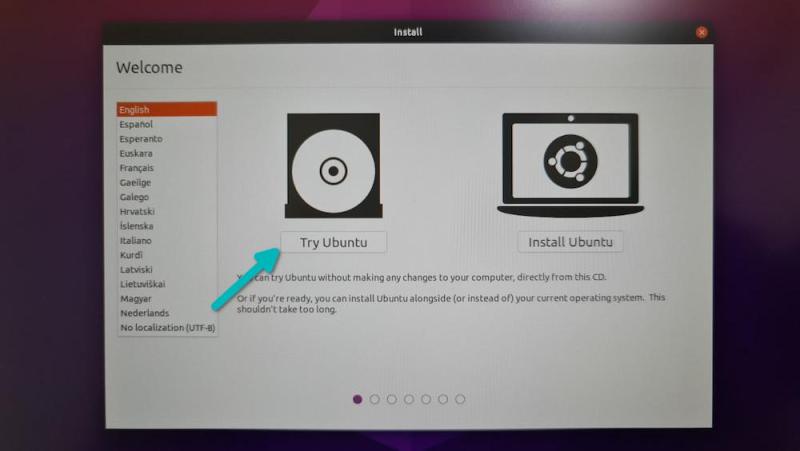
When you see this screen, go for Try Ubuntu.
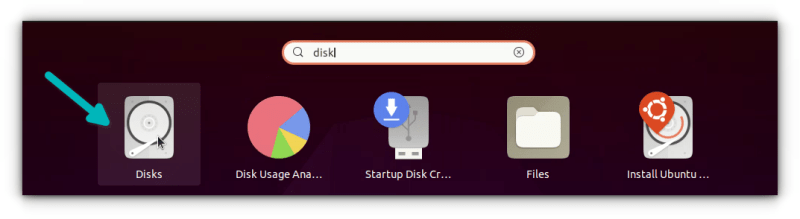
Now that you are in the live session, open the Disk application. It is already installed.
In the Disks application, carefully select the main hard disk/SSD of your computer. This is where you have Linux installed. As you can see in the picture below, I have ESP partition (for UEFI boot settings) and a single Linux partition. This is the partition that needs to be resized to make free space for Windows.
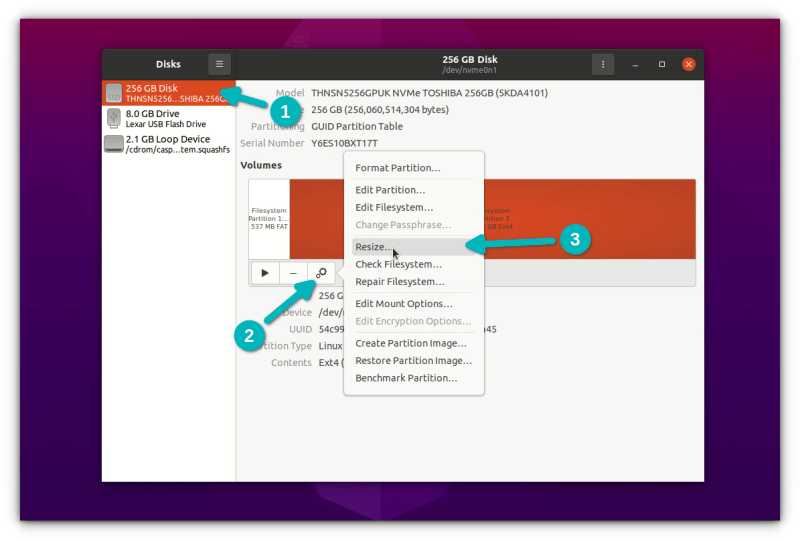
If you have a root, swap and home partition setup, you should resize the home partition.
In the resizing, it will show a minimal size. You cannot shrink the disk below this point. You’ll be leaving some extra space for Linux usage, of course.
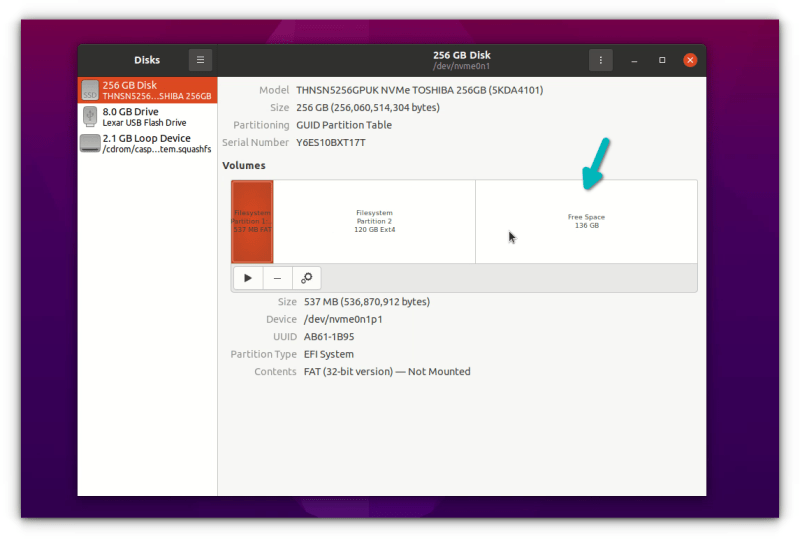
Note that the “partition size” is for Linux partition. In the picture below, I reduced the Linux partition to 120 GB from 256 GB. This gives a 136 GB of free space for Windows installation.

When you hit the resize button, it could take up to a couple of minutes to complete the resizing process.
As you can see in the picture below, now I have three partitions on my system. One is 500 MB of ESP partition (for UEFI boot), 120 GB of Ext4 partition for Linux and 136 GB of free space.
You now have dedicated free space where you are going to put Windows. Shut down your system now.
Step 4: Boot from Windows USB and start installing Windows
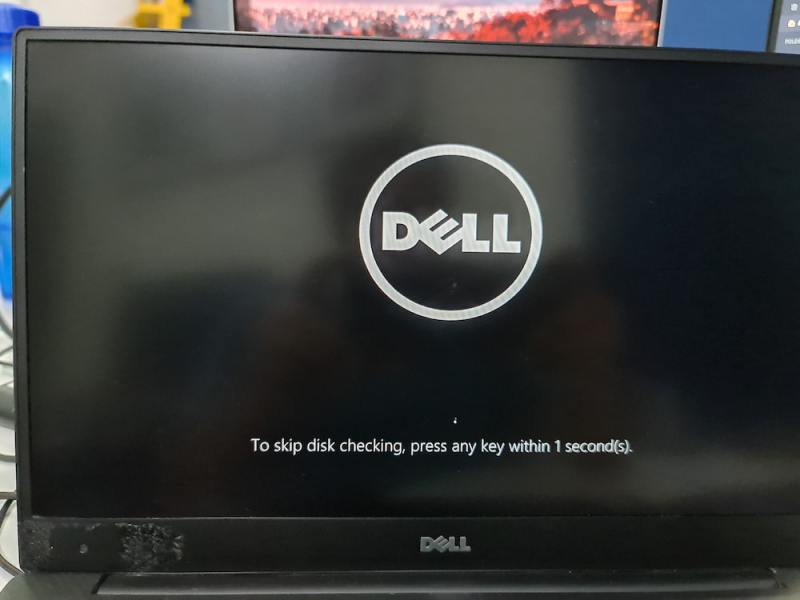
Plug in your bootable Windows UBS. Once again, restart your system, access the BIOS settings and boot from the USB. By now, you know how to do this. You already did this in step 1 while checking the bootable Windows USB.
You should see the Ventoy screen if you created the bootable Windows USB with it. Hit enter.
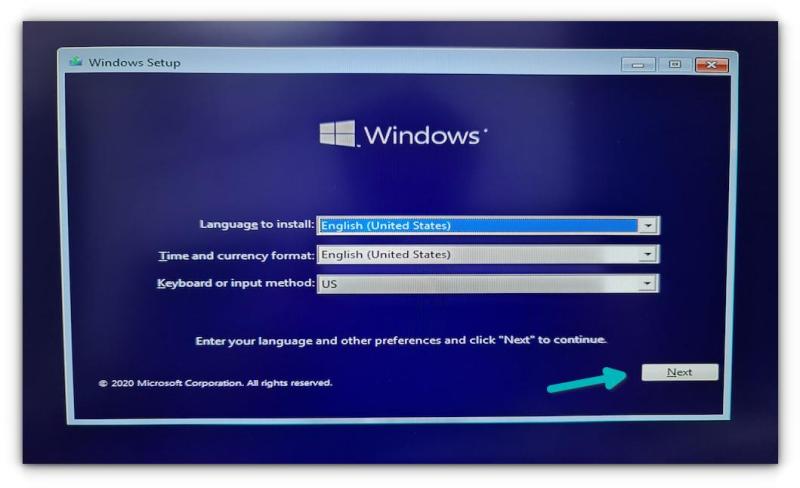
You should see the Windows logo. After a few seconds, you’ll see the option to choose the language, time and keyboard.
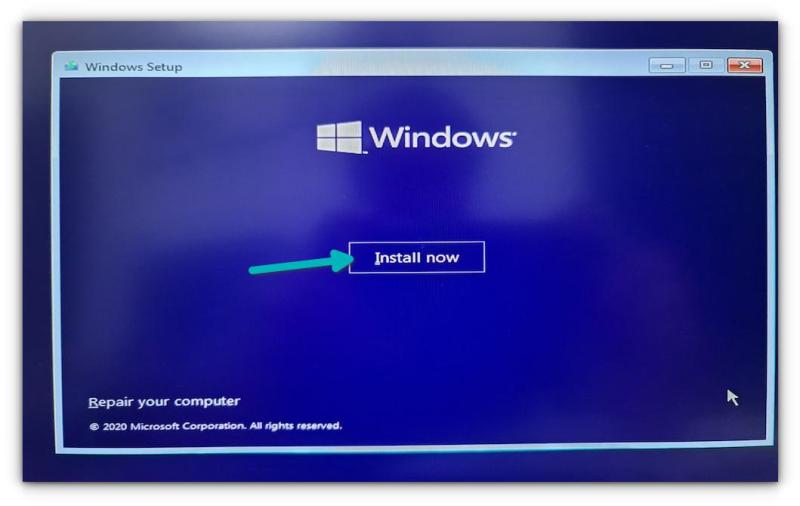
The next screen will give you the option to start the installation. Hit “Install Now”.
In the next few screens, it will ask for the Windows license key. If you don’t have it, skip it. You can activate Windows later as well. You’ll be asked to choose a Windows version and accept the end user license.
-
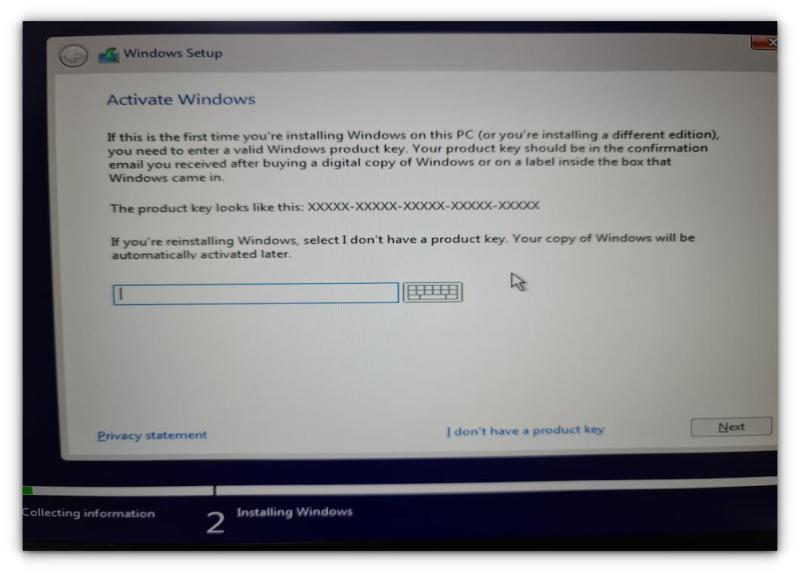
Enter license key or skip it -
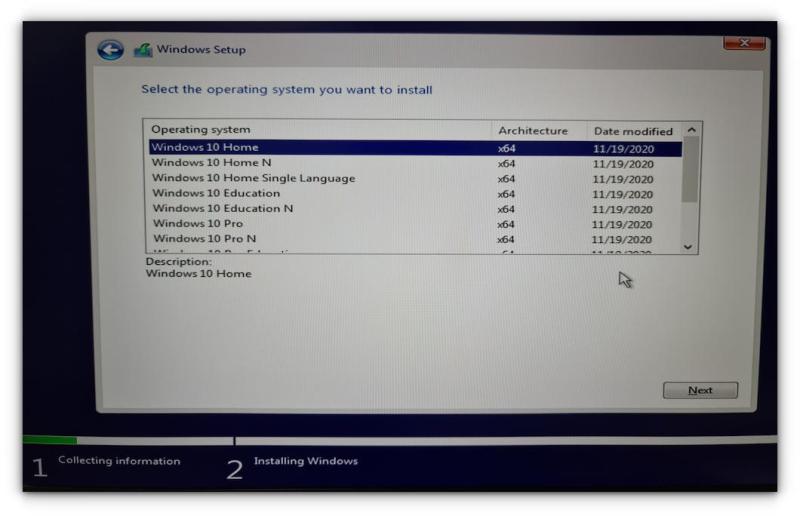
Choose Windows version -

Accept terms and agreement
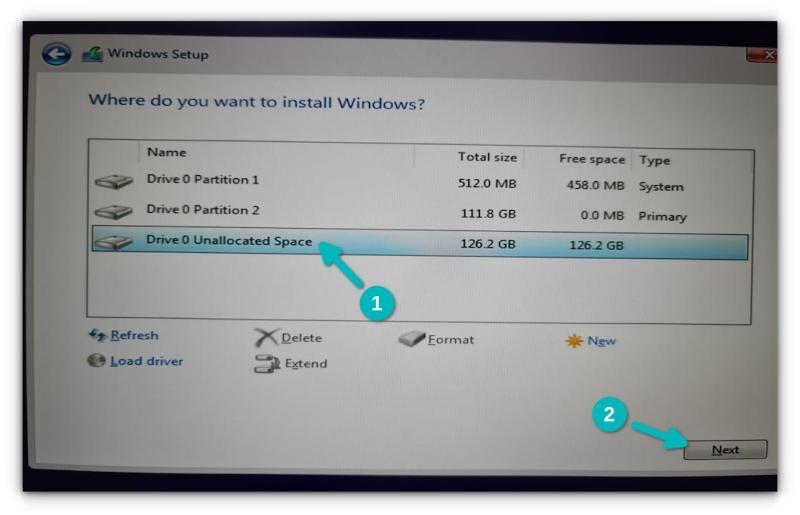
In the next screen, go with the Custom install option.

Now you’ll come to the partition screen. Select the free space (unallocated space) you had created in the step 3 and hit the Next button.
It will take a couple of minutes in copying the files and install Windows.
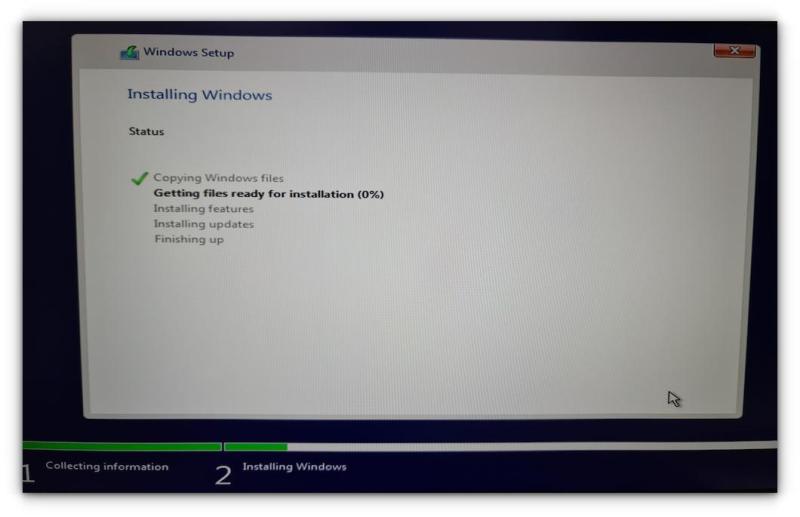
After that, your system will restart automatically and this time it will boot into Windows directly.
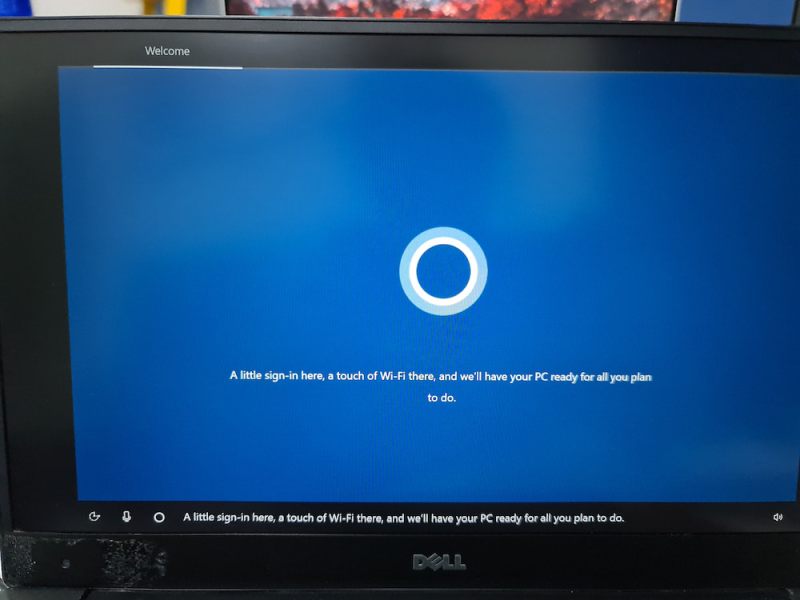
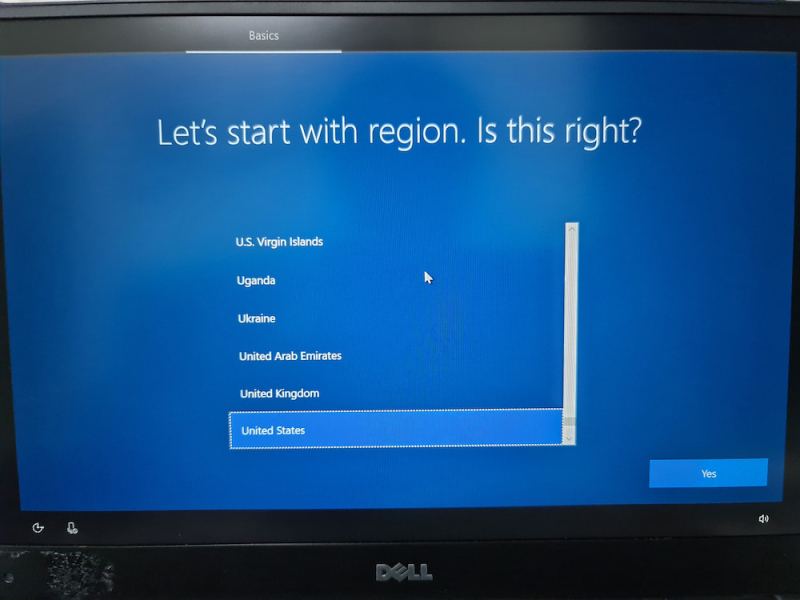
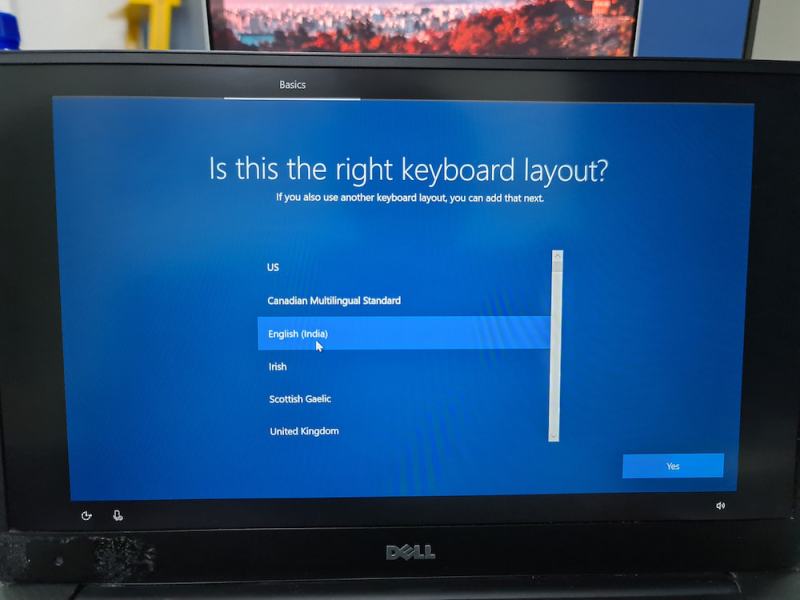
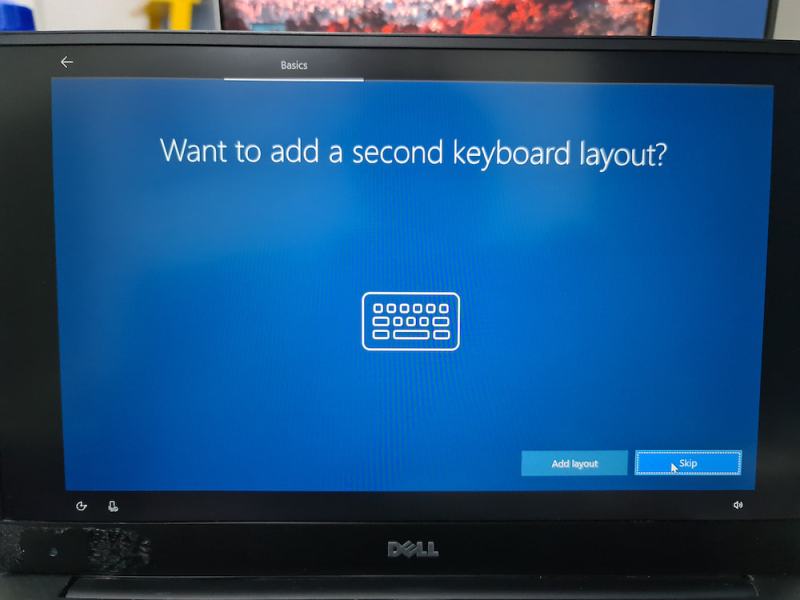
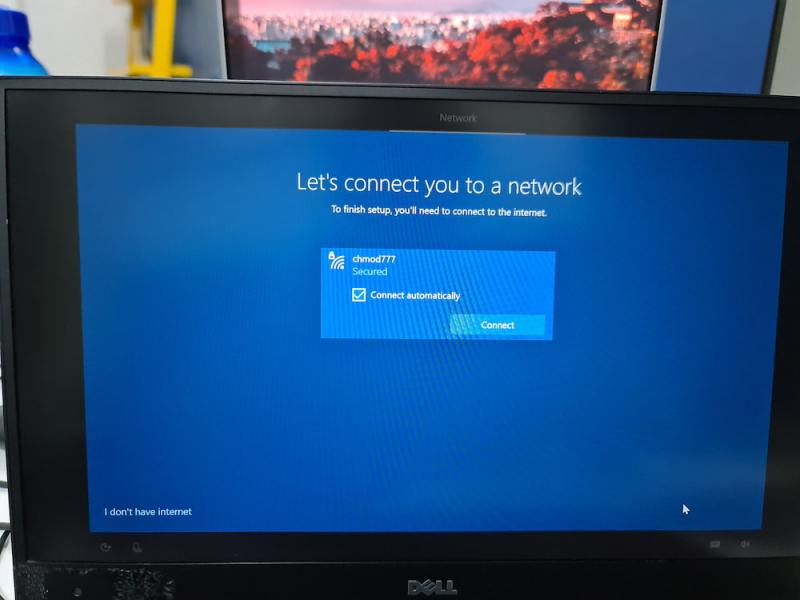
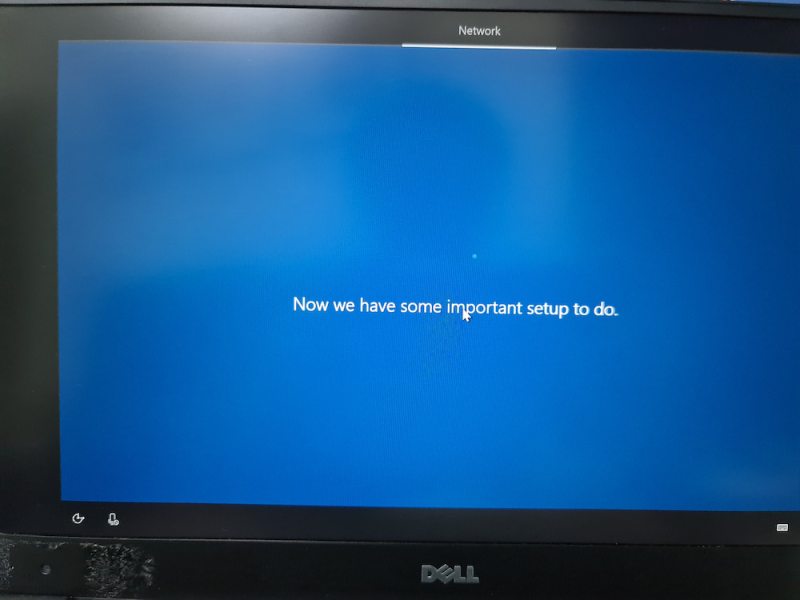
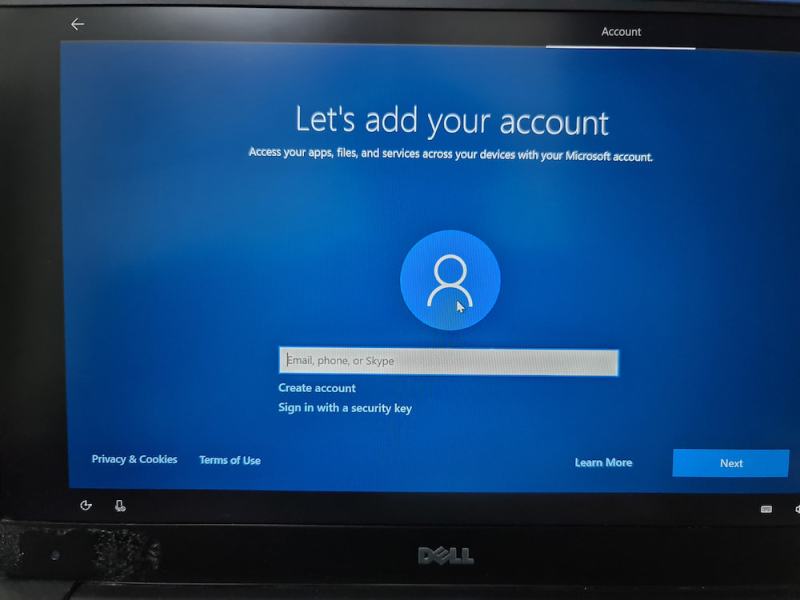
Windows installation is not over entirely. On the next boot, you’ll be asked to configure Windows for your usage and this is super annoying but super easy to follow.
I am not going in detail for this part because I know you can handle the configuration part, which is waiting and hitting next button most of the time. I am sharing a few screenshots just for the reference, though.

Once you have installed Windows successfully, chances are that you’ll be booting into Windows by default. You need to get the Grub dual boot screen back.
Step 5: Get the Grub bootloader back
Once again, restart your system and when it is powering on, go to BIOS settings. From the boot sequence or boot order, move Ubuntu up the order. You may have to use arrow keys or F5 or F6 and the screen may look different for different system.
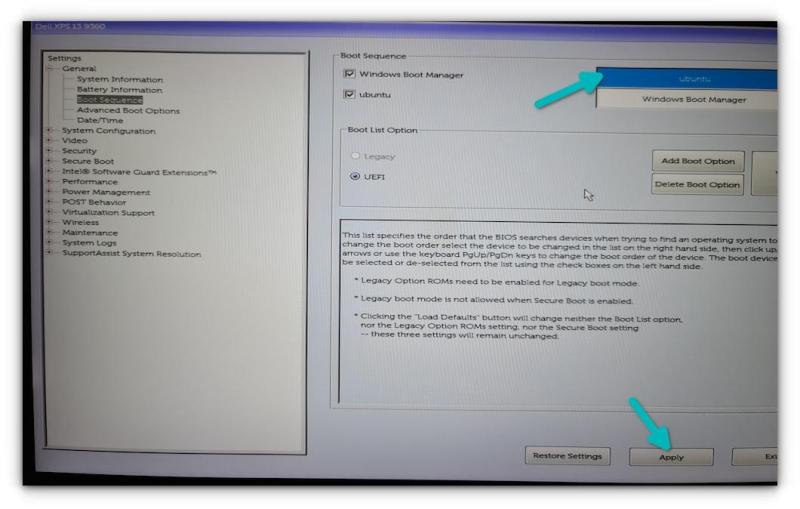
Save and exit and this time you should be booting into Ubuntu. The battle is not over yet. The grub bootloader might not be aware of the presence of Windows. This is why it is a good idea to update grub in Ubuntu.
All you have to do is to open a terminal and use the following command:
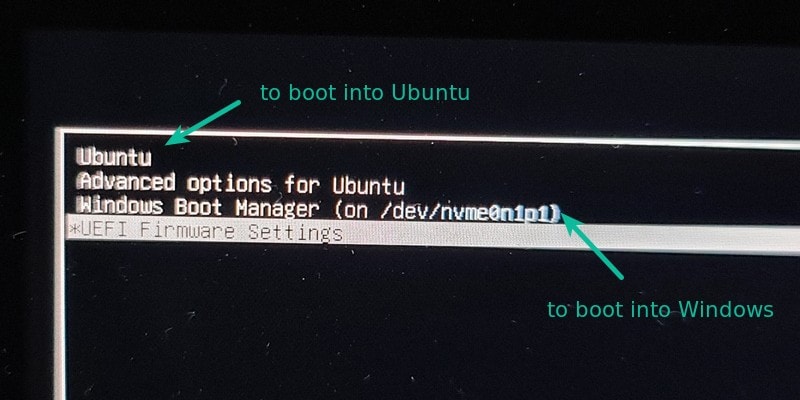
sudo update-grubRestart your system once again. You should be greeted with the familiar grub boot screen that gives you the option to choose between booting into Ubuntu and Windows.
And that brings us to the end of this long journey. It takes some time and effort, but if you want to install Windows after installing Ubuntu, this can surely be done.
If you still have questions, please let me know in the comment section and I’ll try to answer you.