The Elementor WordPress page builder offers a ton of functionality and design options. In this tutorial, I will show you how to create a landing page using the Elementor plugin.
Before You Start
There are a few things you need to have in place before you start building your landing page using the Elementor page builder.
- An Active WordPress Installation
- Install Elementor Free Plugin or
- Install Elementor Pro
Note: Certain functions are only available if you have Elementor Pro. While can accomplish a lot with the free version, Elementor Pro will give you everything.
Setting Up Landing Page
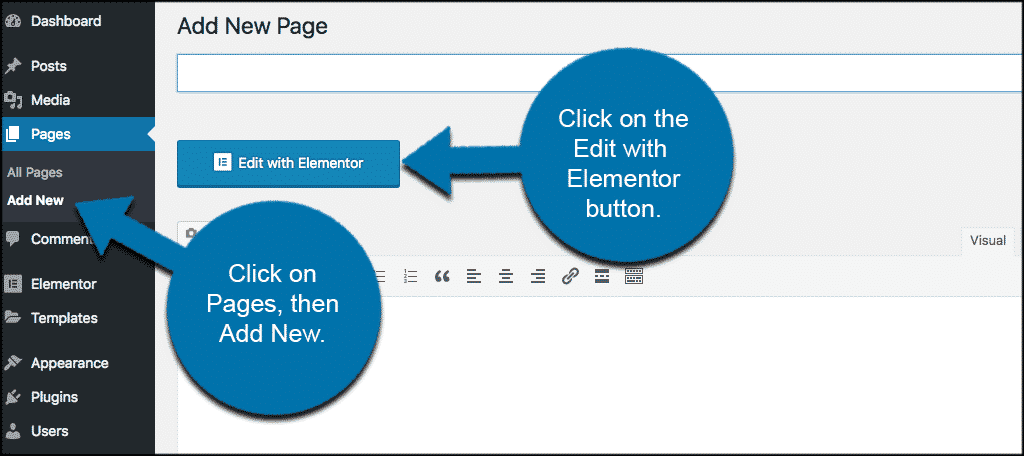
First, you want to click on Pages > Add New, and then click on the “Edit with Elementor” button.
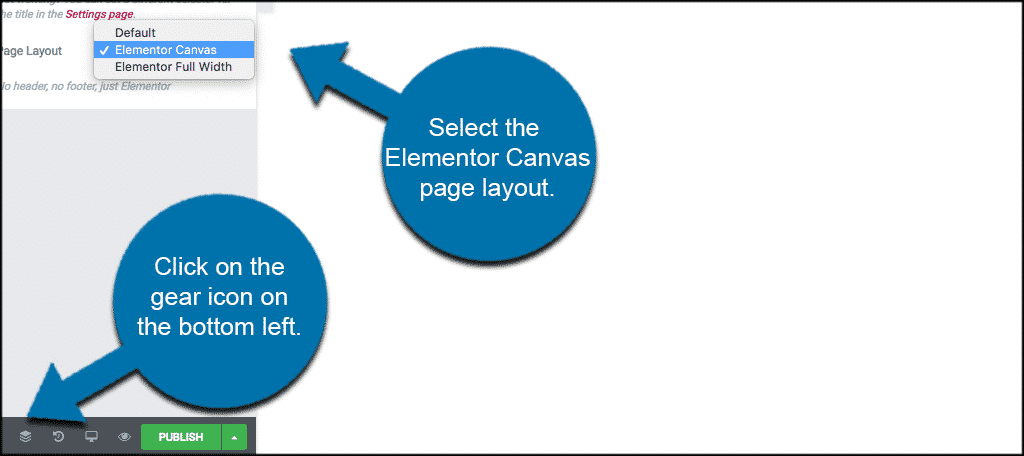
Now scroll down to the bottom of the page and click on the bottom left gear icon and switch the page layout to “Elementor Canvas” in order to work on a blank landing page.
Add Elements to Your Landing Page
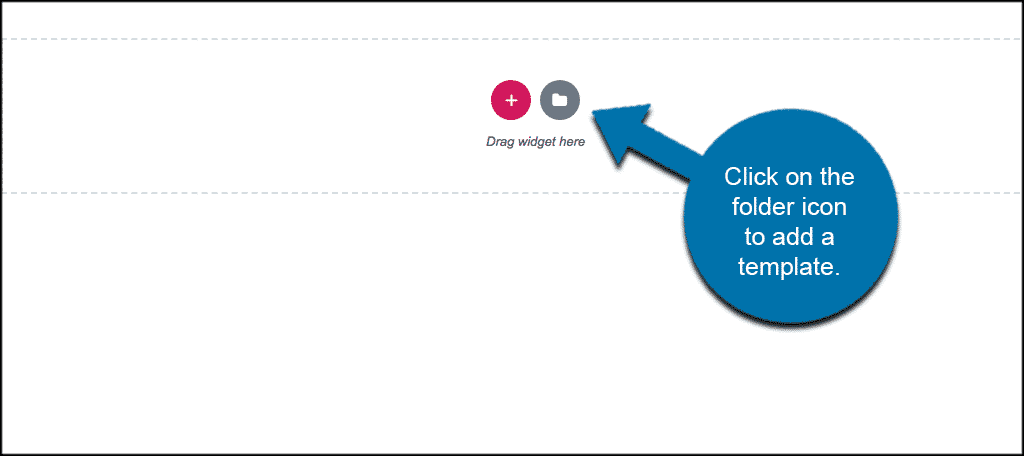
In order to add elements to your landing page, click on the folder icon and add a template.
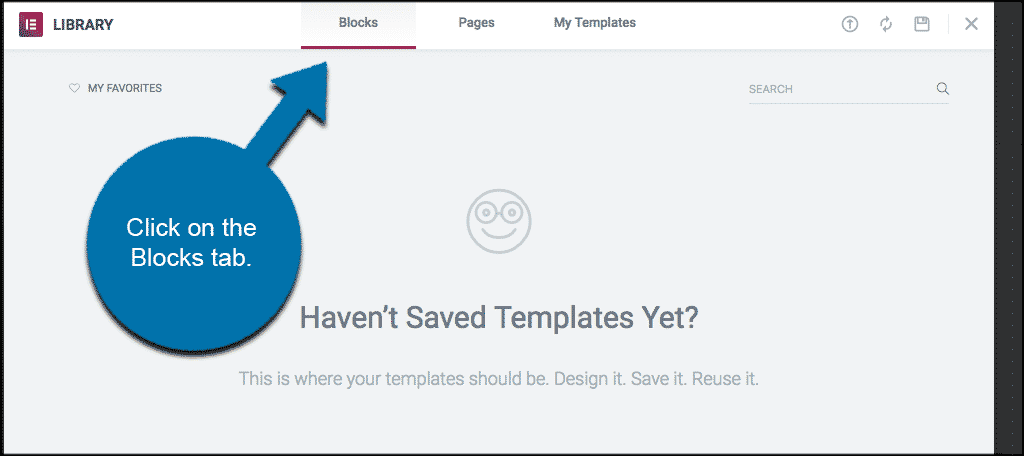
You will see a popup box come up. From here click on the “Blocks” tab. Using the select dropdown, start adding the different blocks that will make up your landing page.
Now, every landing page will be different, and there are dozens and dozens of different things you could add to build your Elementor landing page. Here are some examples of things you may want to add:
Hero: This is, without a doubt, the most important part of your landing page. It is sometimes called the ‘Above the Fold’ section, as it is the first thing your visitor sees before scrolling the page. For this reason, we will place the most important elements here. Title, sub-title and subscribe form.
Services: Here, we go into more details, depicting the main services or features our business provides.
Testimonial: The testimonial section shows social proof that your current clientele is satisfied with the service they received from you.
Portfolio: Show the visitor examples of your work, so they know if you match what they are looking for.
Footer: Because your visitors have already scrolled down the page, you want to offer them another call to action, to encourage them to do what you want them to do.
At the end of the page, you will want to pop in a footer, as mentioned above, which should include your Privacy Policy and Terms of Service. Or something related to it.
Customizing Elementor Blocks
Go over each block and customize it to fit your website. Some things you may want to customize will include:
- Title Content
- Images
- Colors
- Backgrounds
What About Mobile Customization?
You don’t have to worry about customizing each block and page differently for mobile purposes. All blocks come pre-designed as 100% mobile responsive. Even so, you can switch to mobile view and start customizing margins, paddings and other settings for mobile and tablet devices.
Preview Your Landing Page
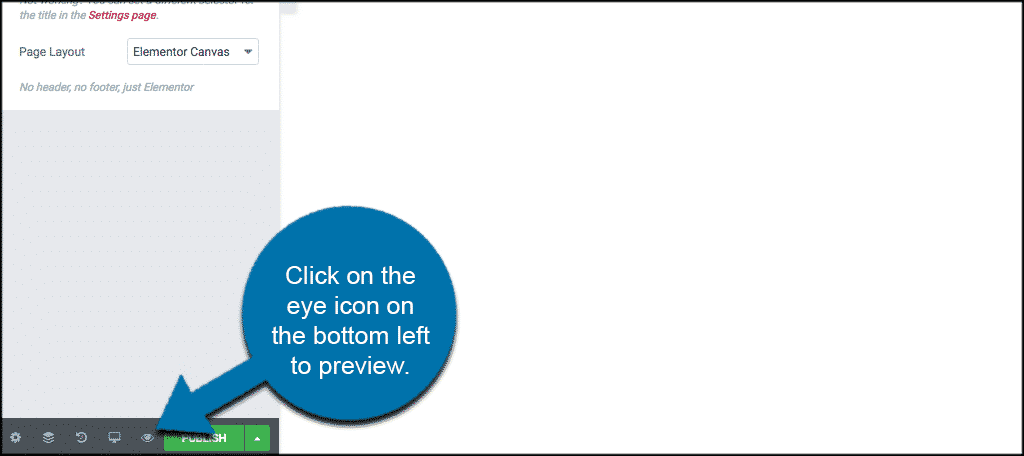
Before you publish the Elementor landing page you have built you can (and want) to preview it. This allows you to see how it will look when published.
To do so, click on the “eye” icon on the bottom left panel.
If everything is in order go ahead and publish your landing page. You will notice that the green “Publish” button now shows as a grey “Update” button.
Congratulations, you have now built and published an Elementor landing page for your WordPress website.
The post How To Create a Landing Page Using Elementor appeared first on GreenGeeks.