One of the reasons why a lot of people use WordPress is to be social. Even businesses experience great benefits thanks to personal connections with visitors. The comment section is where a lot of these interactions take place.
However, not all comments are ideal for the site nor its visitors. For instance, many site owners are constantly plagued with spam-bot comments and links. This is why it’s important to handle comments in WordPress if you want to use this aspect of the site.
Today, I’m going to show you how to manage WordPress comments. From blacklisting specific words to deleting messages directly, you have control of many aspects.
Setting Preferences
The first thing you’ll need to do is set up your preferences for how people comment on your site. You have access to a lot of plugins specifically for this purpose, but WordPress has a built-in system that works fairly well.
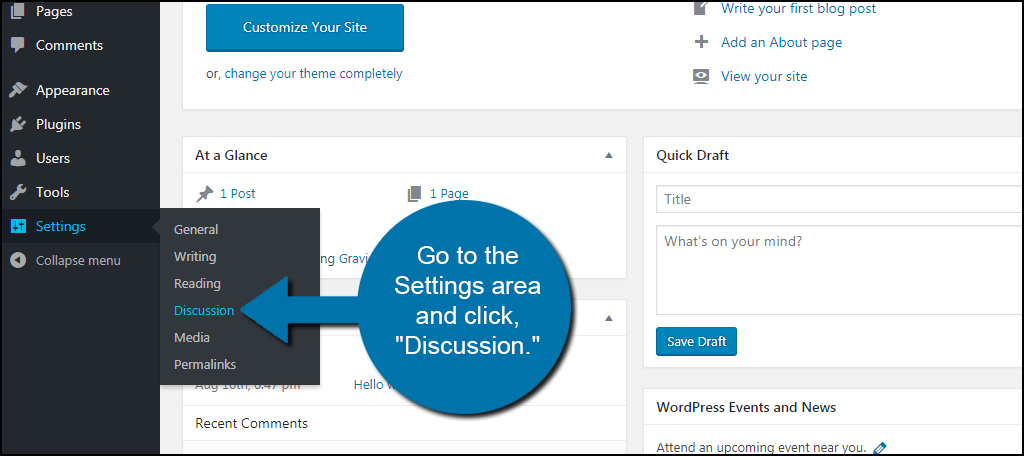
From the WordPress dashboard, go to the Settings area and click, “Discussion.”

In the Discussions Settings window, you’ll see a wide variety of options available. Let me go over some of the sections in this area.
- Default Article Settings
WordPress gives you the ability to detect pingbacks from other websites. This is when another site is linking to your posts or pages. You’ll also be able to control whether people can post comments to your site or not. - Other Comment Settings
These options are kind of the nuts and bolts of how comments work on your site. Registration, author identity, the order in which comments are listed chronologically and more is accessible here. - Email Me Whenever
You can have WordPress send you an email if someone posts a comment or if there is one awaiting moderation. This helps you stay current with interactions of those who visit the site. - Before a Comment Appears
In this section, you can set comments that need approval or the author must have a previous comment approved before a new one is displayed. This means you can keep an eye on what is said on your pages and verify the comment is relevant and void of spam. - Comment Moderation
Here is where you can trap spam and other questionable materials. You can set a comment to be held for moderation if it contains a certain number of links.
You can also hold comments if they include a certain name, URL, email address, keyword or IP address. This is useful to prevent messages from being displayed until you have a chance to verify the comment is appropriate for the site. - Comment Blacklist
The comment blacklist is a bit different than moderation. Here, you can set what elements are not acceptable under any circumstances in your comment section.
Posts with this type of content is immediately sent to the trash. - Avatars
Avatars are the images that sit next to a commentor’s name. You can set this to be on or off from the “Show Avatars” check box. You can also change the maximum rating and the default image that is shown if someone doesn’t have an avatar. If you use Gravatar, the commentor’s image will be displayed according to his or her access to Gravatar’s system.
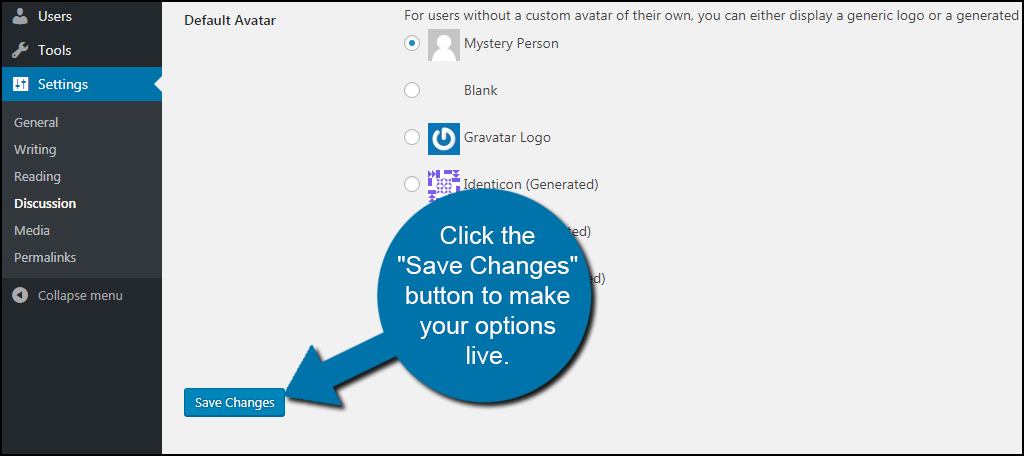
When you’re done making the appropriate changes to the comment section, click the “Save Changes” button to make your options live.

Moderate Comments
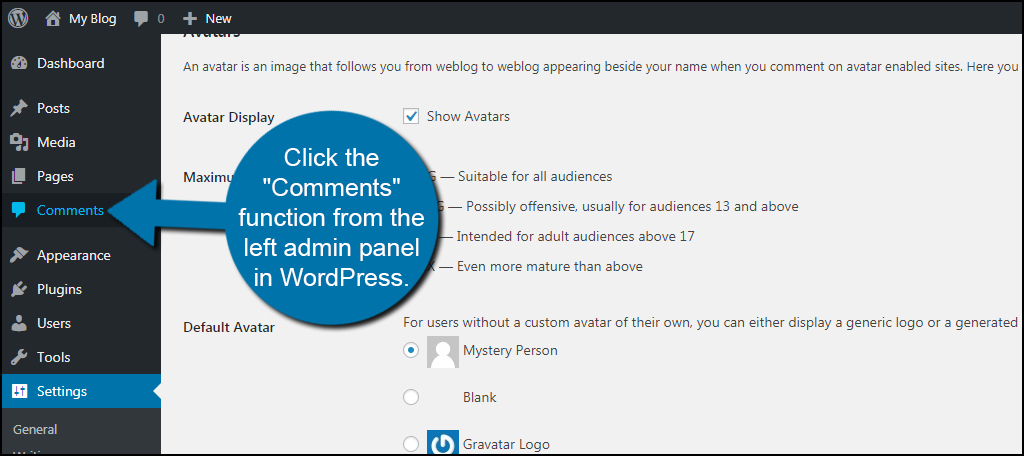
With your comment settings ready, it’s time to take a look at moderating the posts. Click the “Comments” function from the left admin panel in WordPress.

This screen will show the author, comment, the post it is referring to and the submission date. A list of functions will show when you hover your mouse over the Comment area.

- Unapprove: Unapproves the comment so no one can read it, but it remains stored in WordPress.
- Reply: Gives you the option to reply to a commentor. This is probably one you’ll use quite often if you want to engage the visitor.
- Quick Edit: Opens the Quick Edit screen so you make a few minor changes to the post.
- Edit: Opens the full editor for the comment section giving you control over more elements.
- Spam: Immediately sends the comment to your spam folder. Here, you can take a closer look at the message and decide if you want to add keywords, users or URLs to your moderation or black lists.
- Trash: Immediately sends the comment to your trash bin.
By default, WordPress will show 20 comments per page in this section. What if you want to show more or less than 20? Click the “Screen Options” tab in the top right.

A drop down window will appear and show you the elements you can change on this particular page. Under pagination, change the “Number of items per page:” to something you prefer. For instance, inputting “10” will only show 10 comments per page.

You can also change if the author is visible, the response link and the submission date by unchecking the boxes in this window. Some plugins may add more functions after you install them.
Click the “Apply” button to save your changes.

Using Plugins
If you want to get more out of the comment section, you may want to consider installing plugins. These tools work exceptionally well to prevent spam and provide more functionality for visitors. Here are just a few I would like to mention.
Akismet

Akismet is often a default tool for many people who use WordPress. Although it has greater functionality if you sign up and pay for an account, it works very well at reducing spam in its free version. It will sift comments through its database of known spam and flag posts it finds. Its a time saver if you don’t want to constantly moderate your comment section.
wpDiscuz

If you want custom options and integration abilities with other systems, wpDiscuz has great potential. It works with Akismet, connects to social building tools like BuddyPress and allows custom forms and fields for the posts. If you’re looking to add eCommerce, wpDiscuz also works with WooCommerce. The developers have a list of add-ons you can incorporate as well.
Facebook Comments WordPress

Facebook Comments WordPress gives you the ability to include the popular social site on your pages and posts. Not only does it help reduce spam in the comment section, but it also has a few options for customization. You can change the text, fonts and color scheme to match your website design while benefiting from the Facebook comment process.
Wordfence Security

Although it’s more popular as a firewall and protection system, I’m adding Wordfence Security to this list because of how it monitors the comment section. This plugin compares any URL in your comment section to known malware and phishing addresses. This protects your visitors as well as yourself. It also includes the Safe Browsing list from Google during its scans.
Be Social, But Keep Control
Connecting with your audience is a good way to build trust regardless if you run a blog or an eCommerce site. The more connected visitors become to your brand, the greater the possibilities. This is important to remember if you build a website to make money. Keep a vigilant eye on what people post in the comment section. You don’t want to have a reputation of having spam saturate your content.
How often do you find spam in your comment section? What kind of moderation do you use on your WordPress website?
The post How to Handle Comments in WordPress appeared first on GreenGeeks.